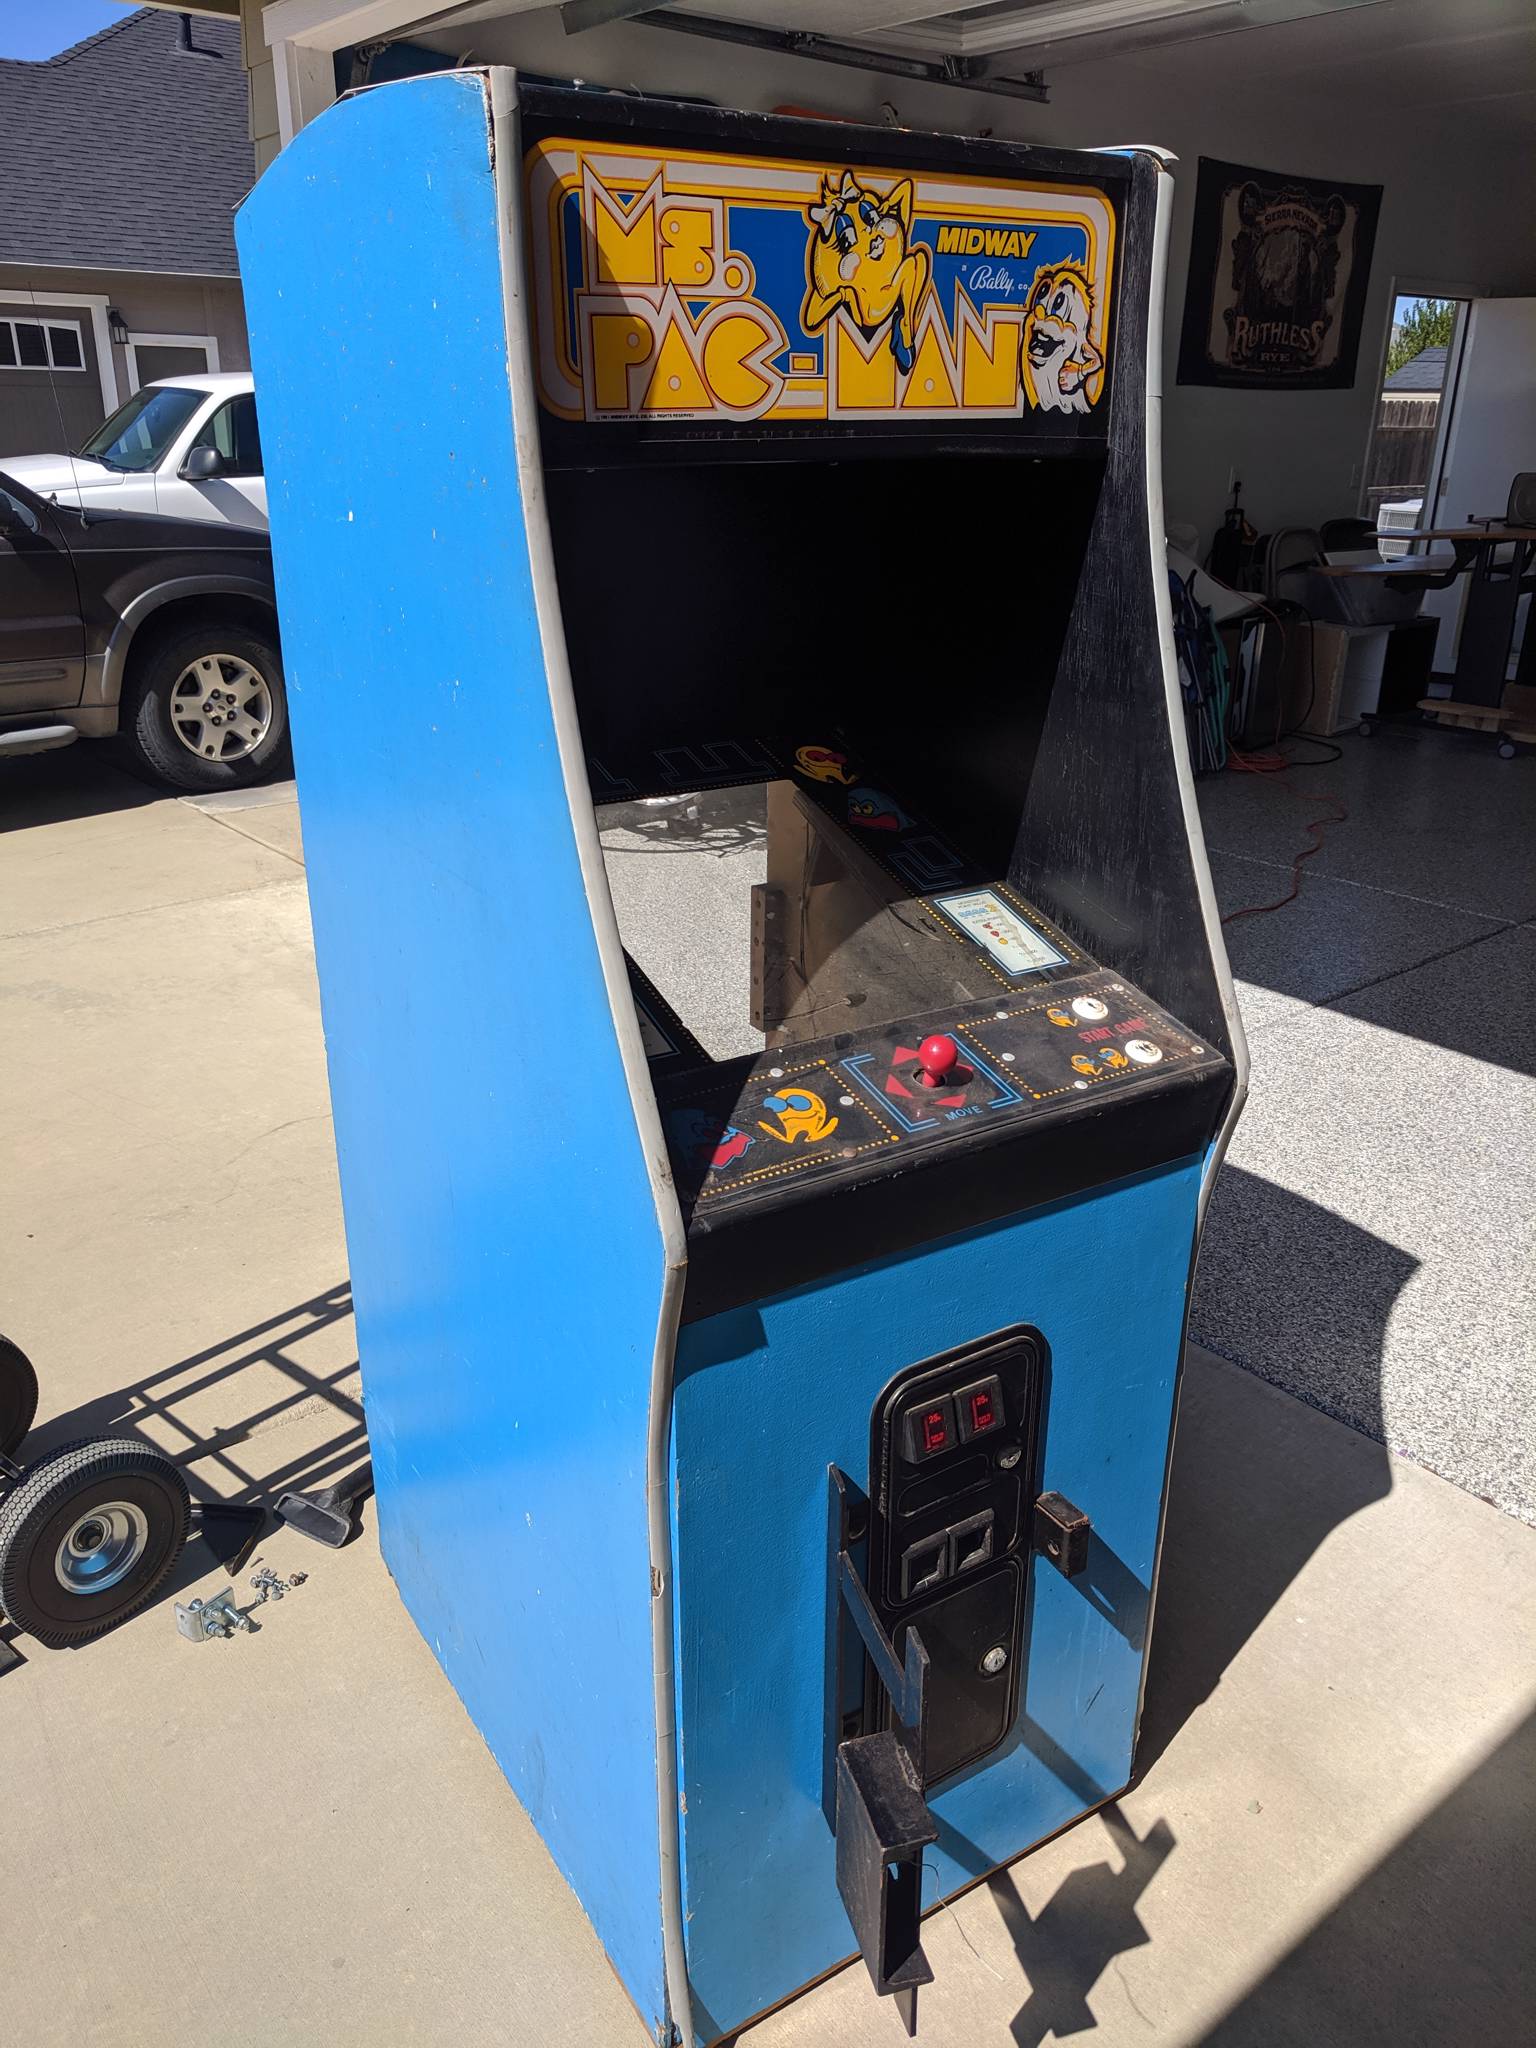
Even though I grew up with 90's style arcade cabinets, I've always had a soft spot for the "golden age"-era Midway cabinets, which housed games like Galaga, Galaxian, and Pac-Man. When a Ms. Pac-Man cabinet popped up on Craigslist, I jumped at the opportunity to pick it up.
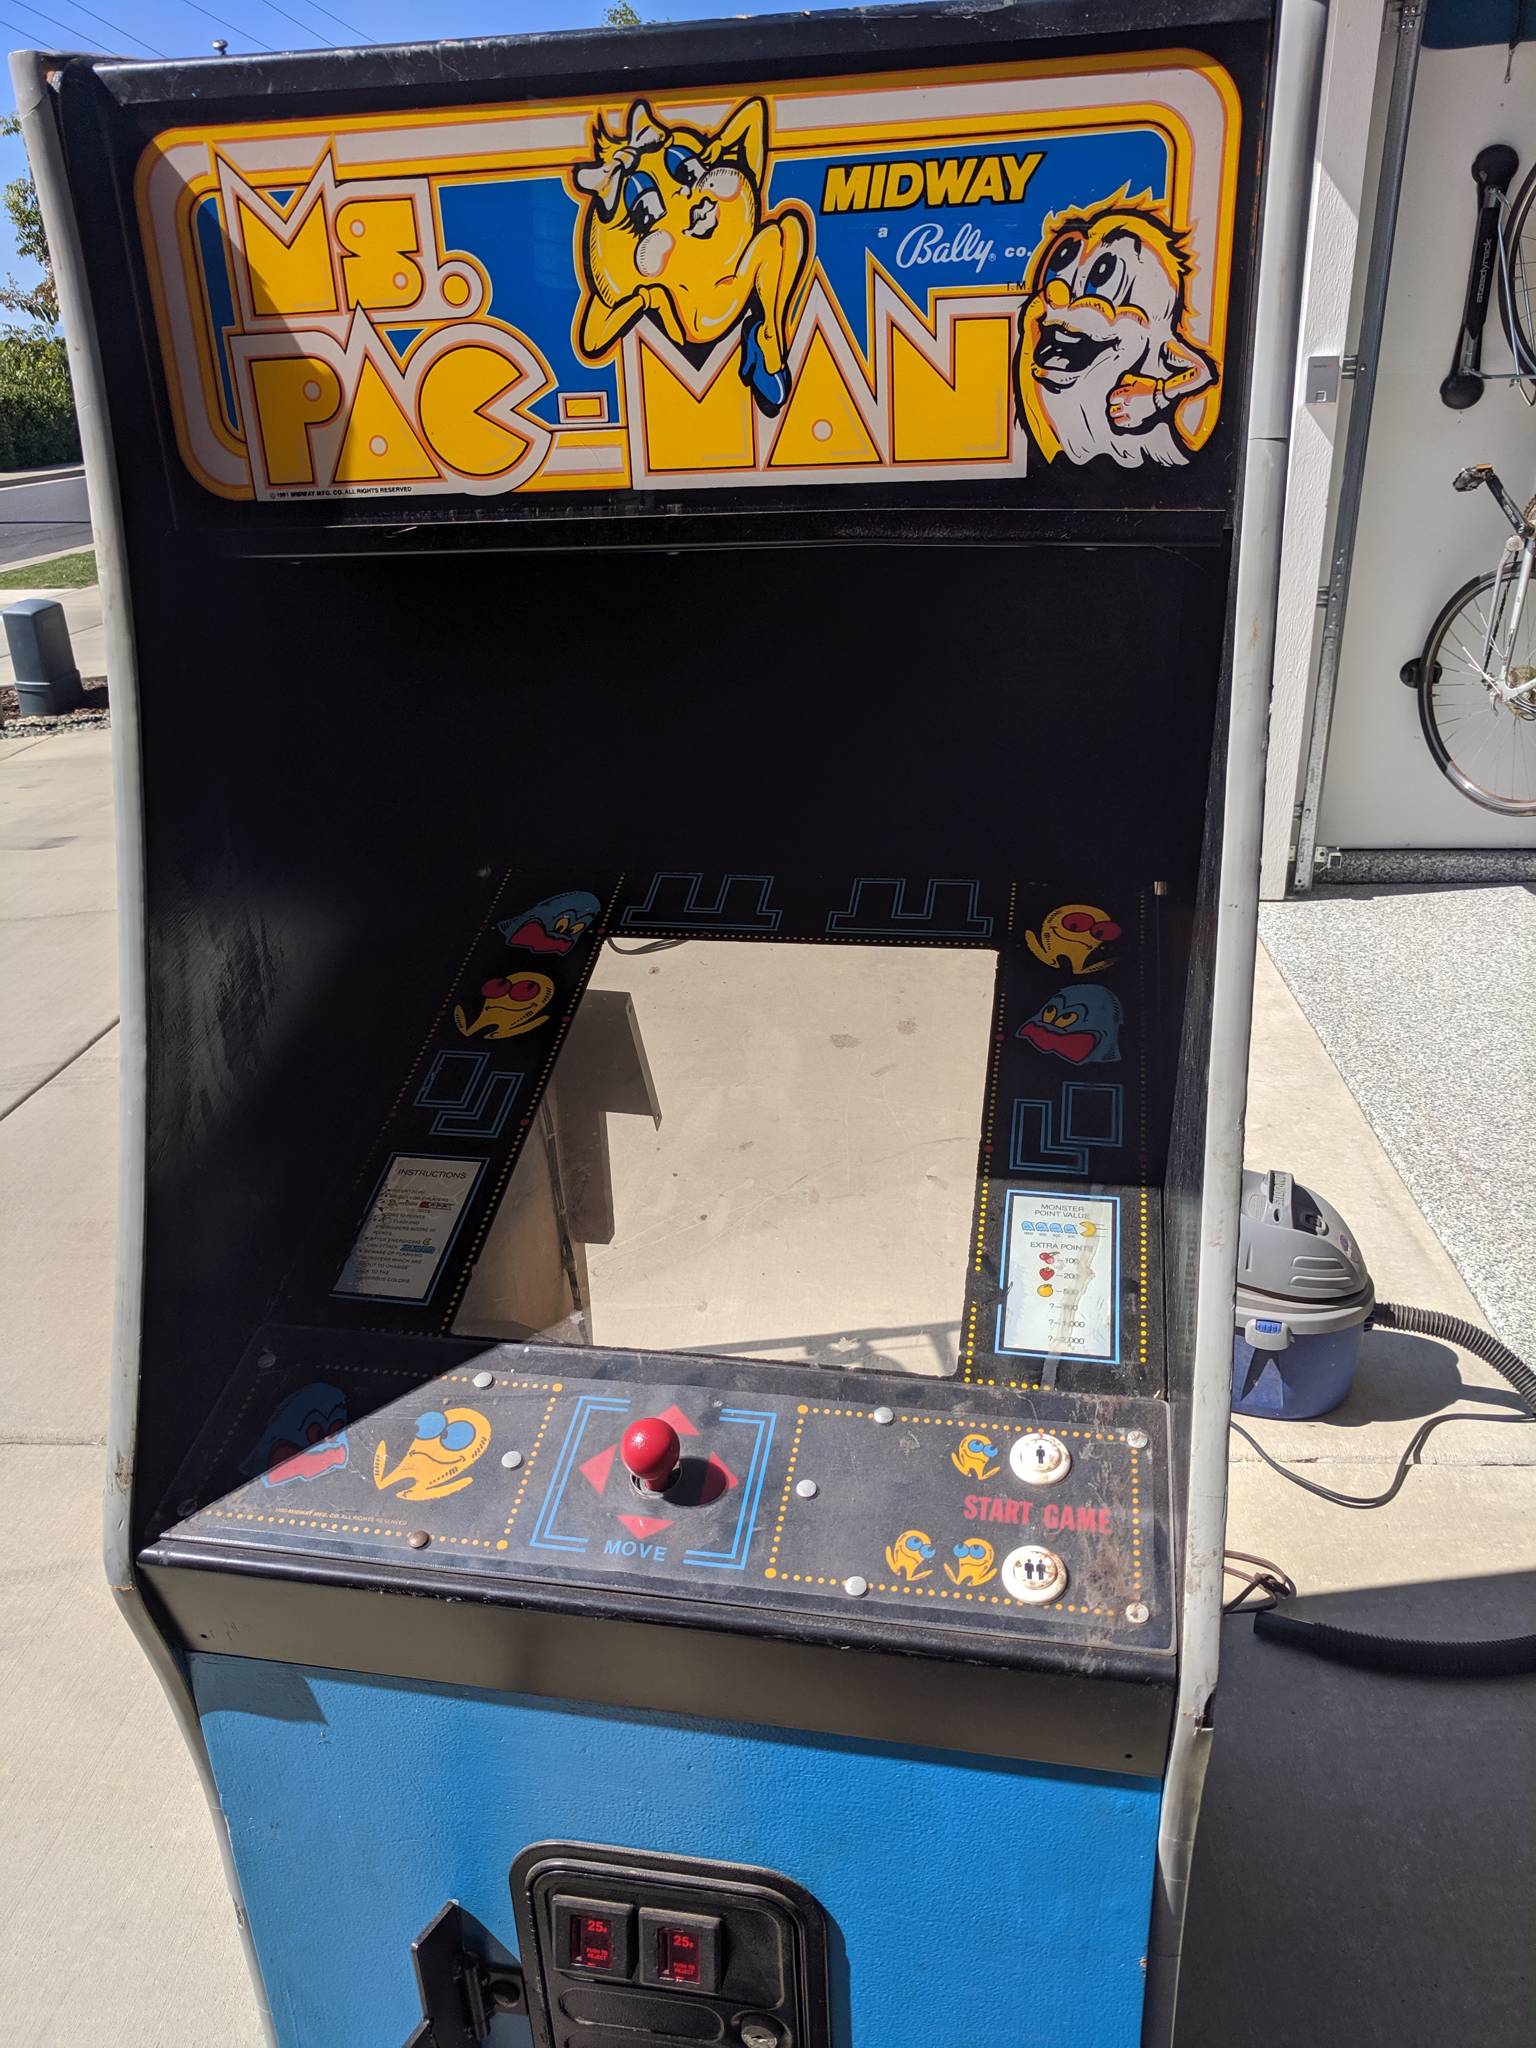
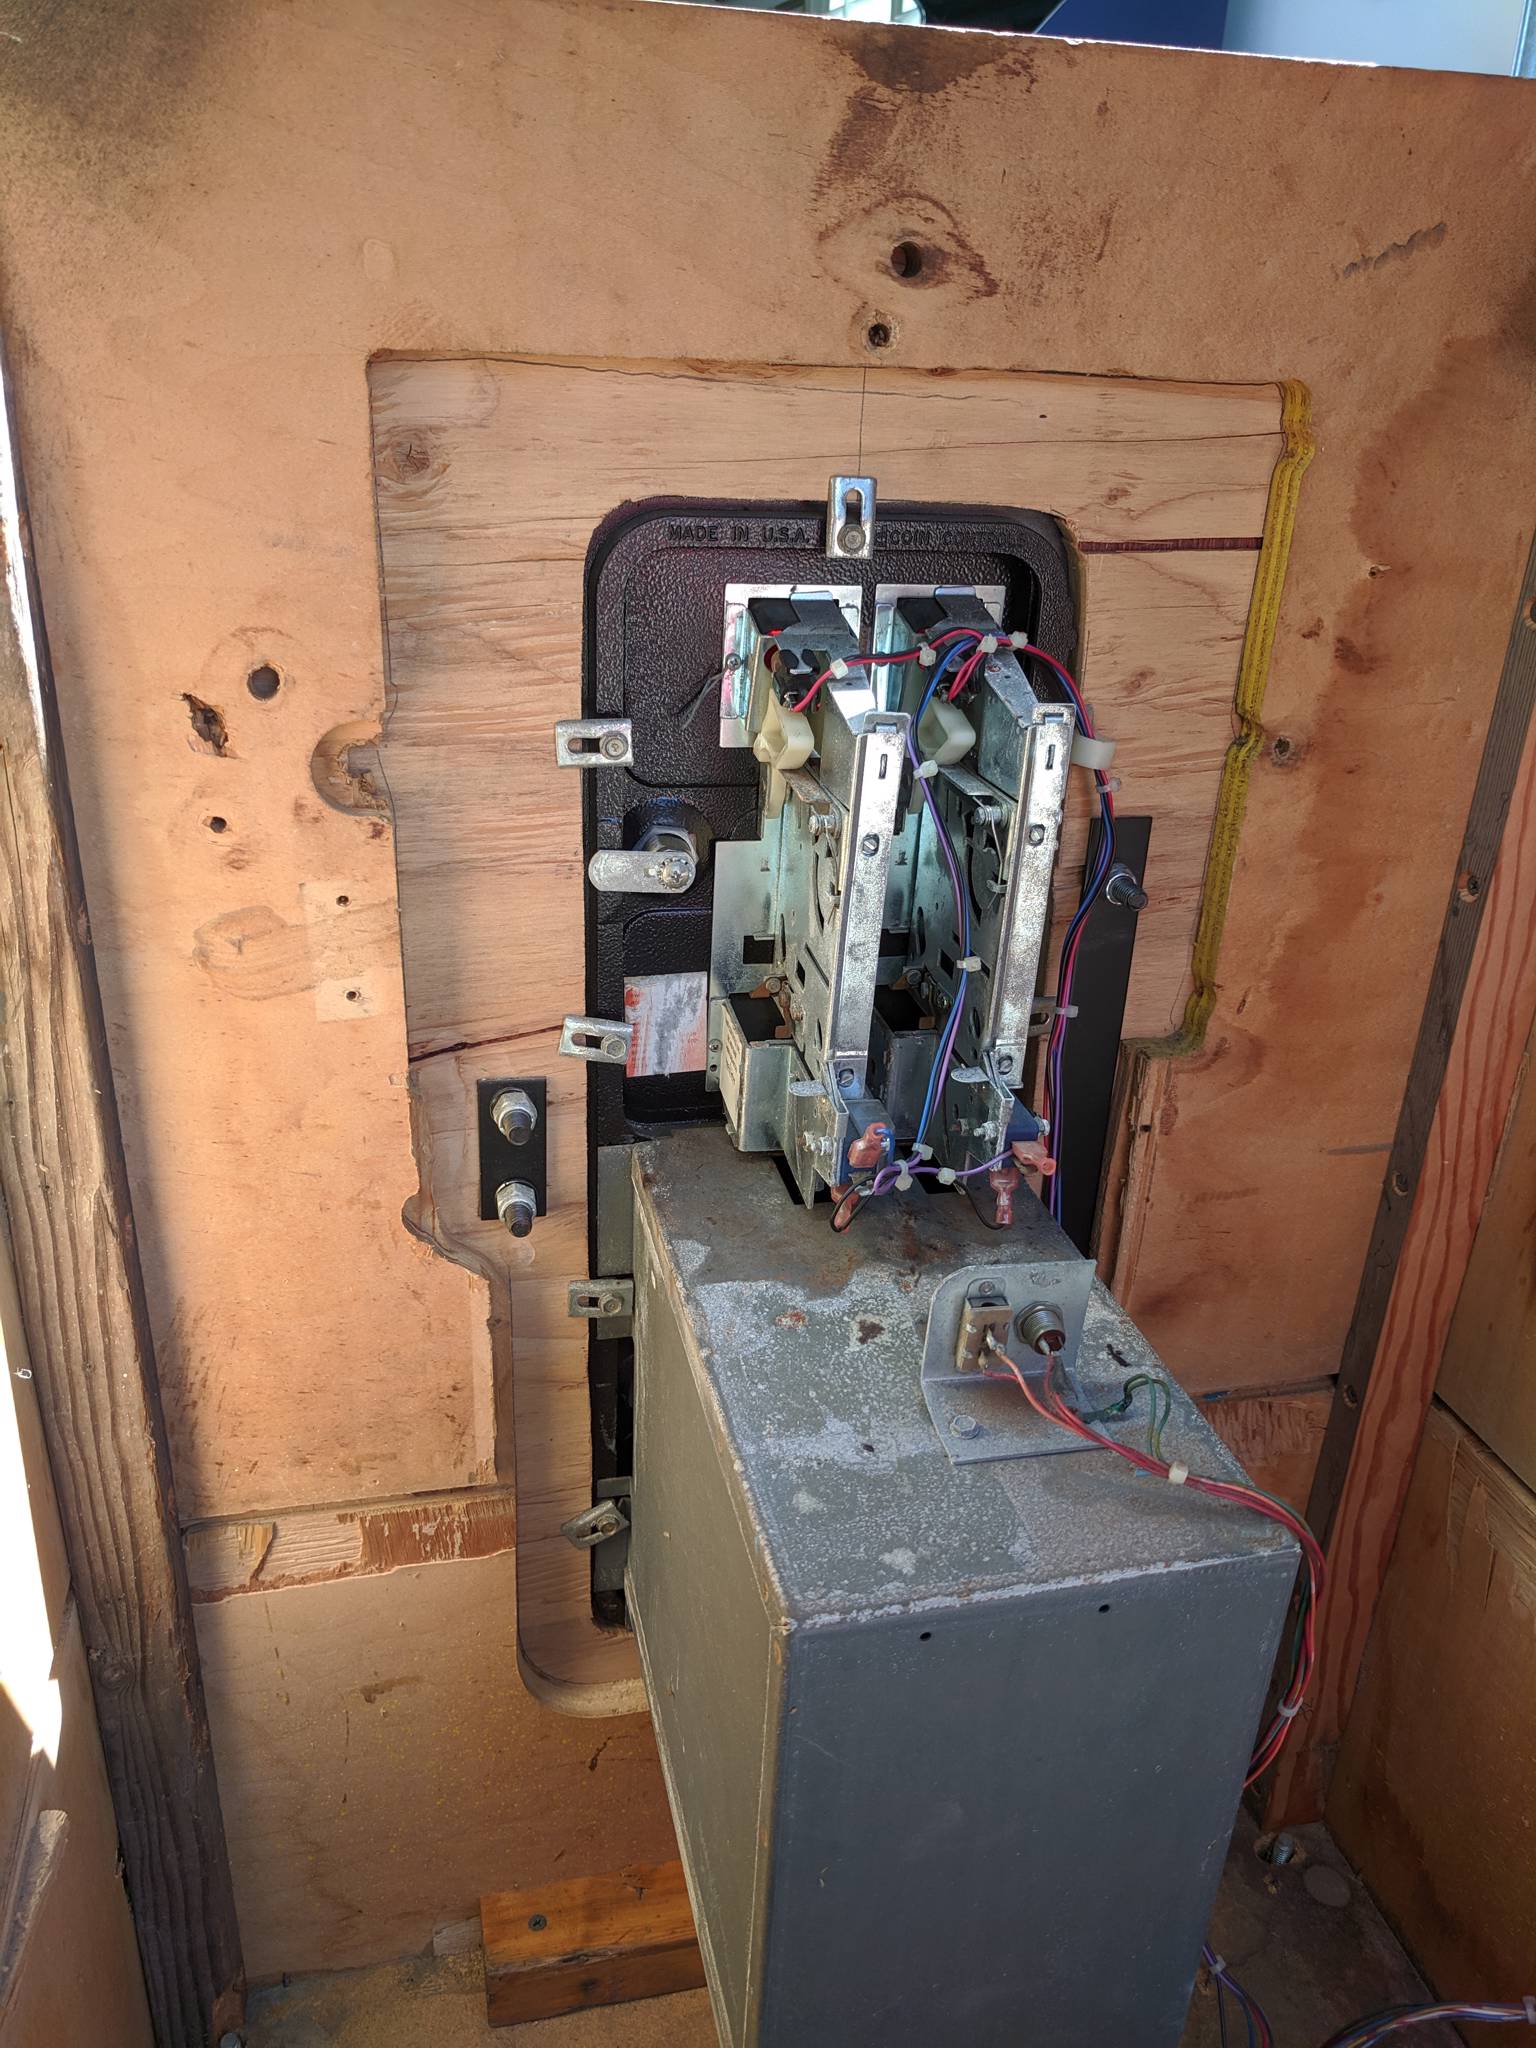
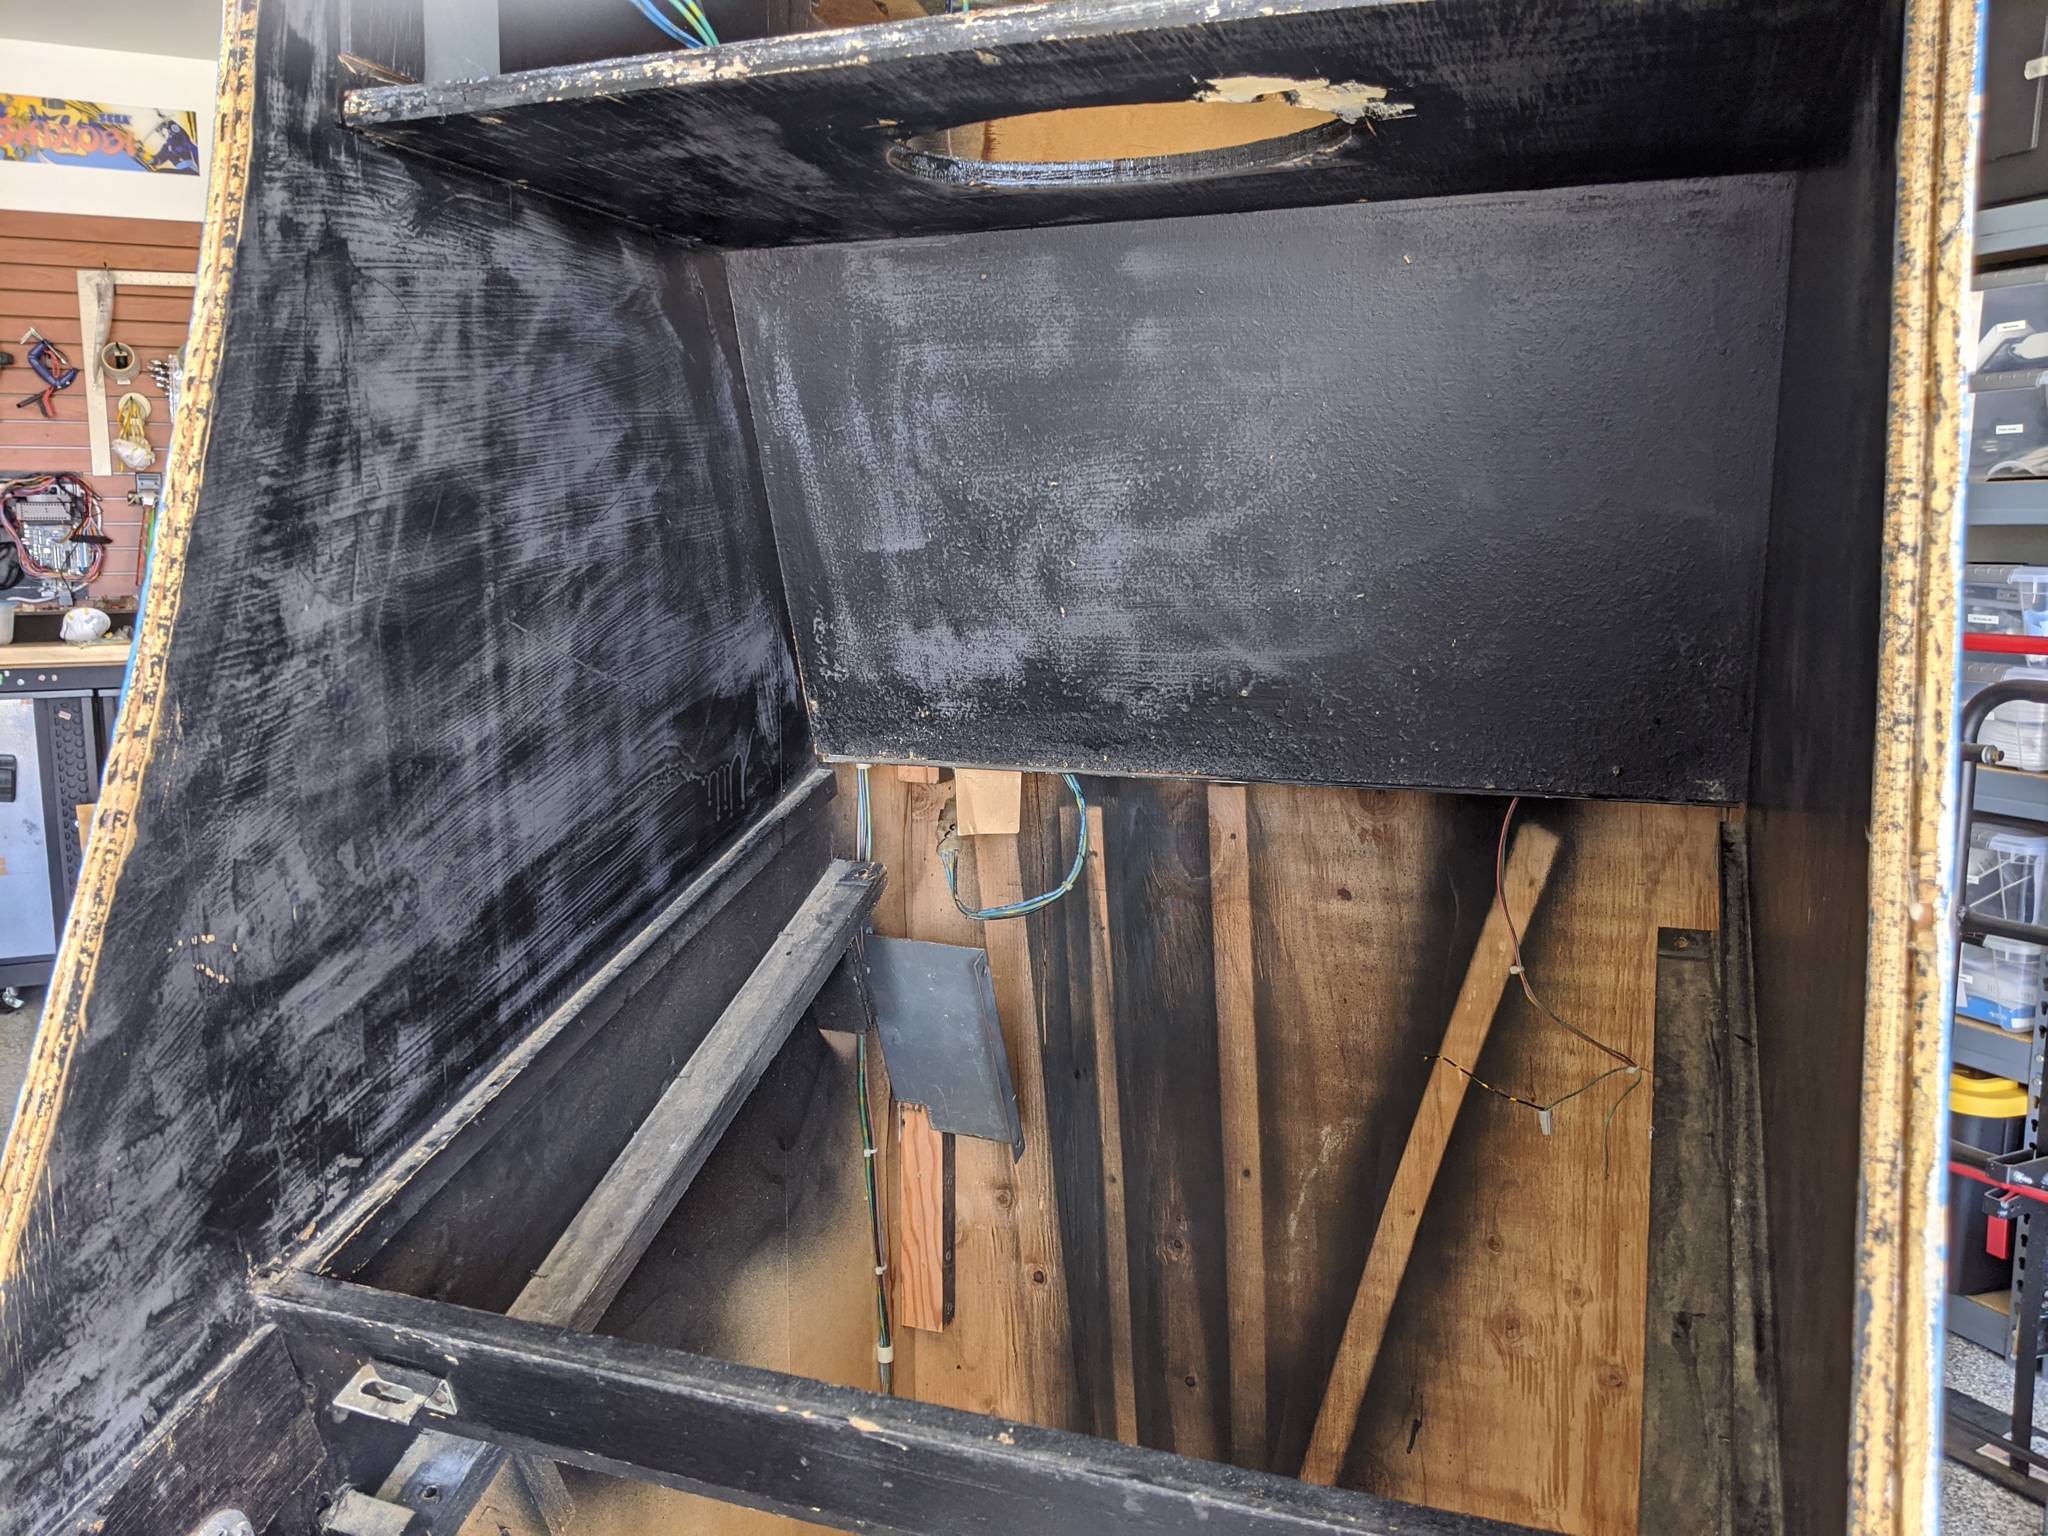
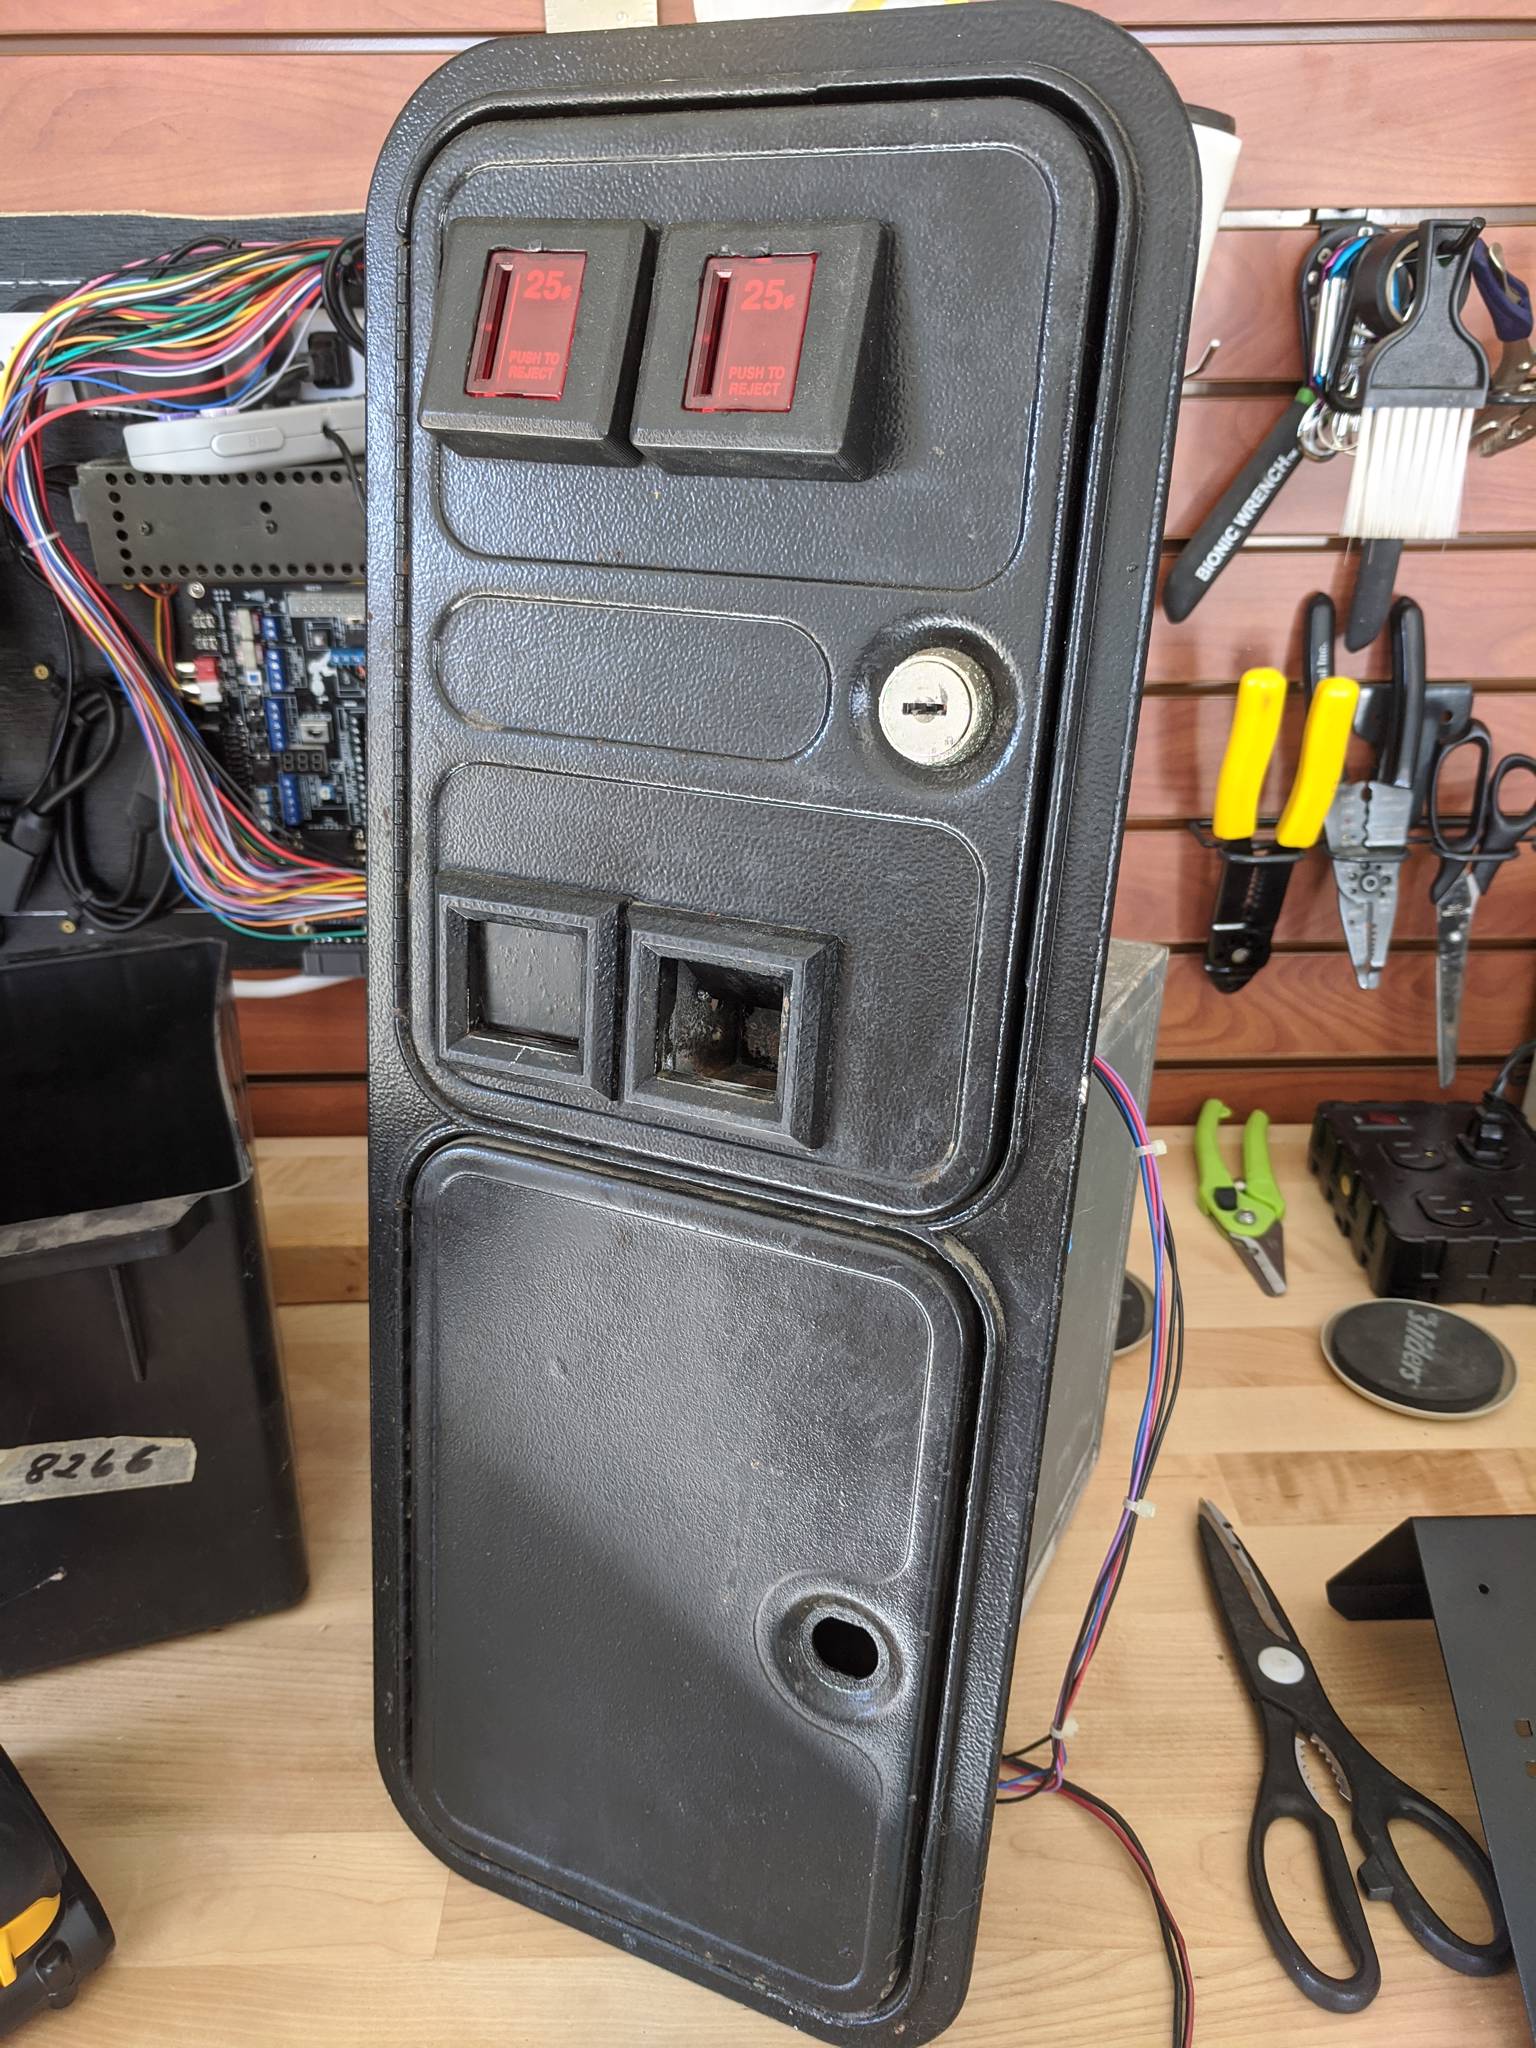
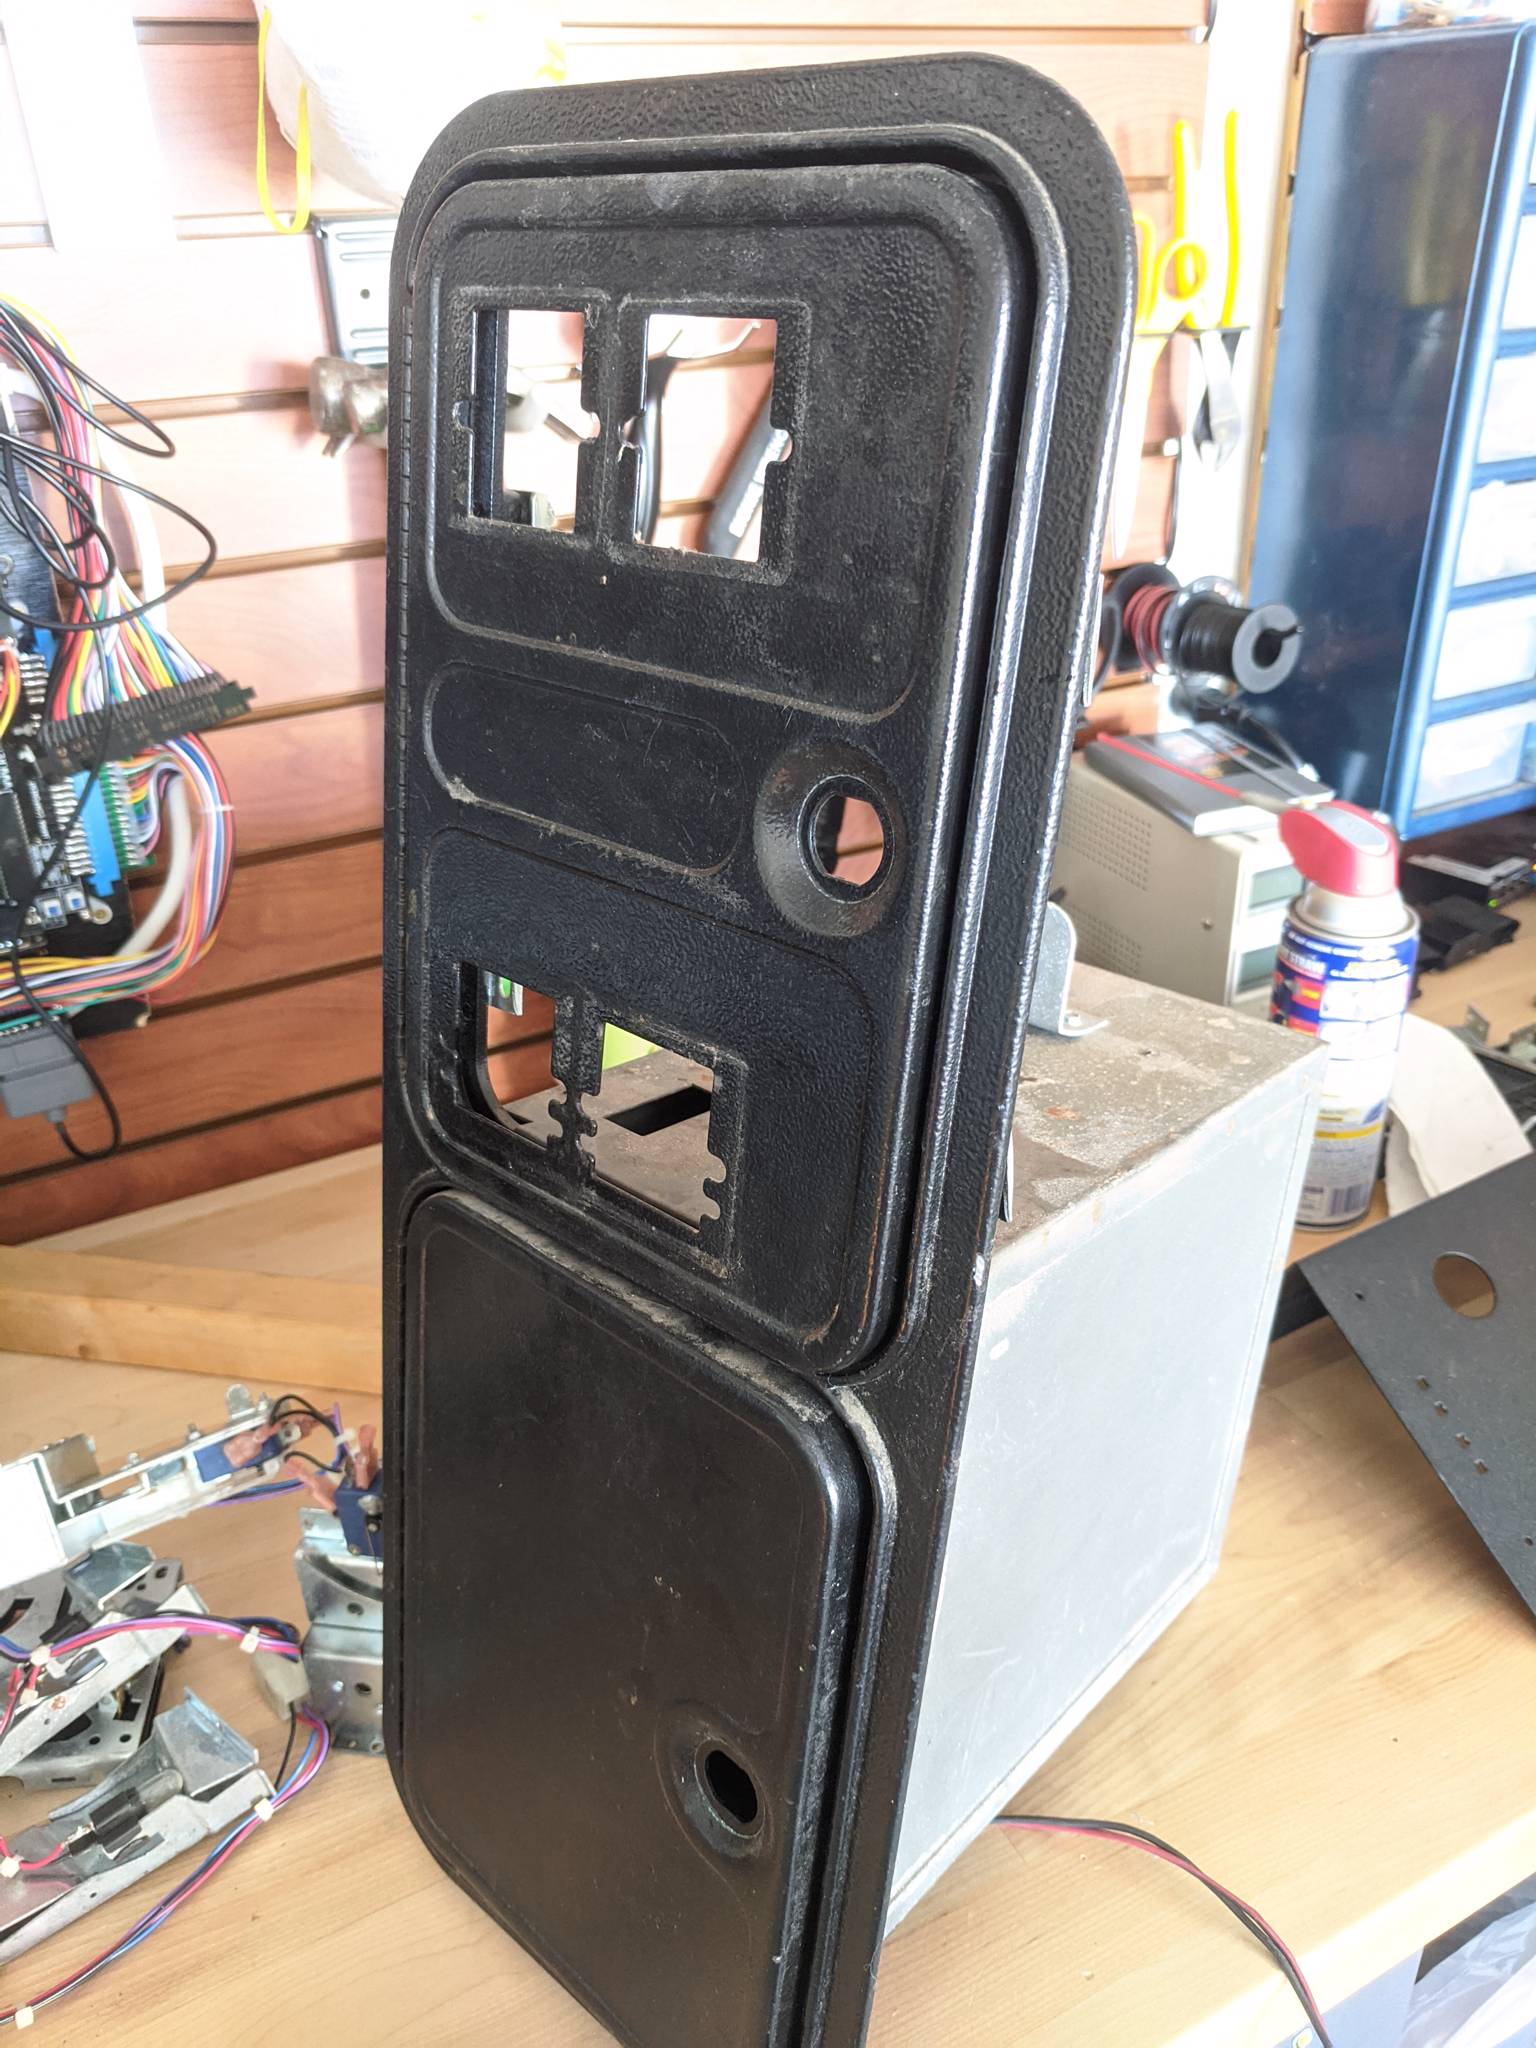
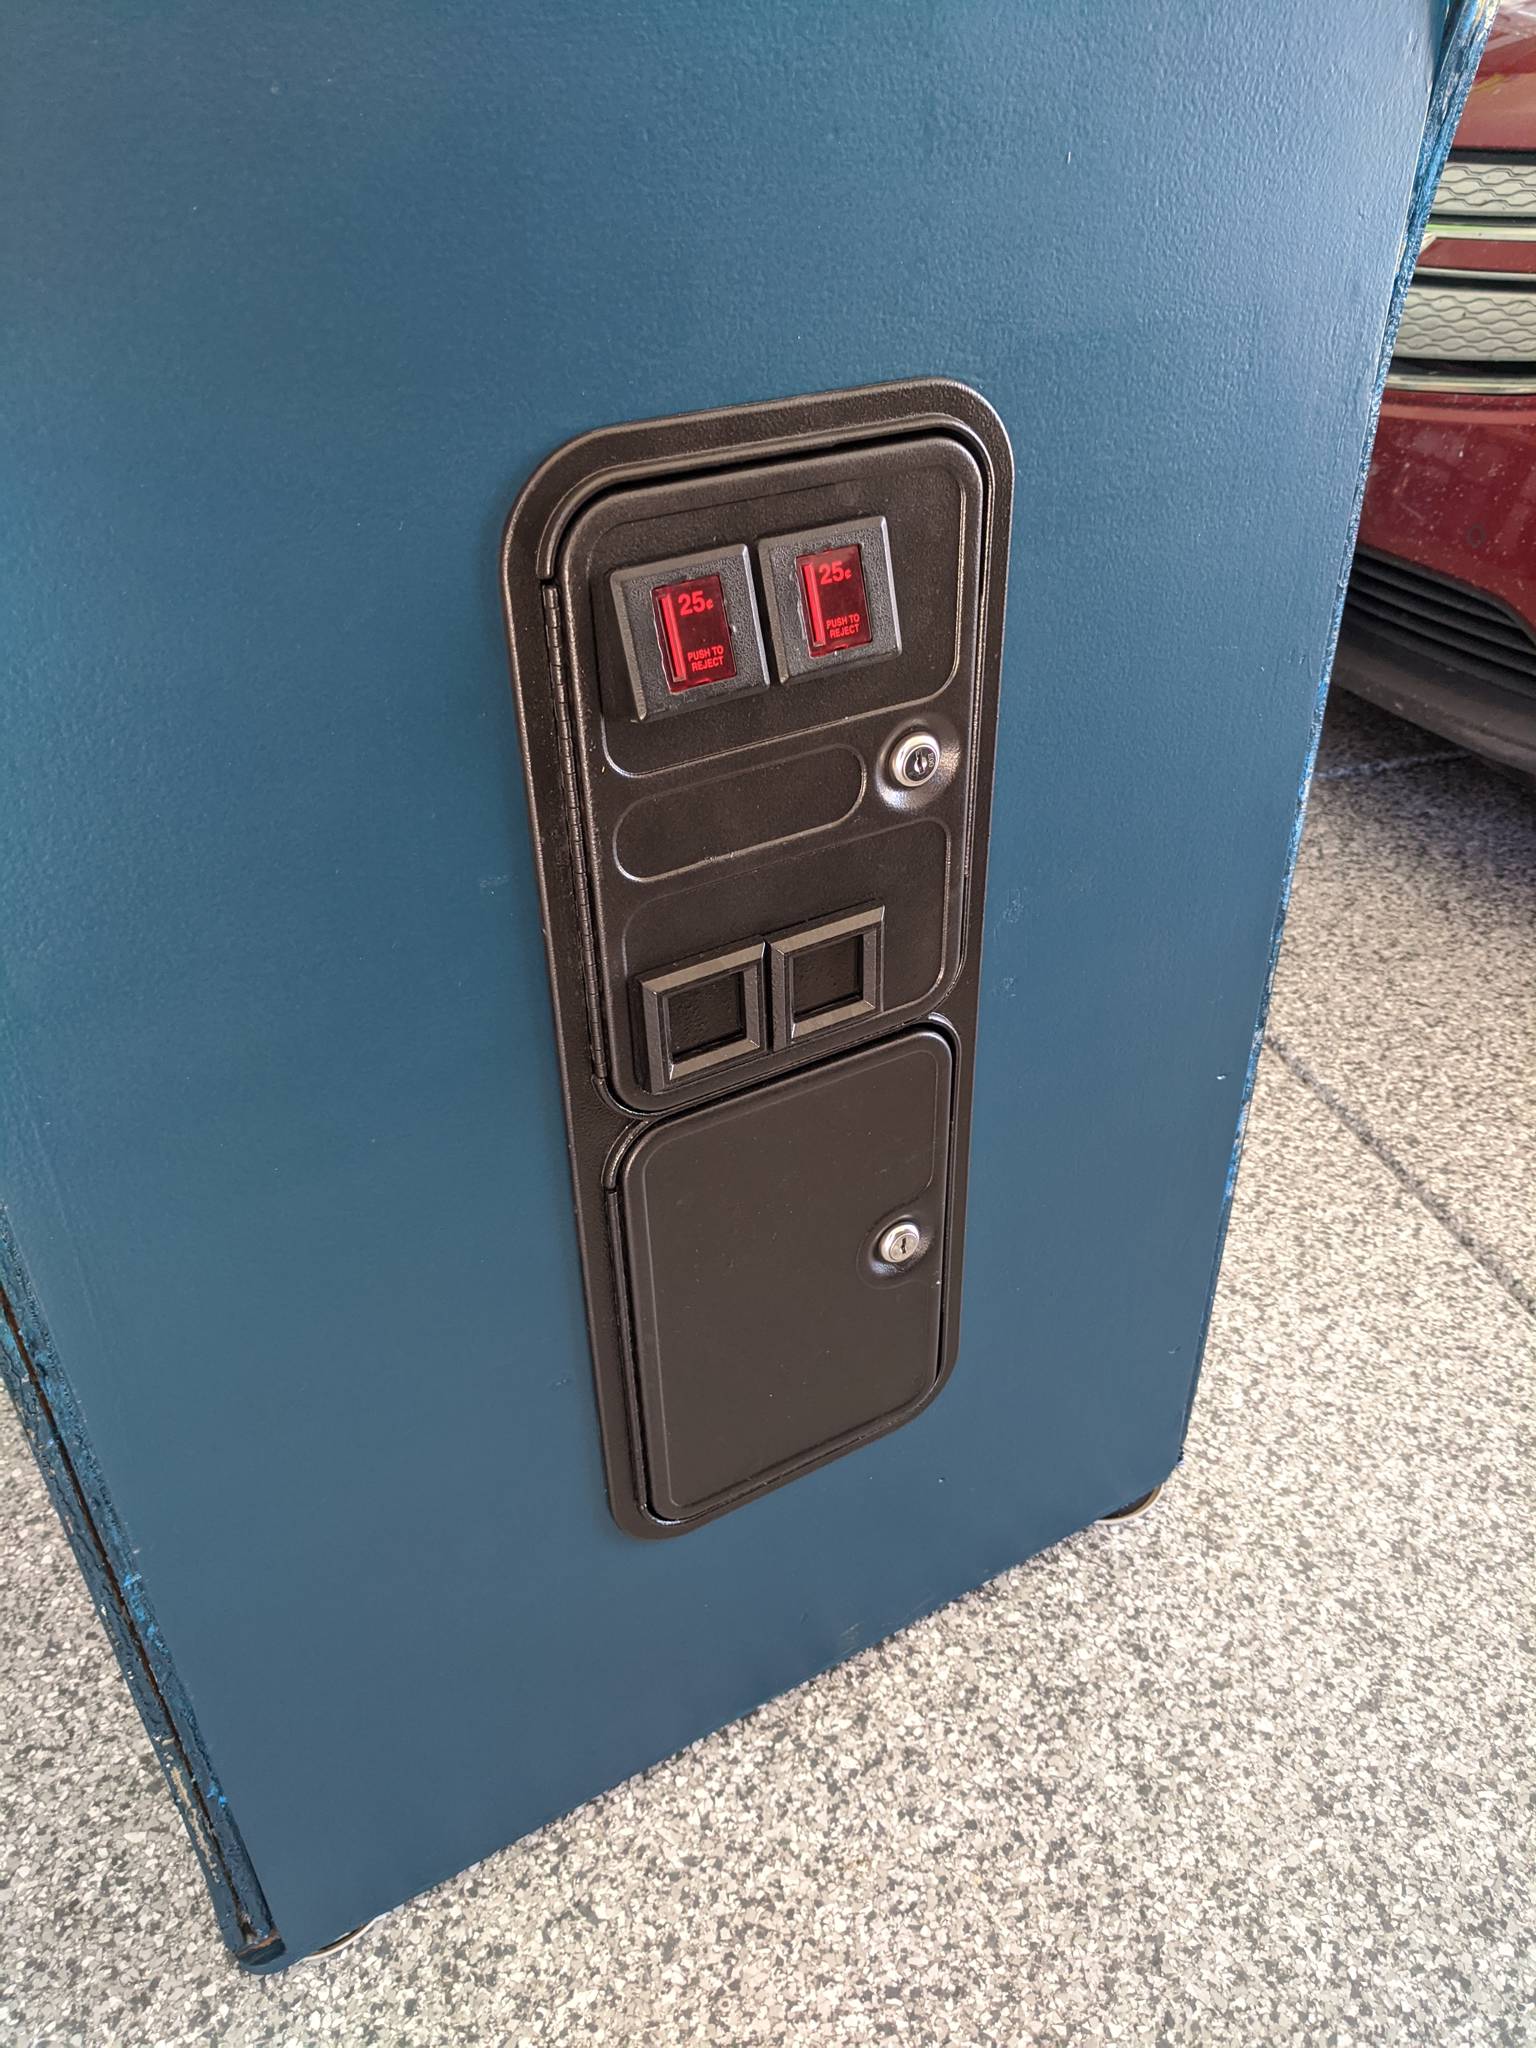
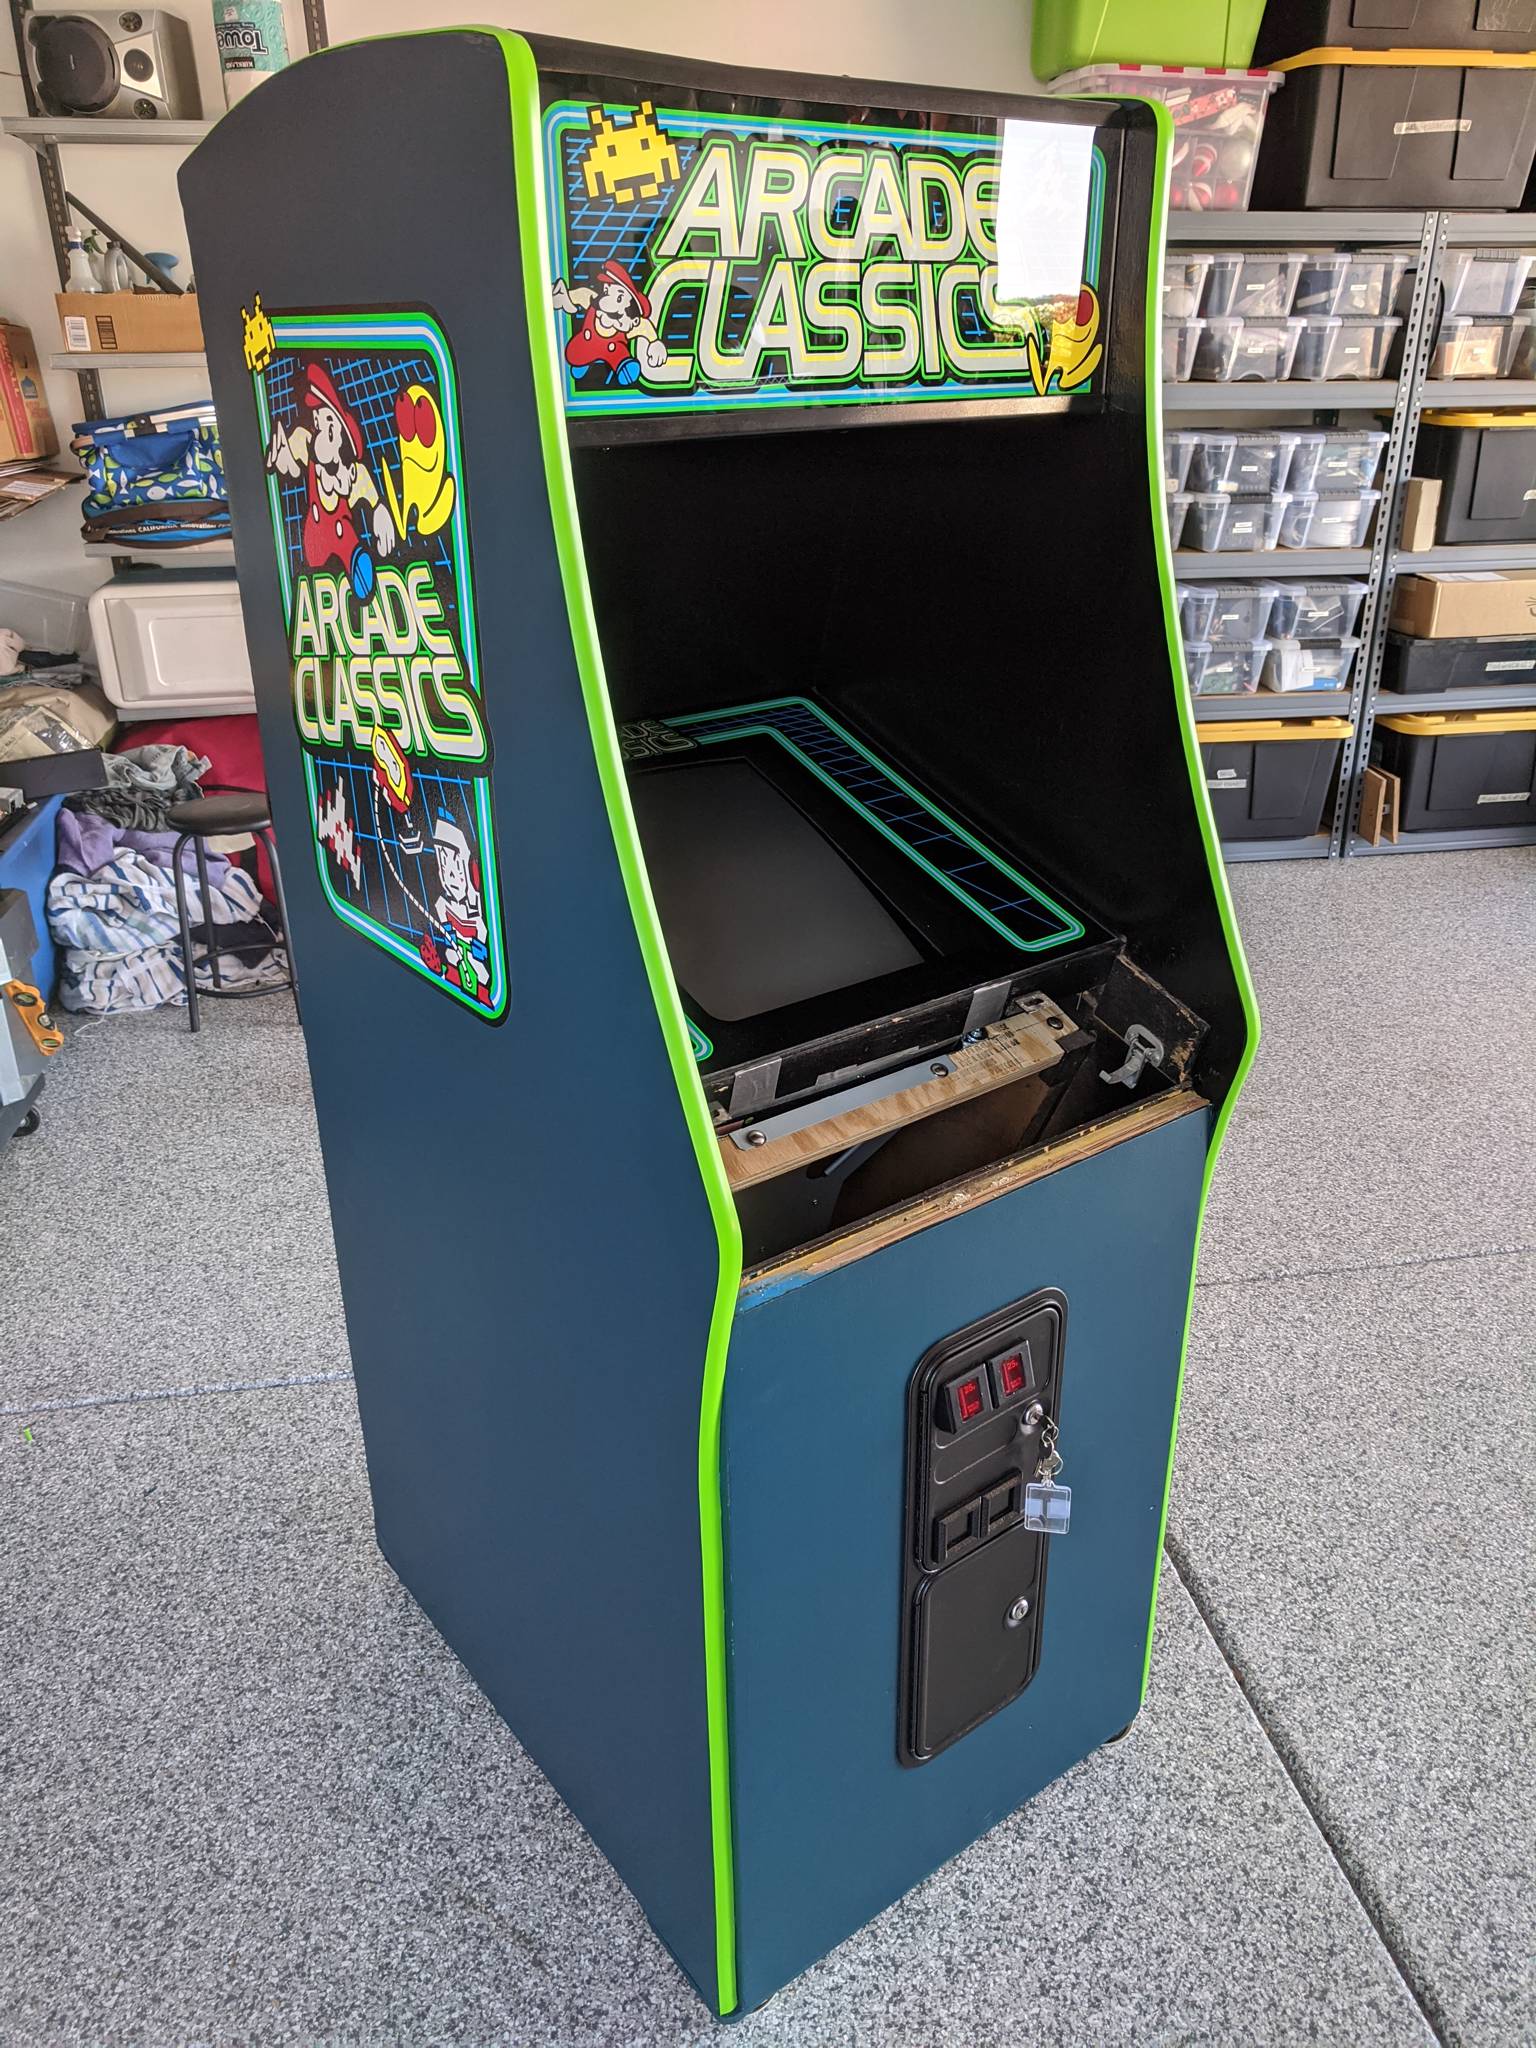
Once I saw the cabinet in person, I noticed several things that indicated it wasn't, in fact, an original Ms. Pac-Man cabinet. The most obvious were the Pac-Man bezel and control panel; someone had painted over the original artwork with the signature blue color and added a Ms. Pac-Man marquee. The signature almost-square Midway coin door had been replaced with an over-under coin door. To accommodate the size of this different coin door, an additional piece of 3/4" plywood had been placed over the front. The cabinet had also seen a bit of water damage, and had extra reinforcements inside and on the base.
Originally, I was planning to restore the cabinet as a Ms. Pac-Man, which has one of my most favorite art designs. However, a few months later I was able to score an original Ms. Pac-Man cocktail cabinet, so there was no point in having two Ms. Pacs.


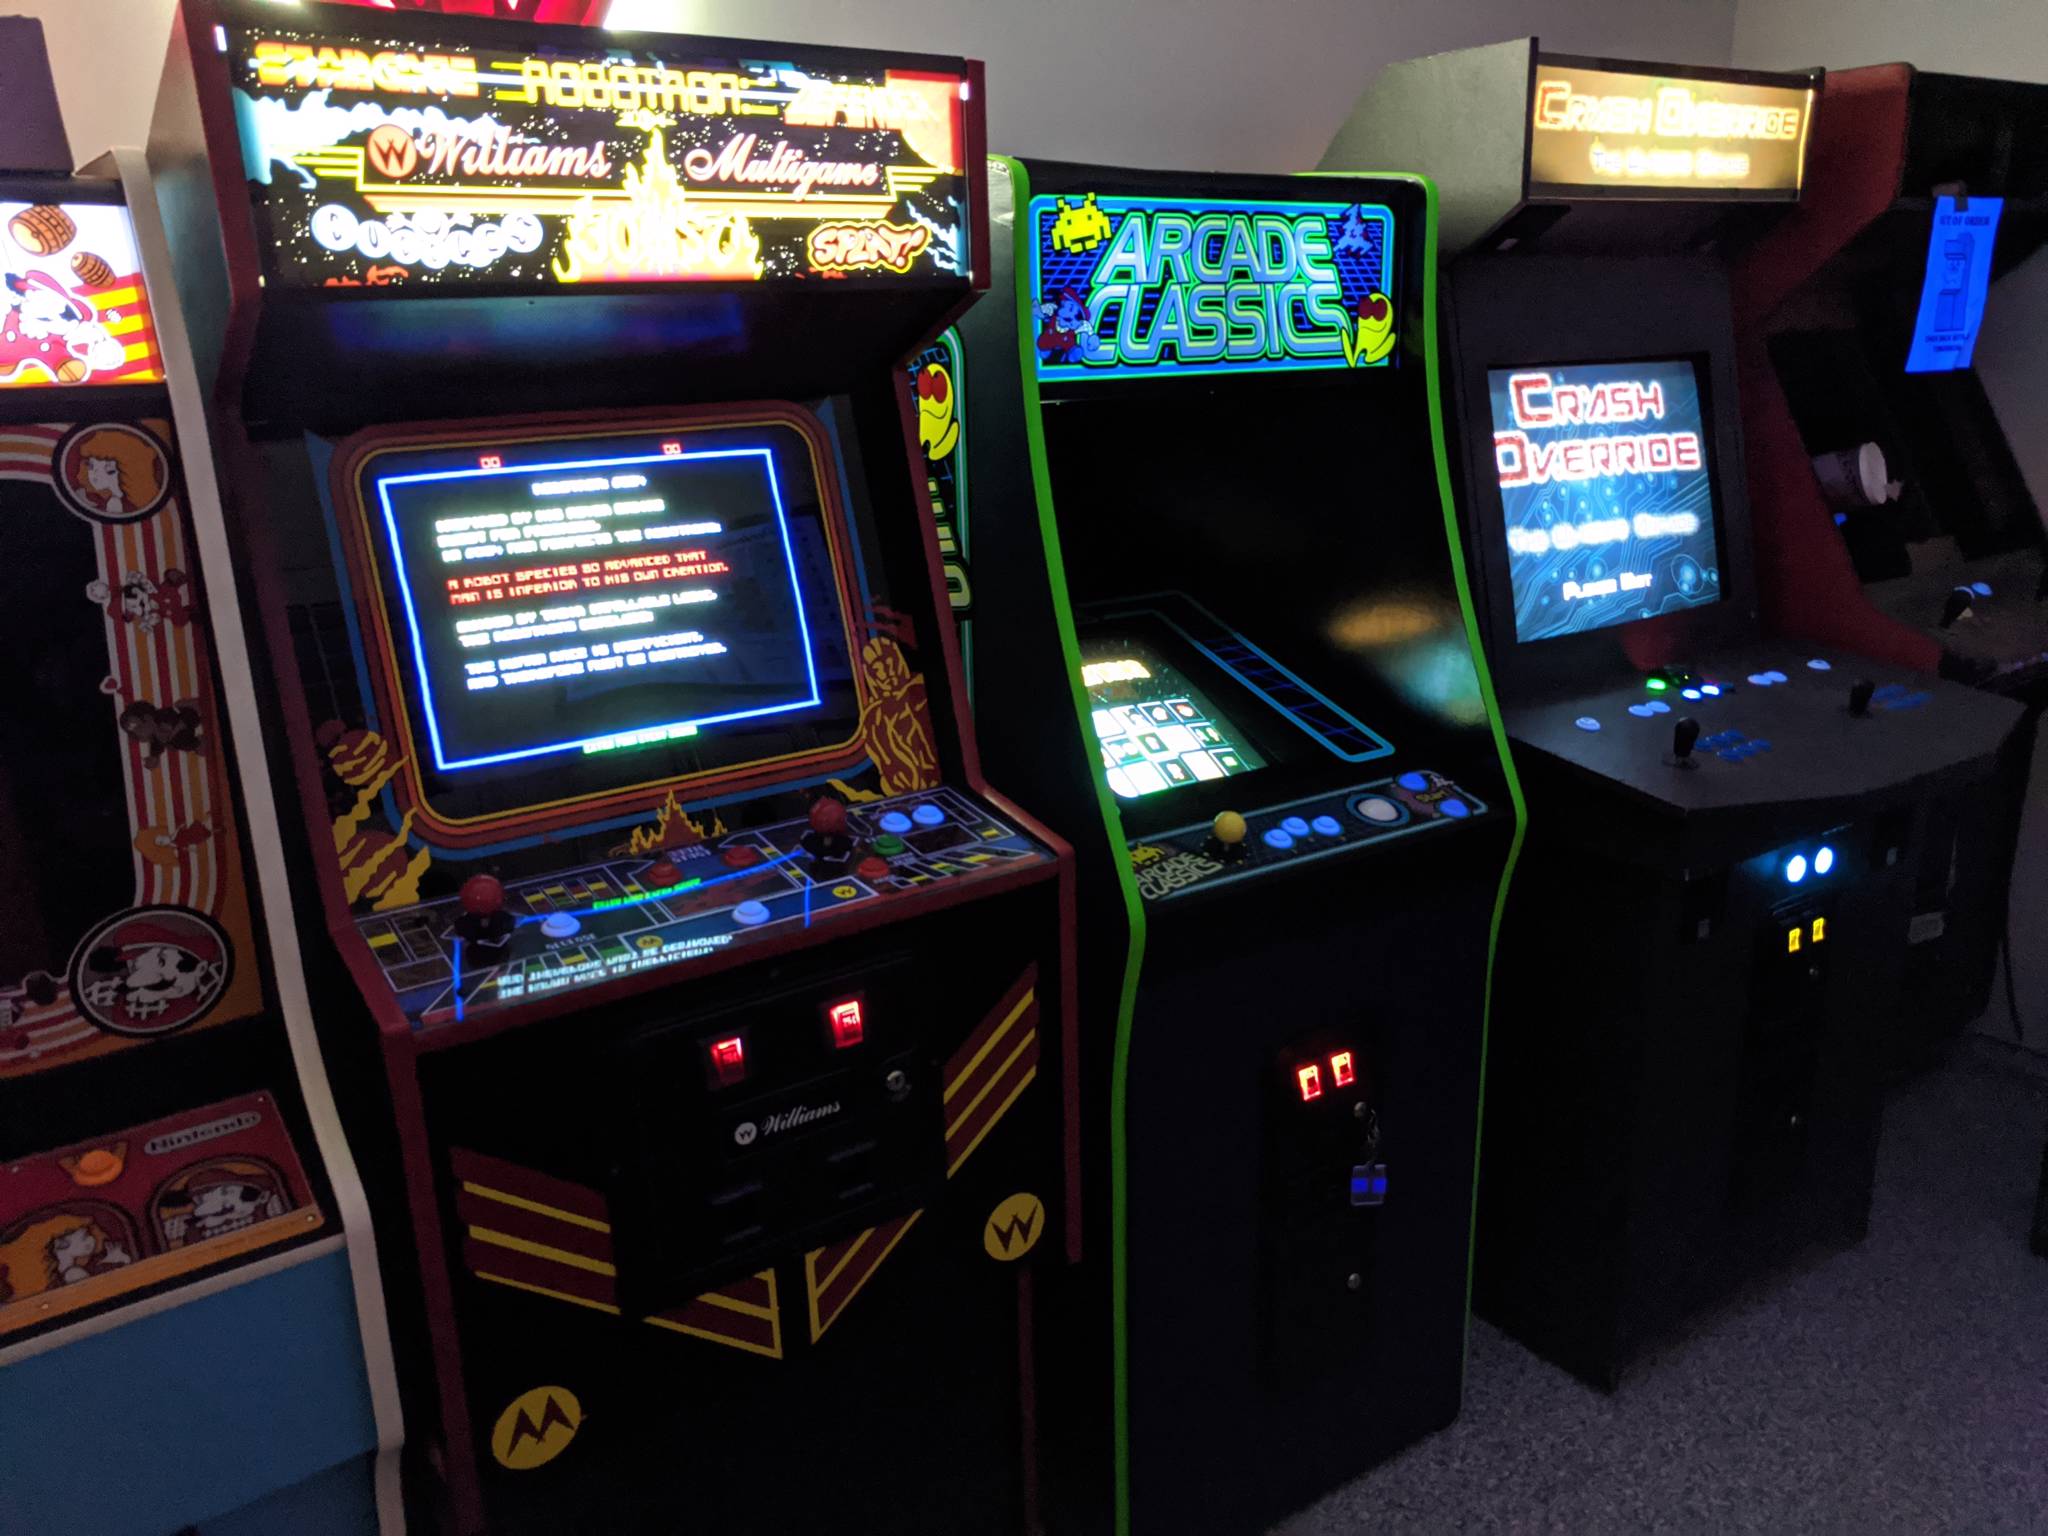
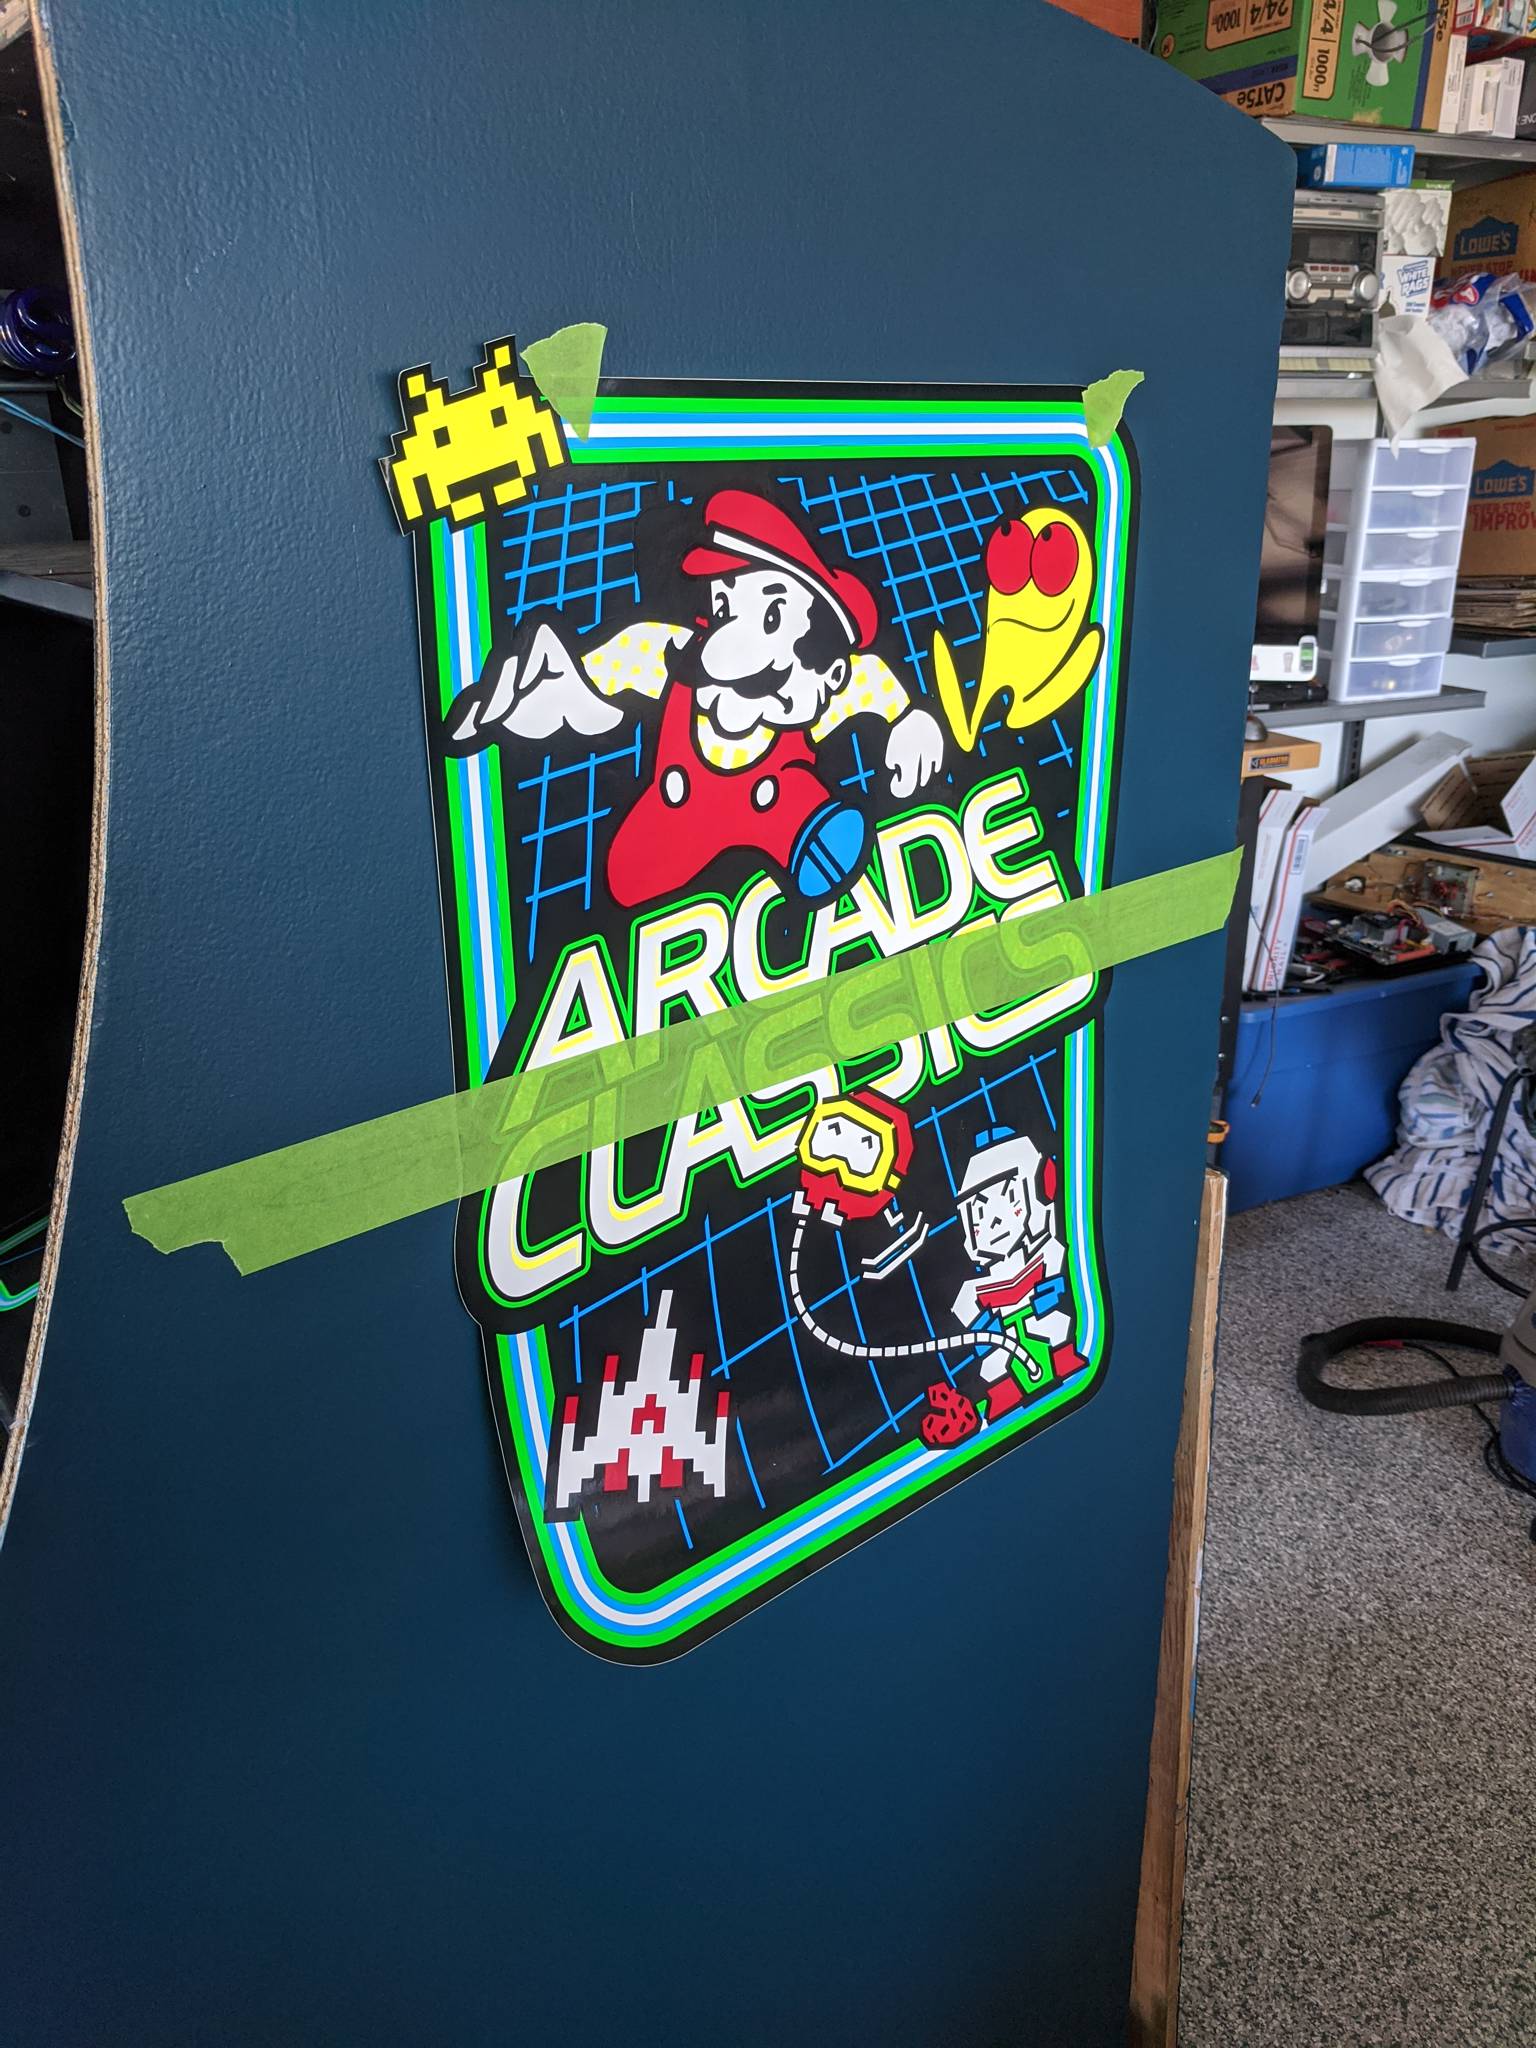
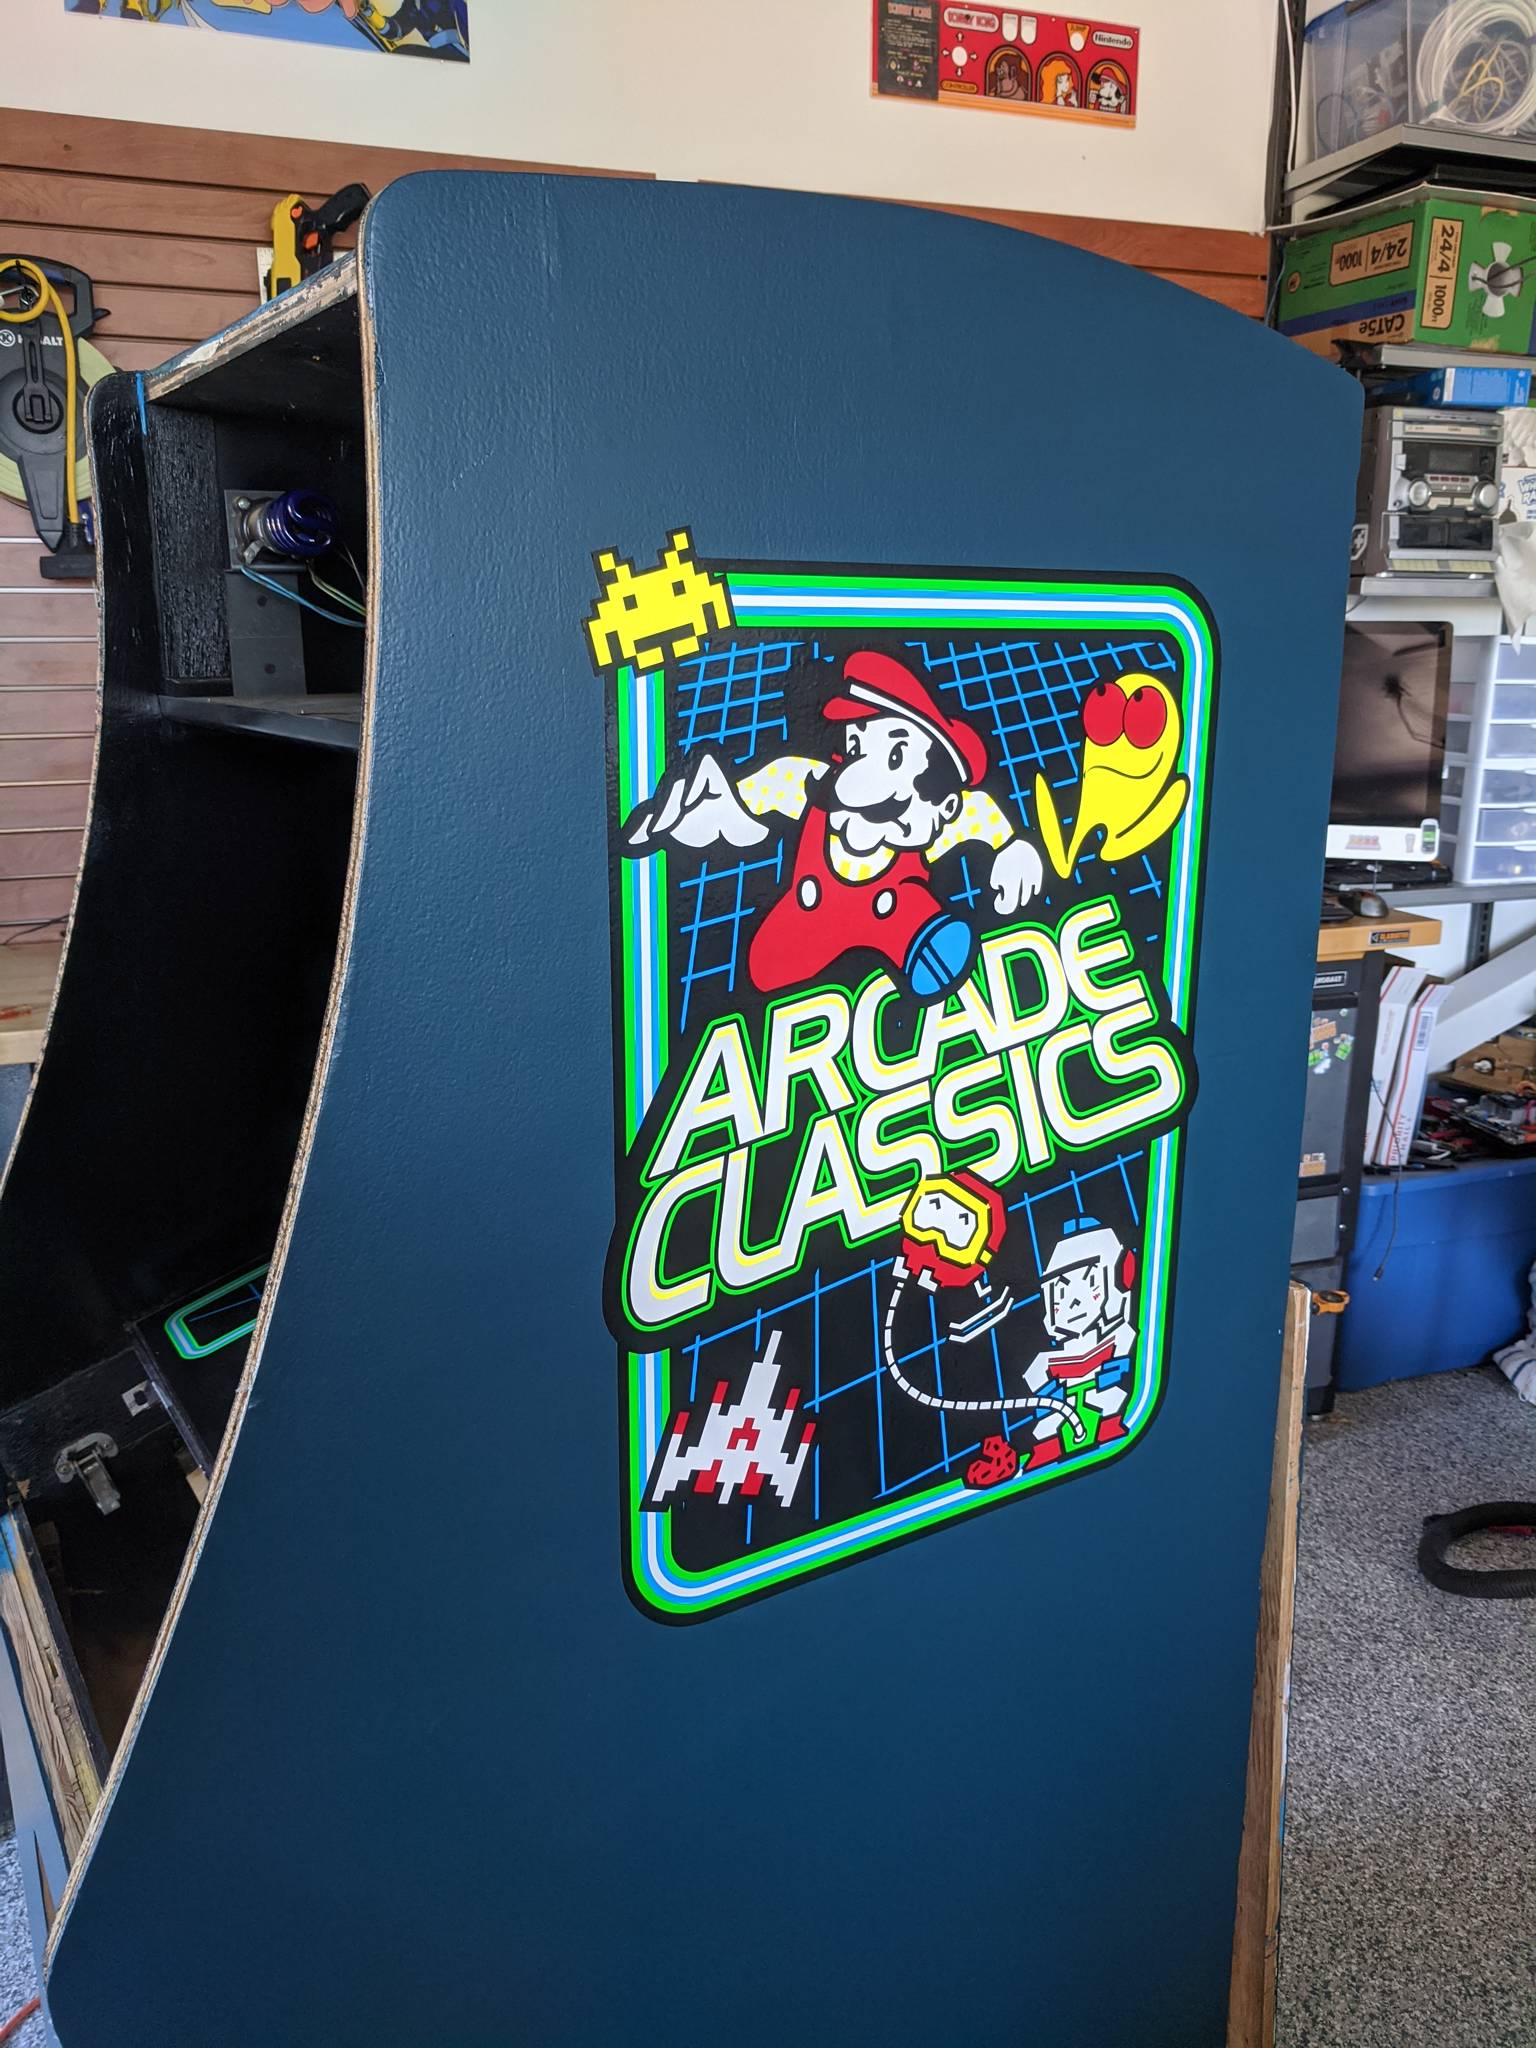
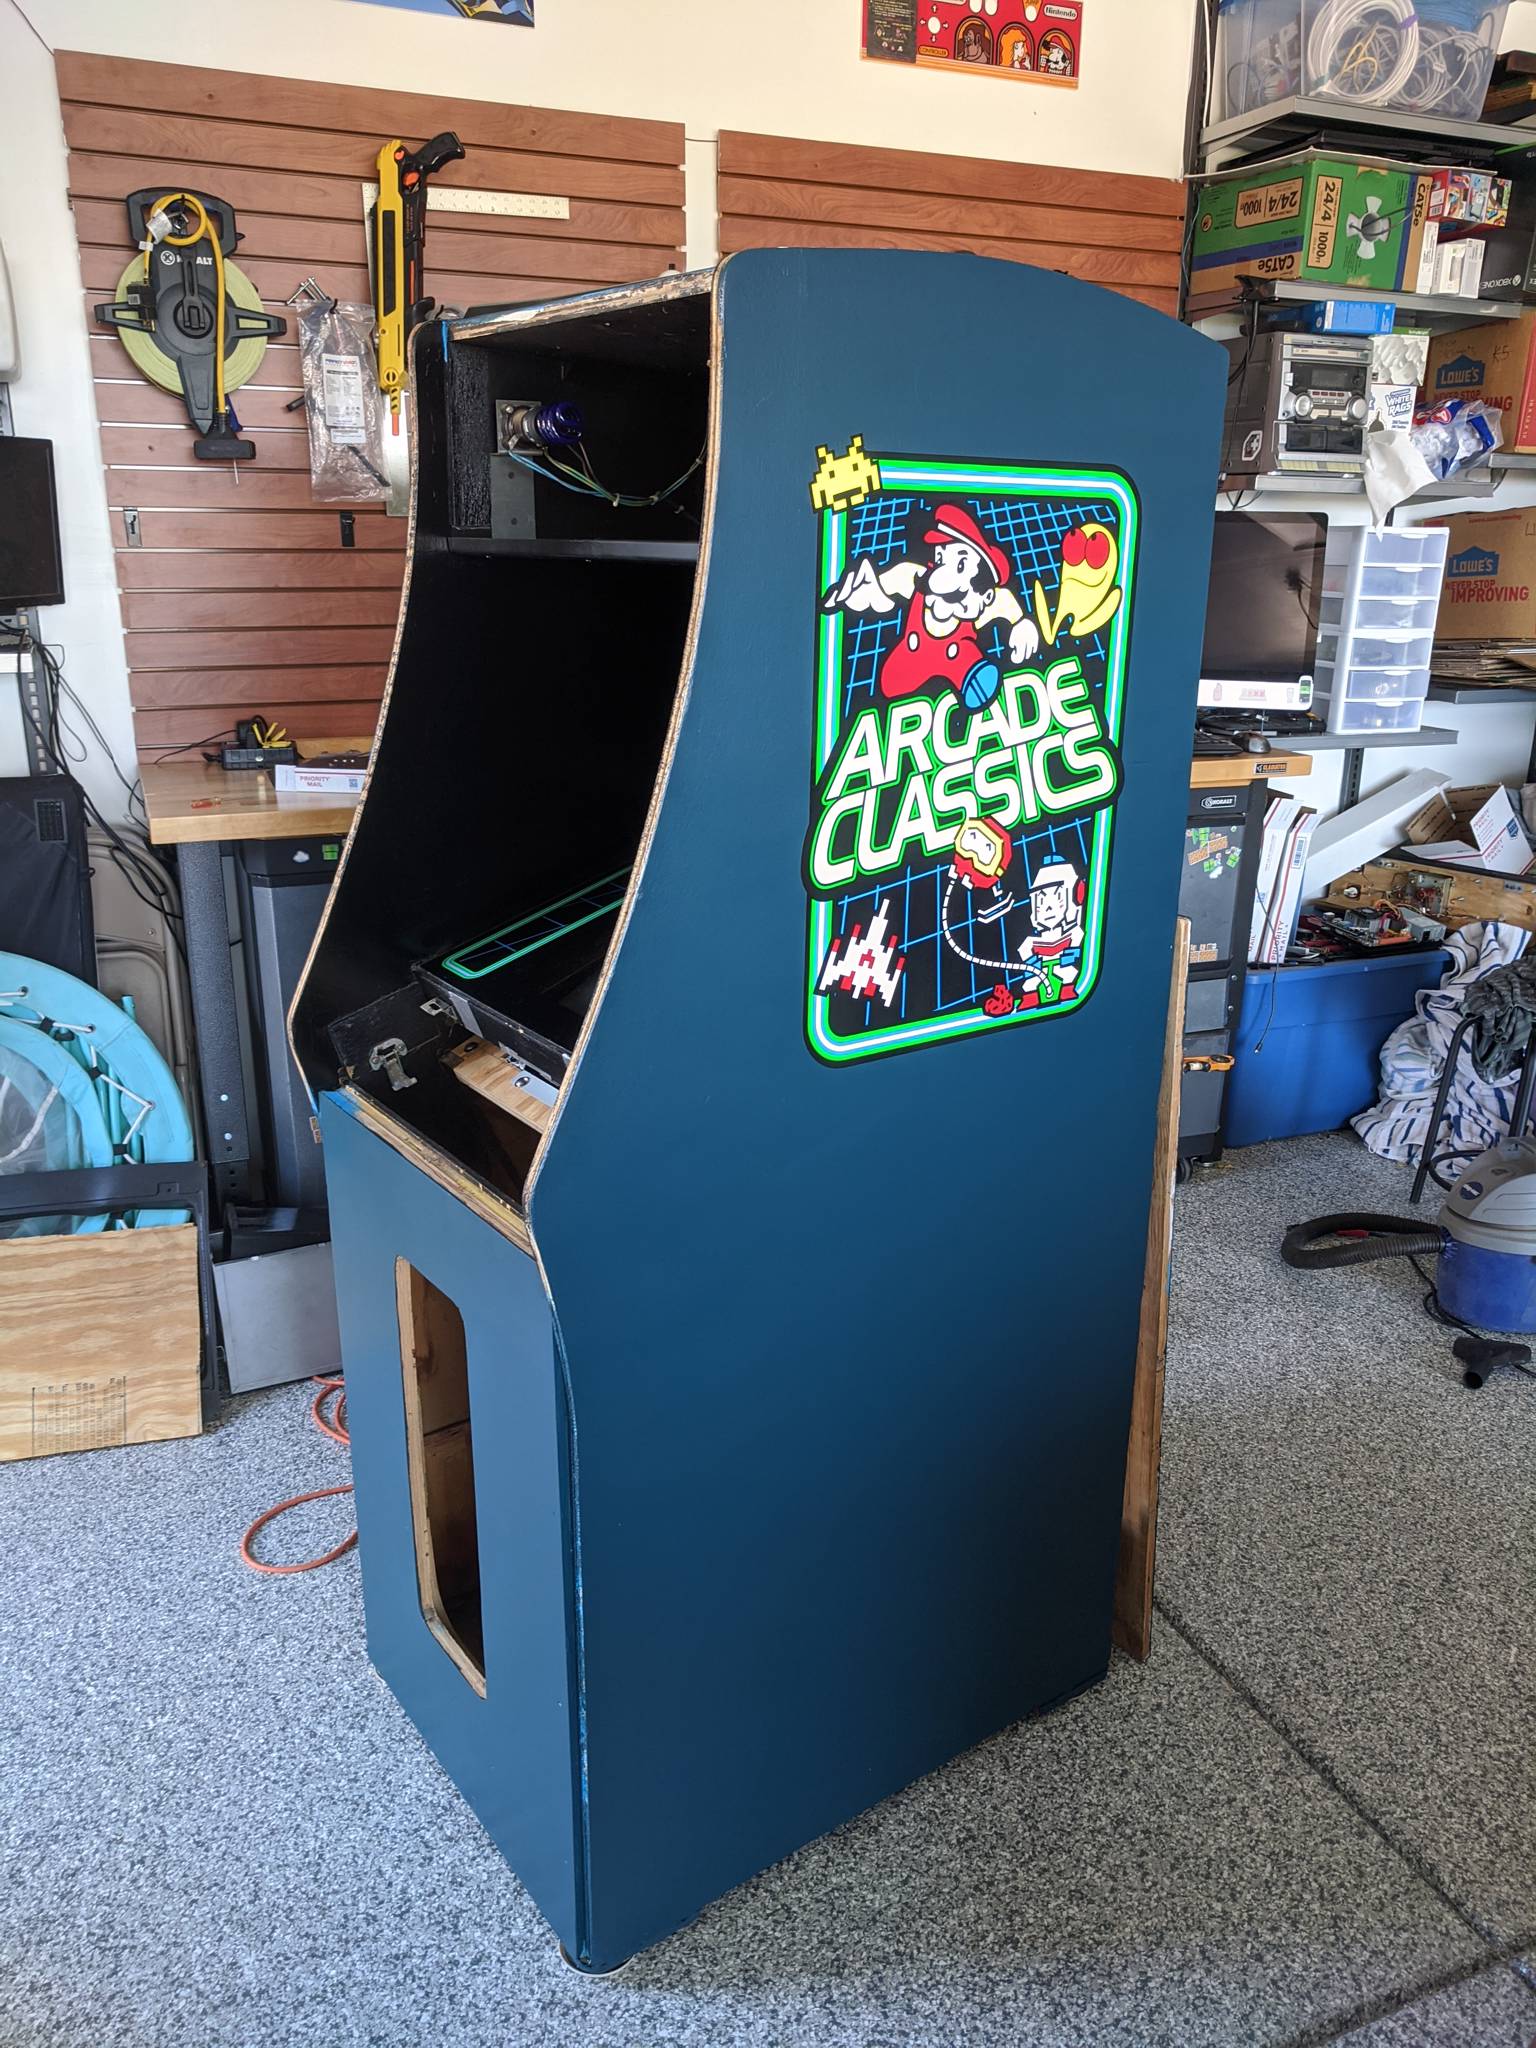
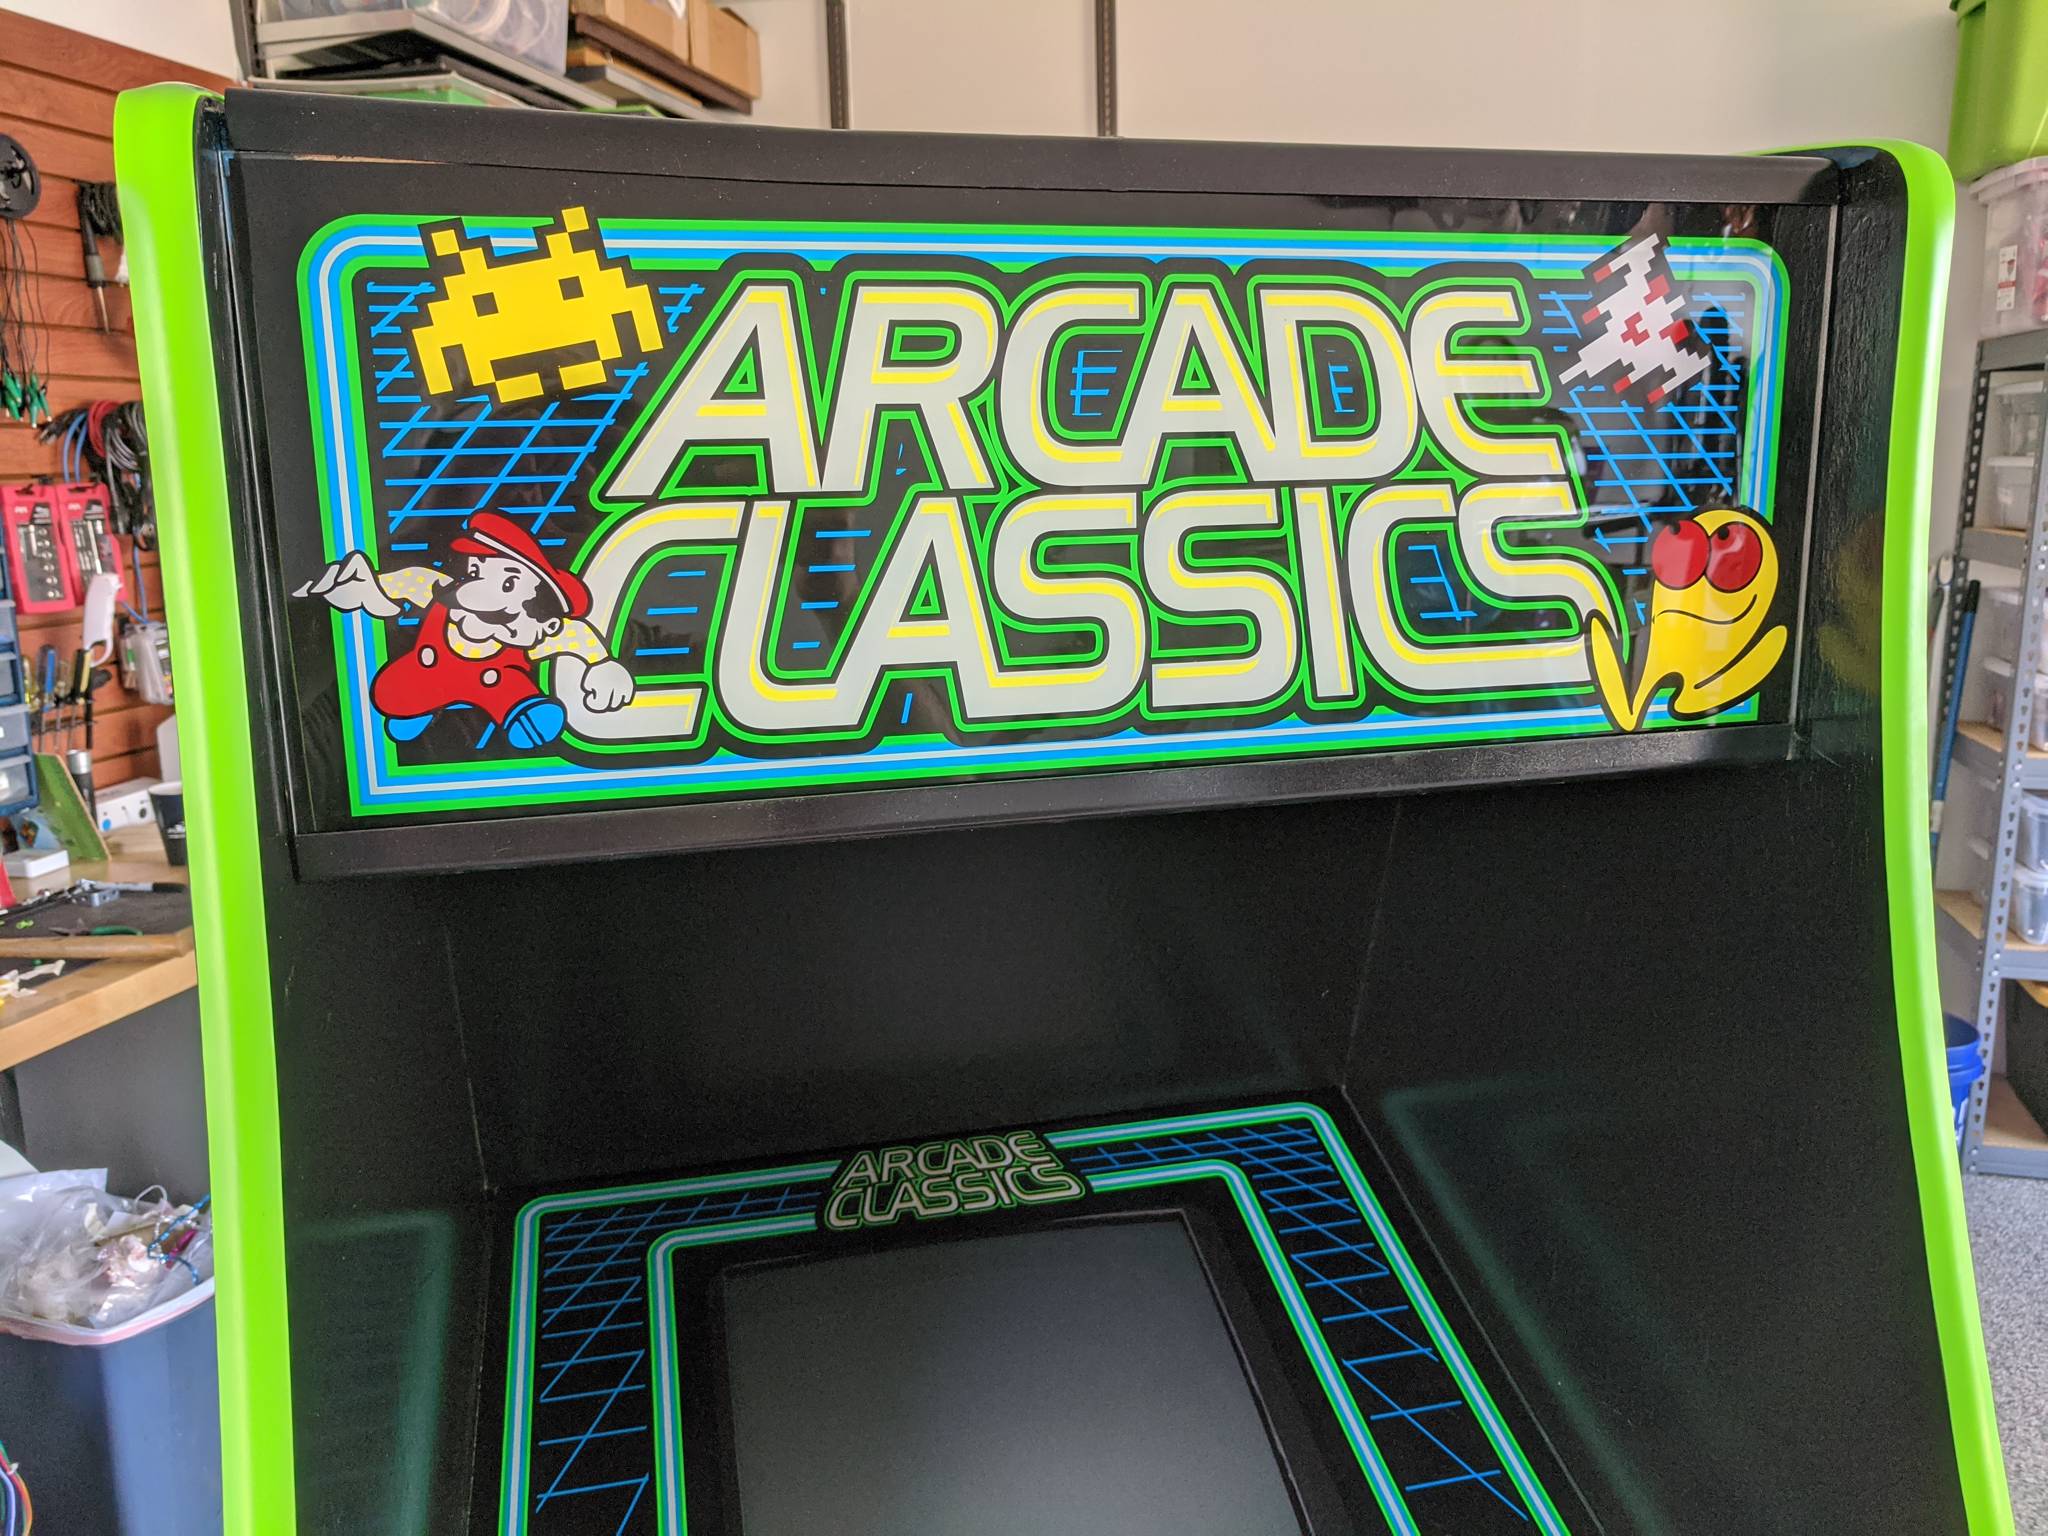
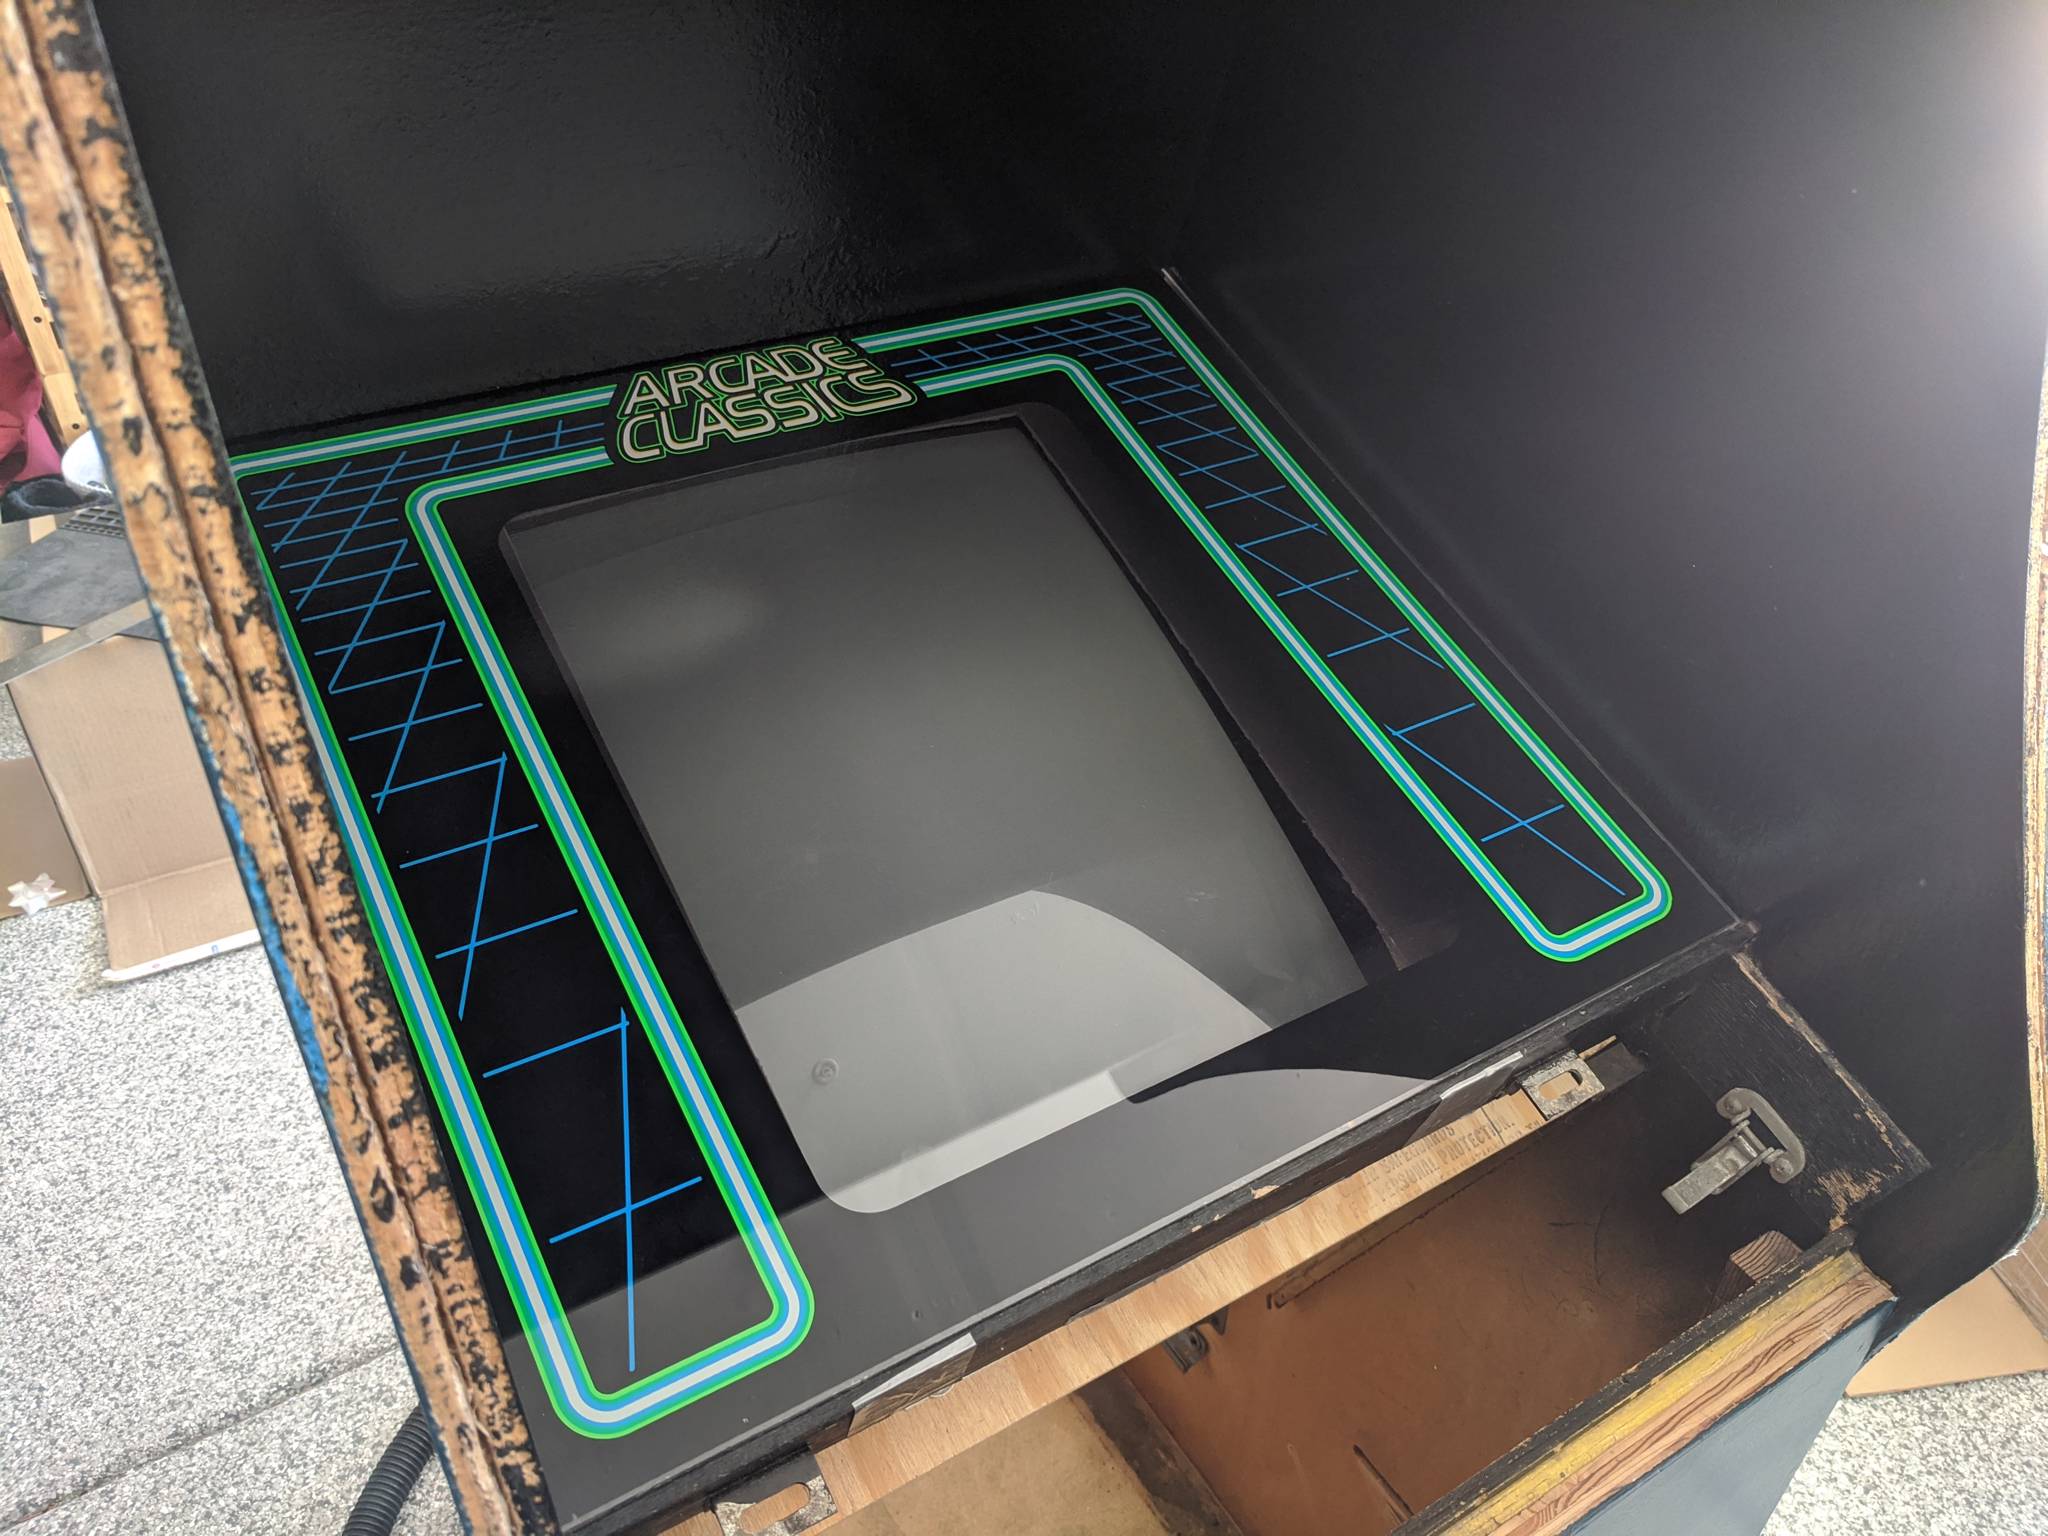
The 3/4" plywood that had been slapped on front had to stay. It would have been difficult to remove, and given the water damage, it was also probably a makeshift reinforcement for the cabinet body. For the next few months, the cabinet sat in my garage, and then I stumbled upon an awesome Multicade artwork package by Phoenix Arcade. I've never been a fan of Multicade art designs before; they always have a weird mix of modern and retro character designs and artwork, and they just don't look quite right to me. This art set, however, was perfect: exclusively original character artwork and pixel art with an 80's Tron aesthetic, and UV reactive to boot! After finding this, I decided to restore the cabinet as a Multicade.
Cabinet Prep
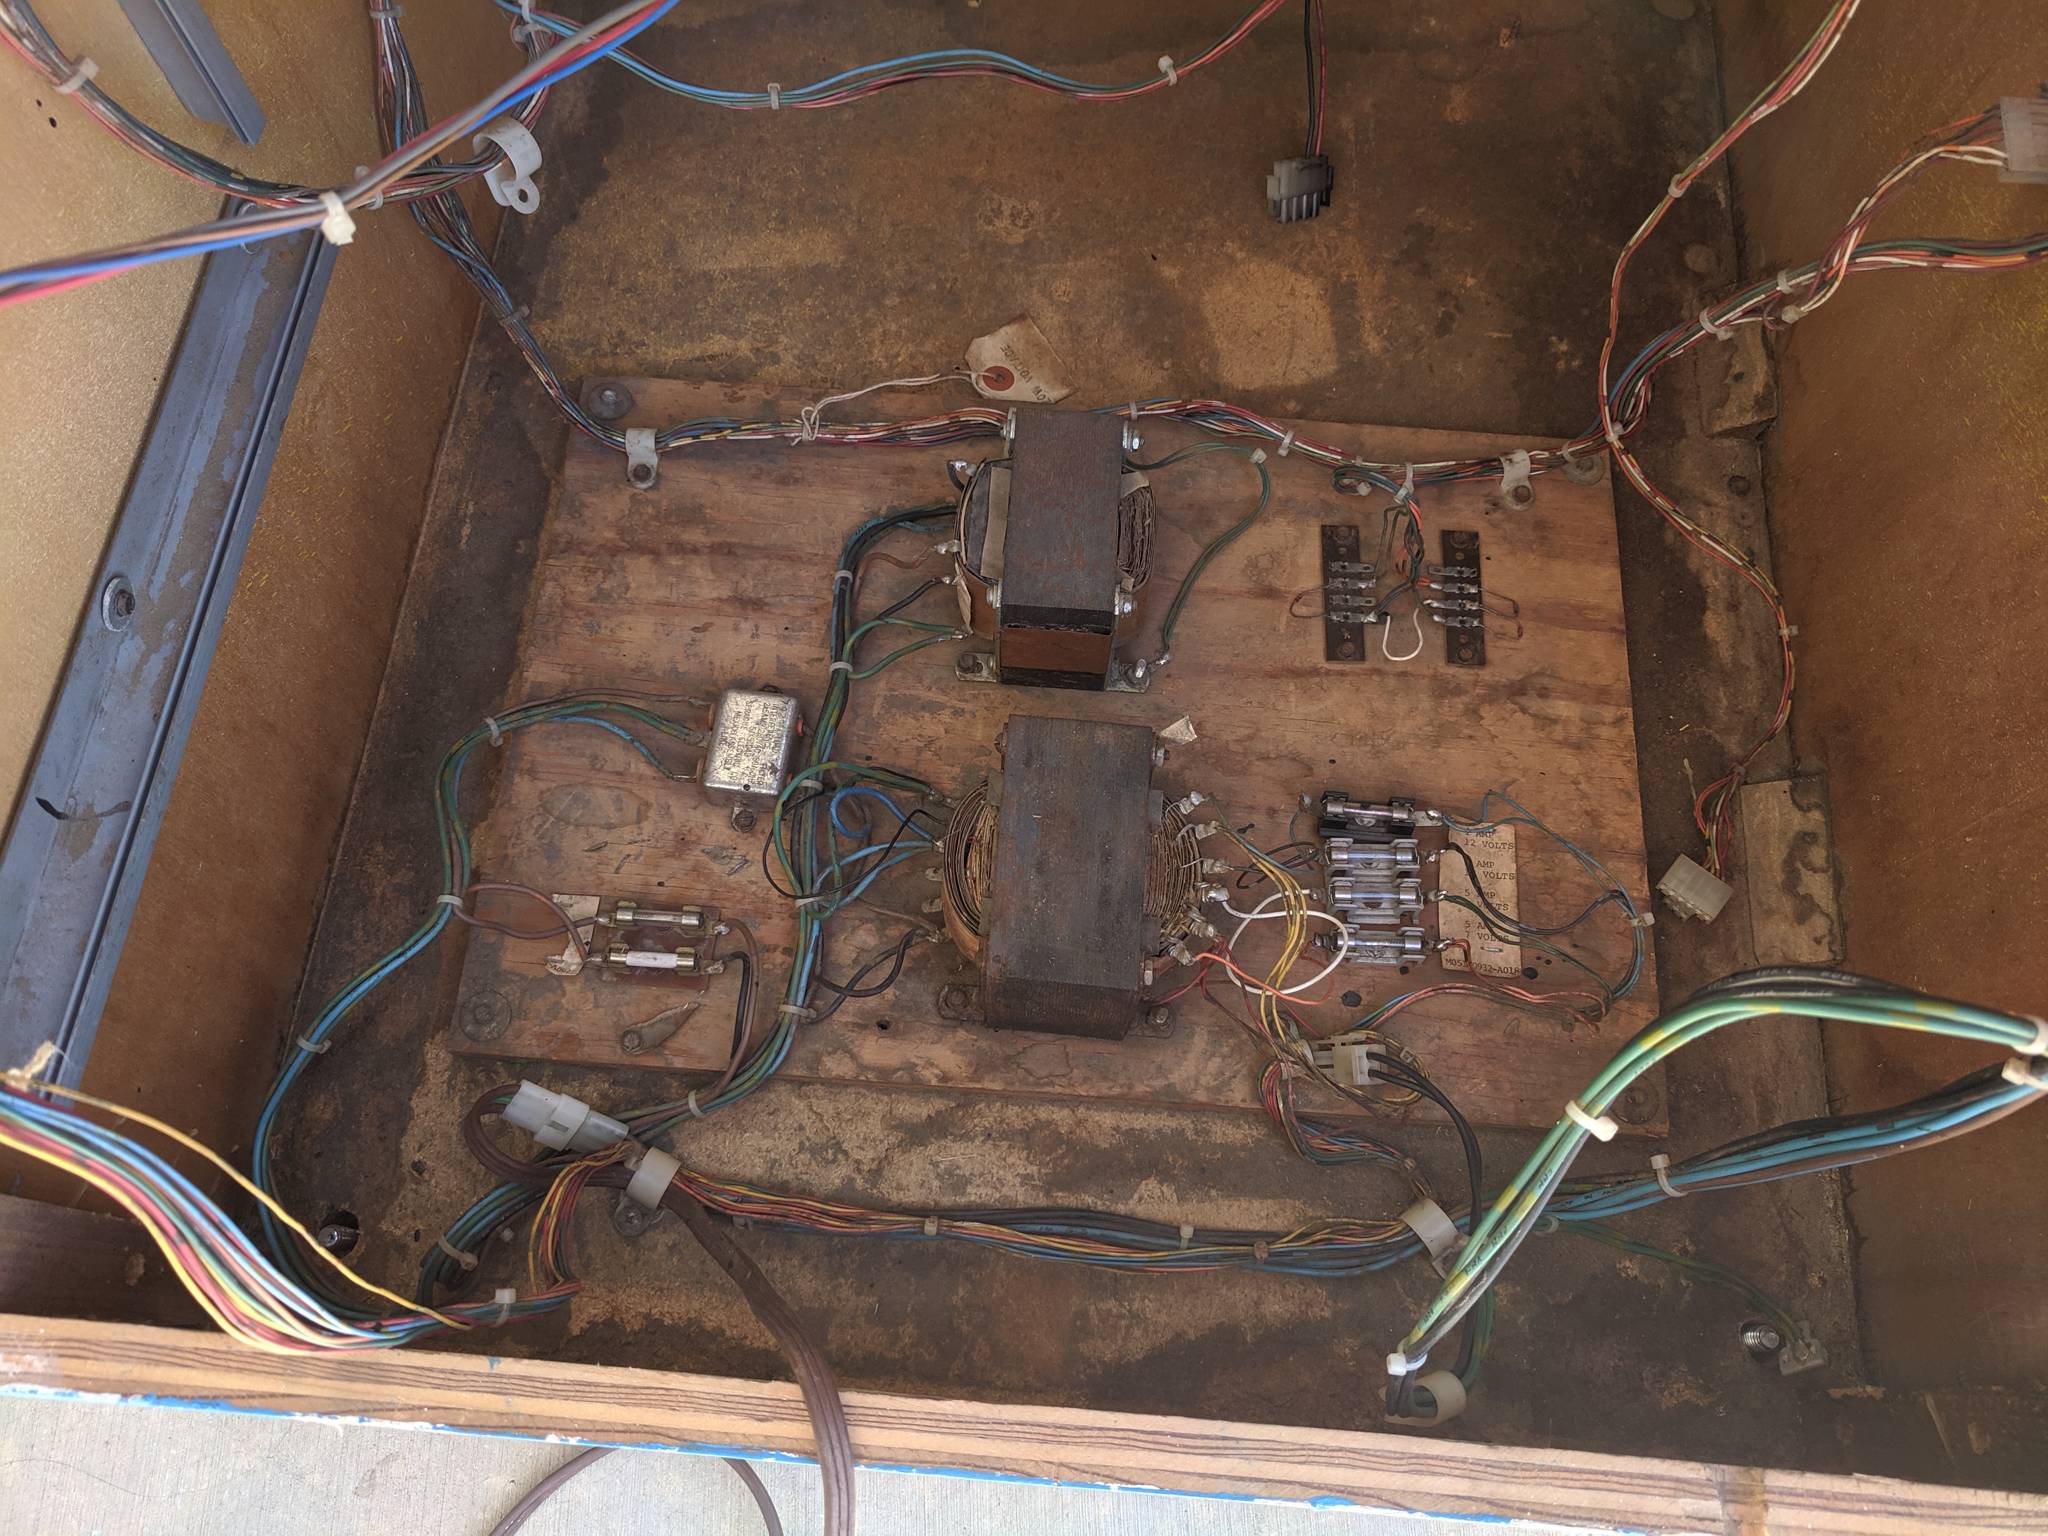
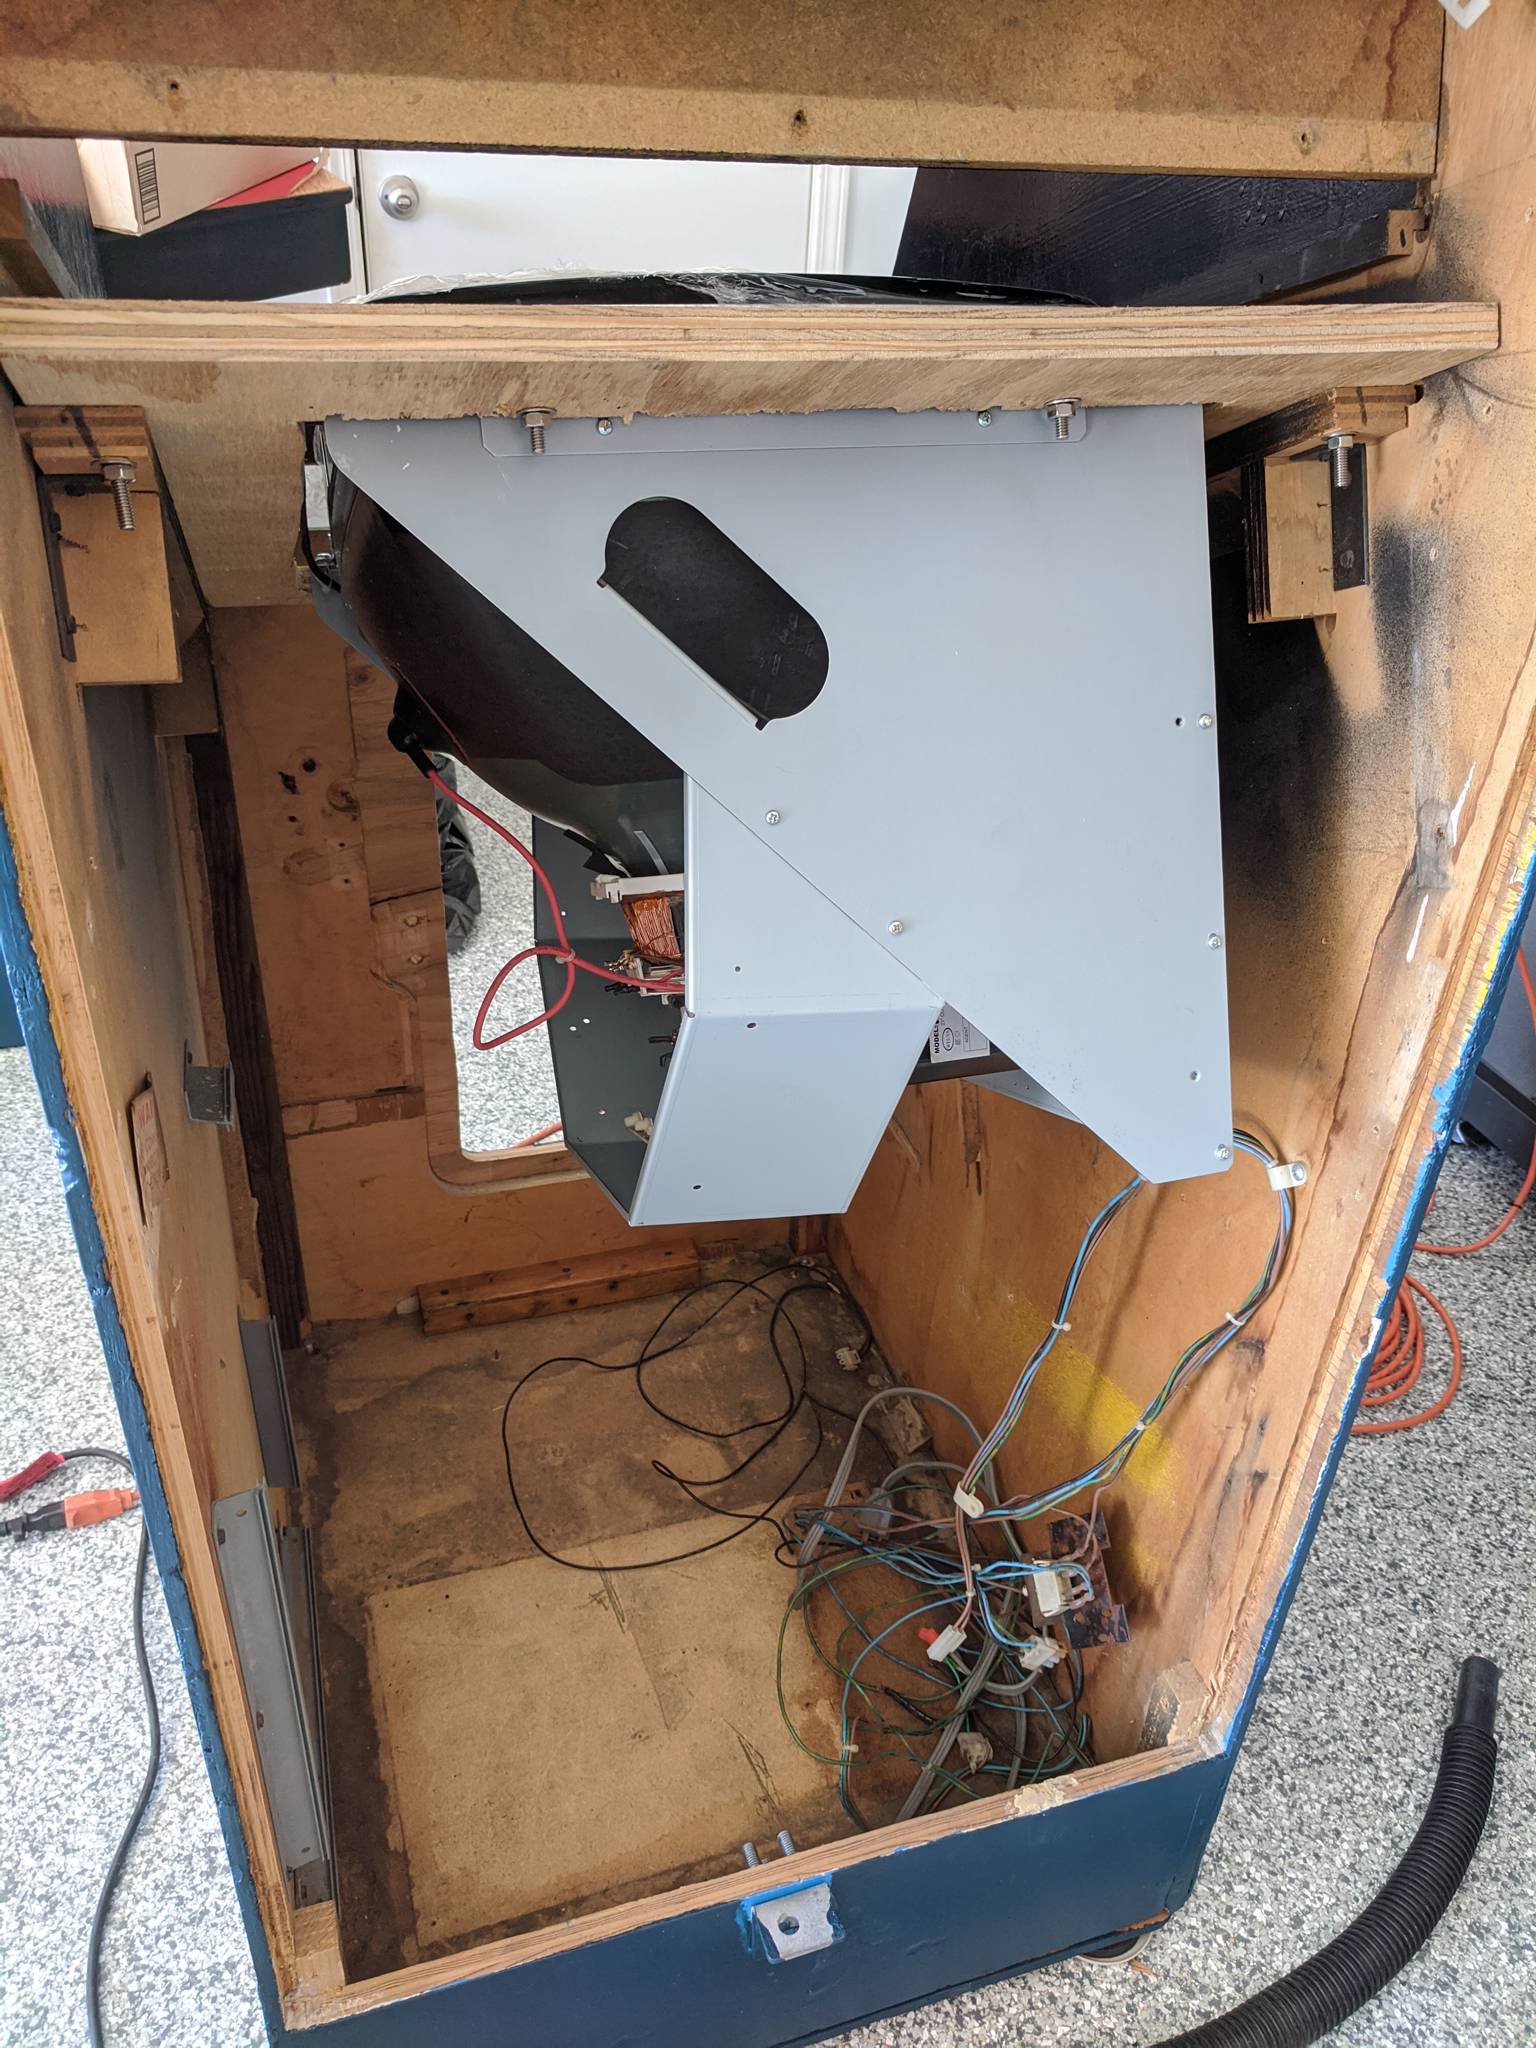
As always, I started by stripping down and removing all parts. This didn't take too long because the machine had already been mostly stripped; it had no CRT, PCB, or power supply. What was left inside was a rats' nest, figuratively and literally! That was pretty gross, and required a lot of cleaning. The bottom of the cabinet still looks a little dirty due to the water damage, but it's better than before. Next came general clean-up and sanding down the surfaces. Once everything was relatively clean and smoothed, I began to fix chipped areas with wood filler.
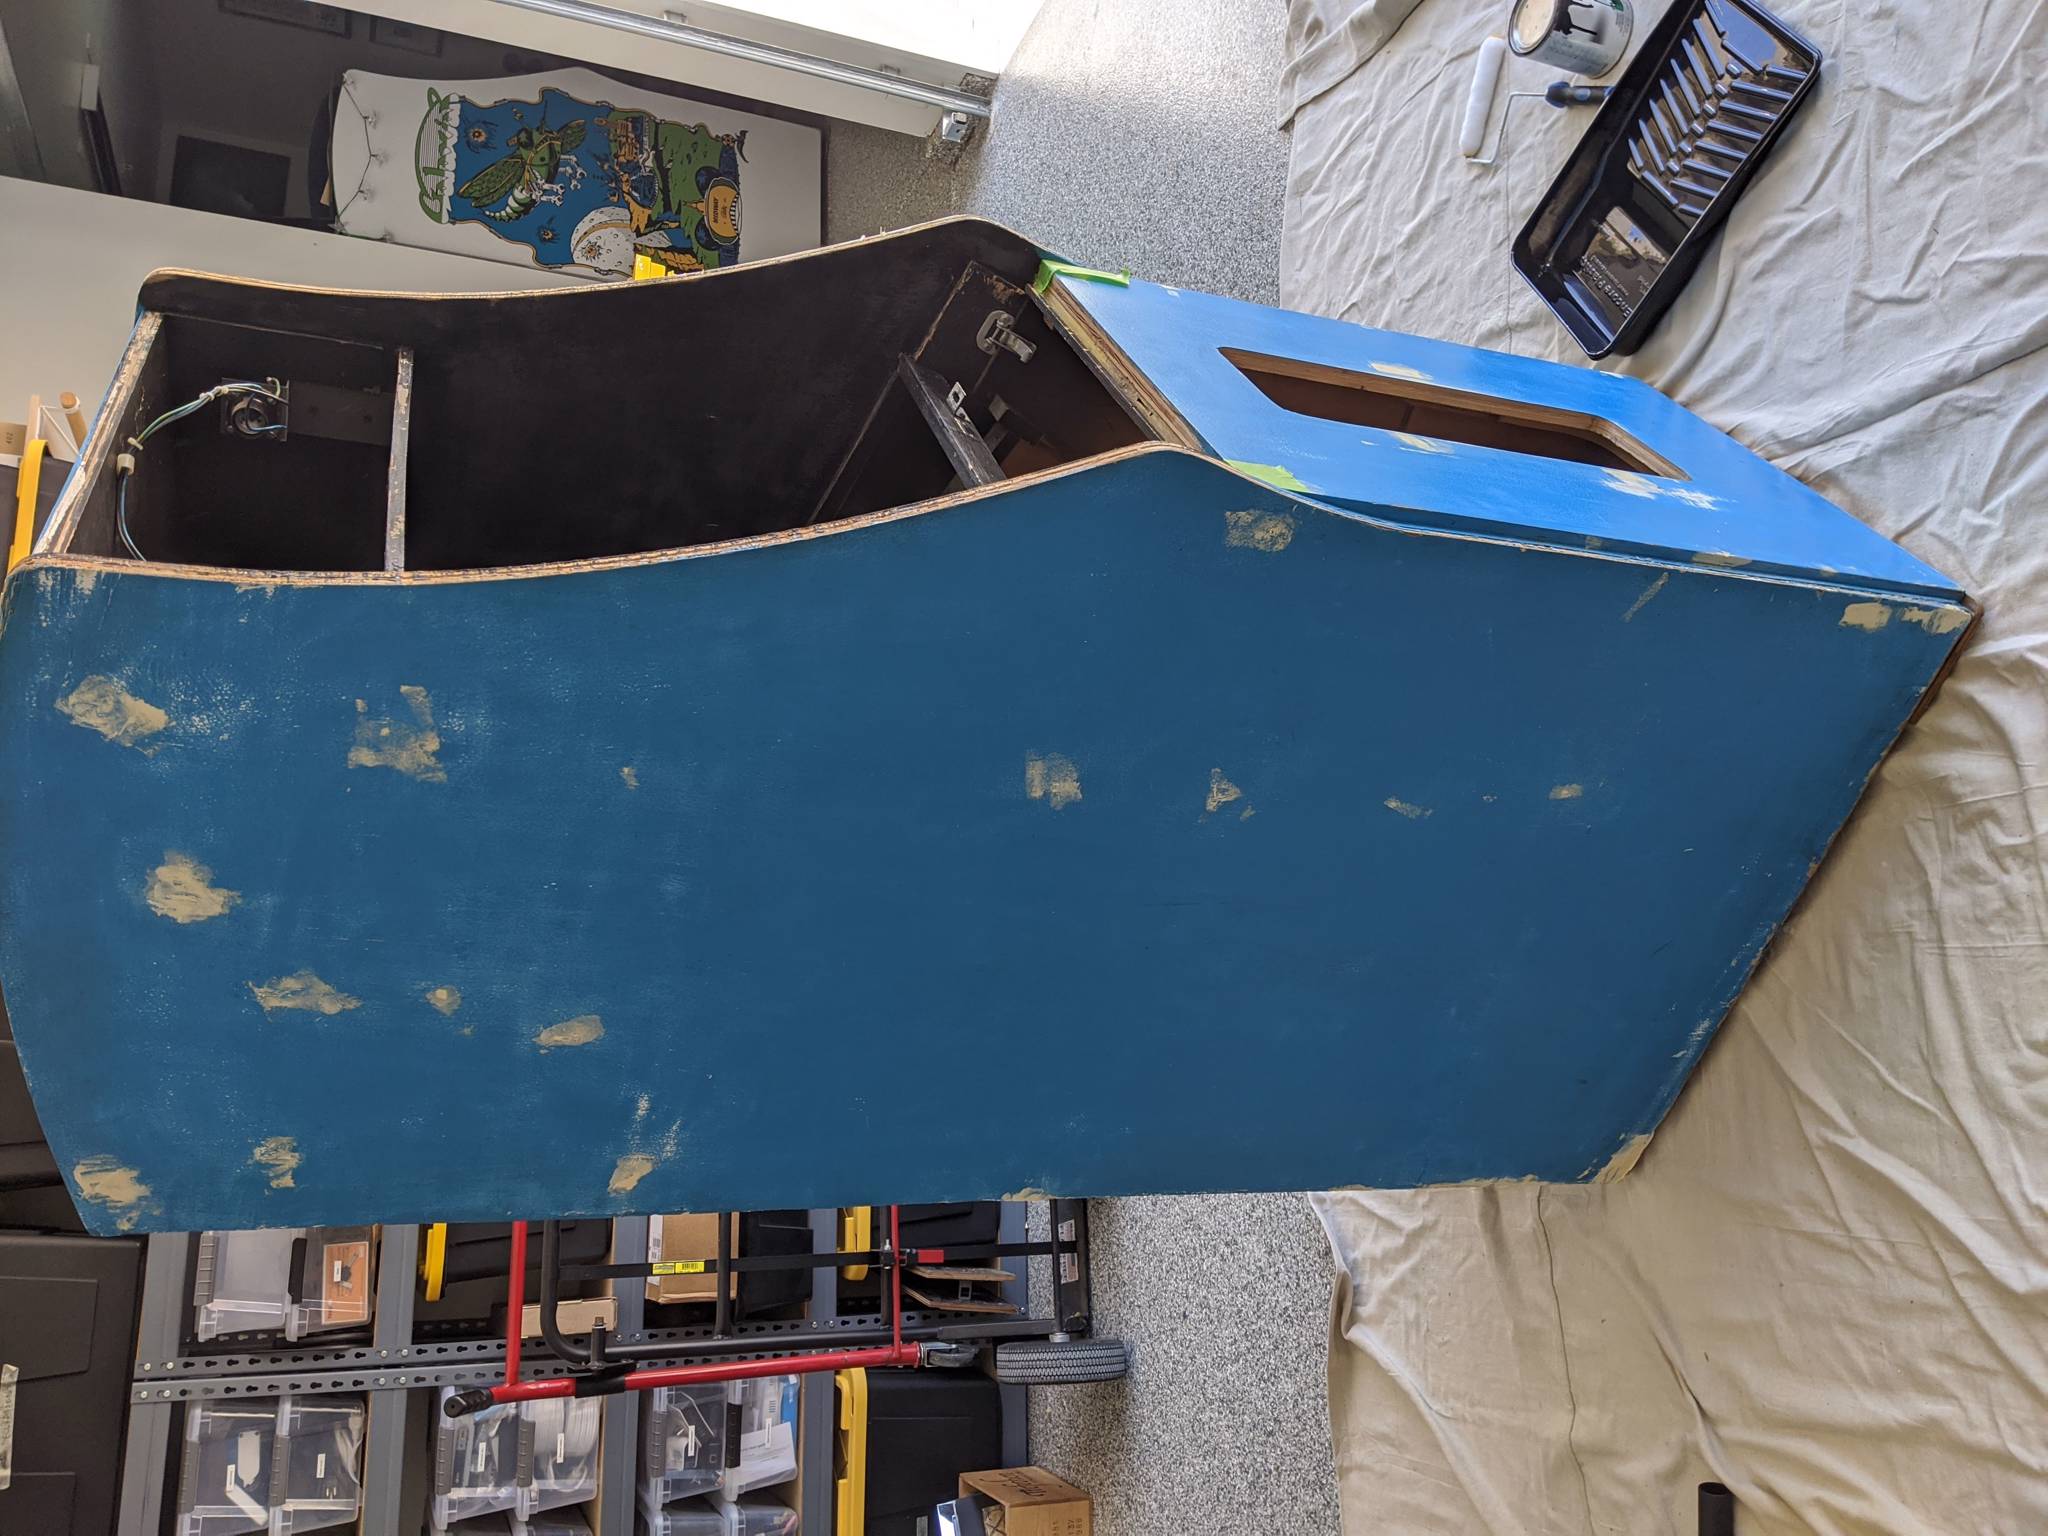
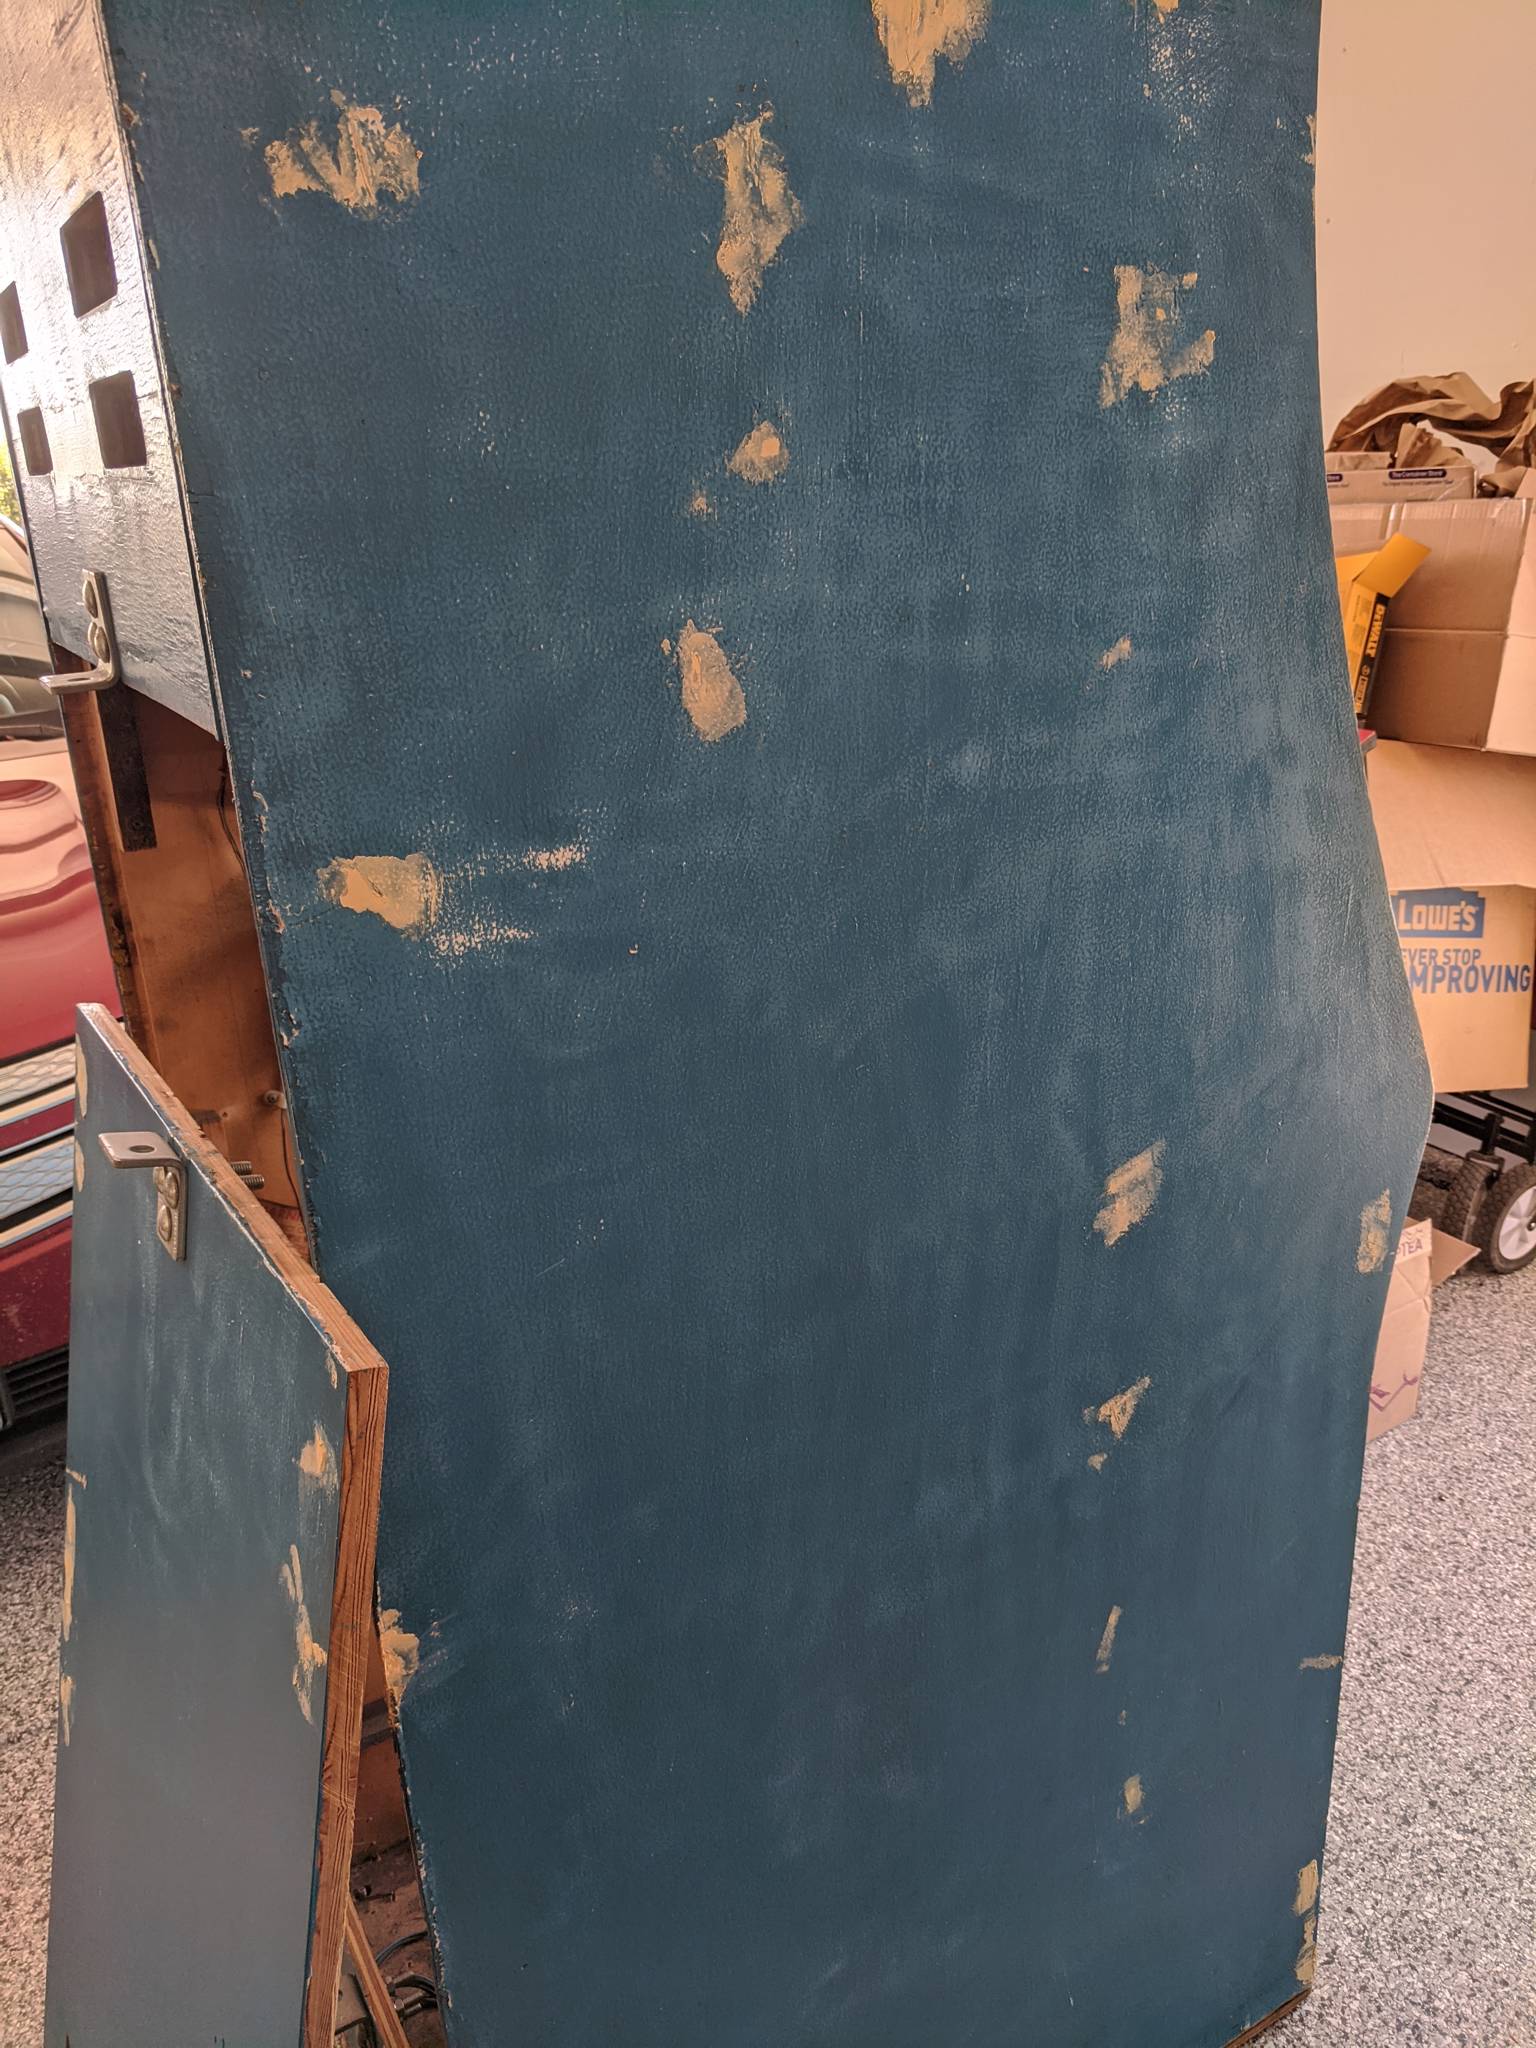

As this point I agonized over the color for the cabinet body. I wanted something to match the artwork well, but not take away from it when lit by UV light. I knew I wanted something darker, but definitely not straight black. I eventually decided on the color Midnight Blue in an enamel base. It turned out wonderful; it meshes well with the background and secondary blue colors in the artwork, but isn't overbearing.
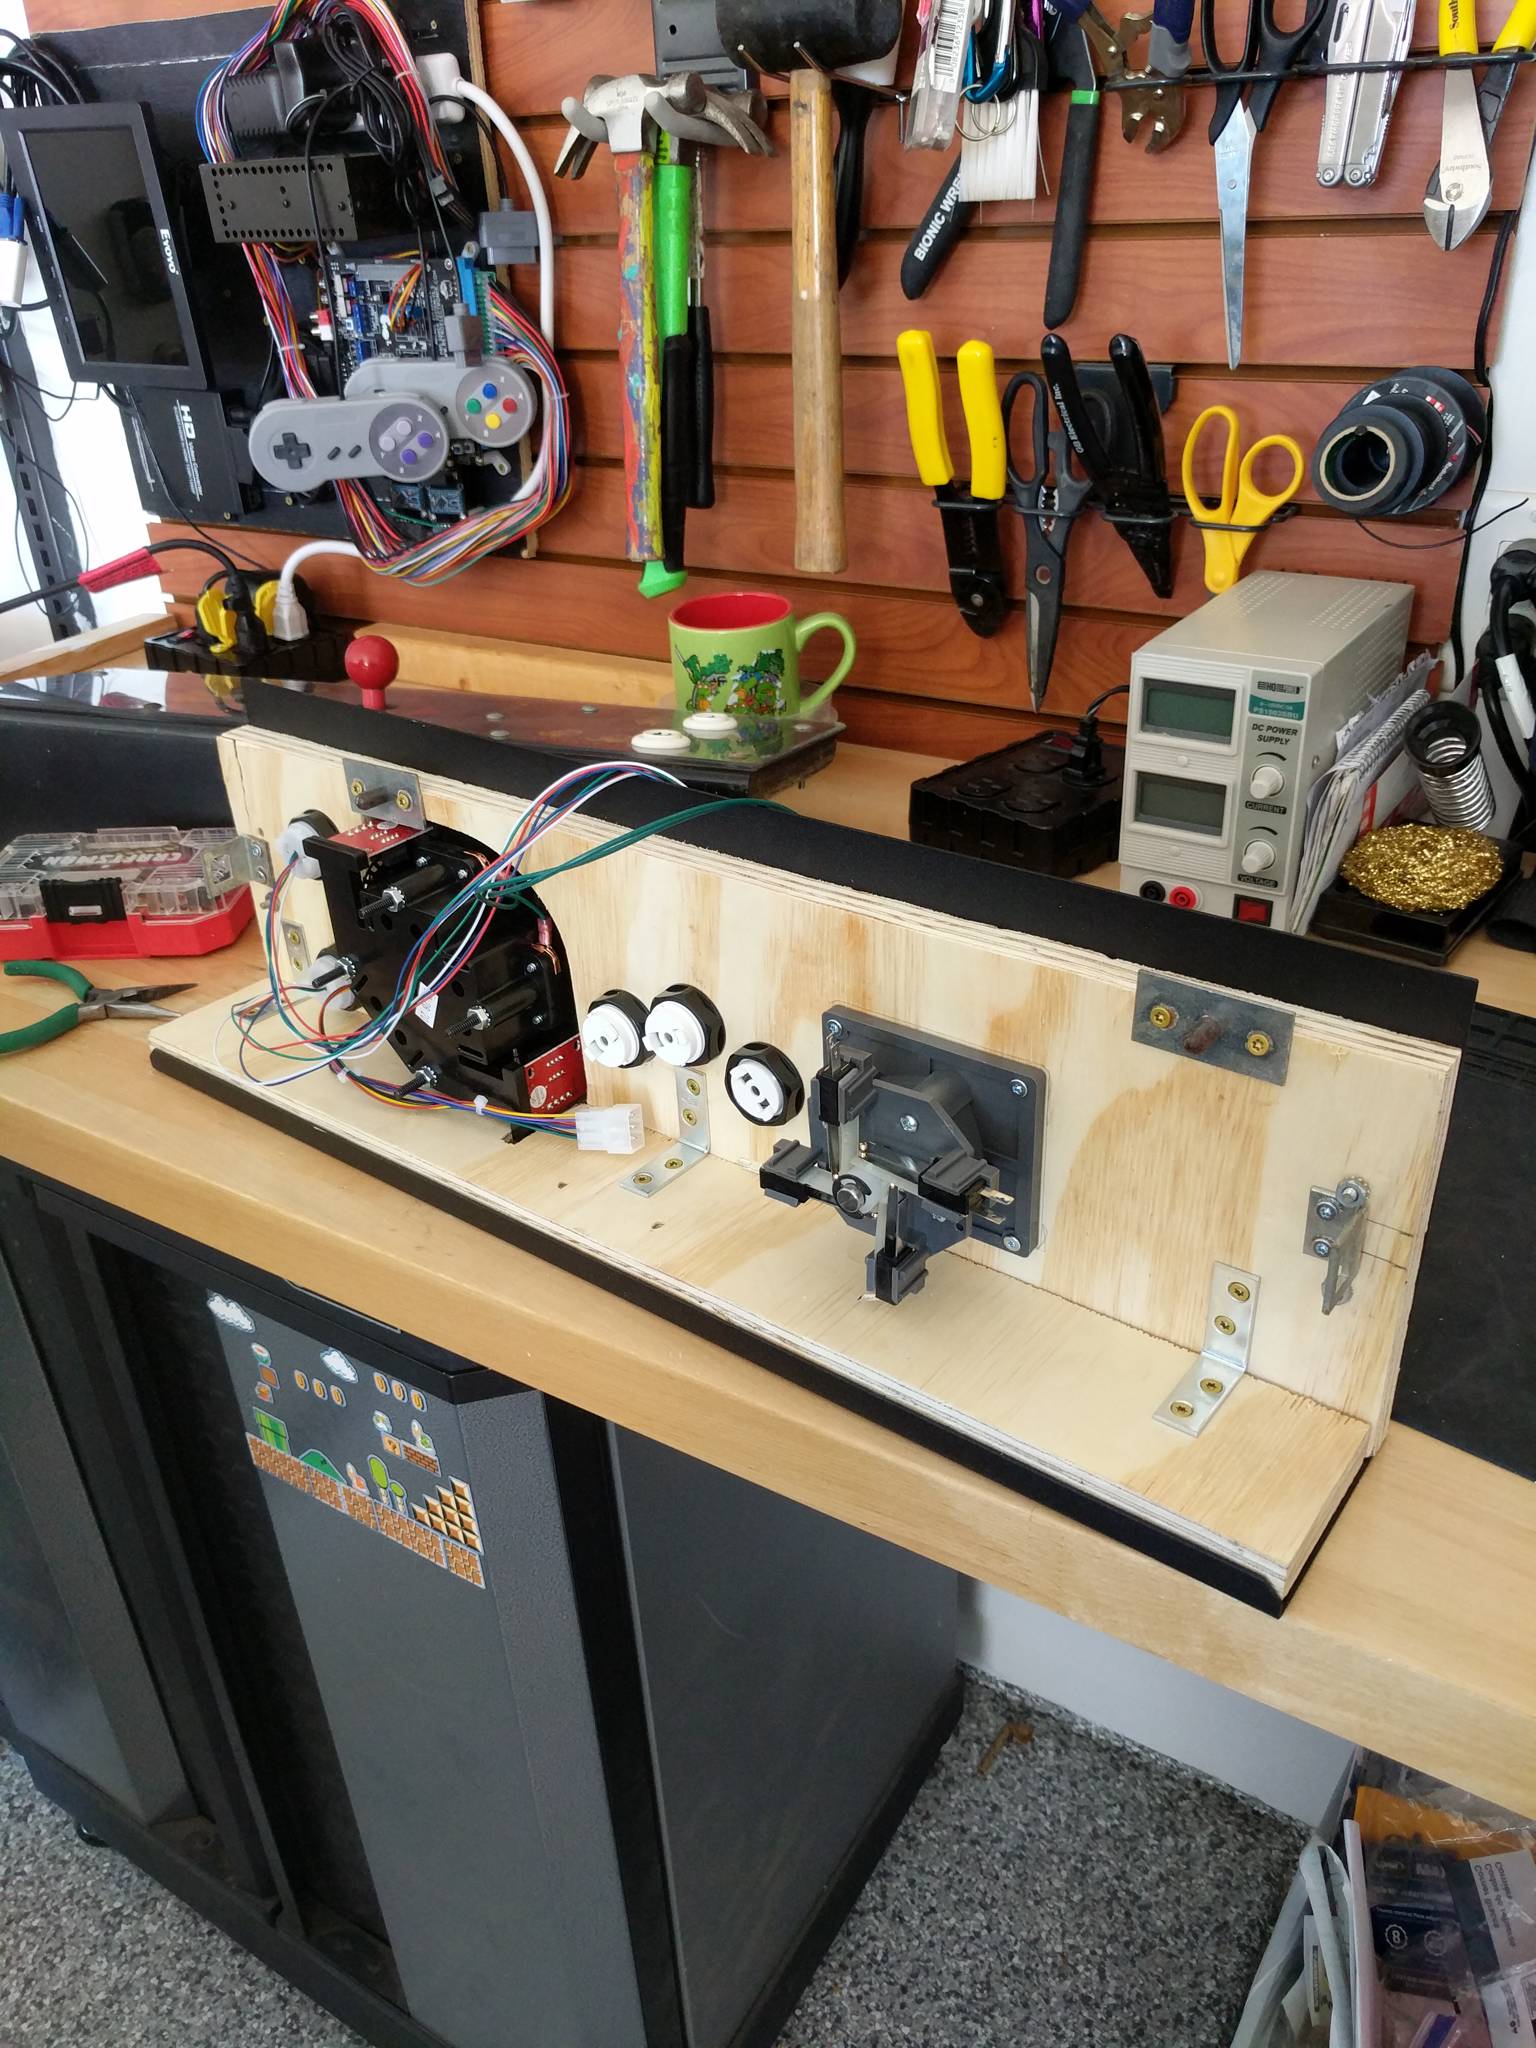
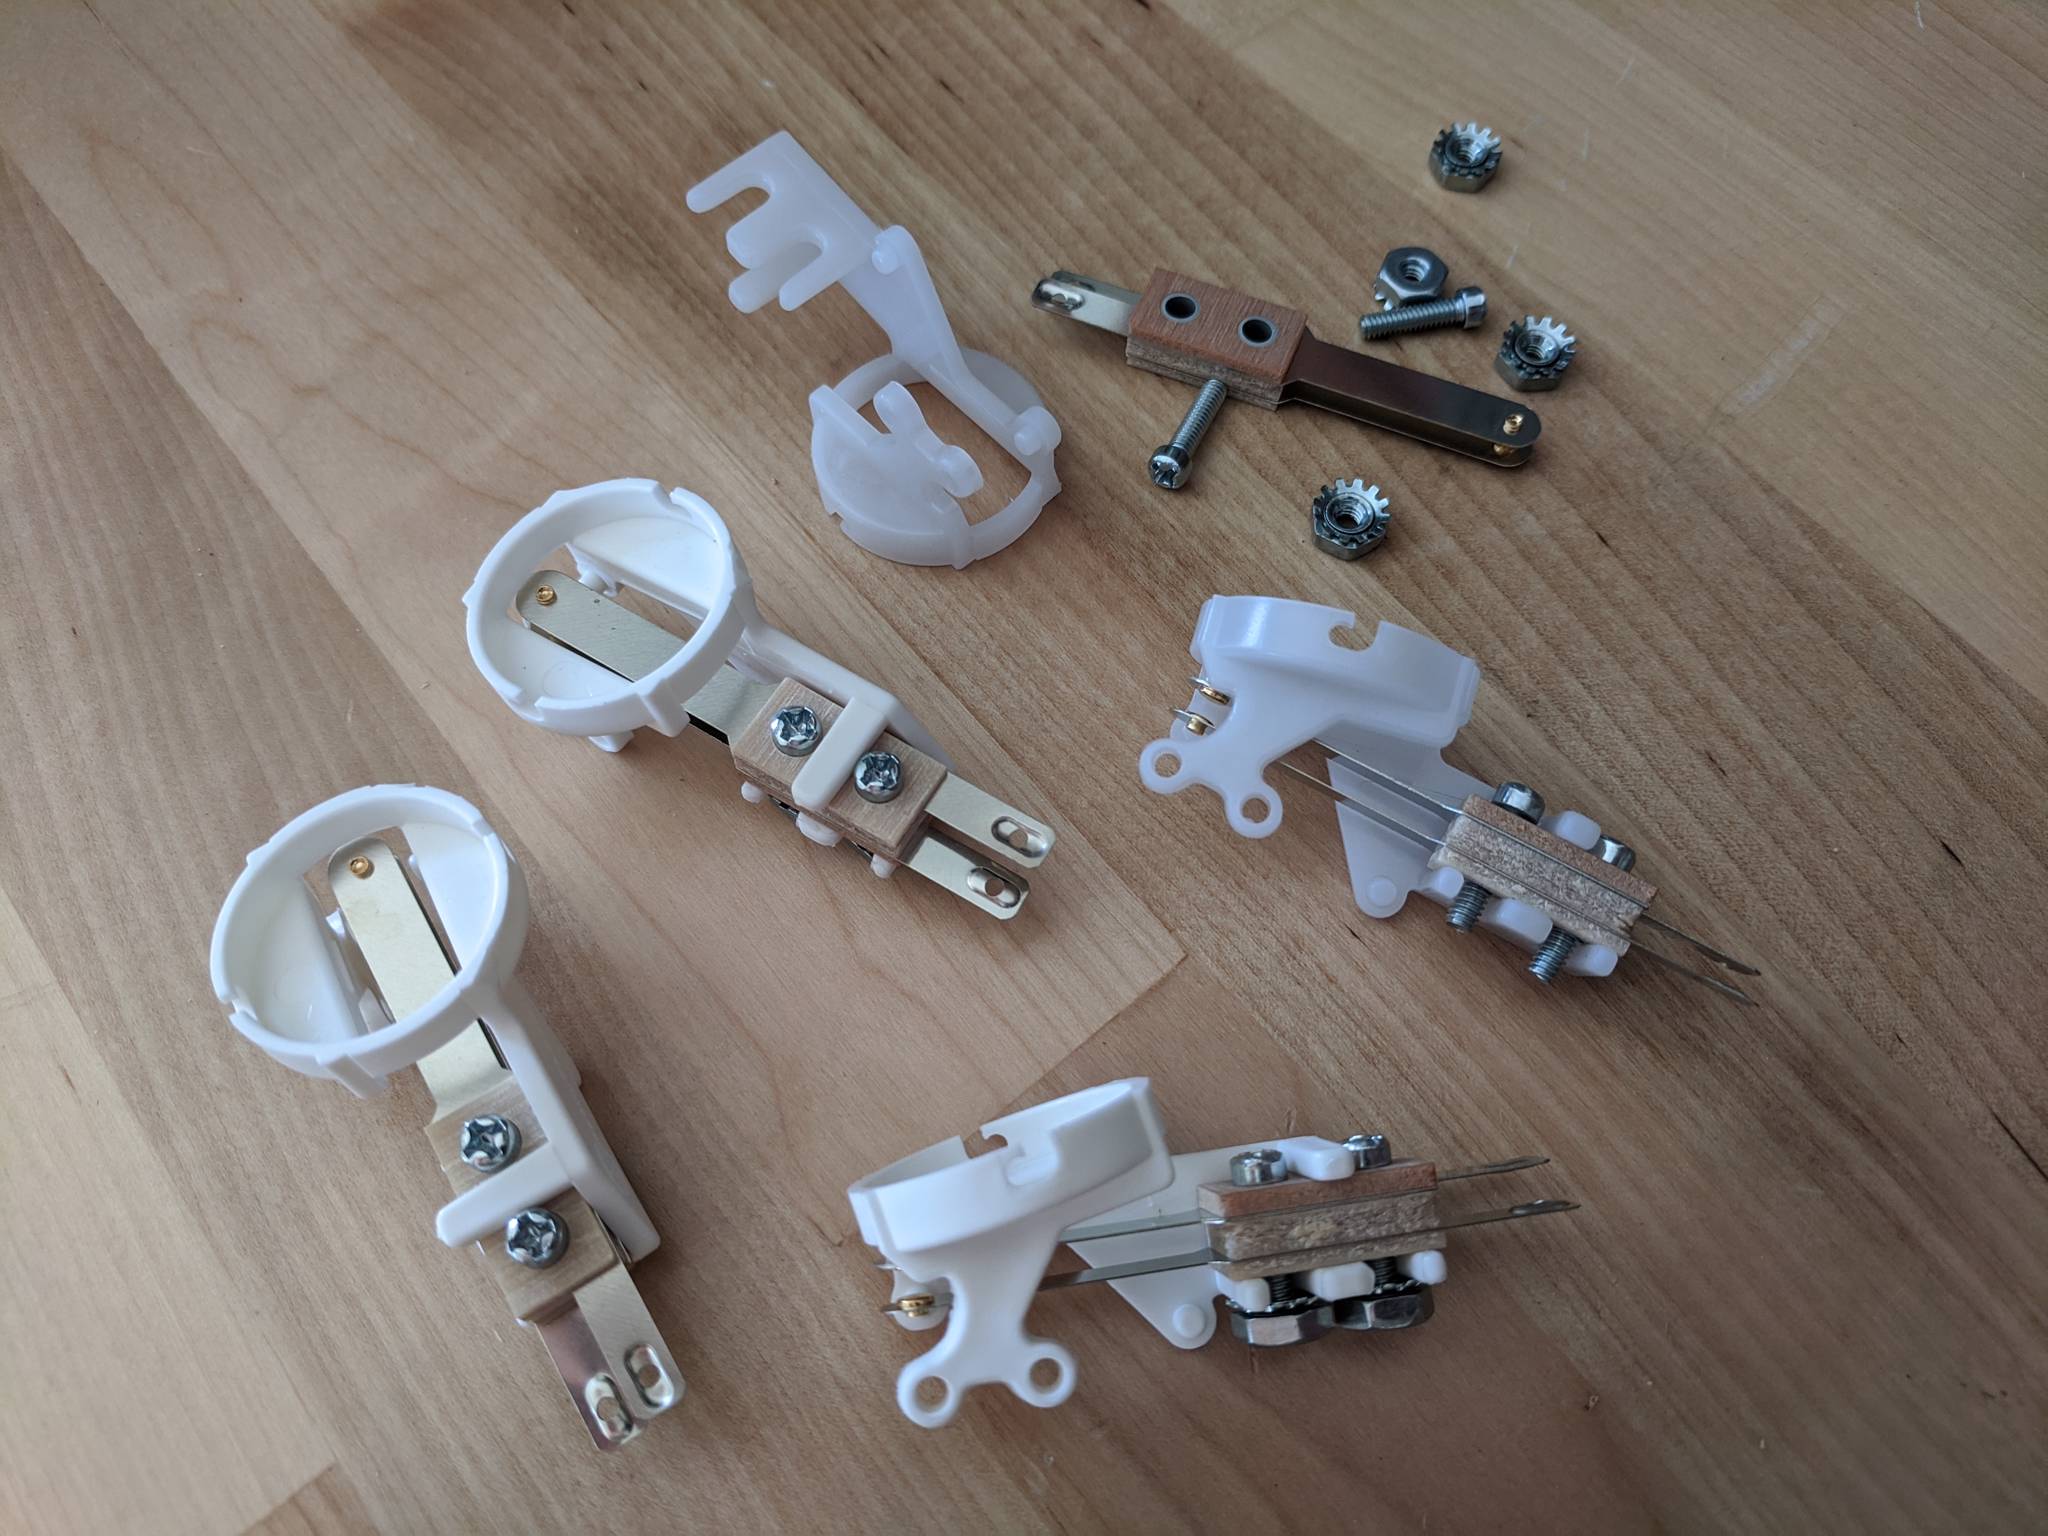
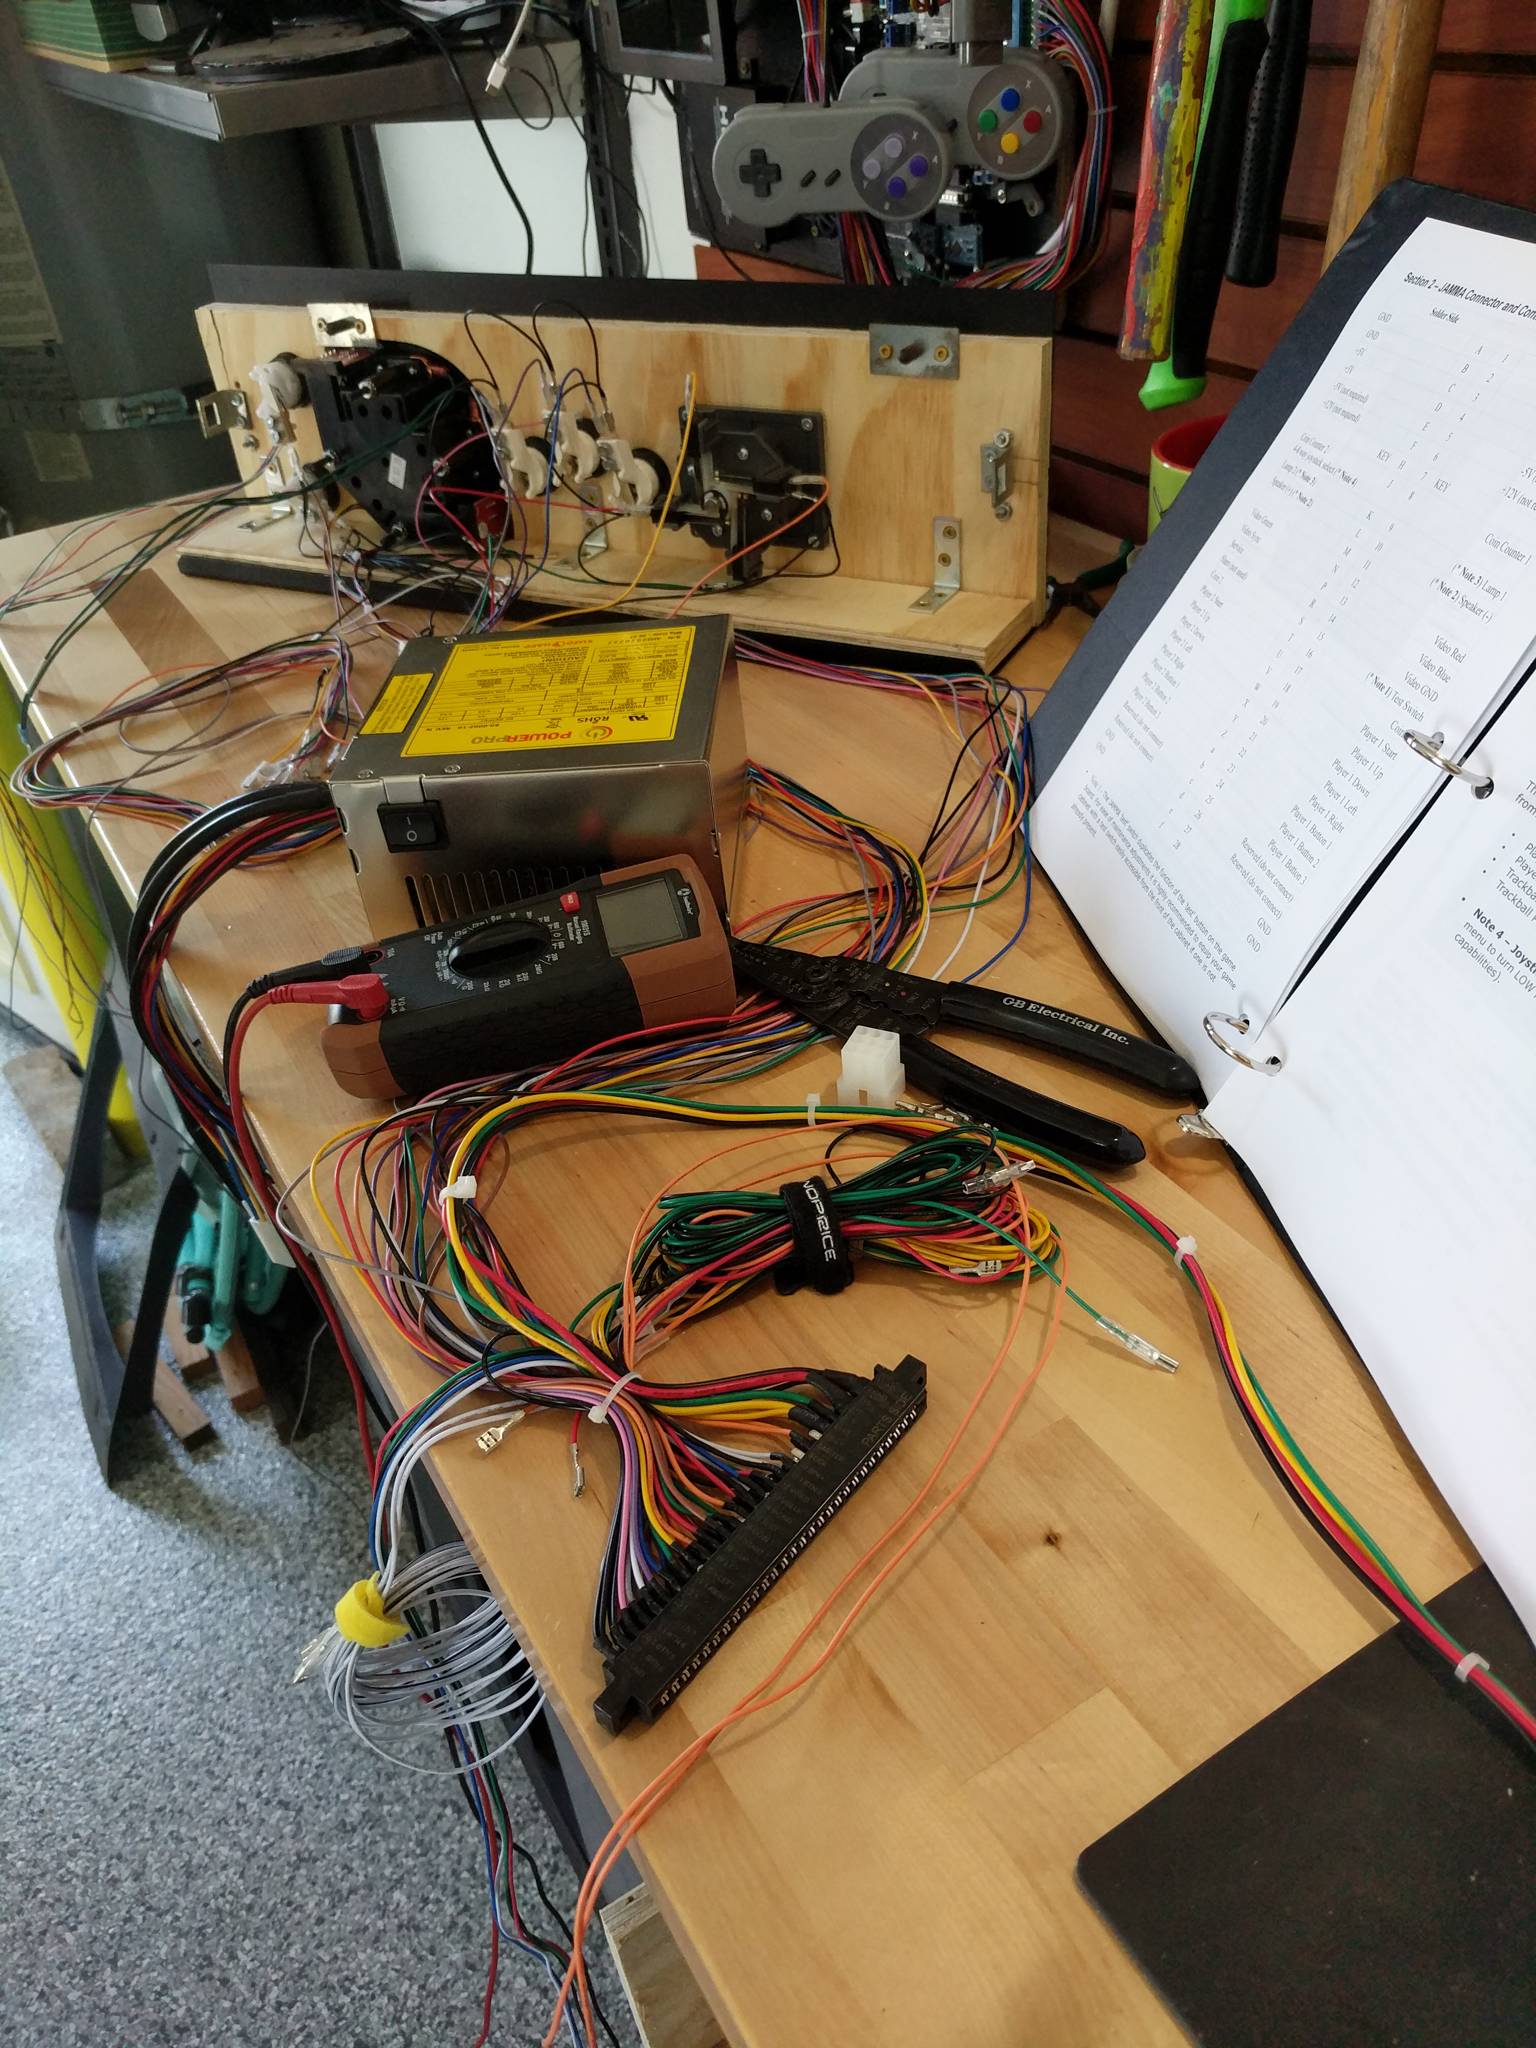
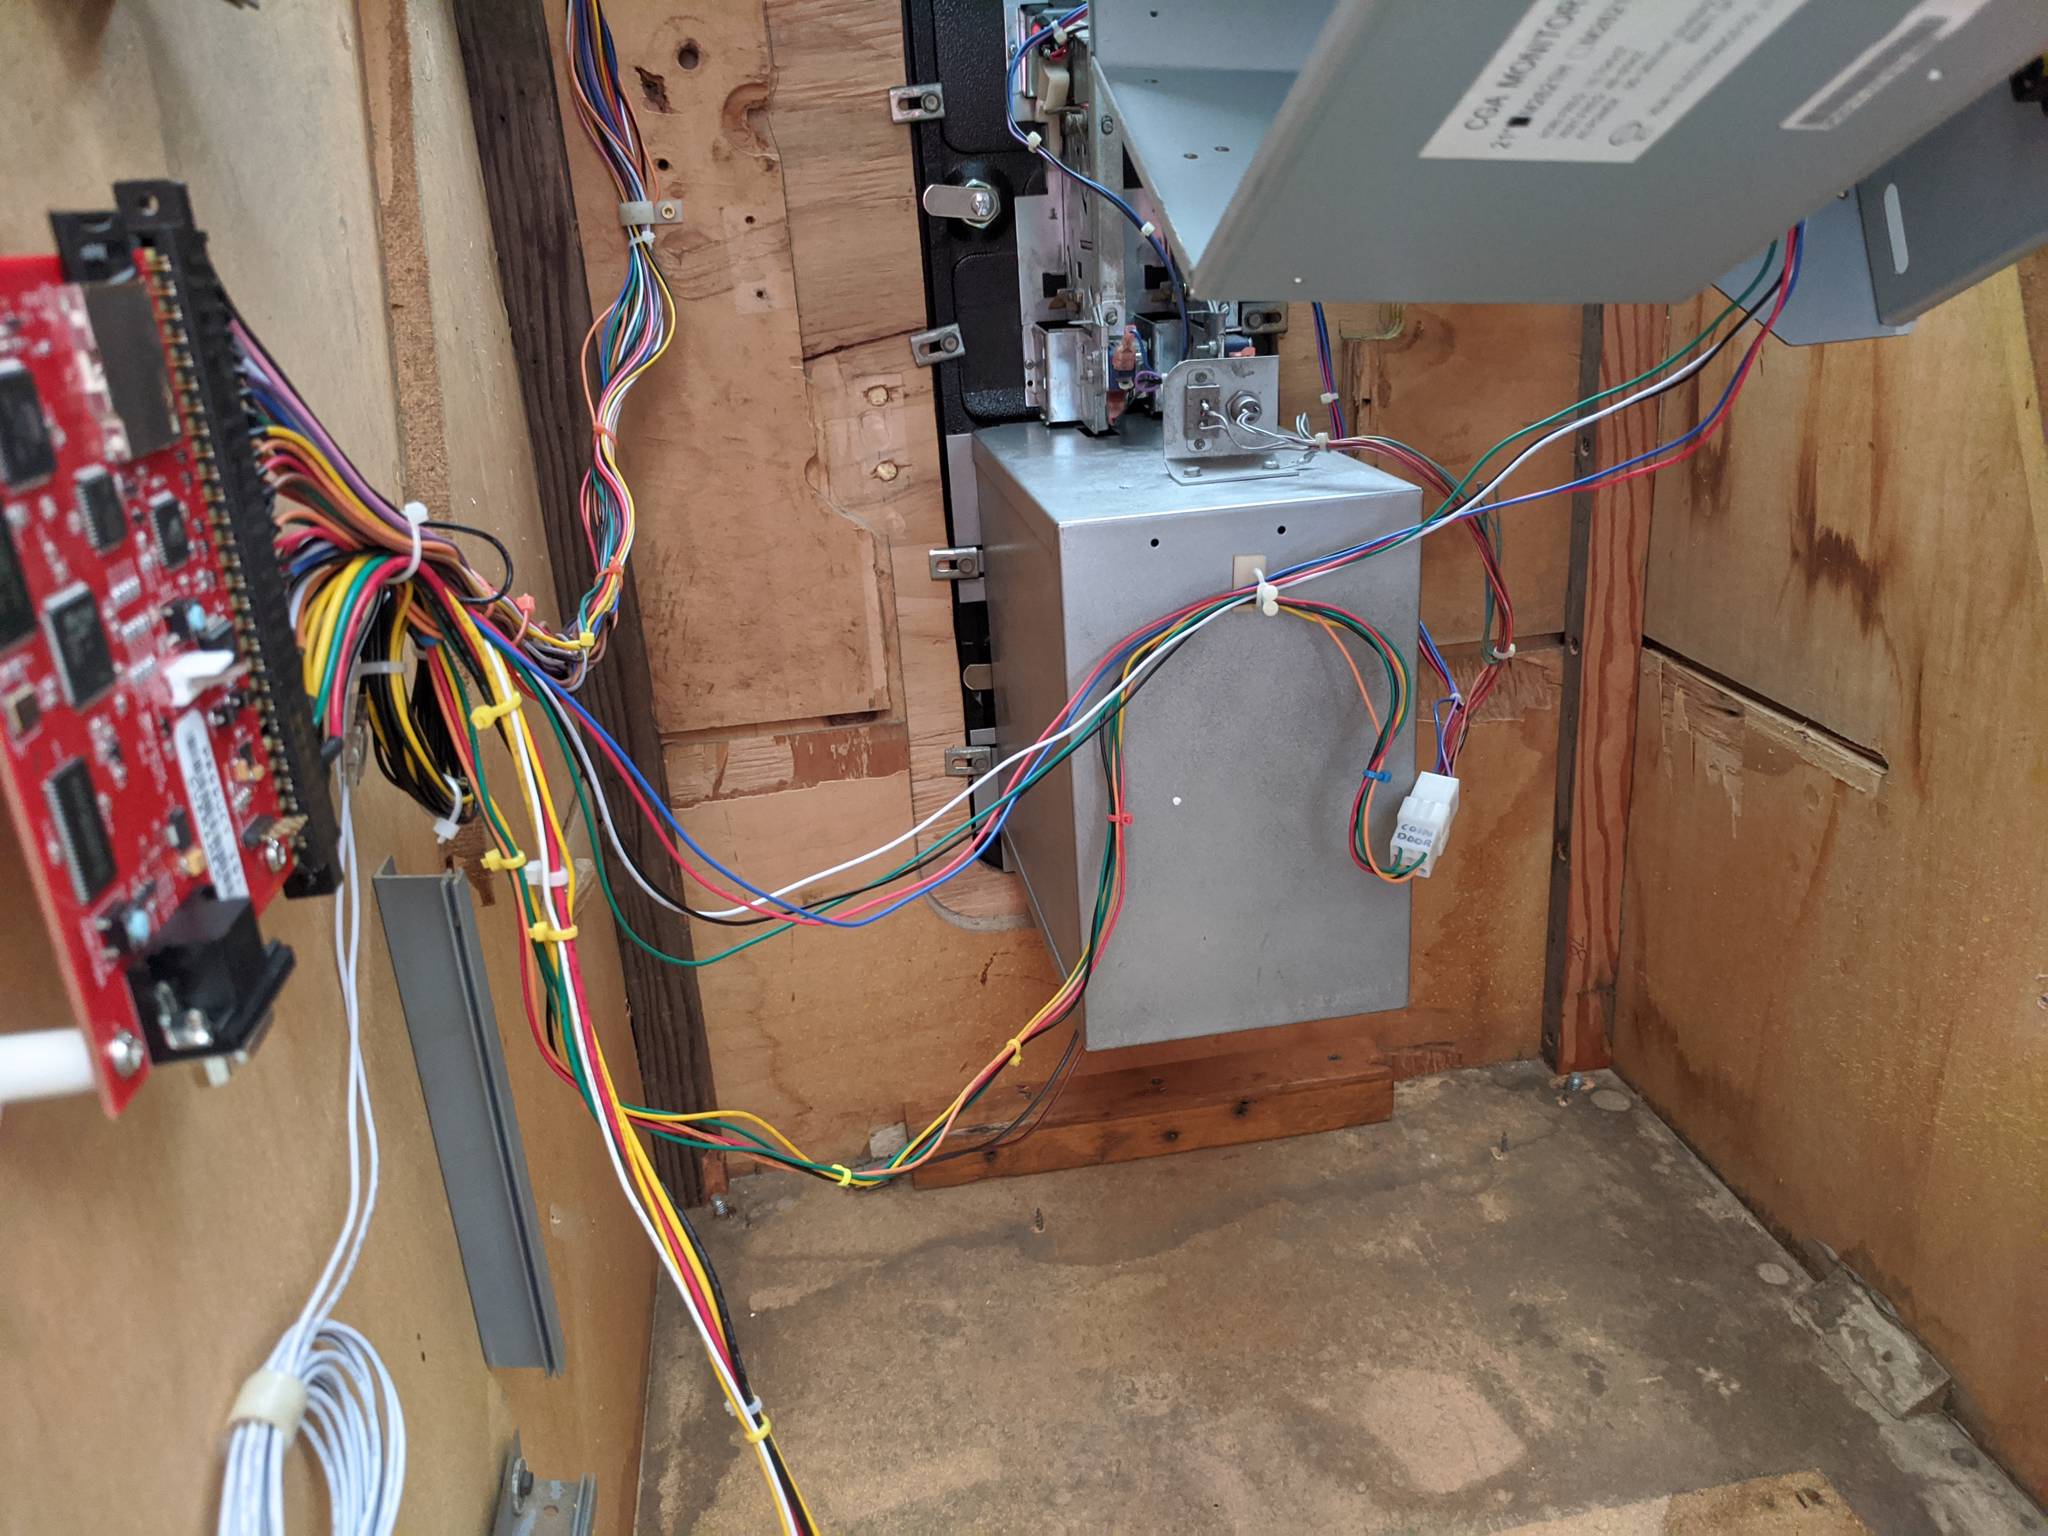
The coin door needed a little work. I went with my go-to Rust-oleum enamel black spray paint for the body. The coin mechs were also totally seized up, so needed to be completely disassembled and cleaned.

Control Panel
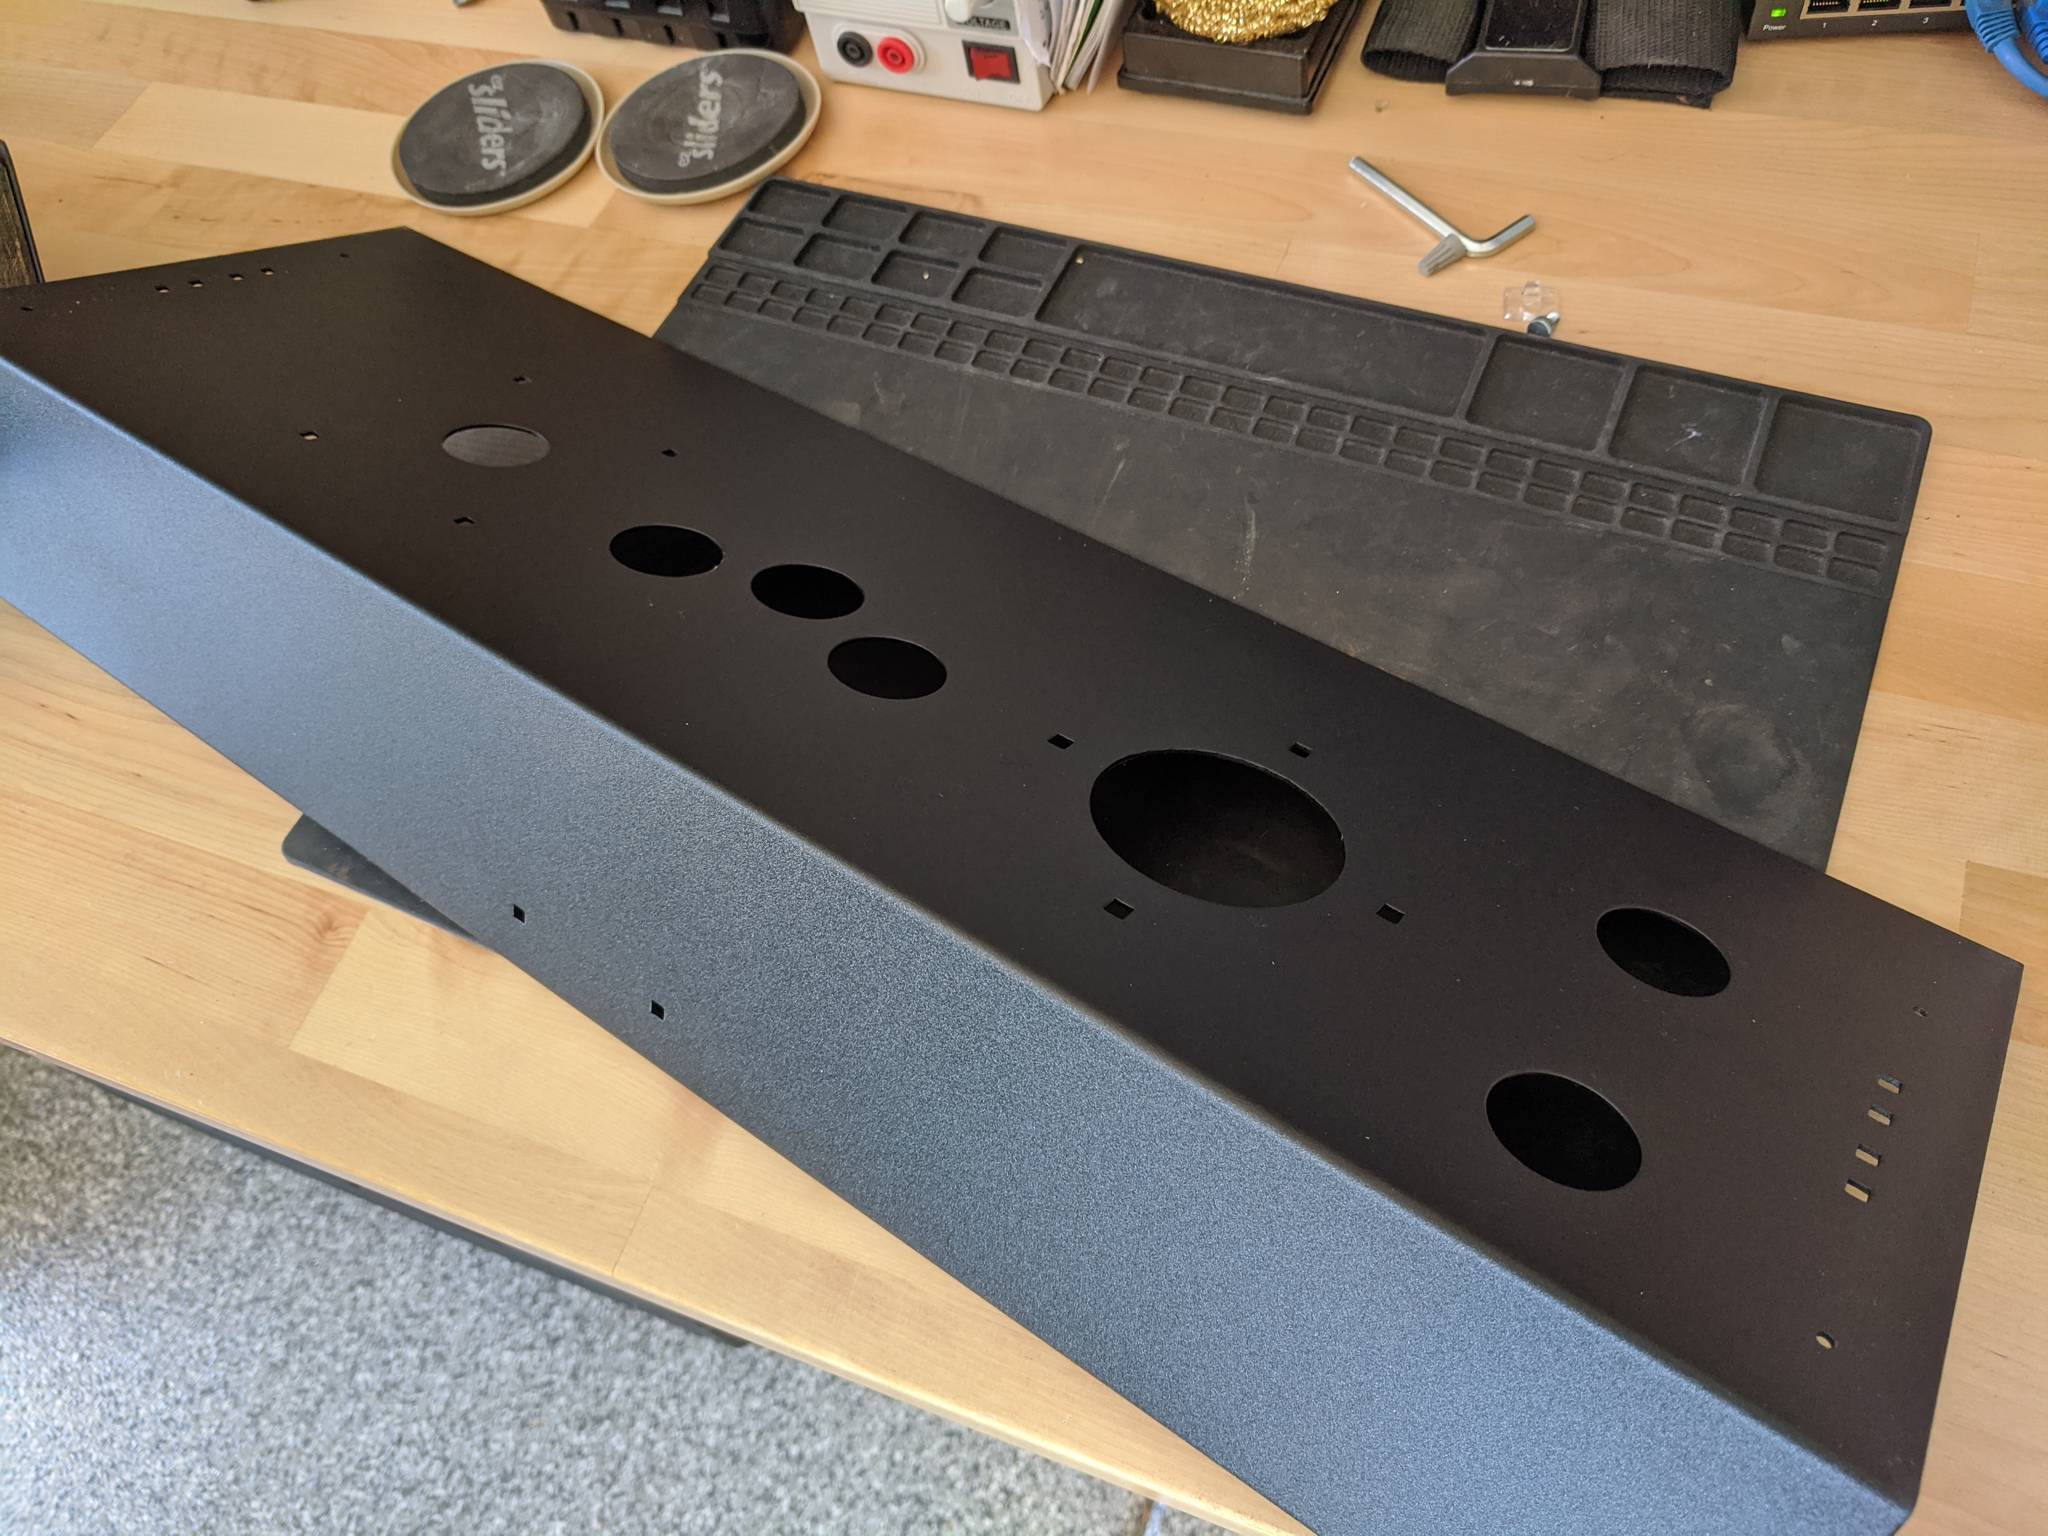
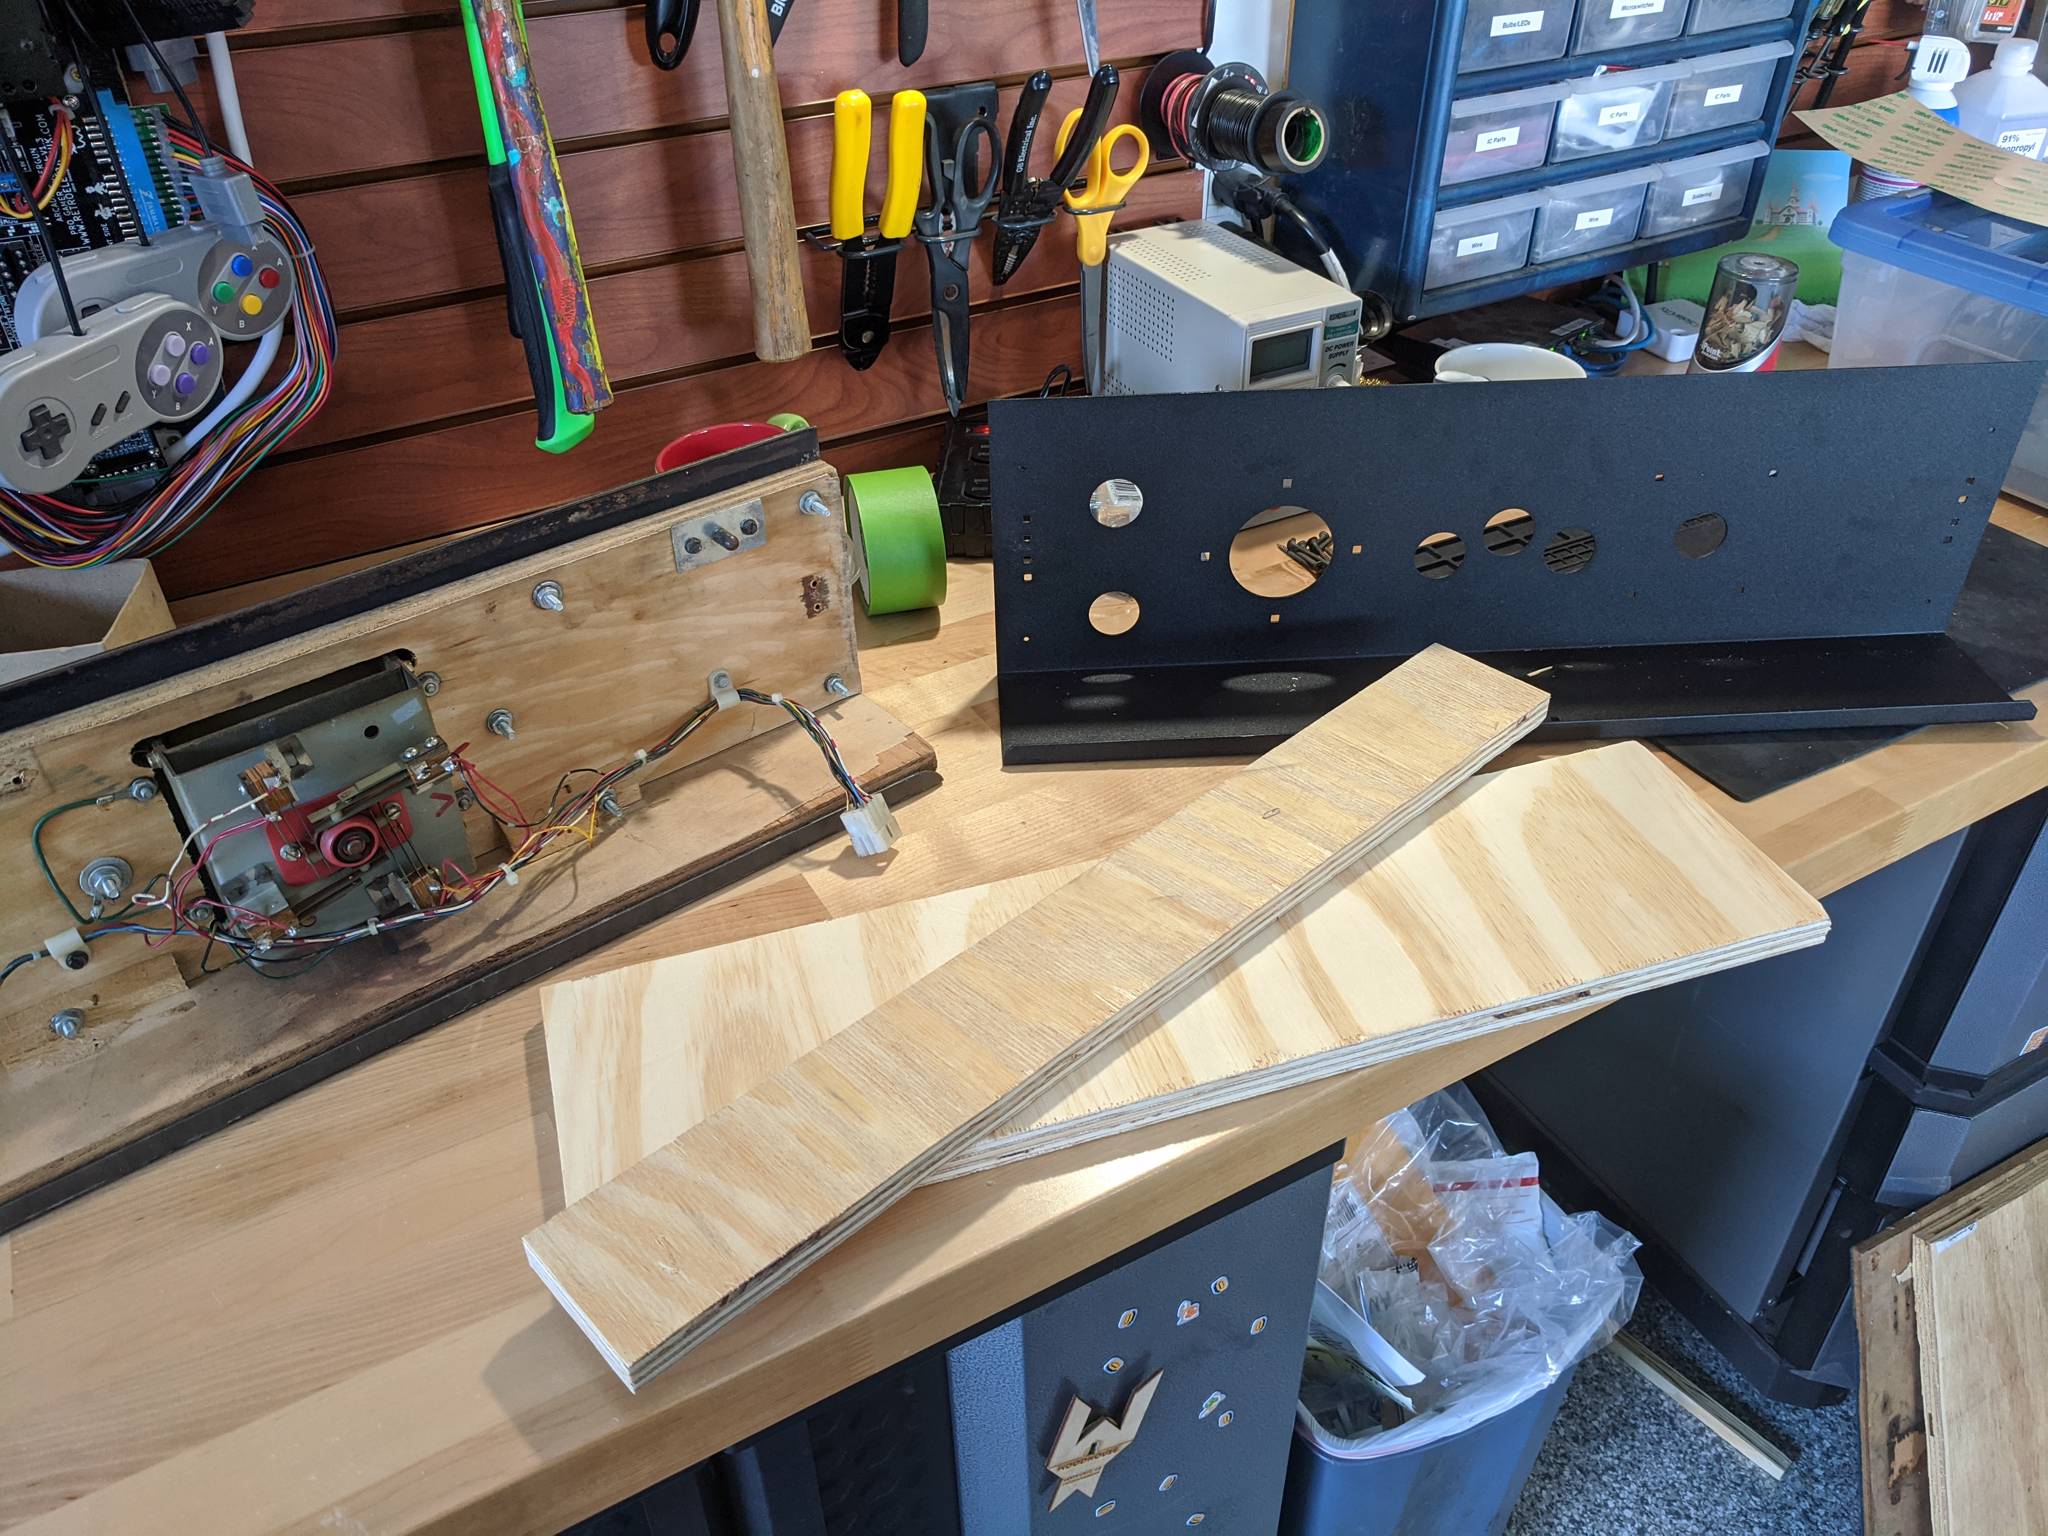
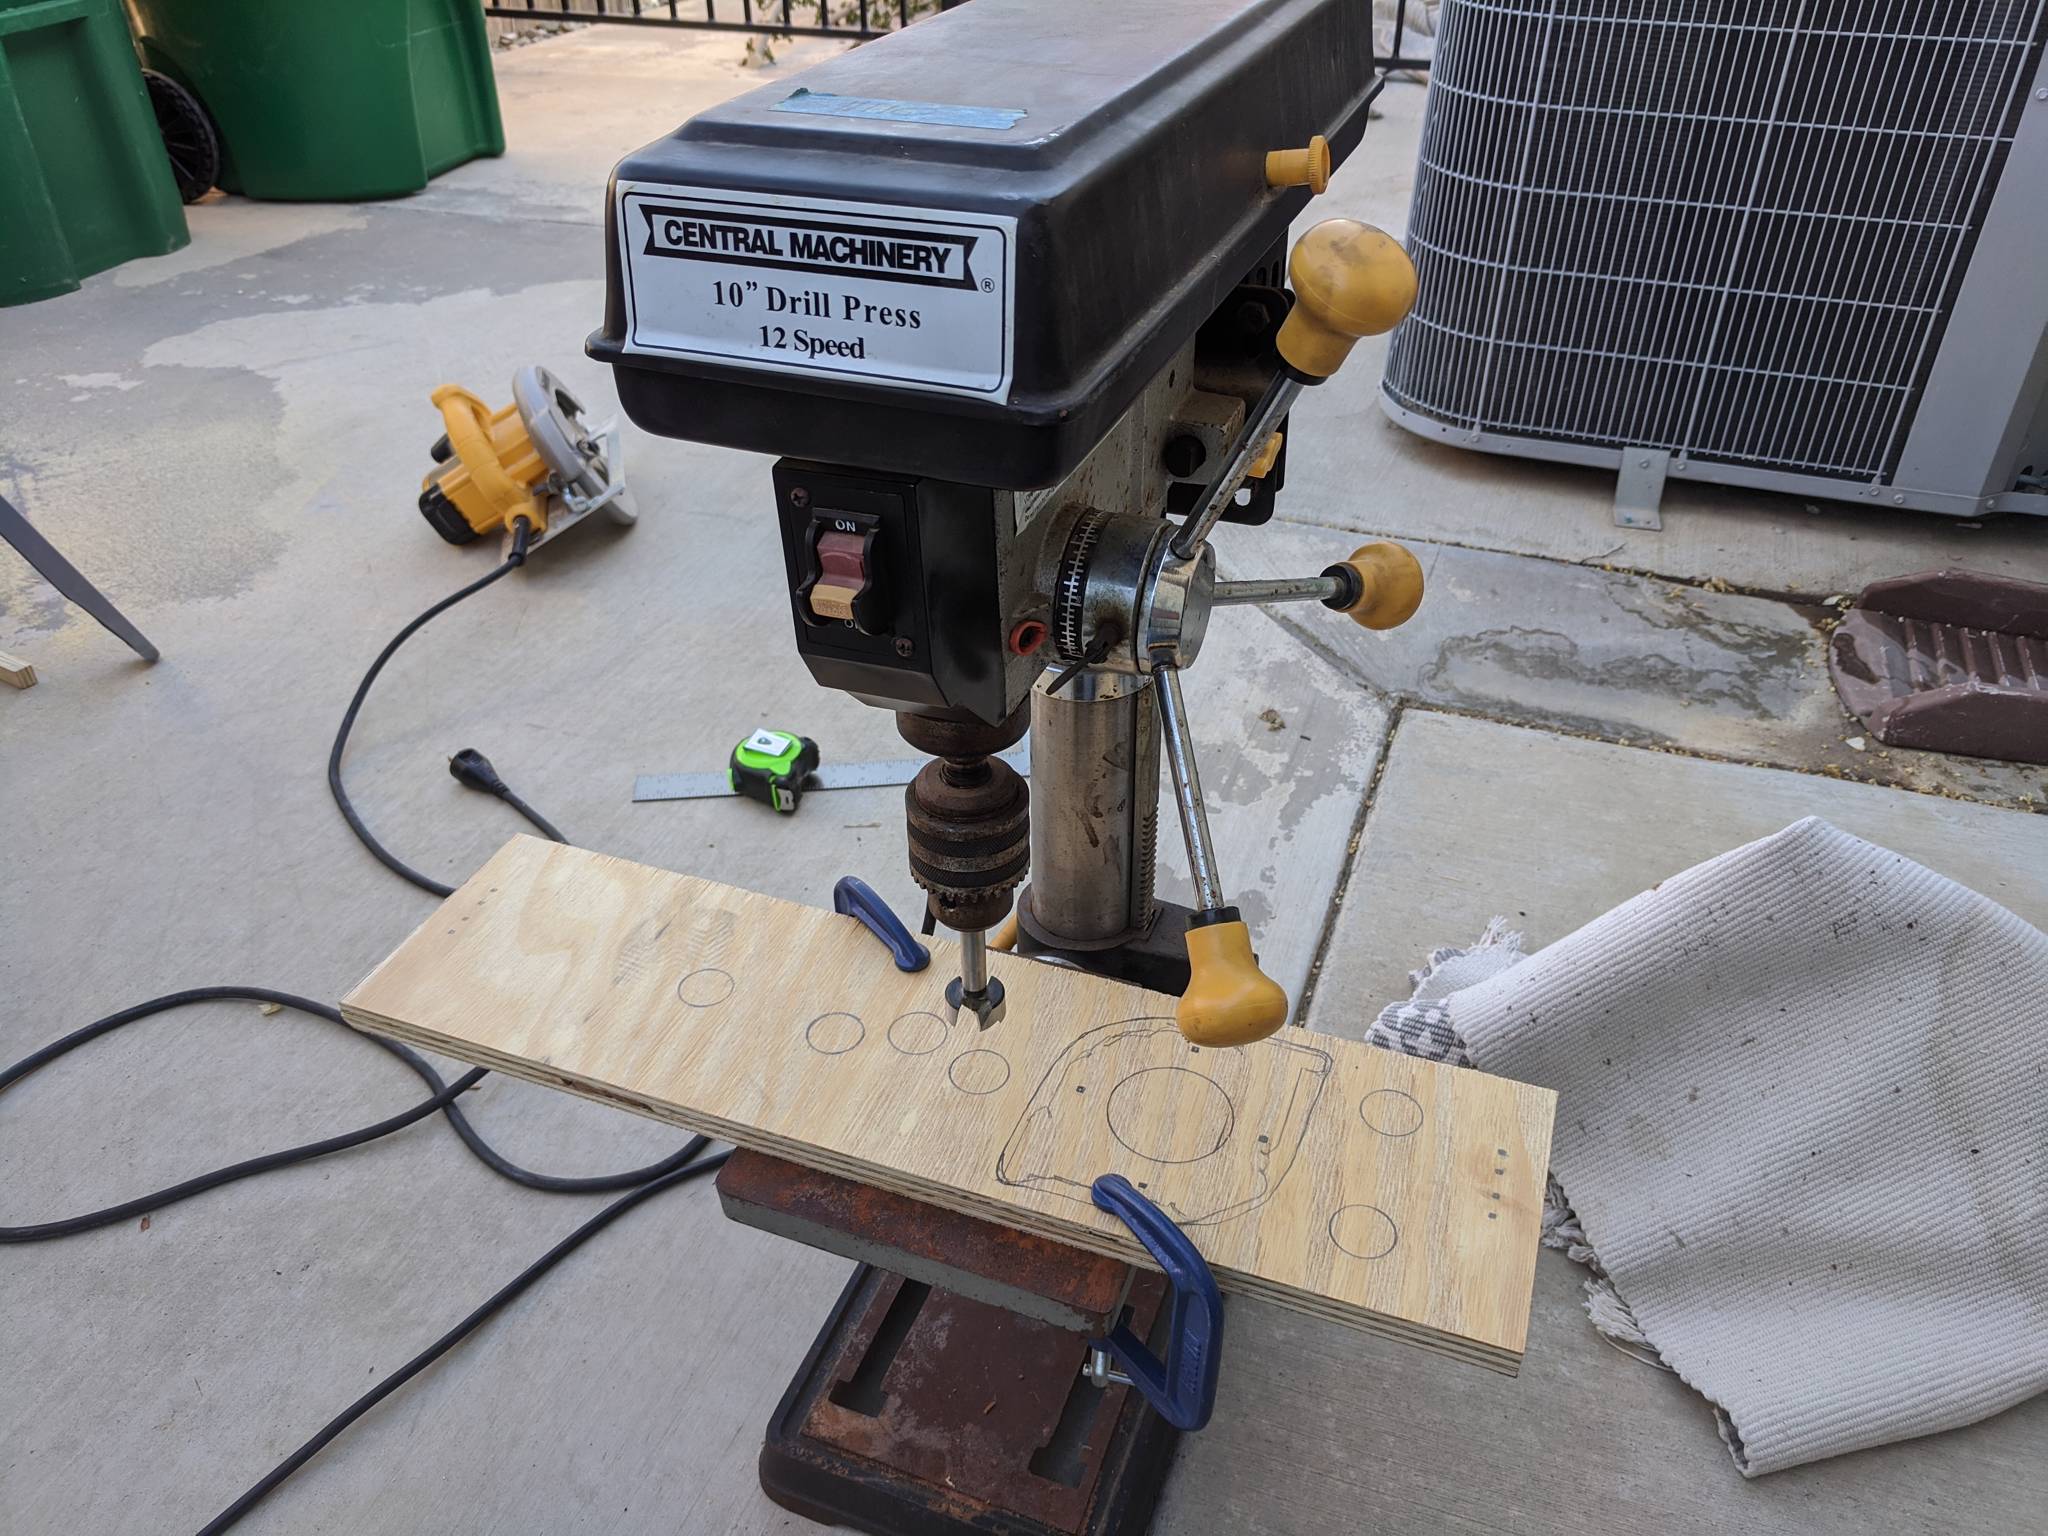
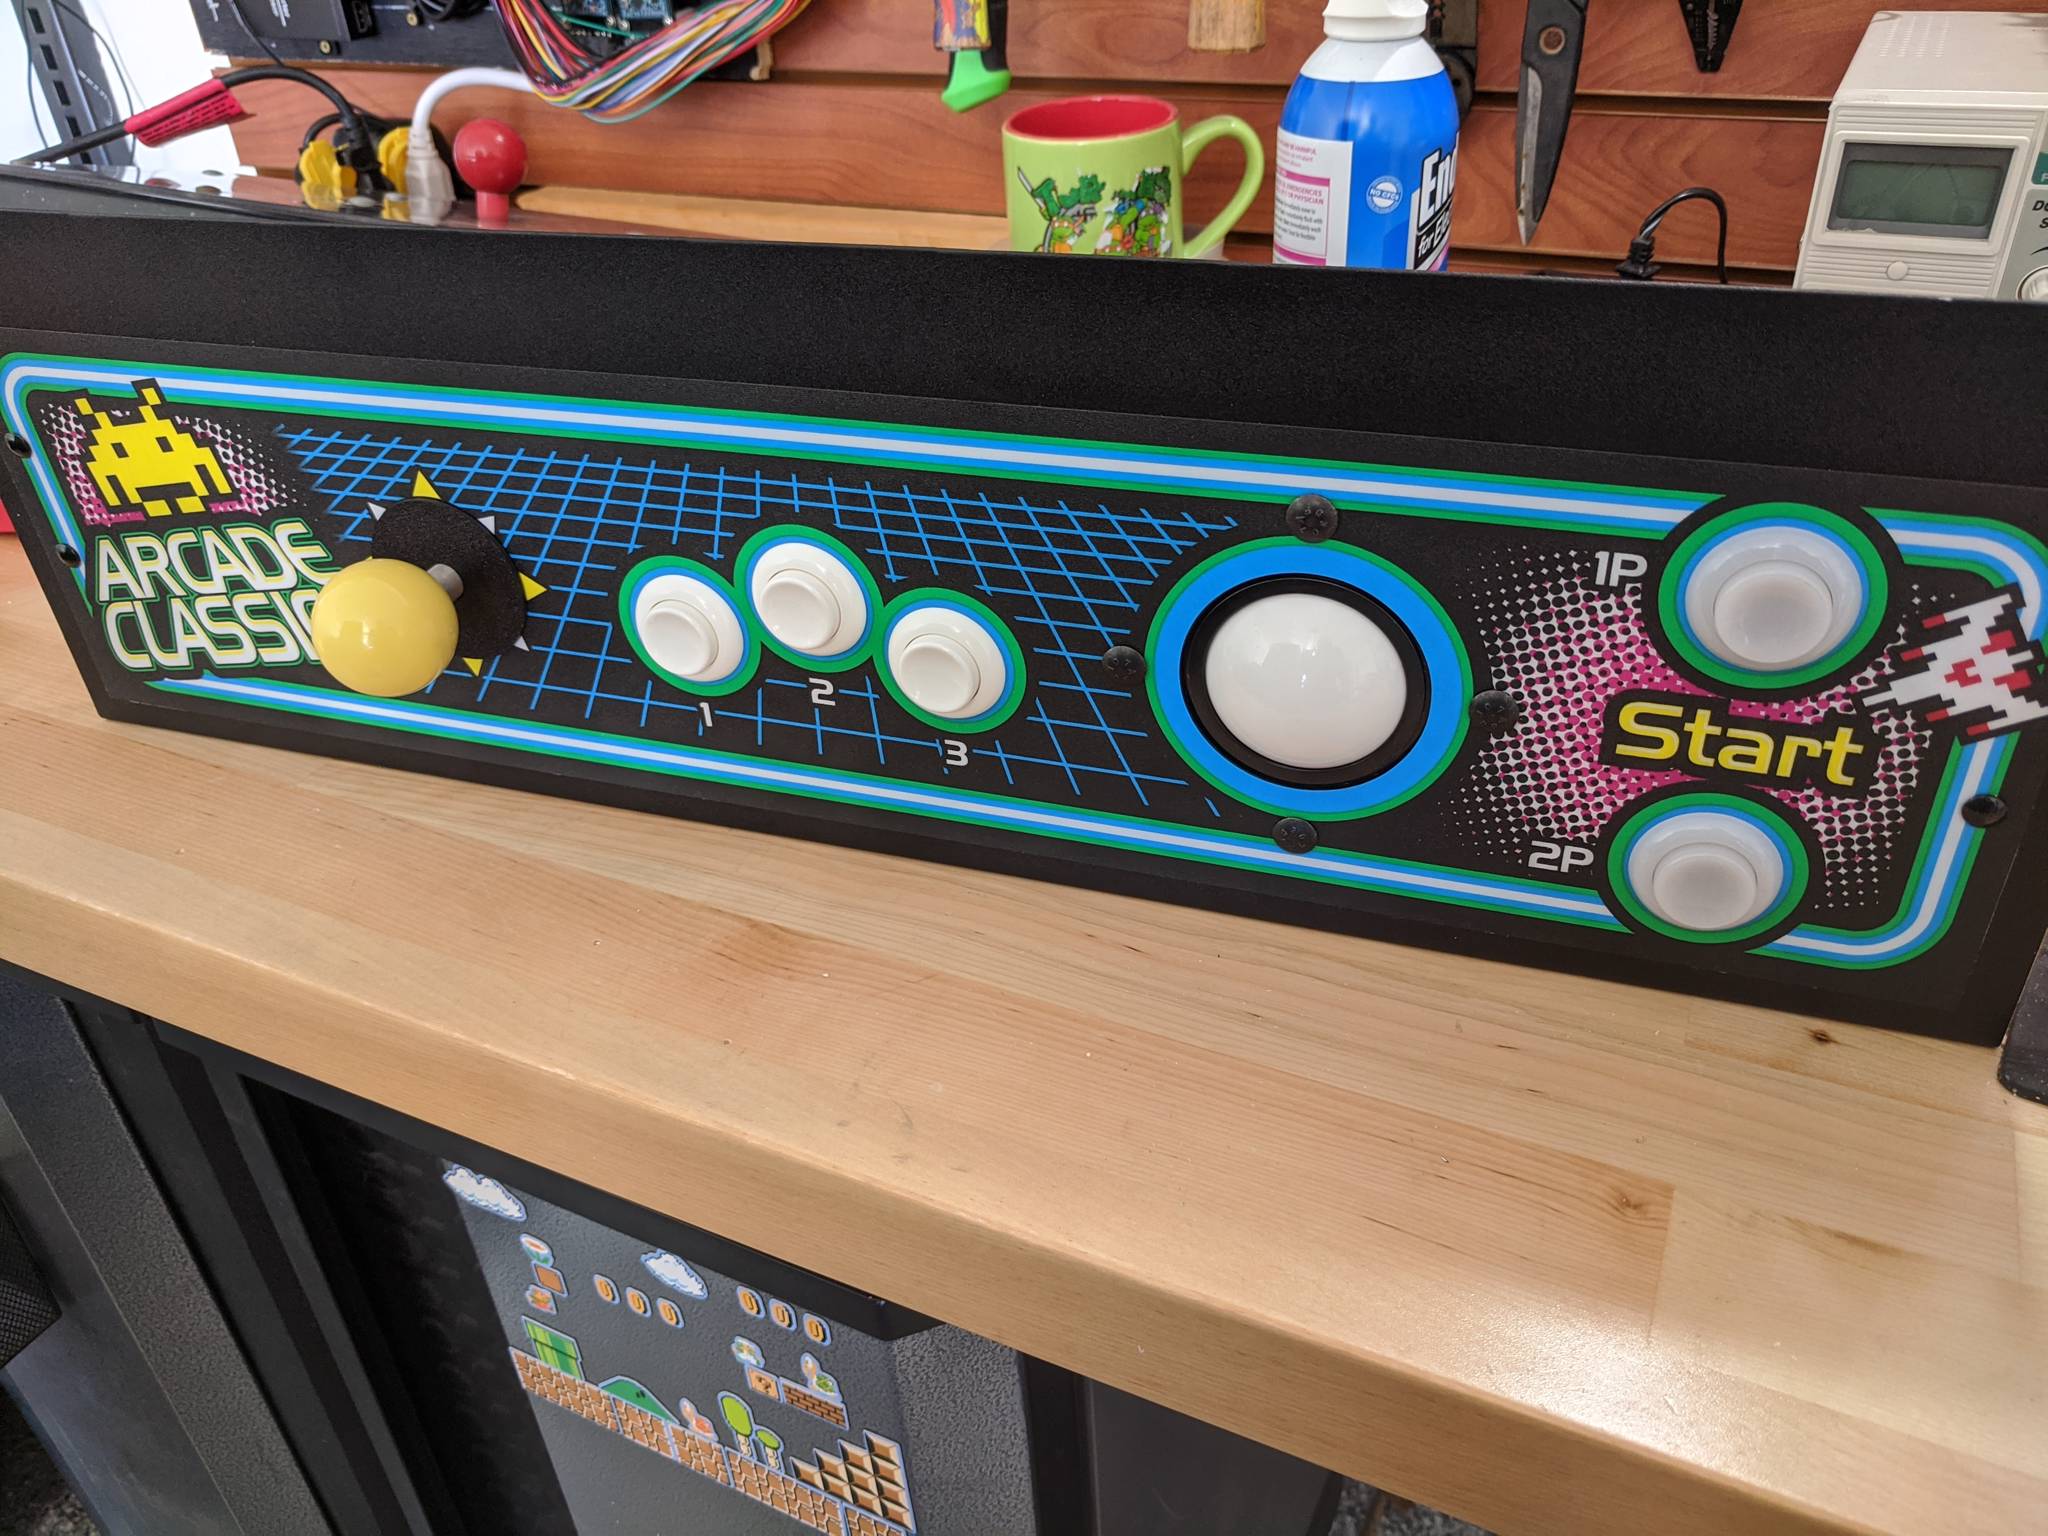
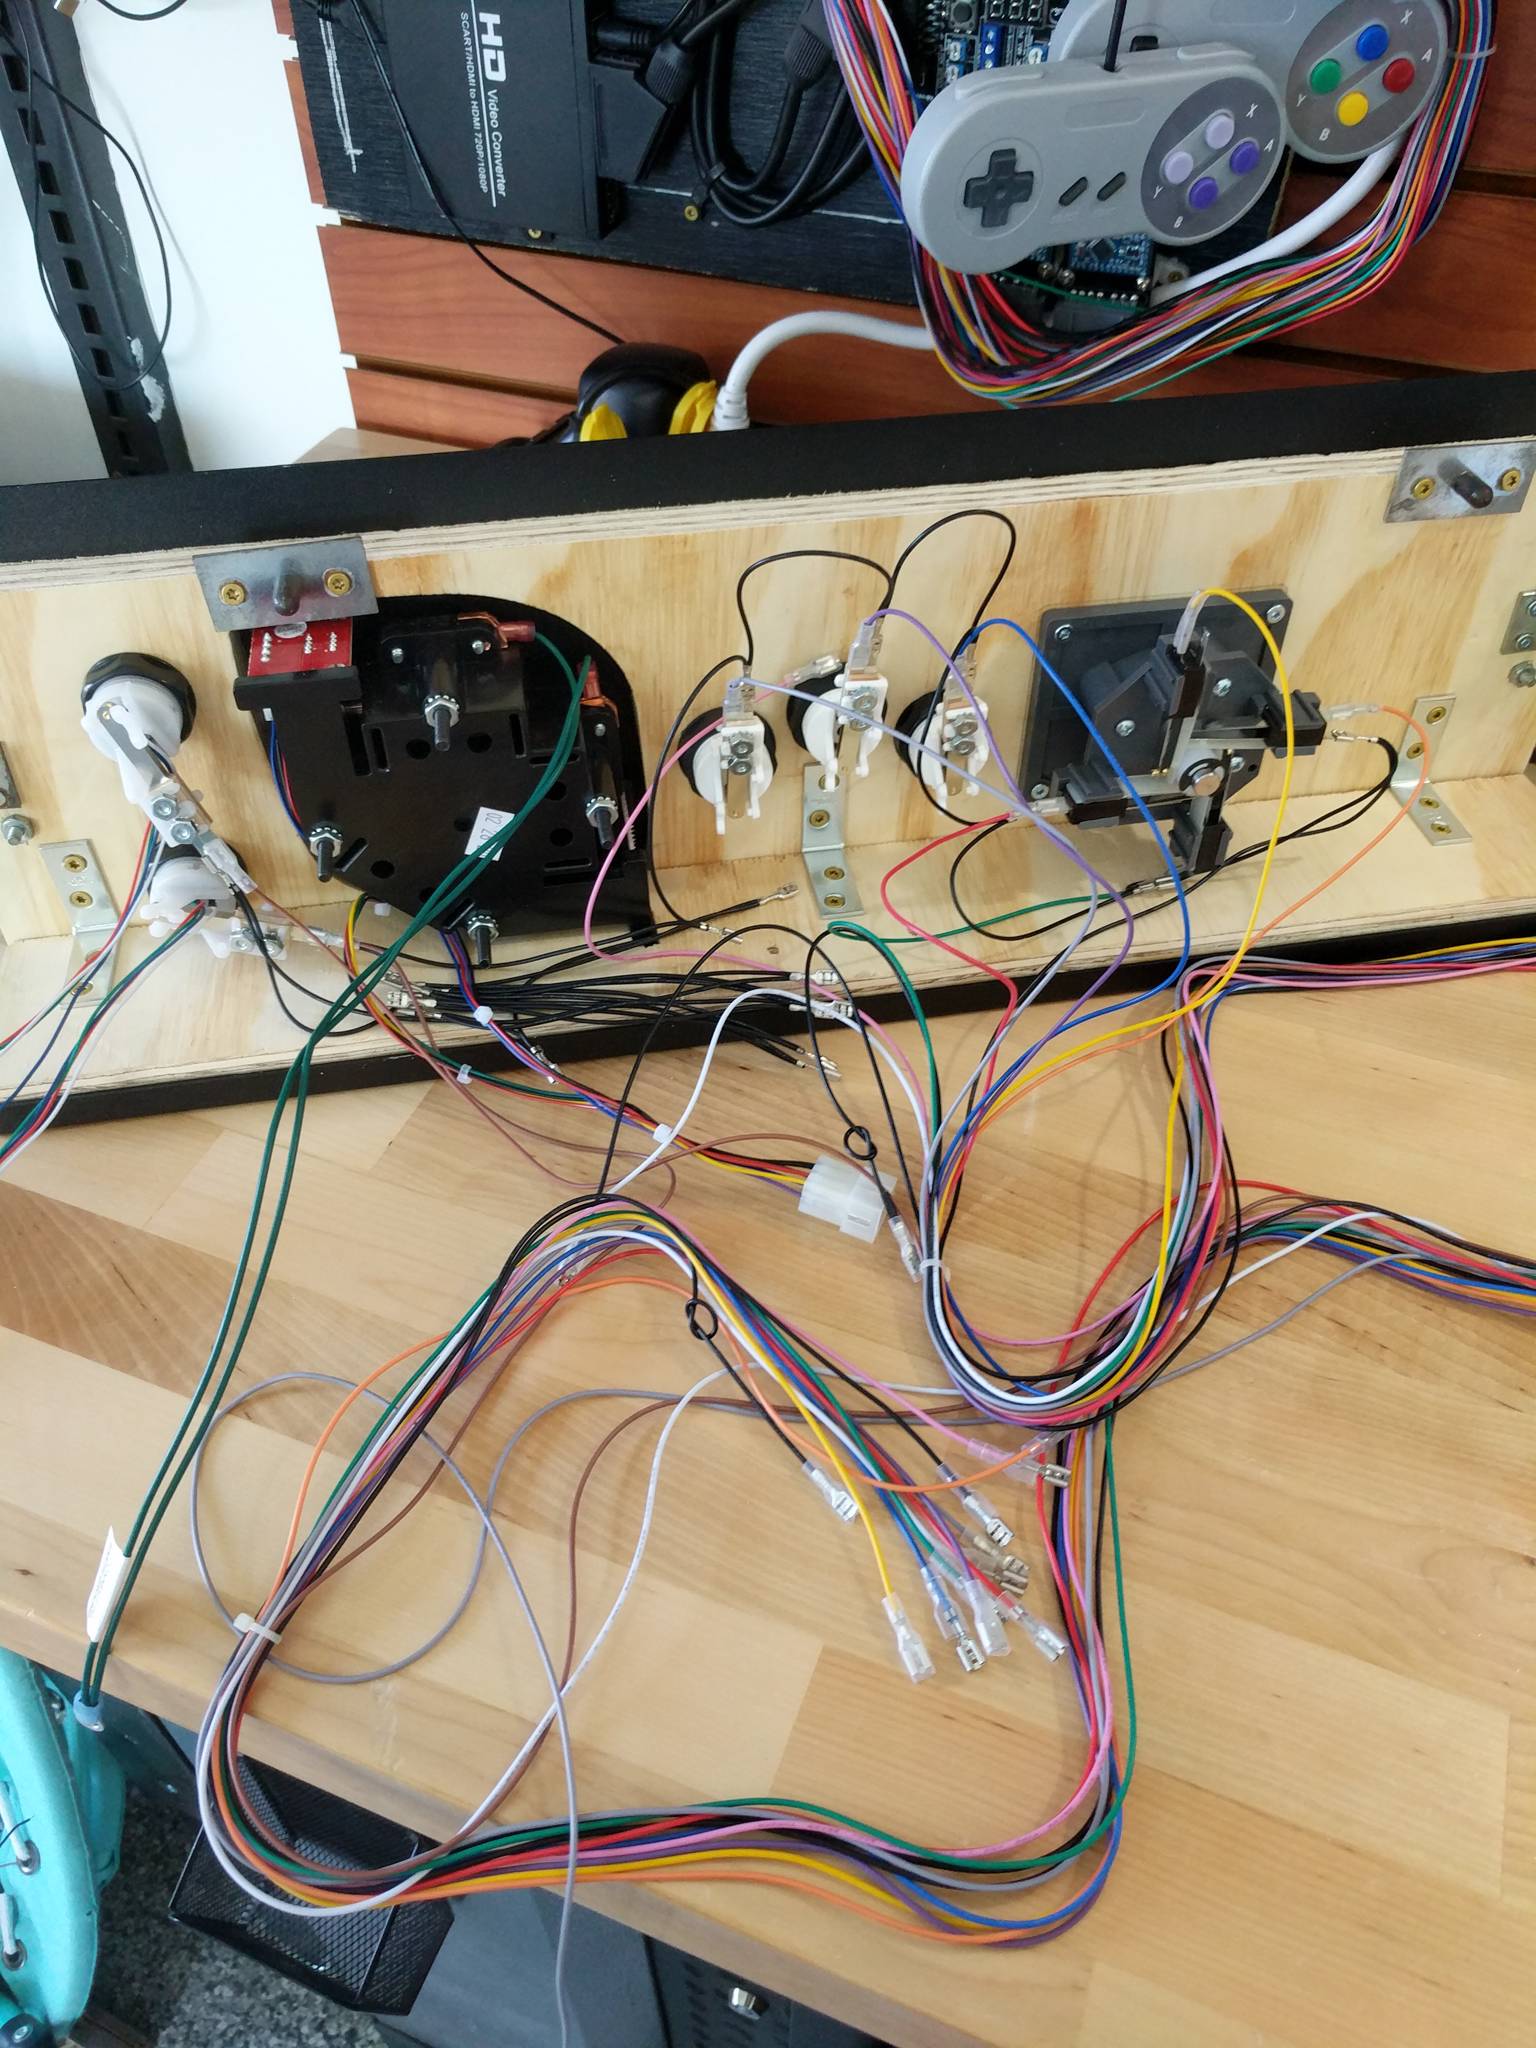
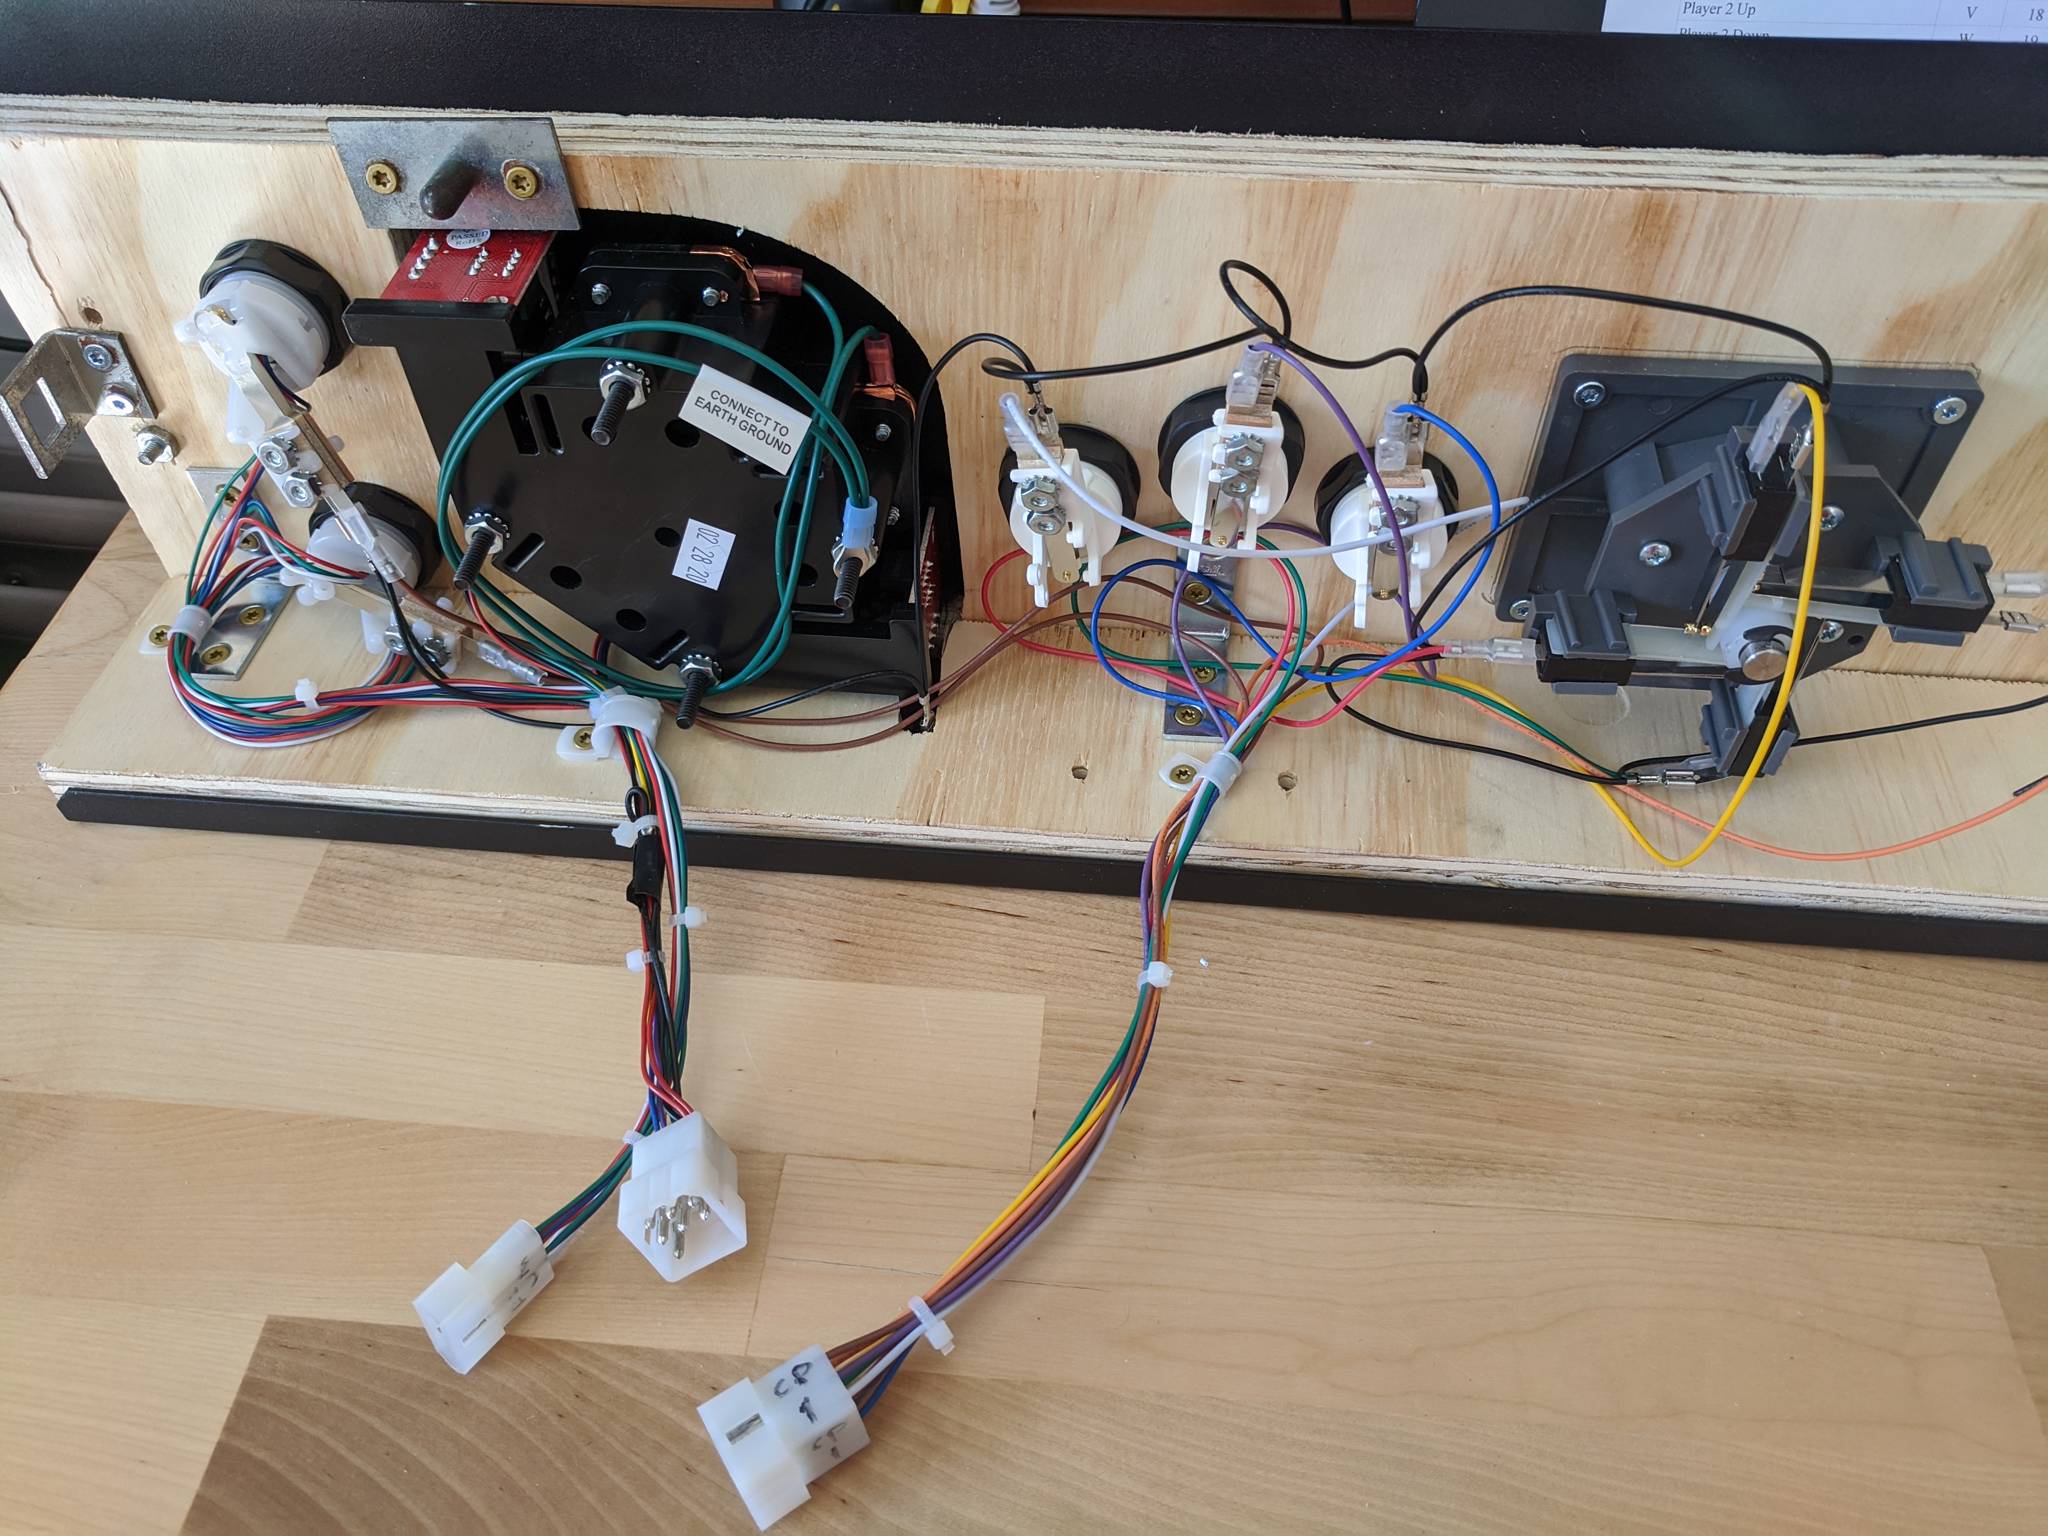
The Phoenix Arcade Multicade package included a nice metal control panel that is an exact fit for Midway cabinets. It includes precut holes for a joystick, three action buttons, a trackball, and two player start buttons. I ended up making custom plywood inserts for the underside so I could utilize the cabinet's original latches and pegs to hold the control panel in place.


The Multicade package also included CPO overlay graphics matching the rest of the artwork.
All the new controls use leaf switches, which I've come to prefer over microswitches for their quietness and "softer" feel, which matches the feel of cabinets from that era.
The joystick is a Wico 4-Way with a yellow ball top. The trackball is the 2¼" Atari/Happ unit. All of these parts are from ArcadeShop.
The action buttons are the CLASSX True-Leaf Pro line from GroovyGameGear.
The game board I planned to use would support blinking start buttons, so I got two of the Electric ICE 2 pushbuttons, again from GroovyGameGear. When enough credits are deposited, the 1 player or 2 player buttons blink!


Marquee and T-Molding
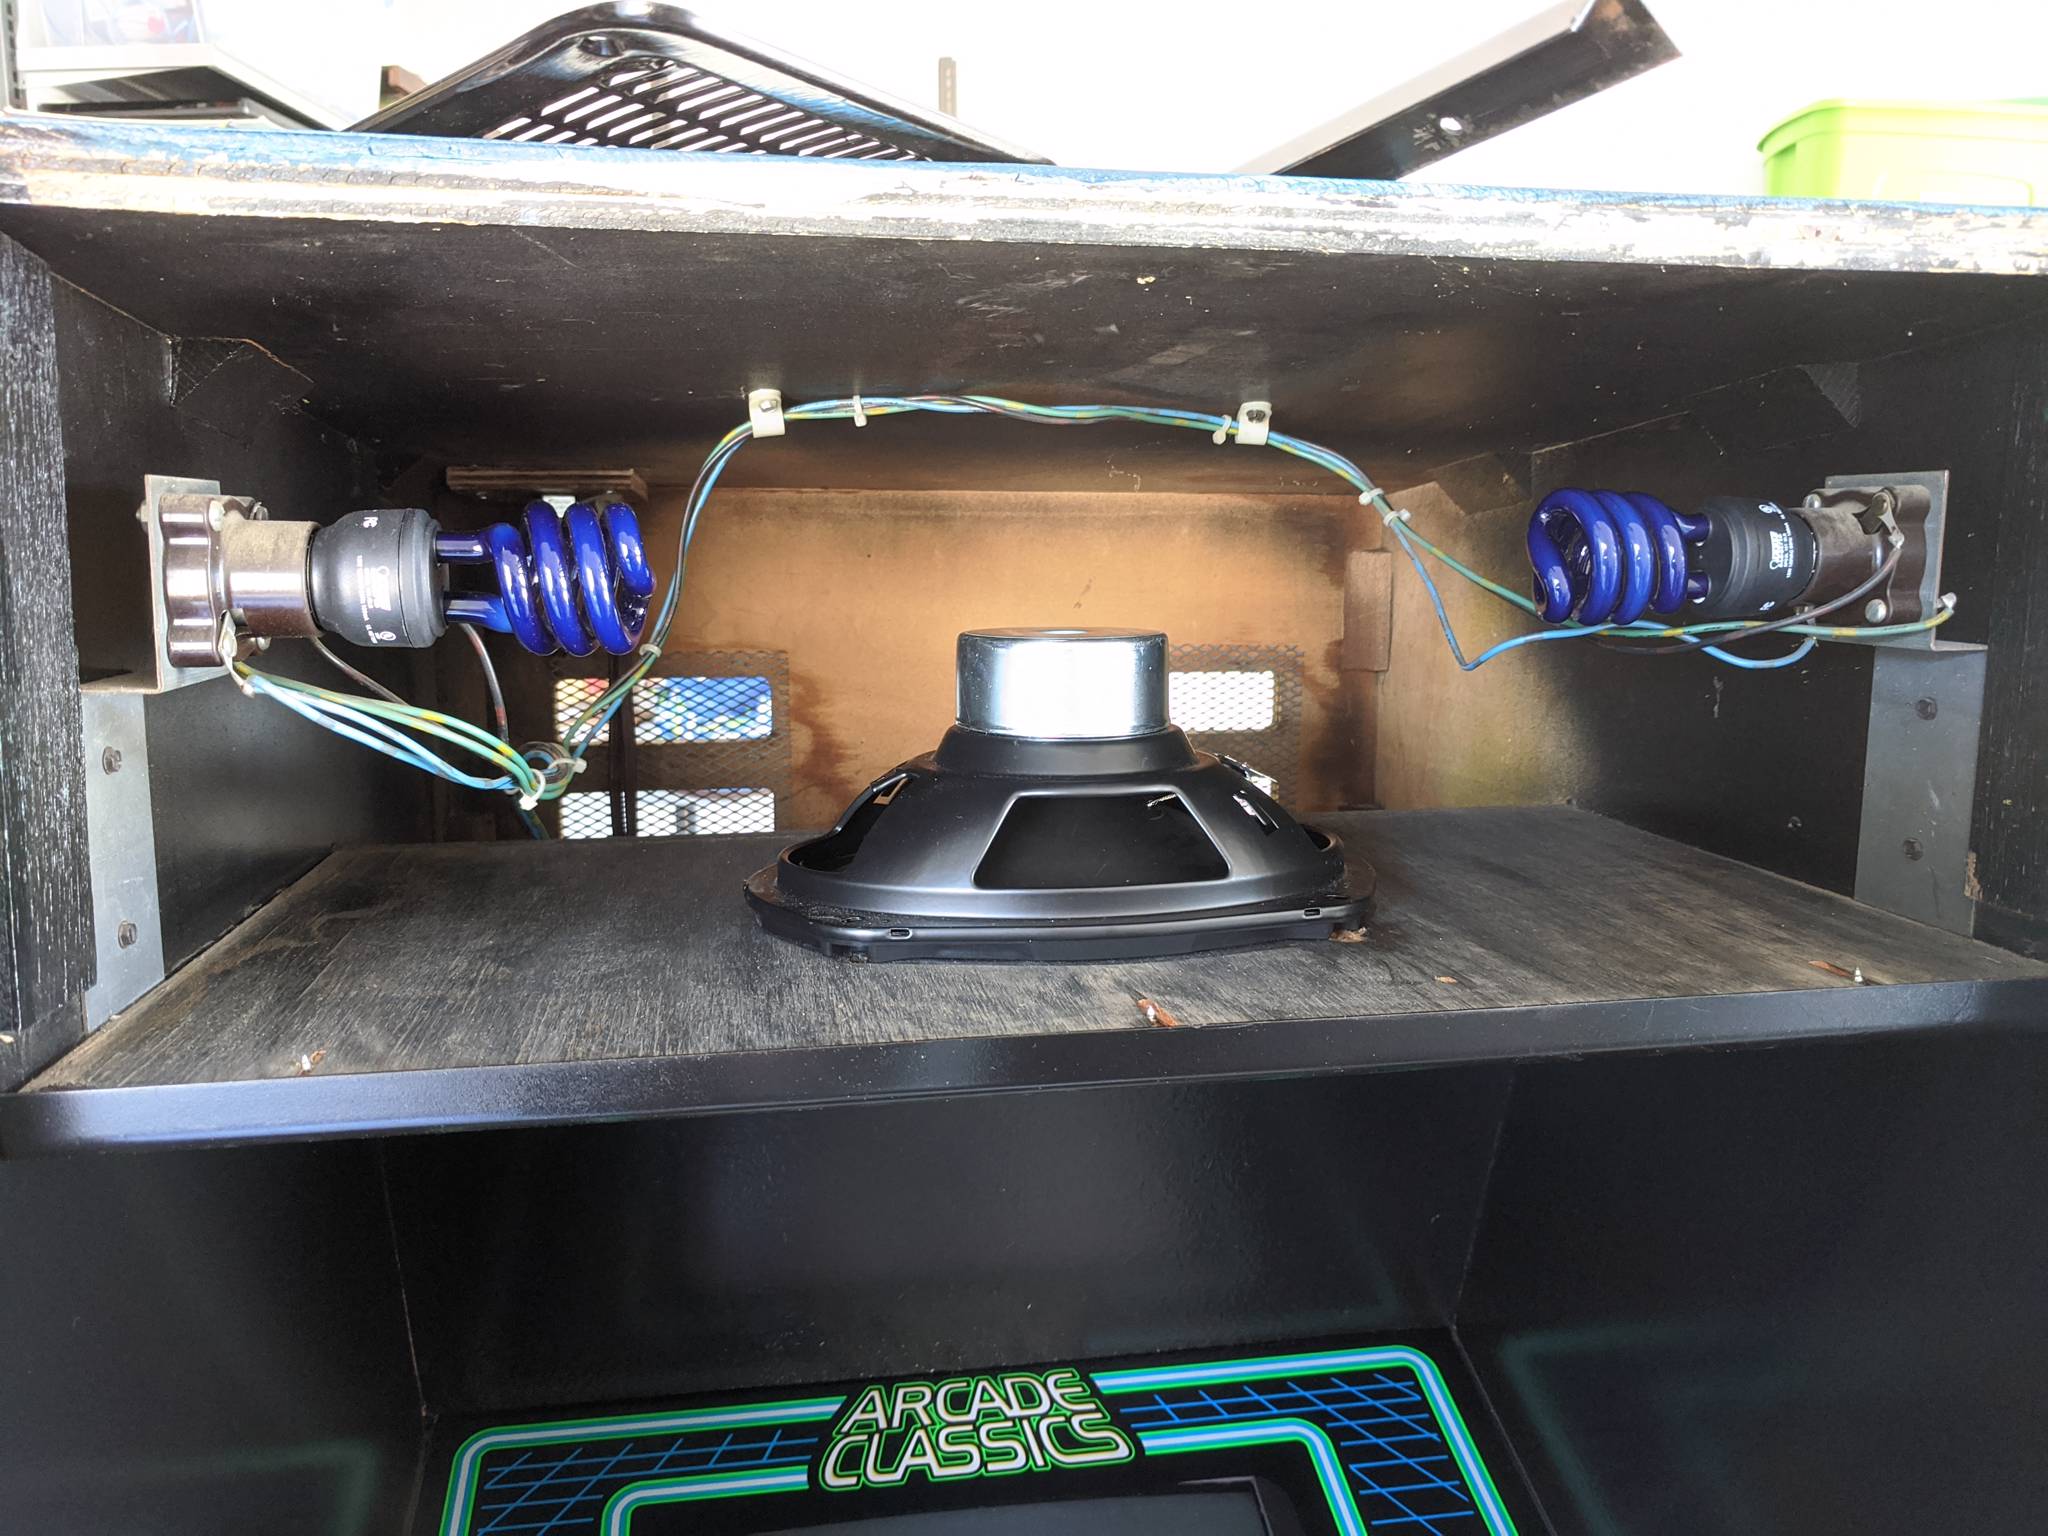
The Phoenix Arcade Multicade package included a UV reactive marquee, so I decided to throw in two blacklight bulbs instead of regular bulbs. Although it's not very noticeable in daylight, it lights up great at night.
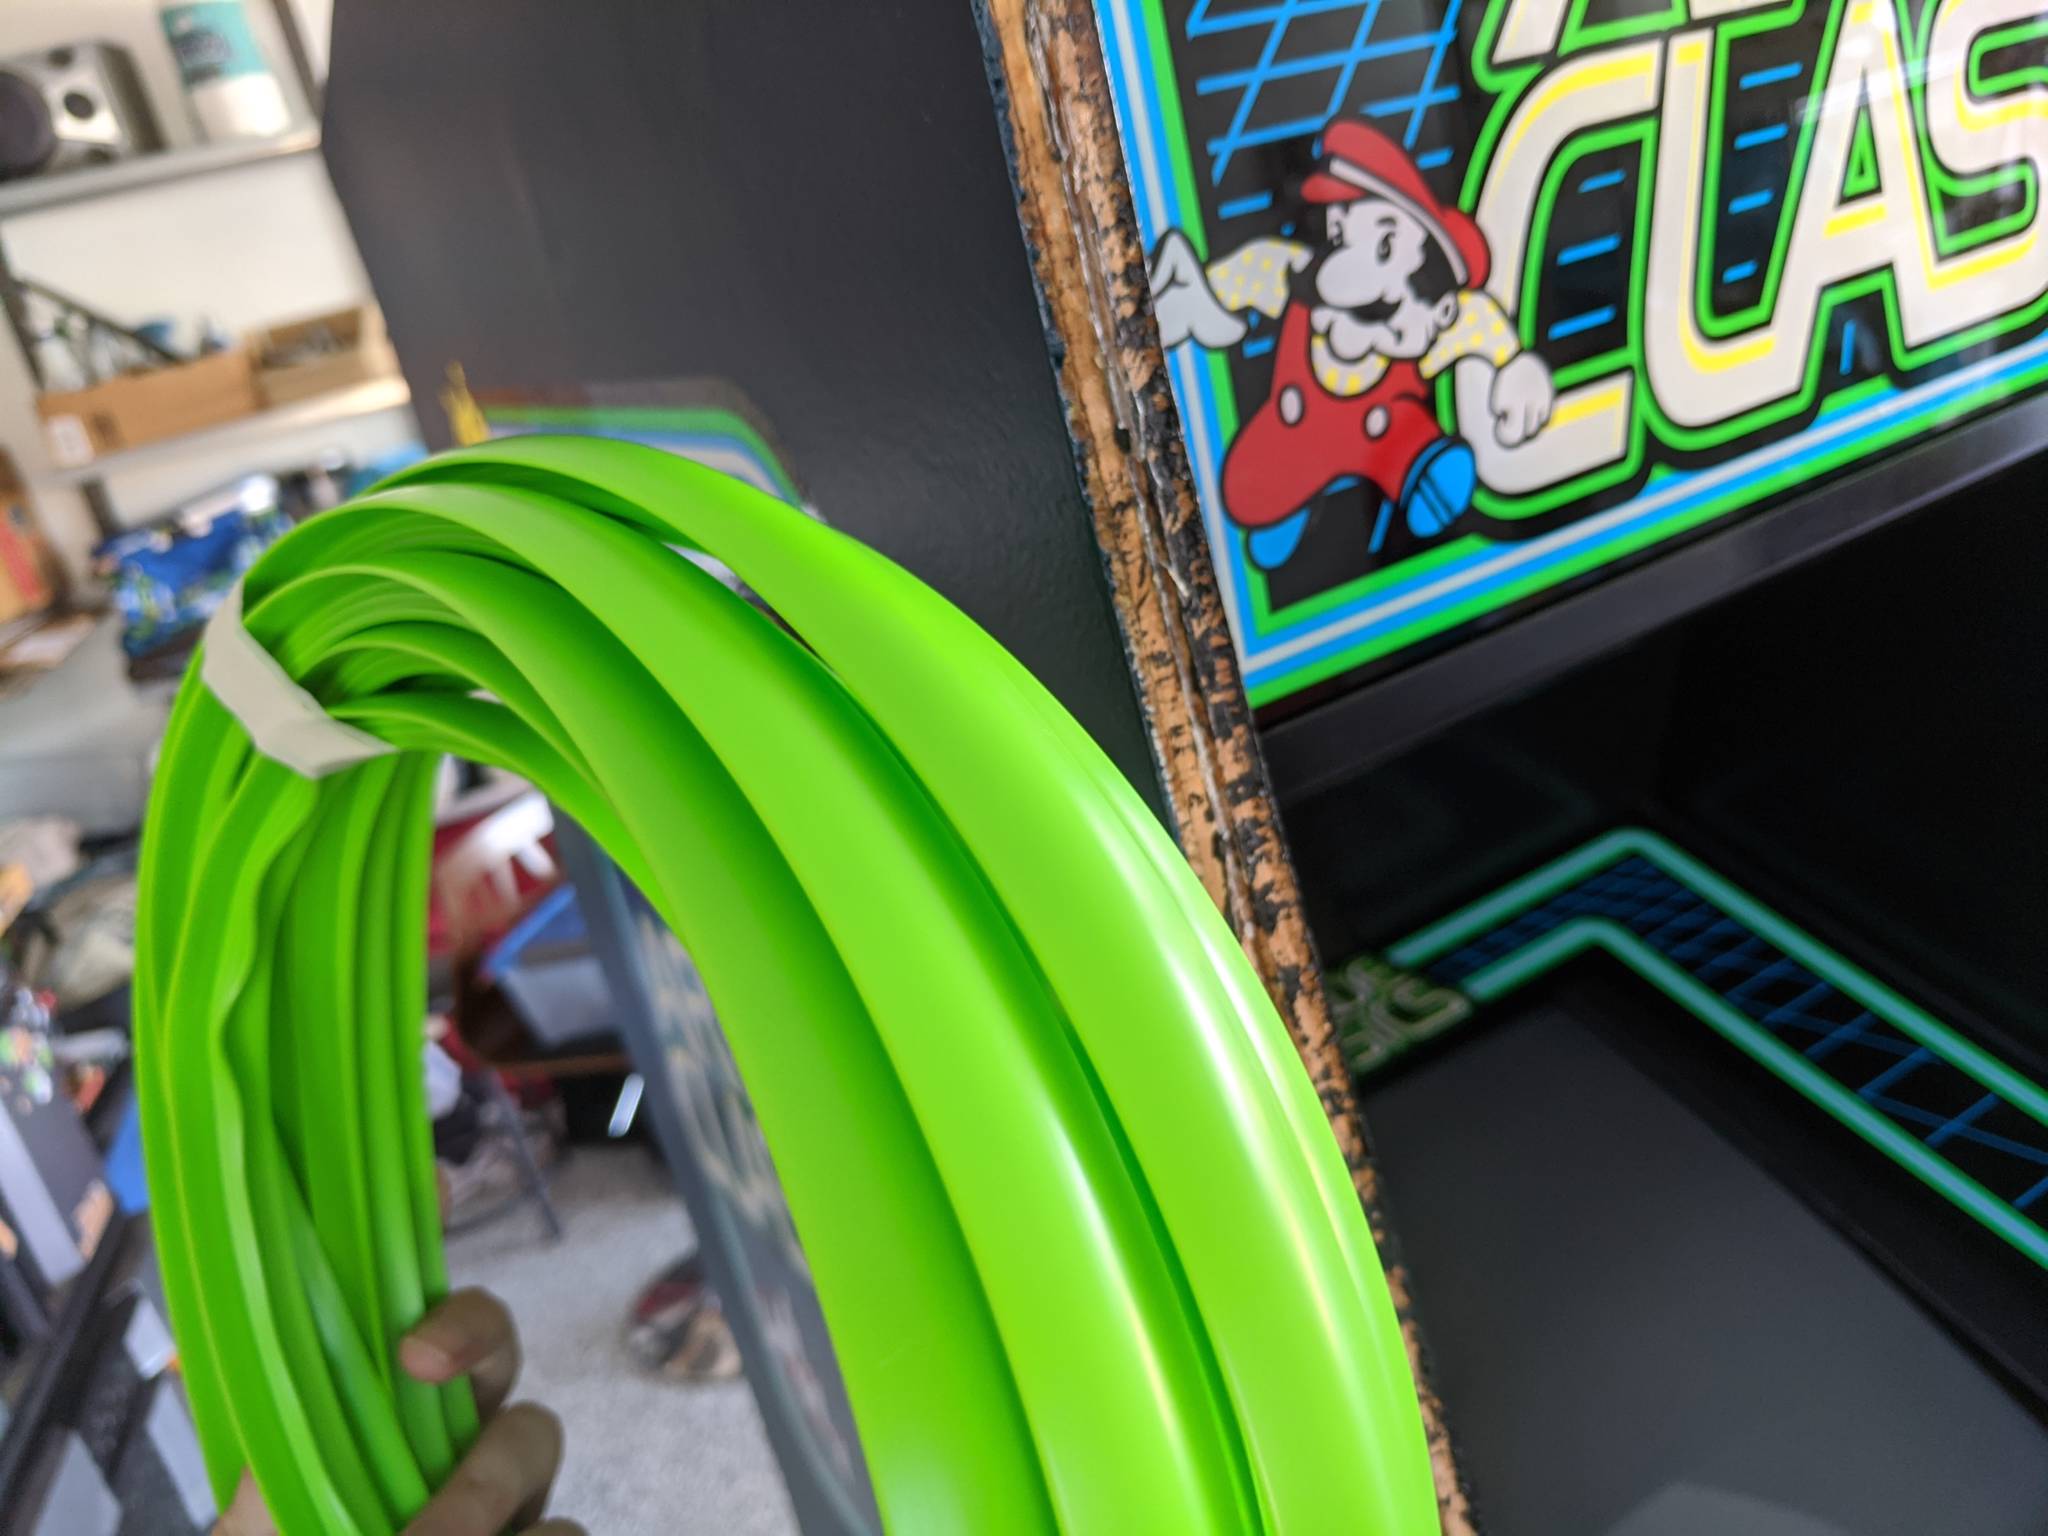
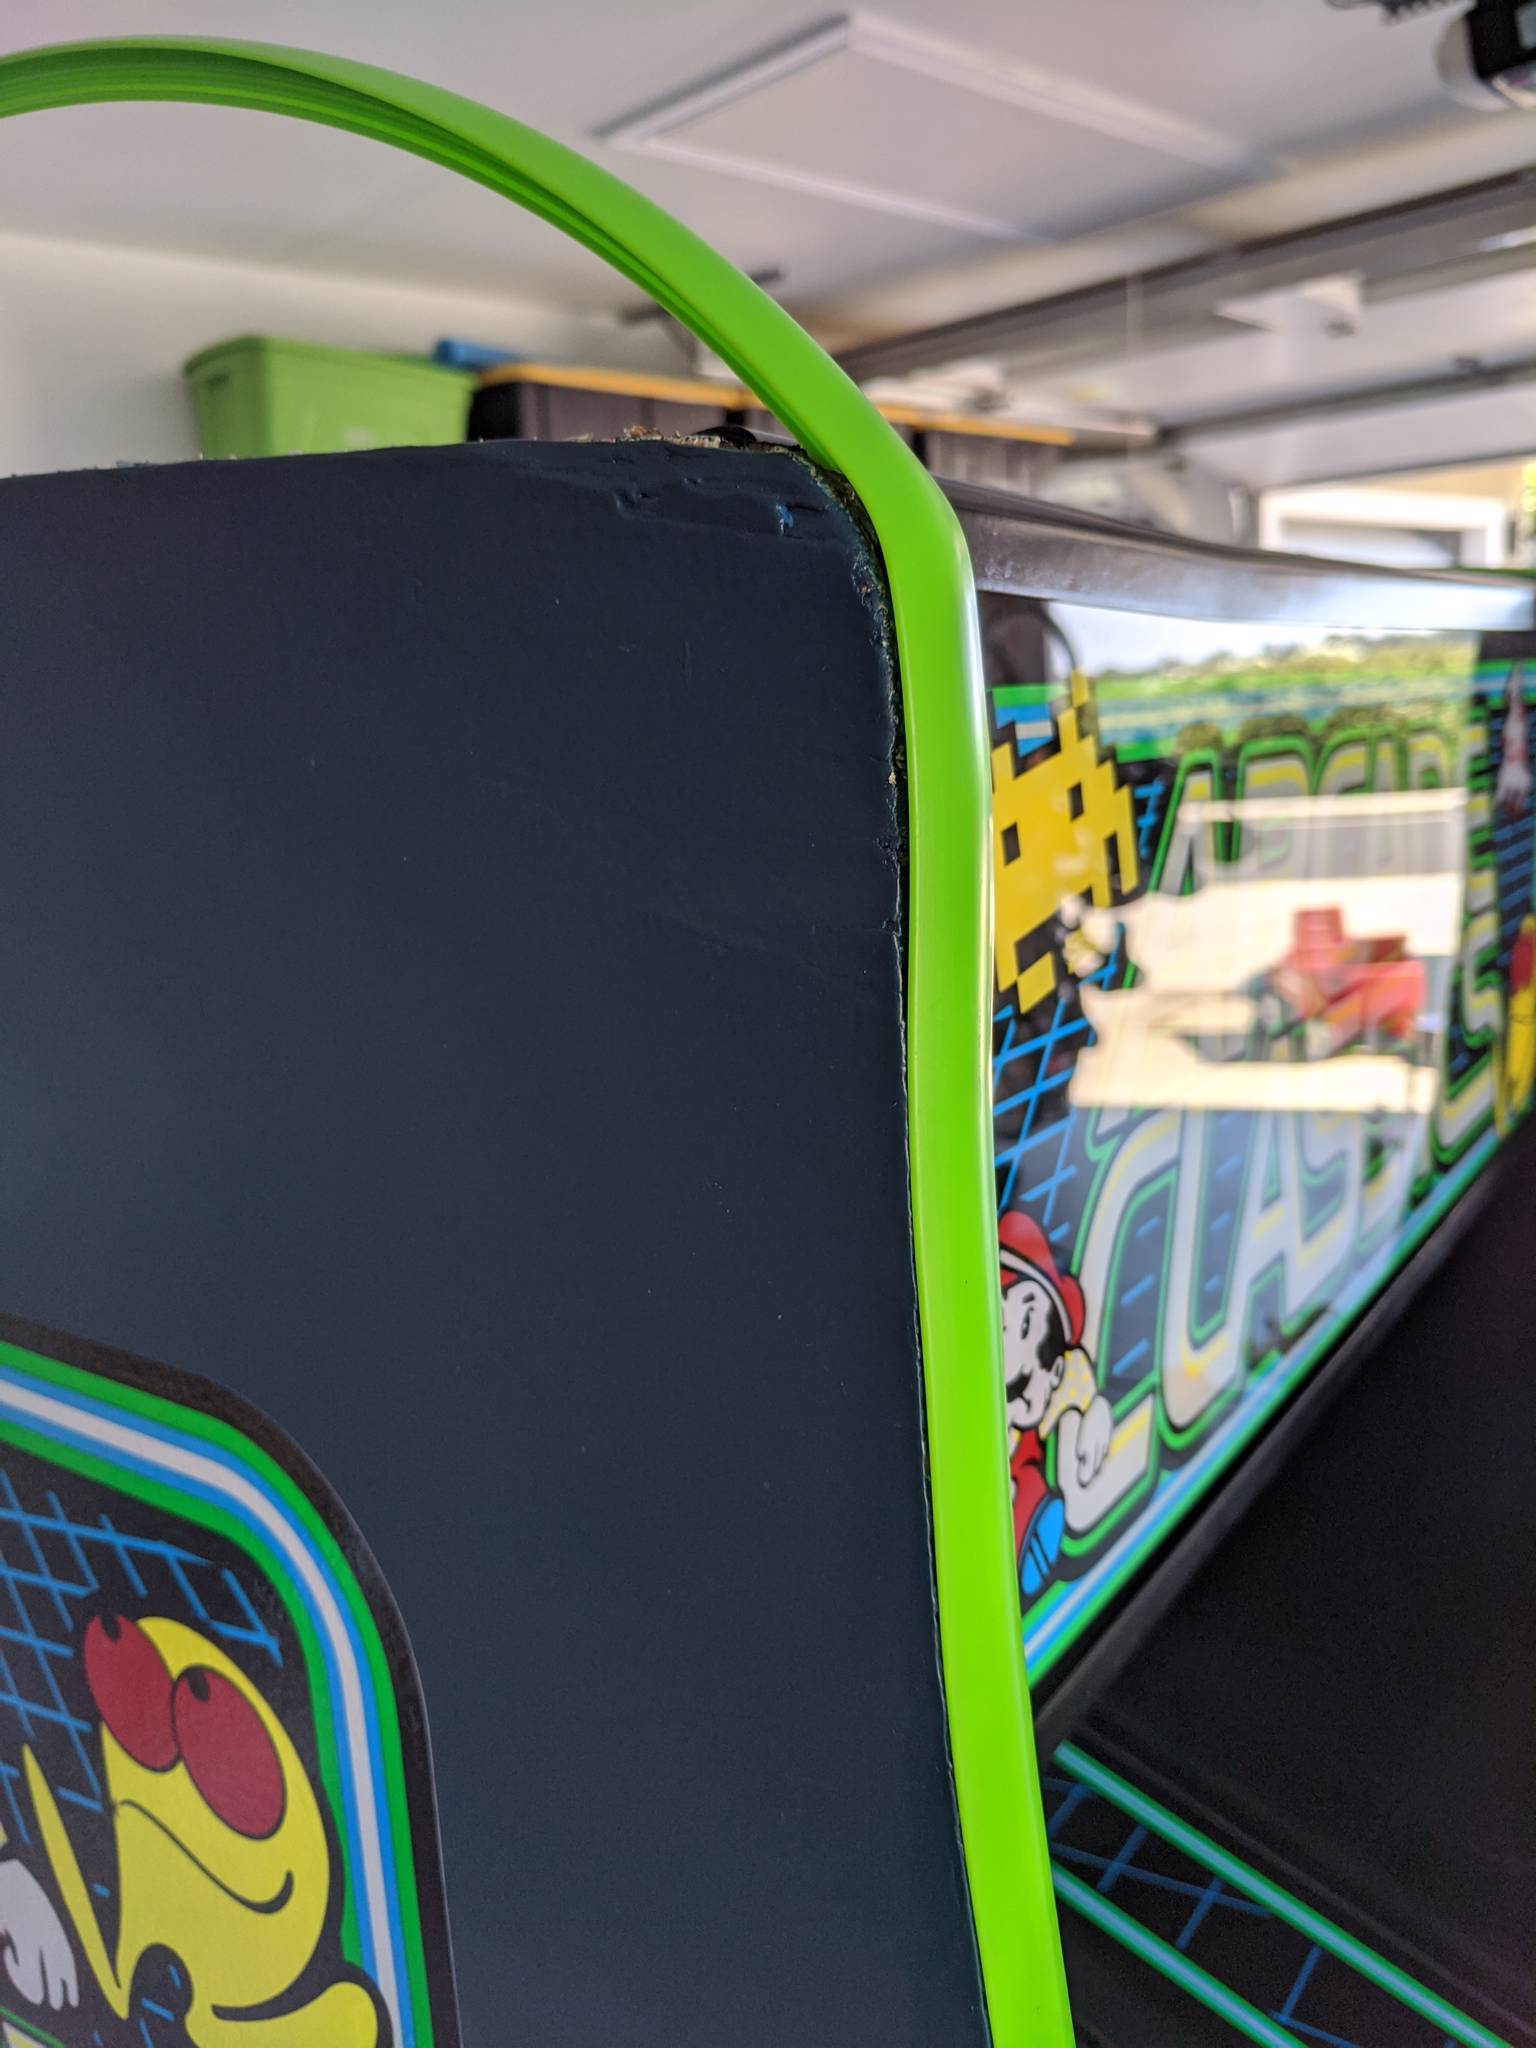
In keeping with the UV reactive theme, I chose green UV reactive T-molding from ArcadeShop. I think I would have preferred white T-molding, but I couldn't find any that was UV reactive. It does look great under a blacklight.
Monitor
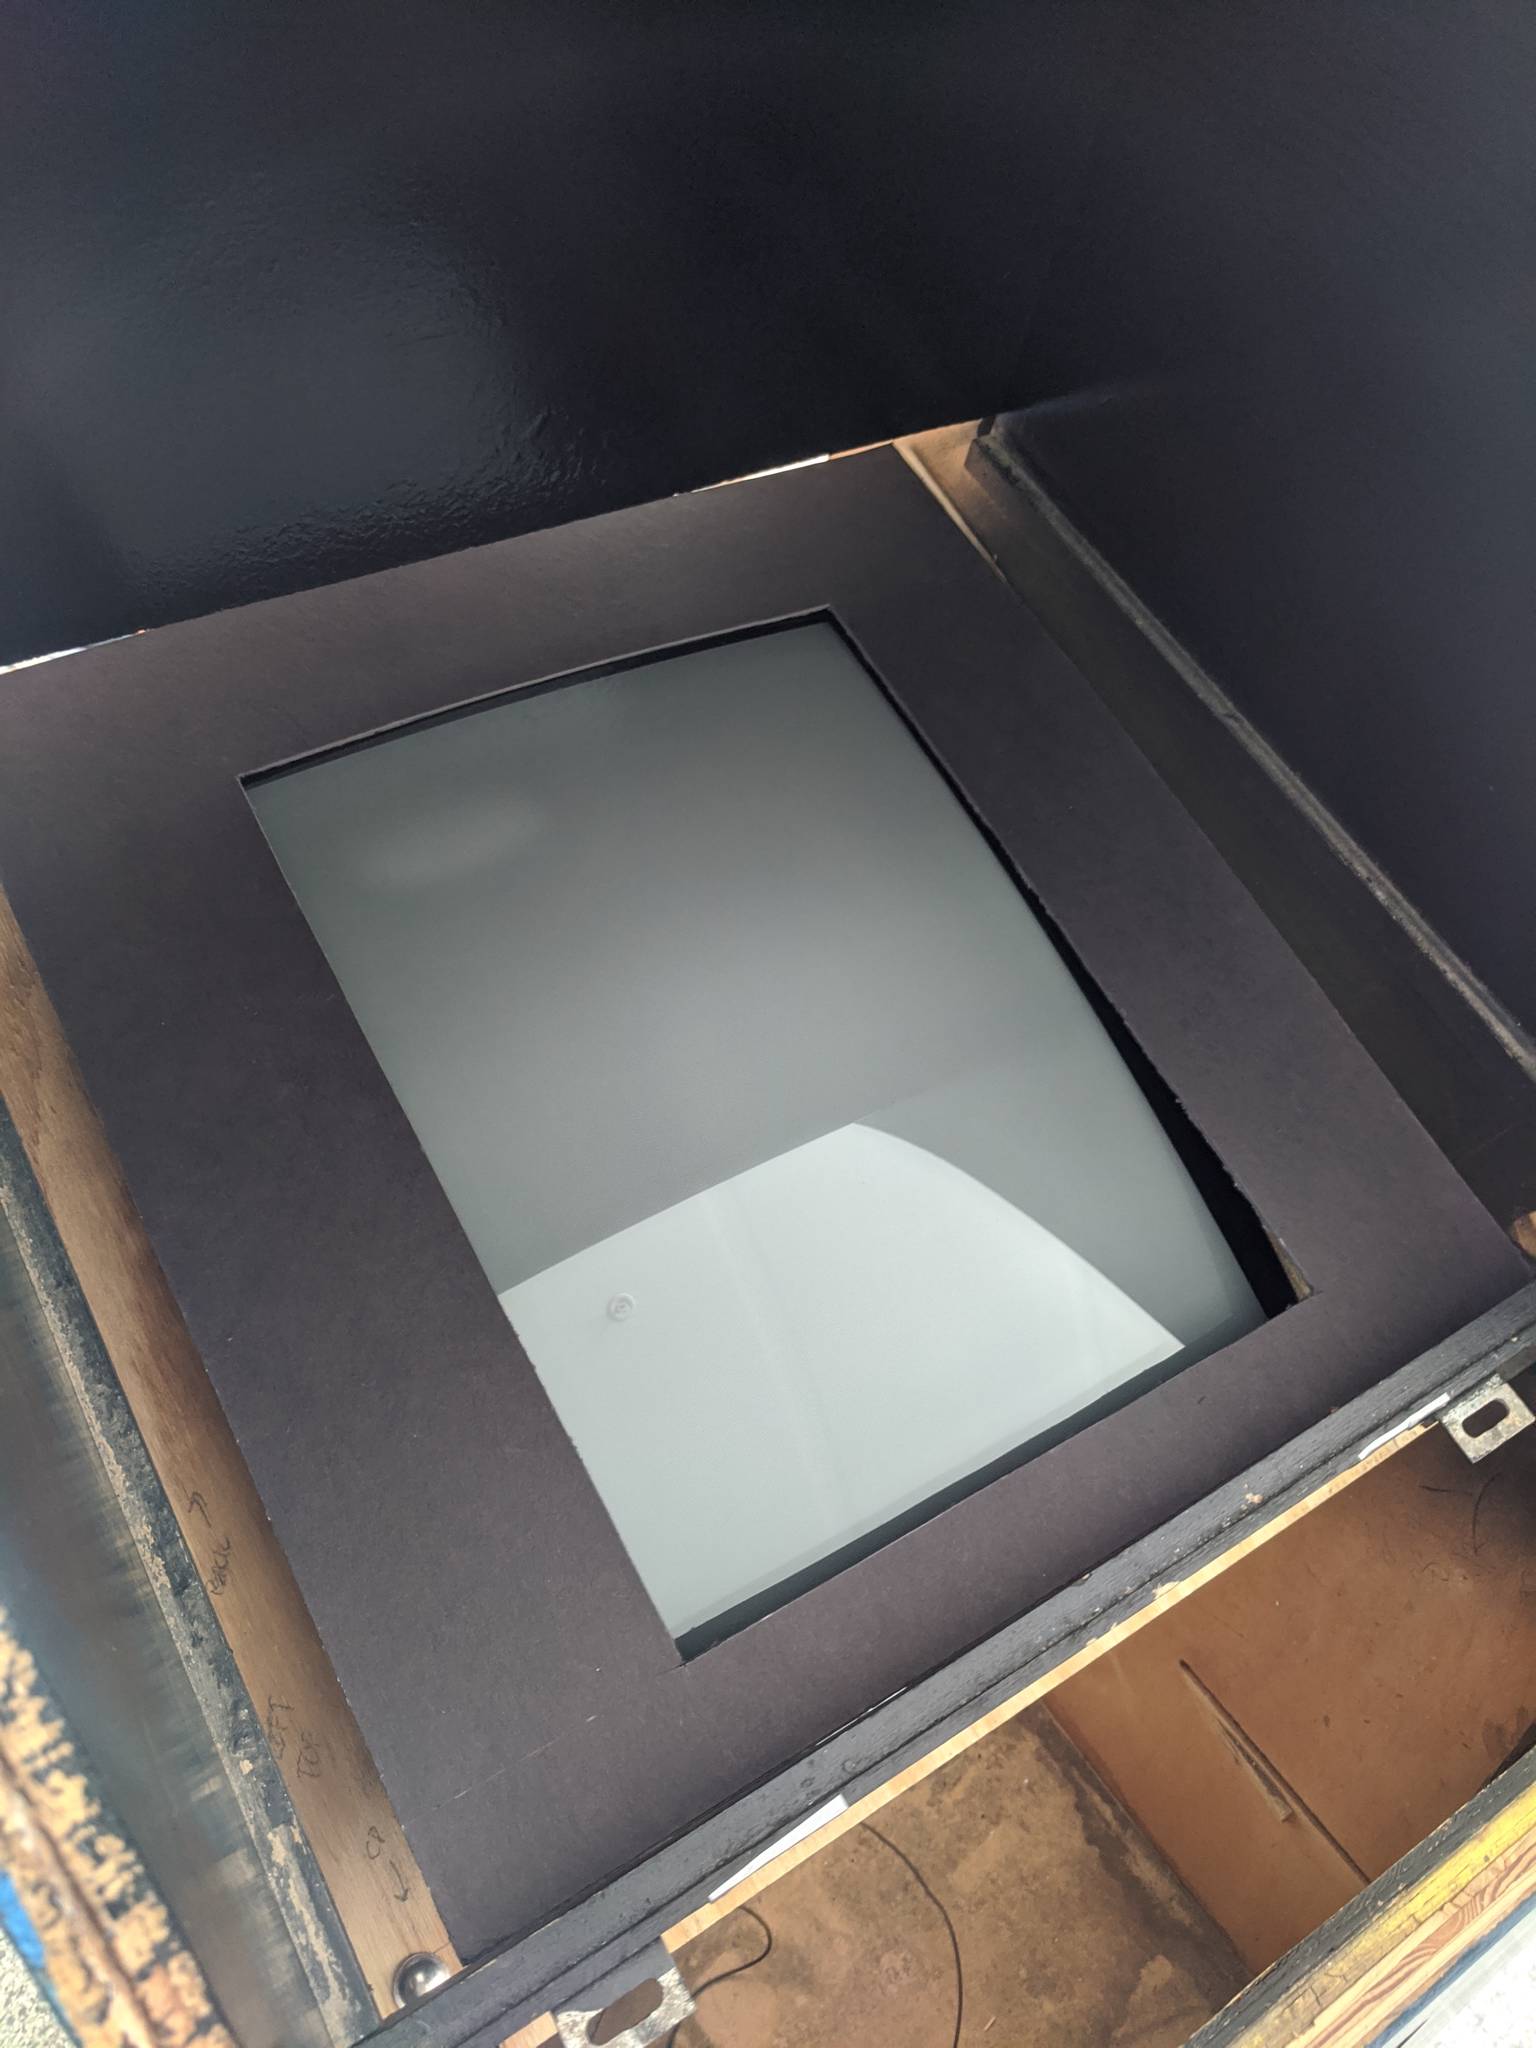
I had been saving one last NOS CRT for this project. A couple years ago, I was lucky enough to find three new-in-box 21" NOS CRTs (WEI-YA M2621H) on eBay. I used one in my Multi-Williams cabinet and another in my Galaxian, and this was the last of the three.
I couldn't be happier with these monitors. My only regret is that I didn't order a couple more! The colors are fantastic, and the onboard isolation transformer means that I don't need a large "power board" at the bottom of the cabinet.
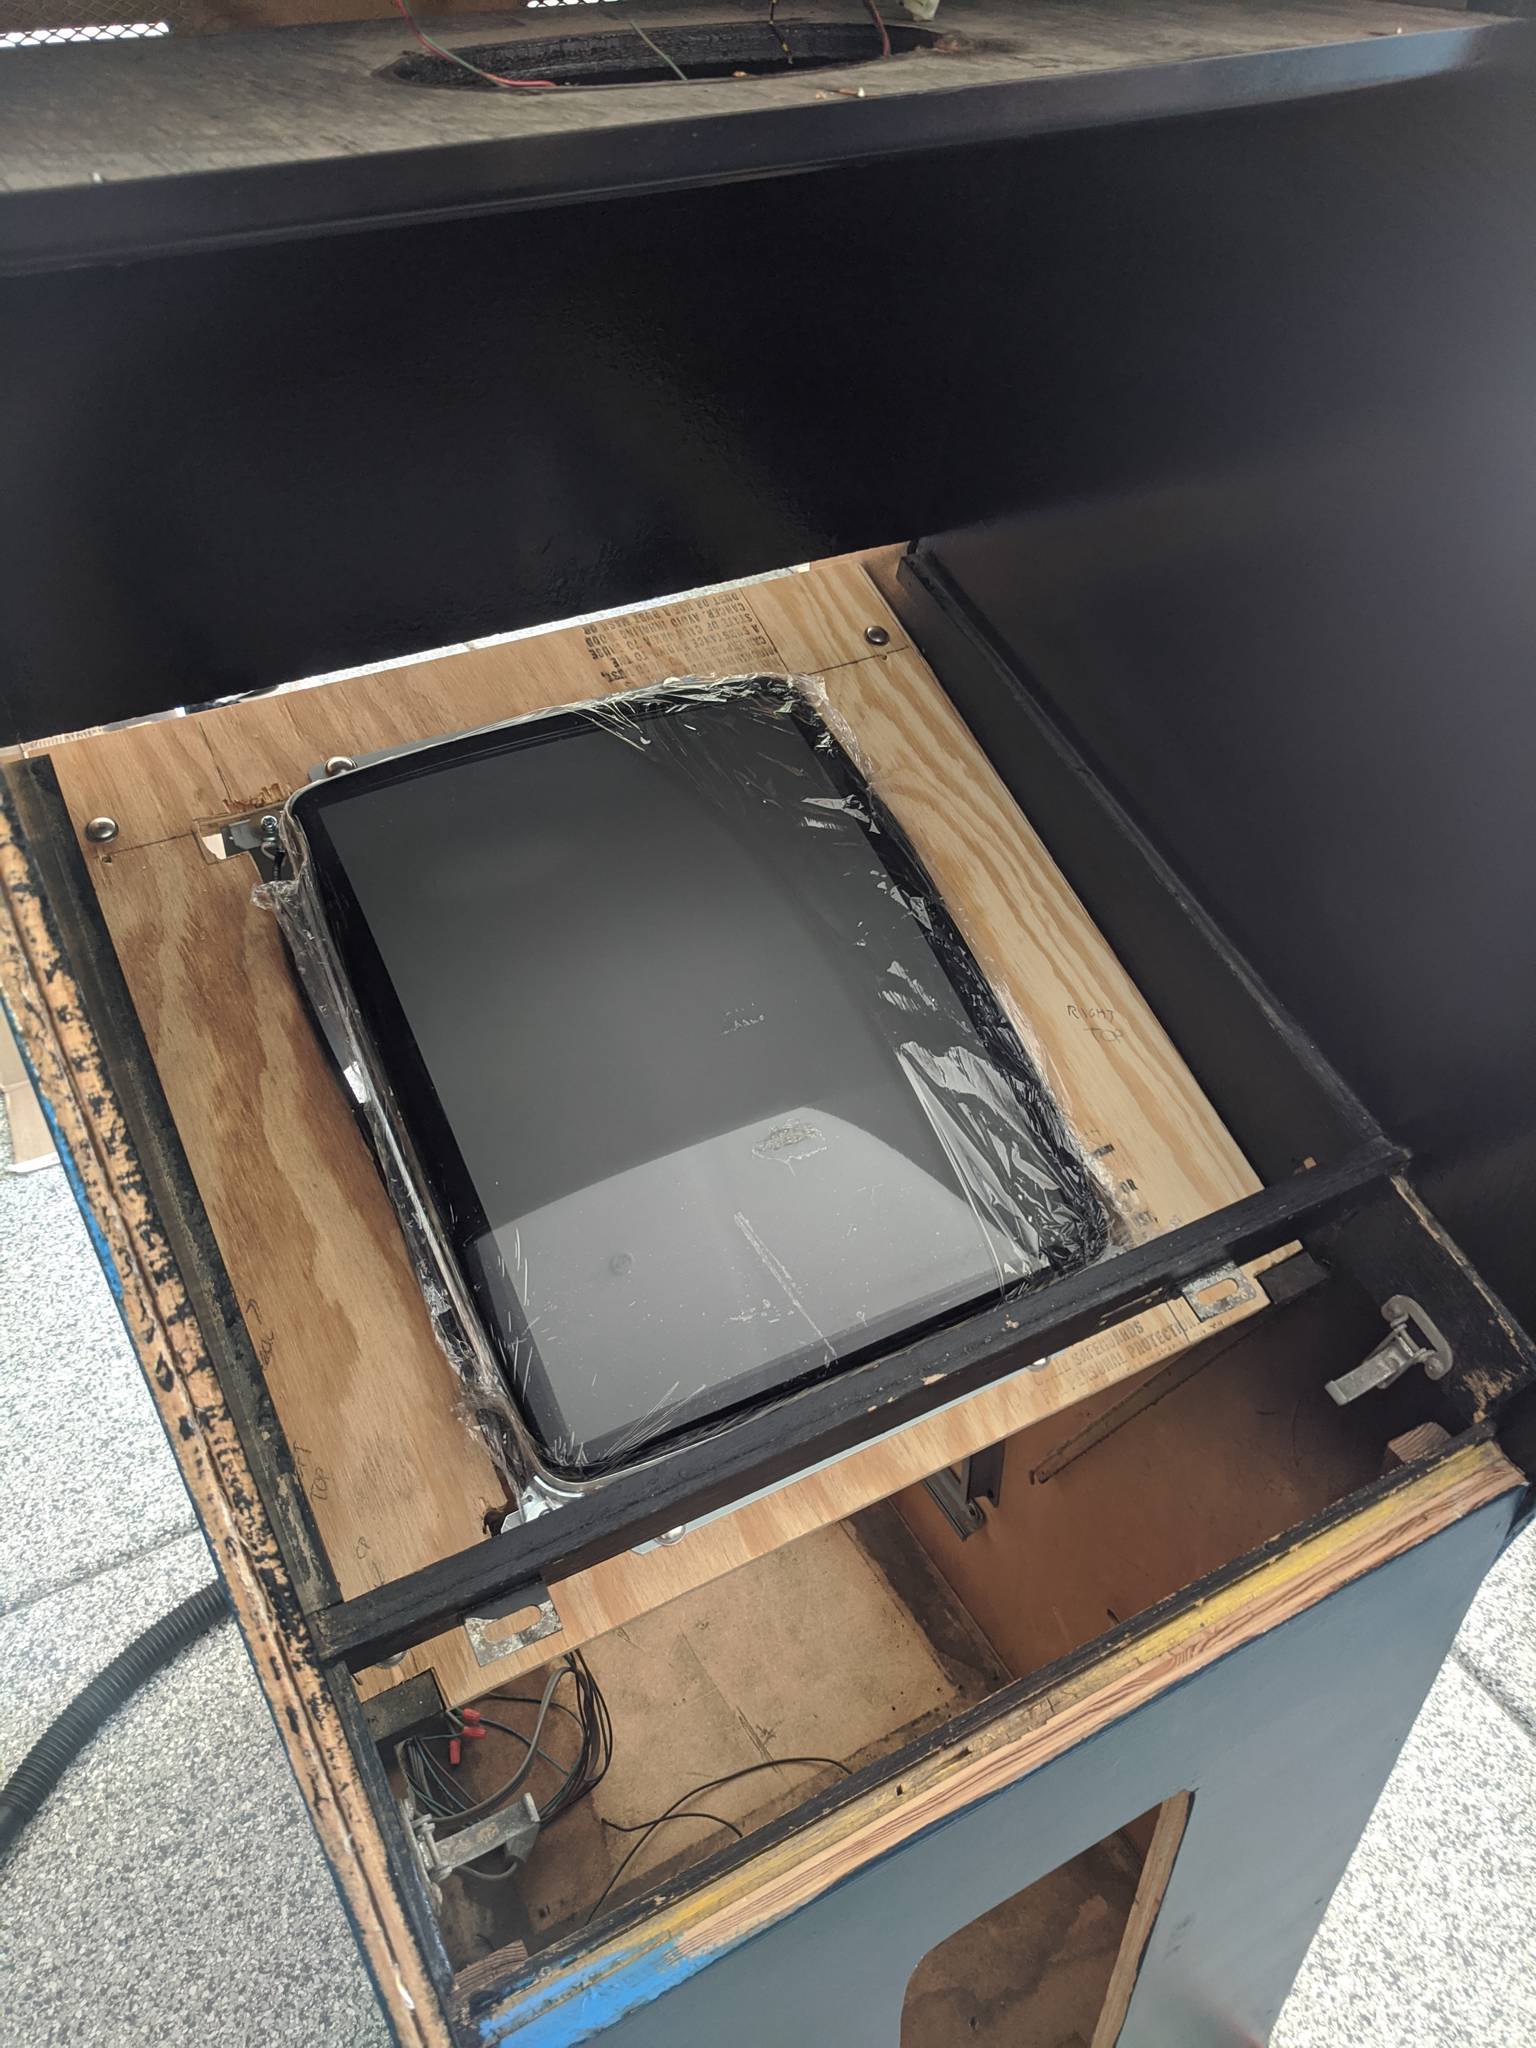
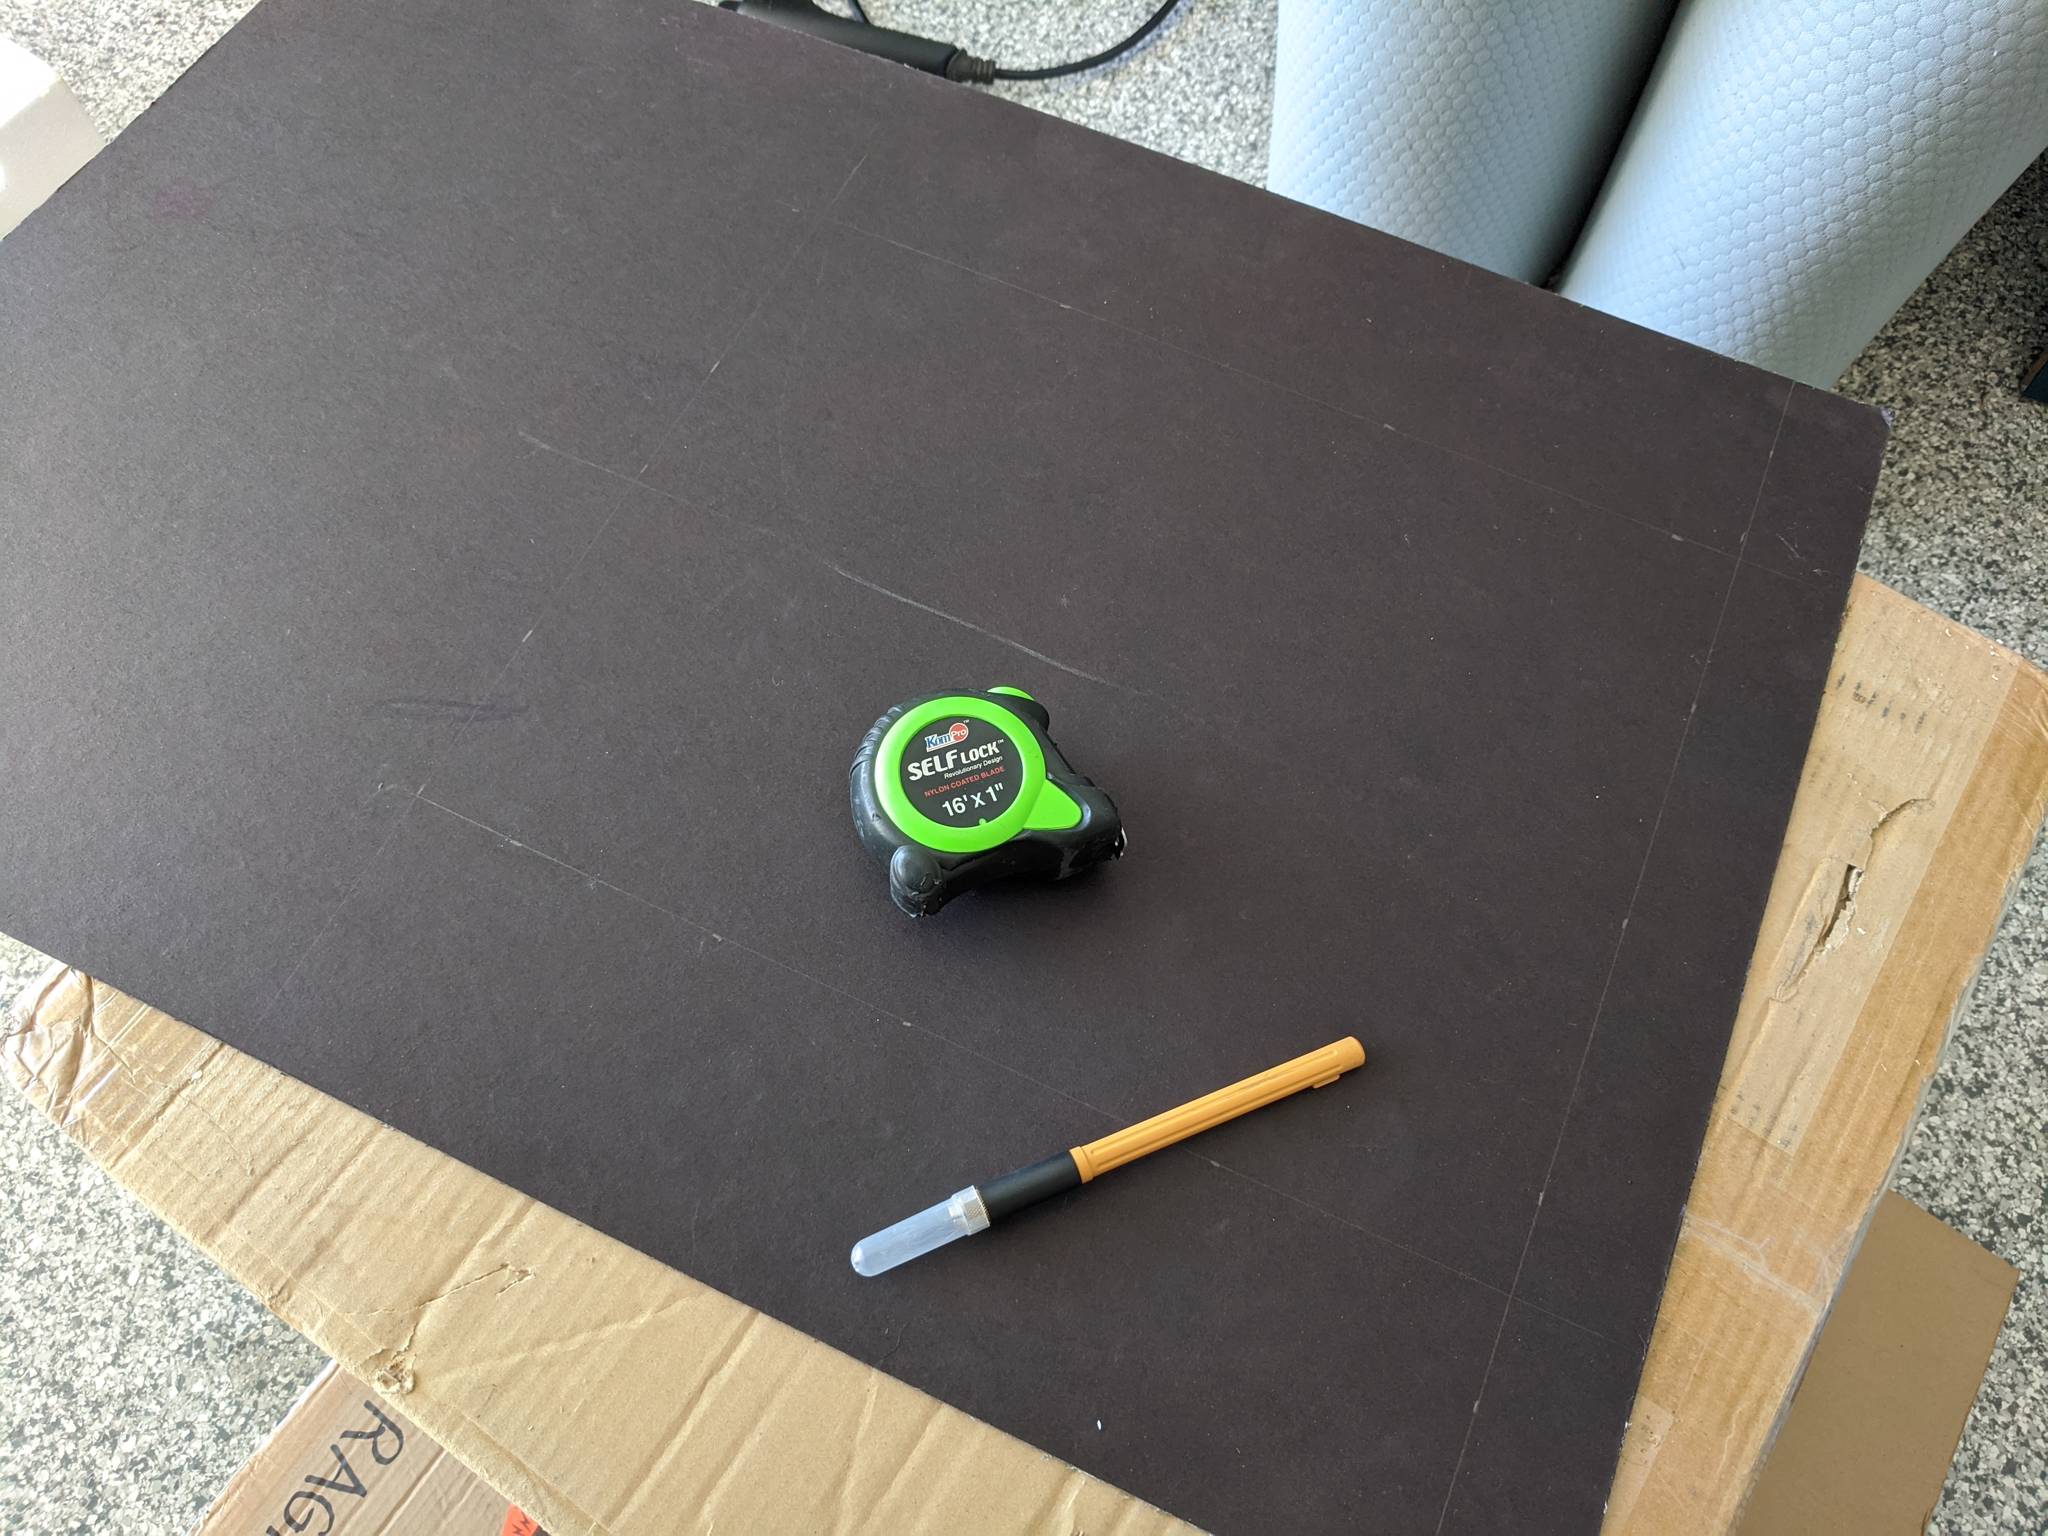
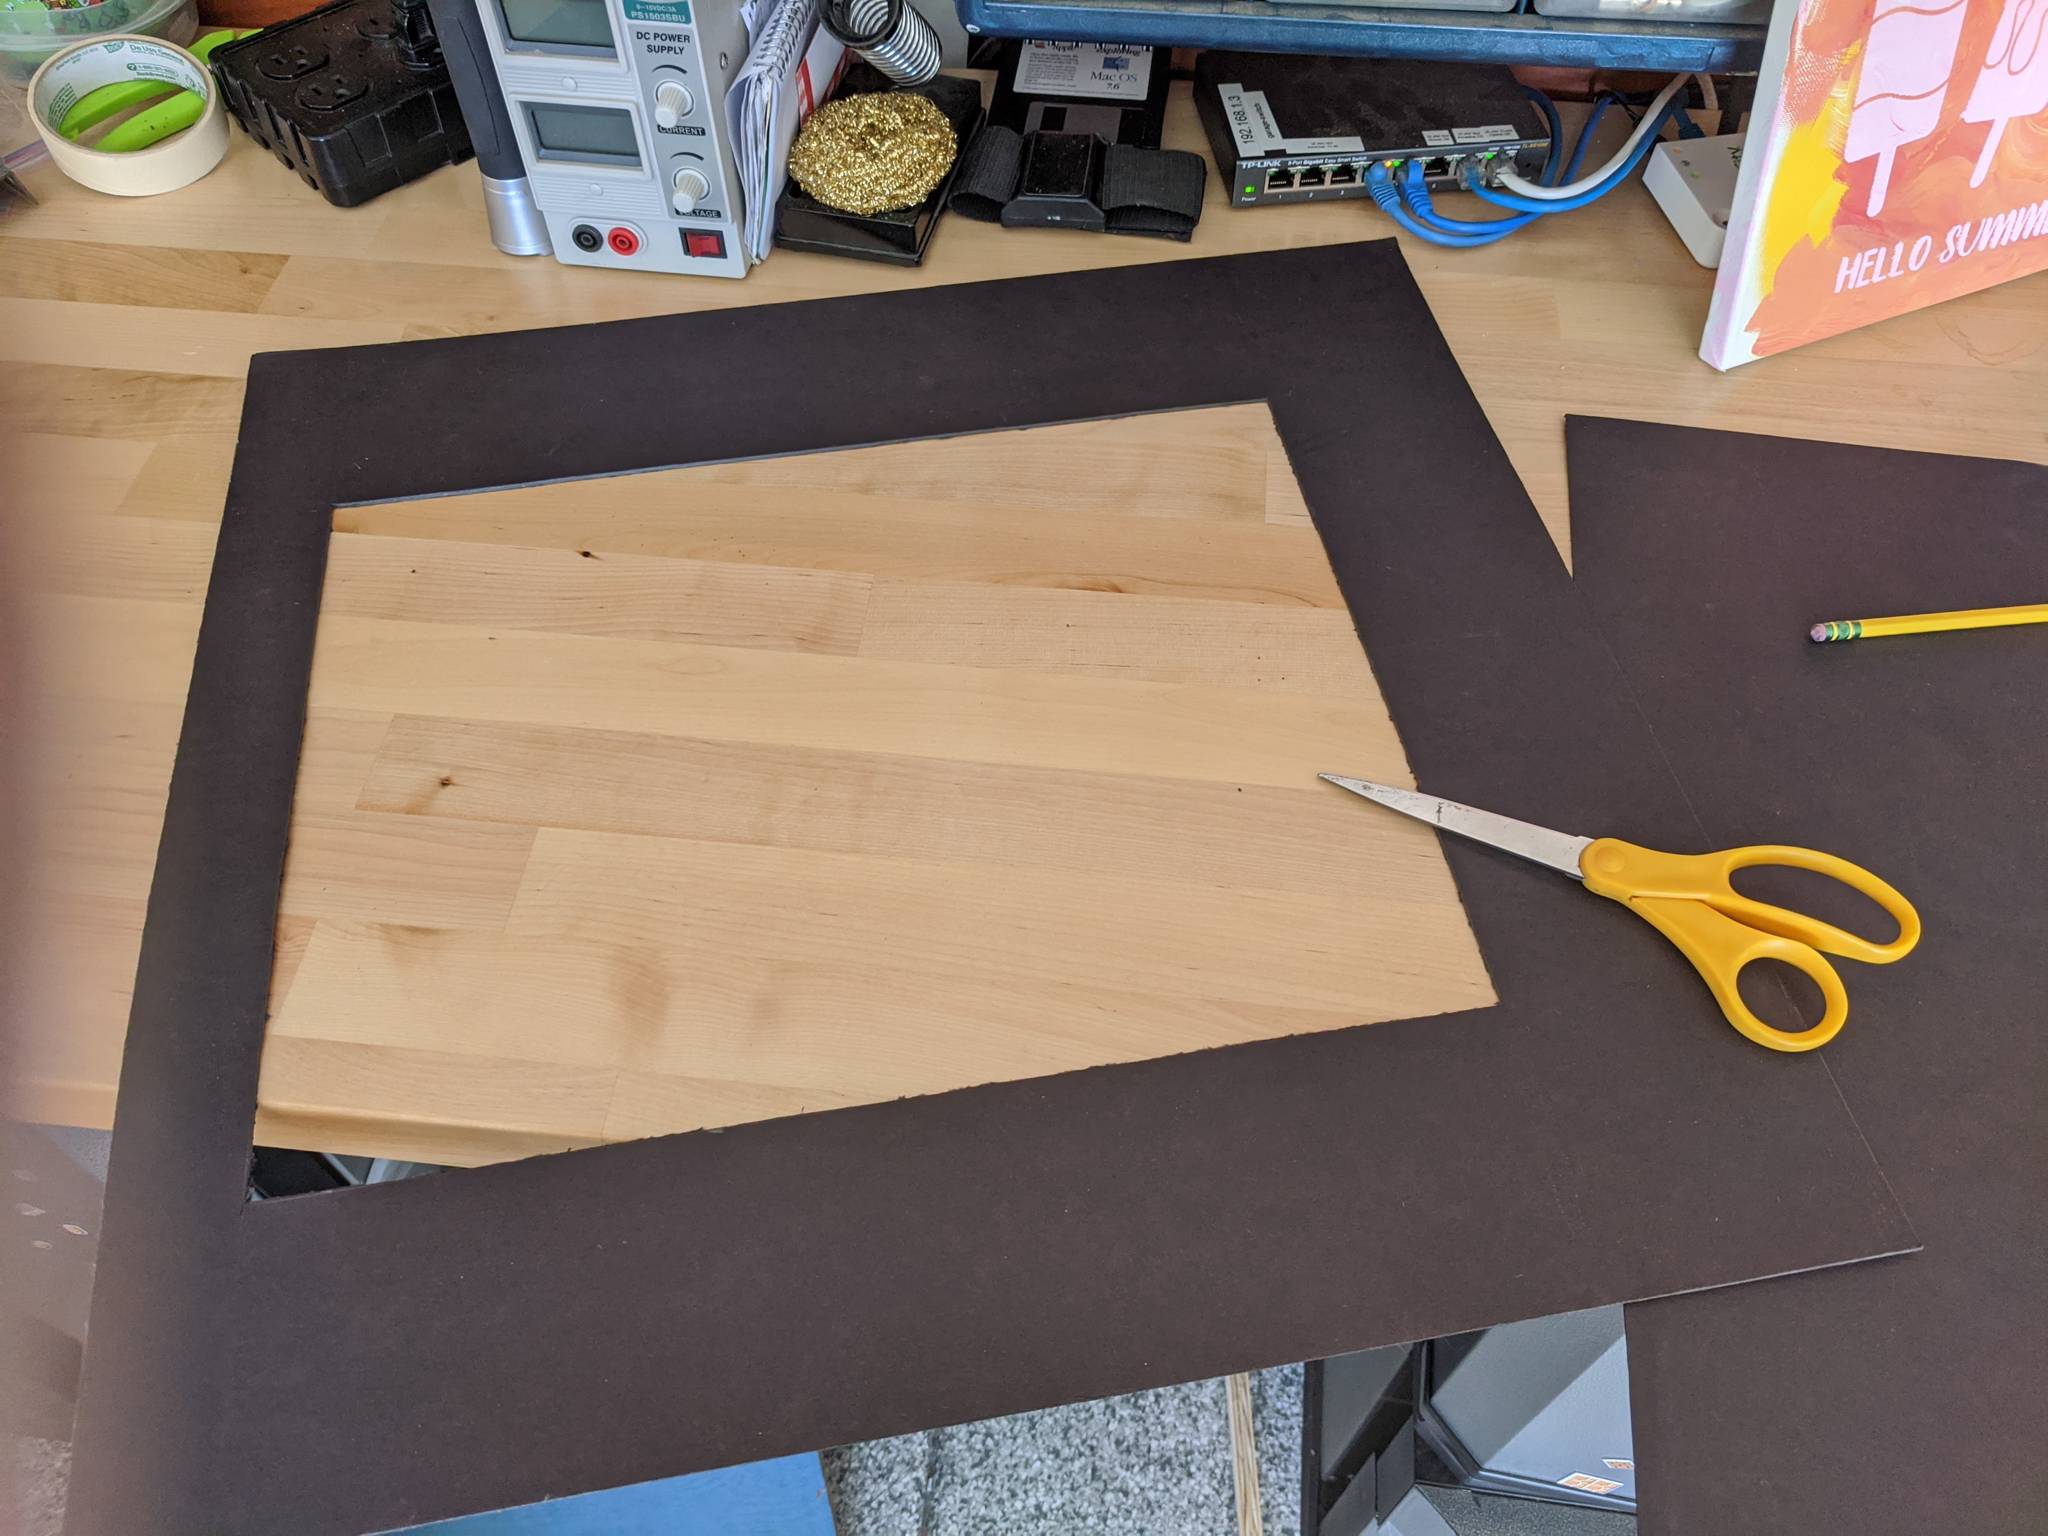
I built a custom monitor mount from plywood, identical to the one I made for my Galaxian cabinet, and a custom bezel mask from presentation board from Michaels.

Game Board
I knew I didn't want to go with a generic 60-in-1 board, nor a Raspberry Pi or MAME setup. I've tried both in the past and I still prefer native hardware. In this case I found a good trade-off: the ArcadeSD board.
Although this is an emulation board, it is best in class and far better than the 60-in-1's I've tried in the past. This board does have an FPGA on board, but I believe it's only used for generating the video signal.
The board can run around 90 games, though I pruned the list for this cabinet down to about 30 of my favorites. It also supports several trackball games, including Missile Command, Centipede, Liberator, Arkanoid, and Crystal Castles.
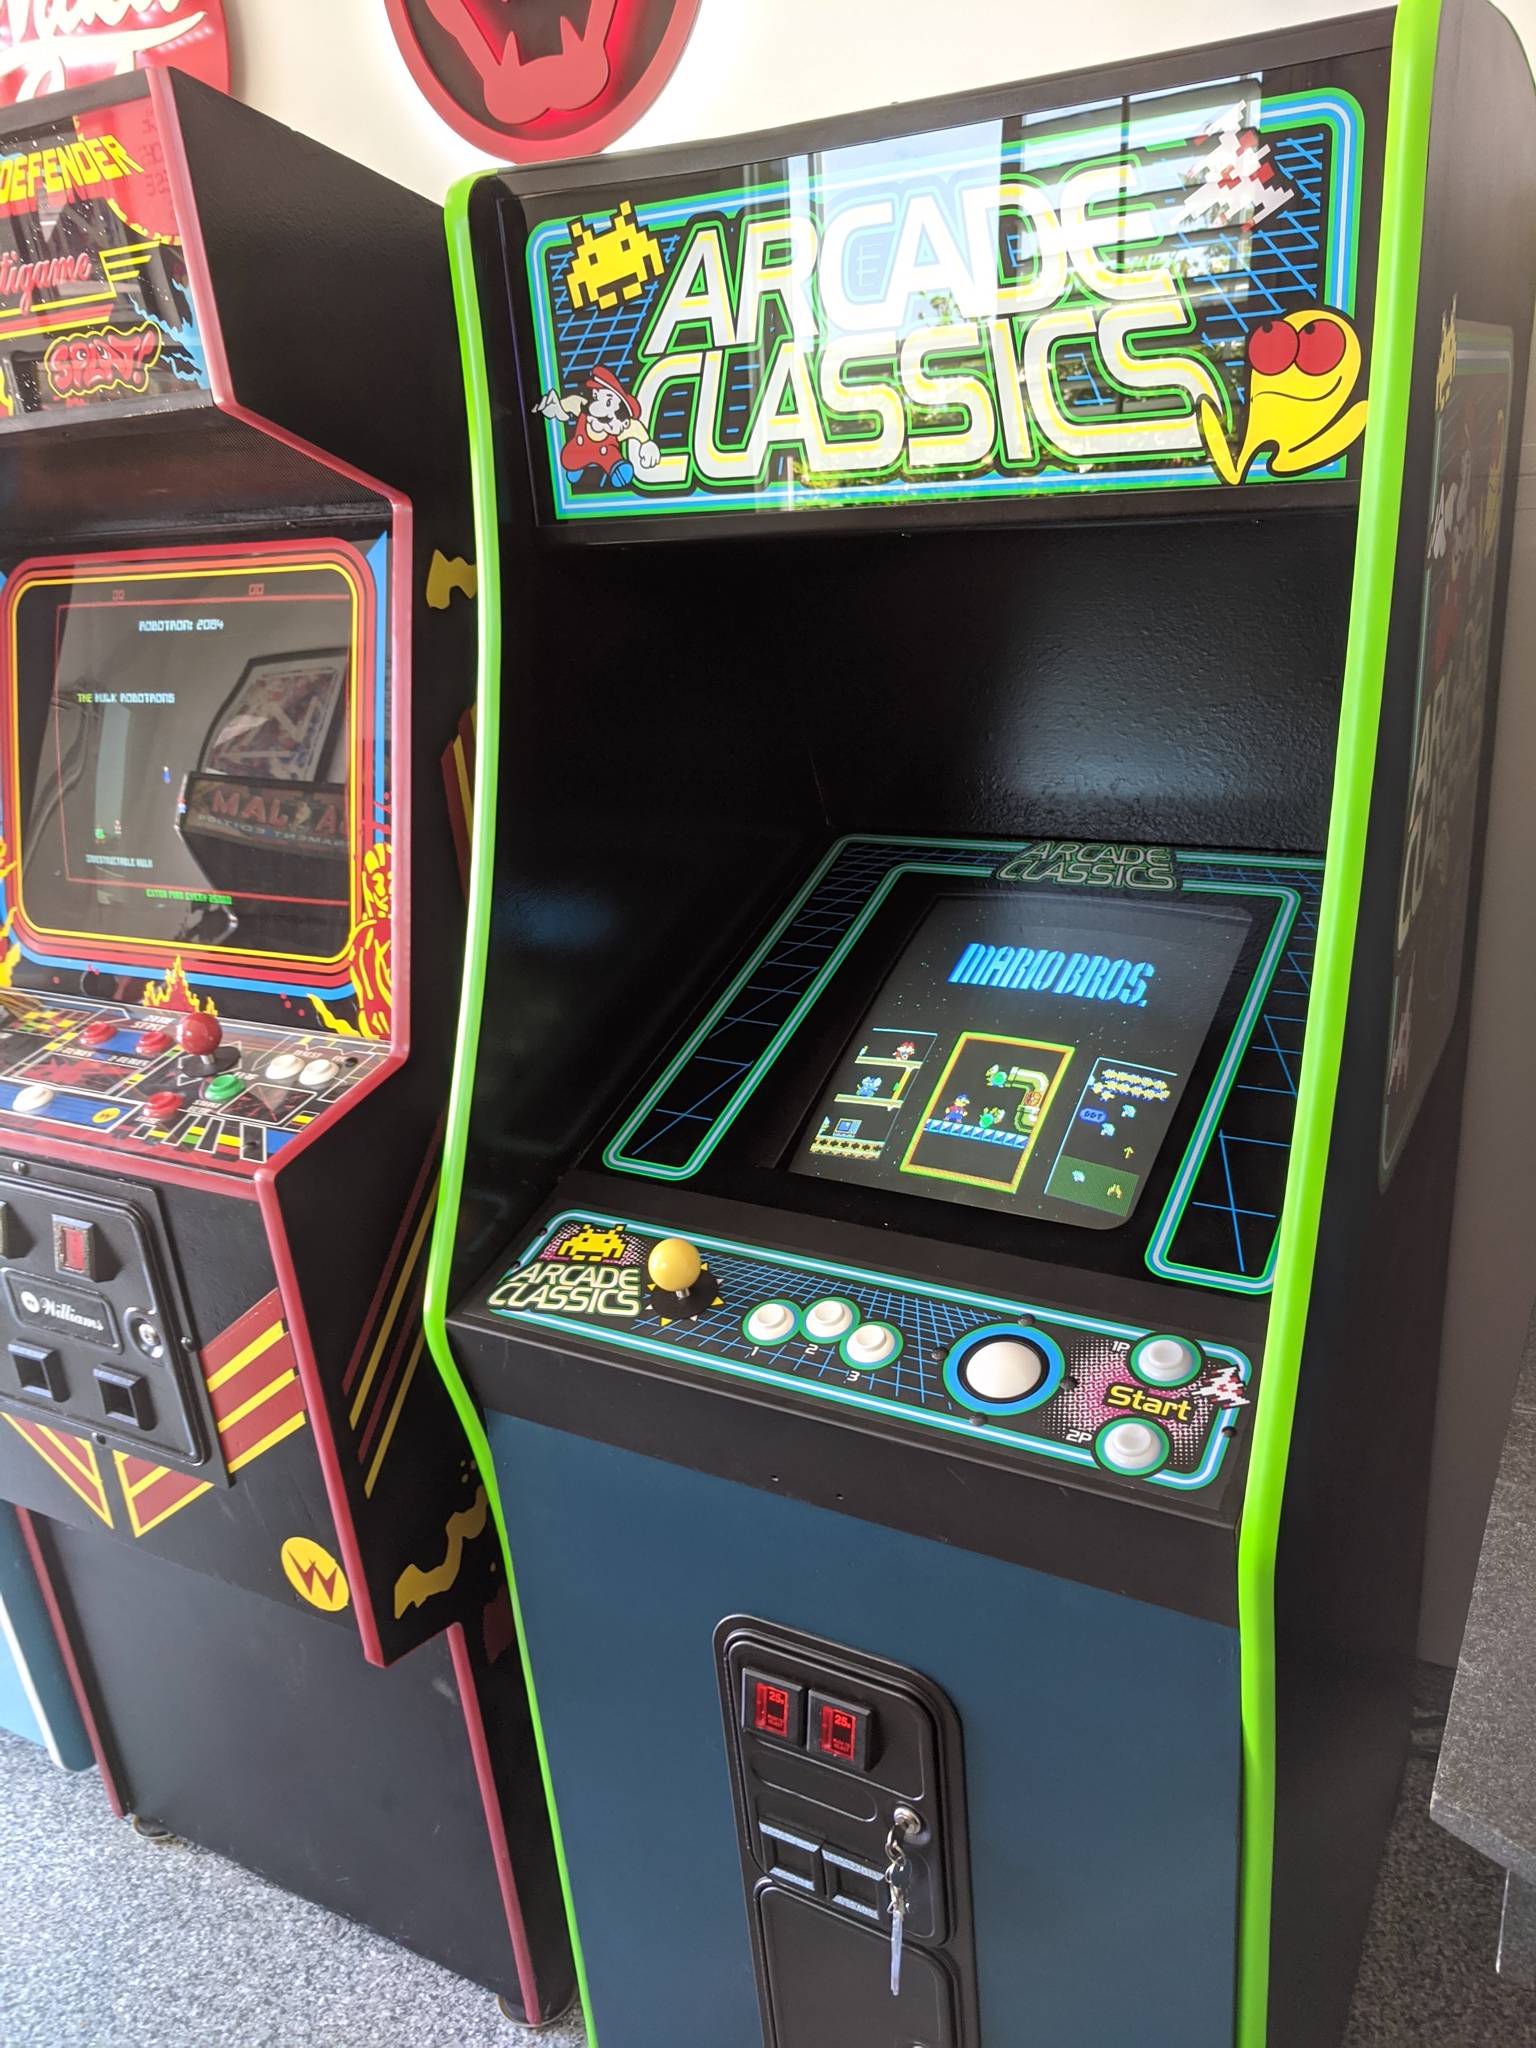
Another unique feature of this board is its ability to run a few horizontal games on a vertical screen, such as Mario Bros., Super Mario Bros. VS, Excitebike, Missile Command, and Tapper. A full list of games is available here.
The menu system is best in class as well, with beautiful game logos and screenshots or icons. I can't recommend this board enough.
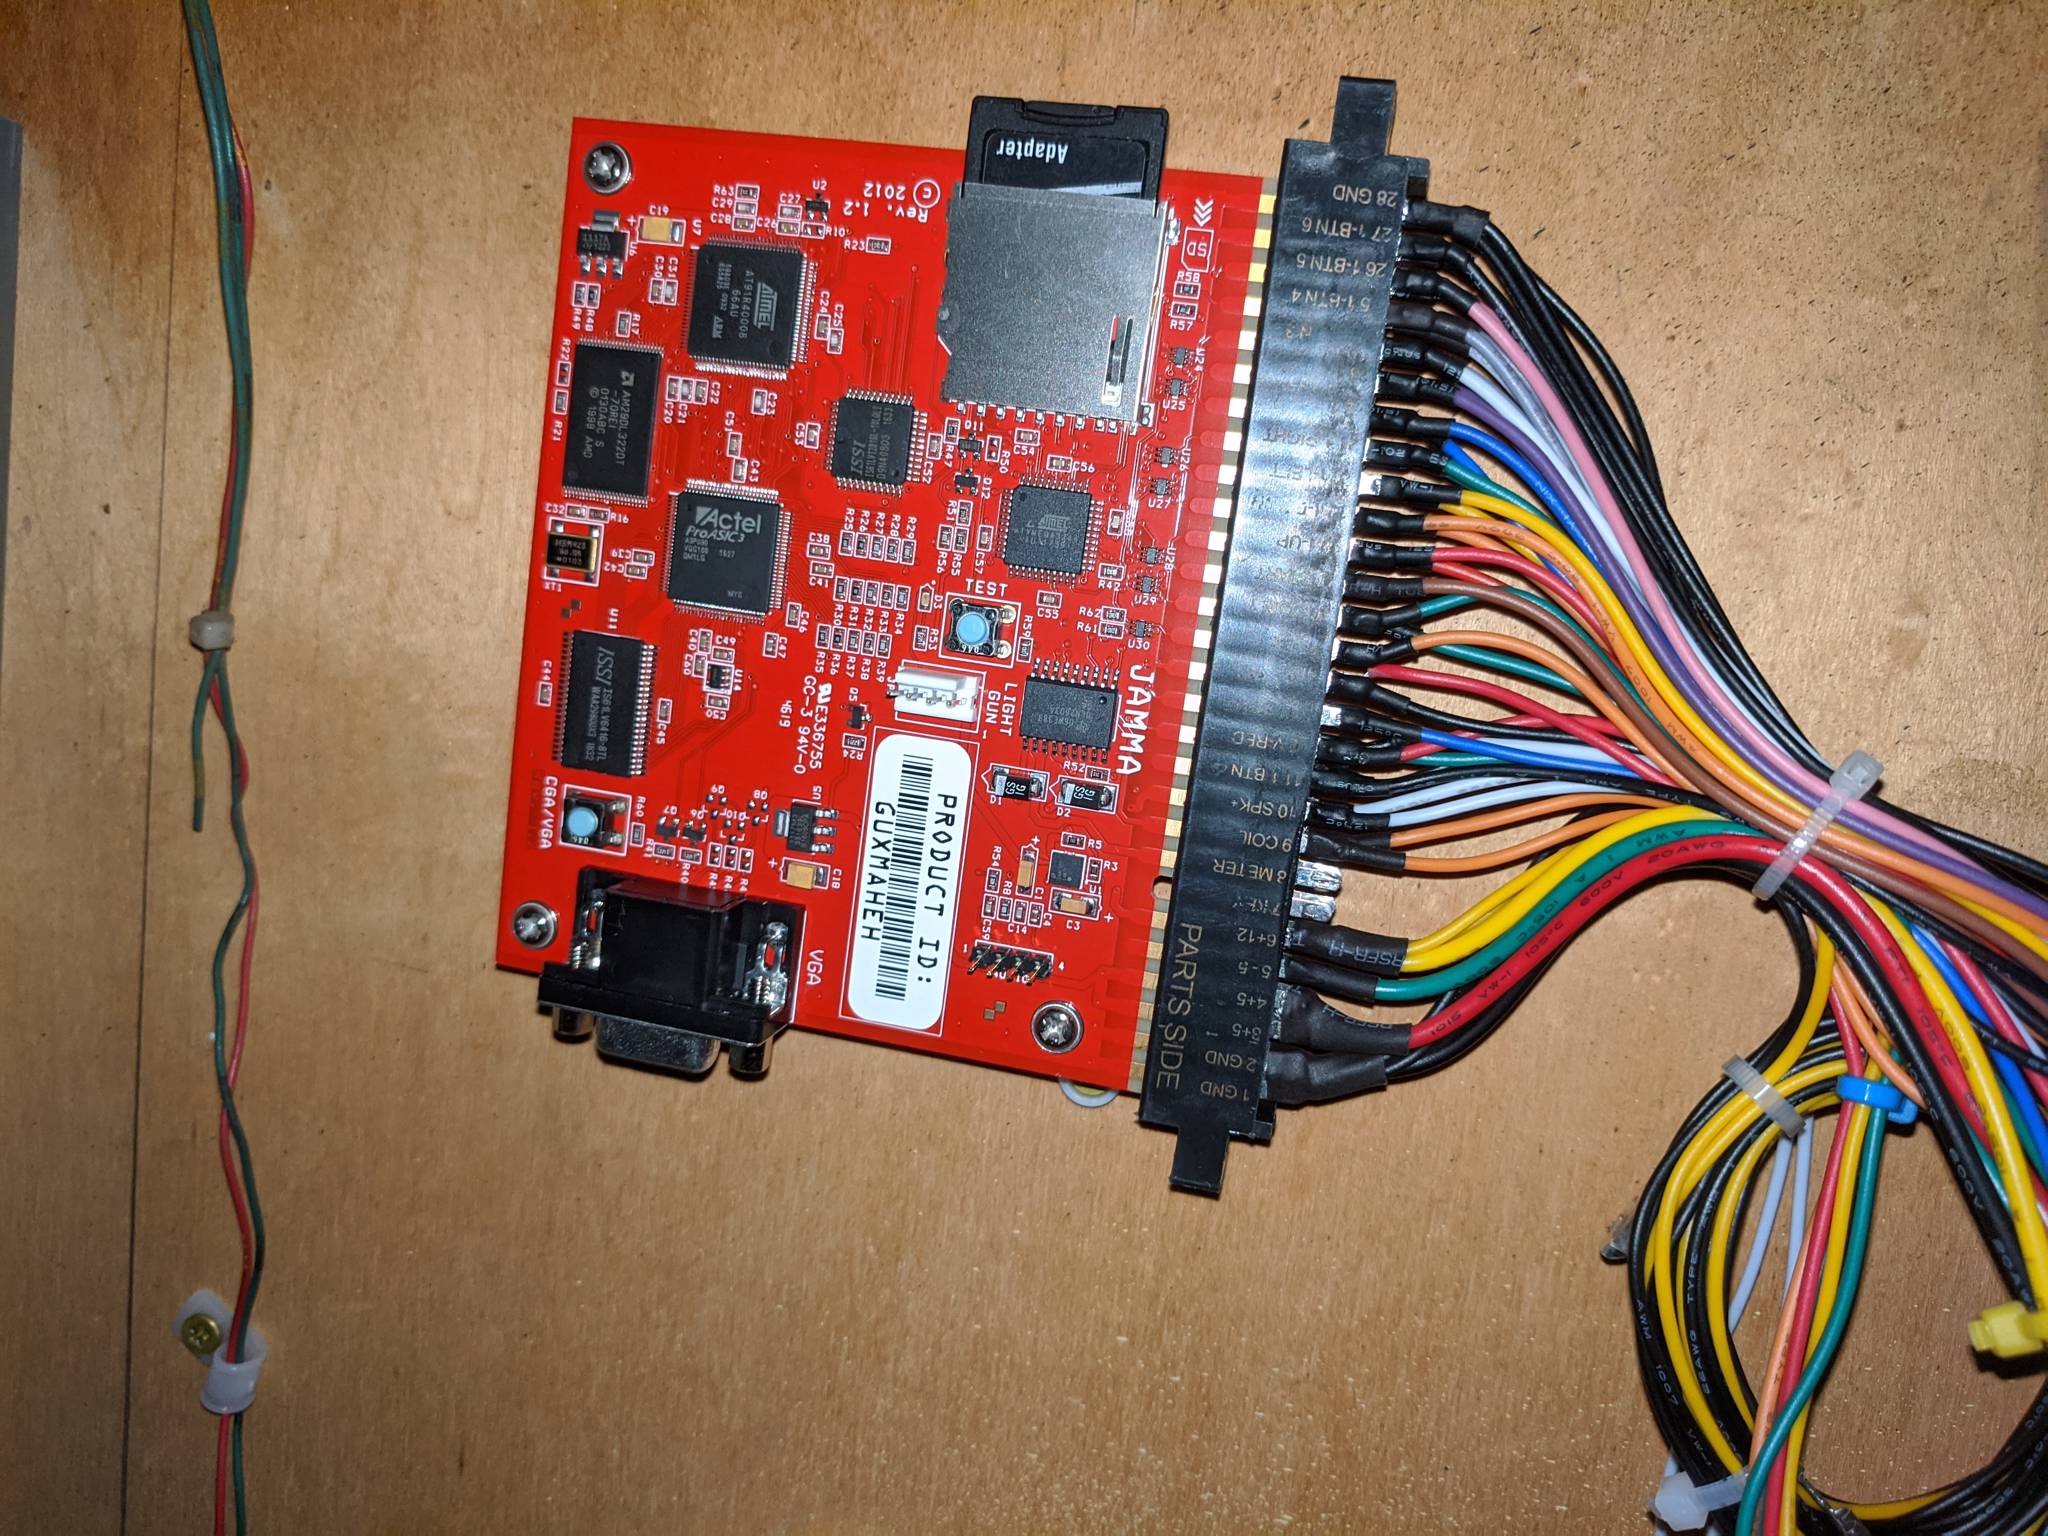
For wiring, the JAMMA harness I wanted to use was out of stock, and I was impatient, so I went with a cheap/generic JAMMA harness. I can tell you that I will never skimp on a harness again. The one I got was super short, poorly soldered (wires came off of the connector a couple times), and used an insufficient wire gauge for the 5V lines. Lesson learned: if you're spending under 30 bucks for a JAMMA harness, you're gonna have a bad time. Stick with the ones in the $50+ range and you'll be much happier. In the end I got it working, but it took many hours of re-soldering and troubleshooting.
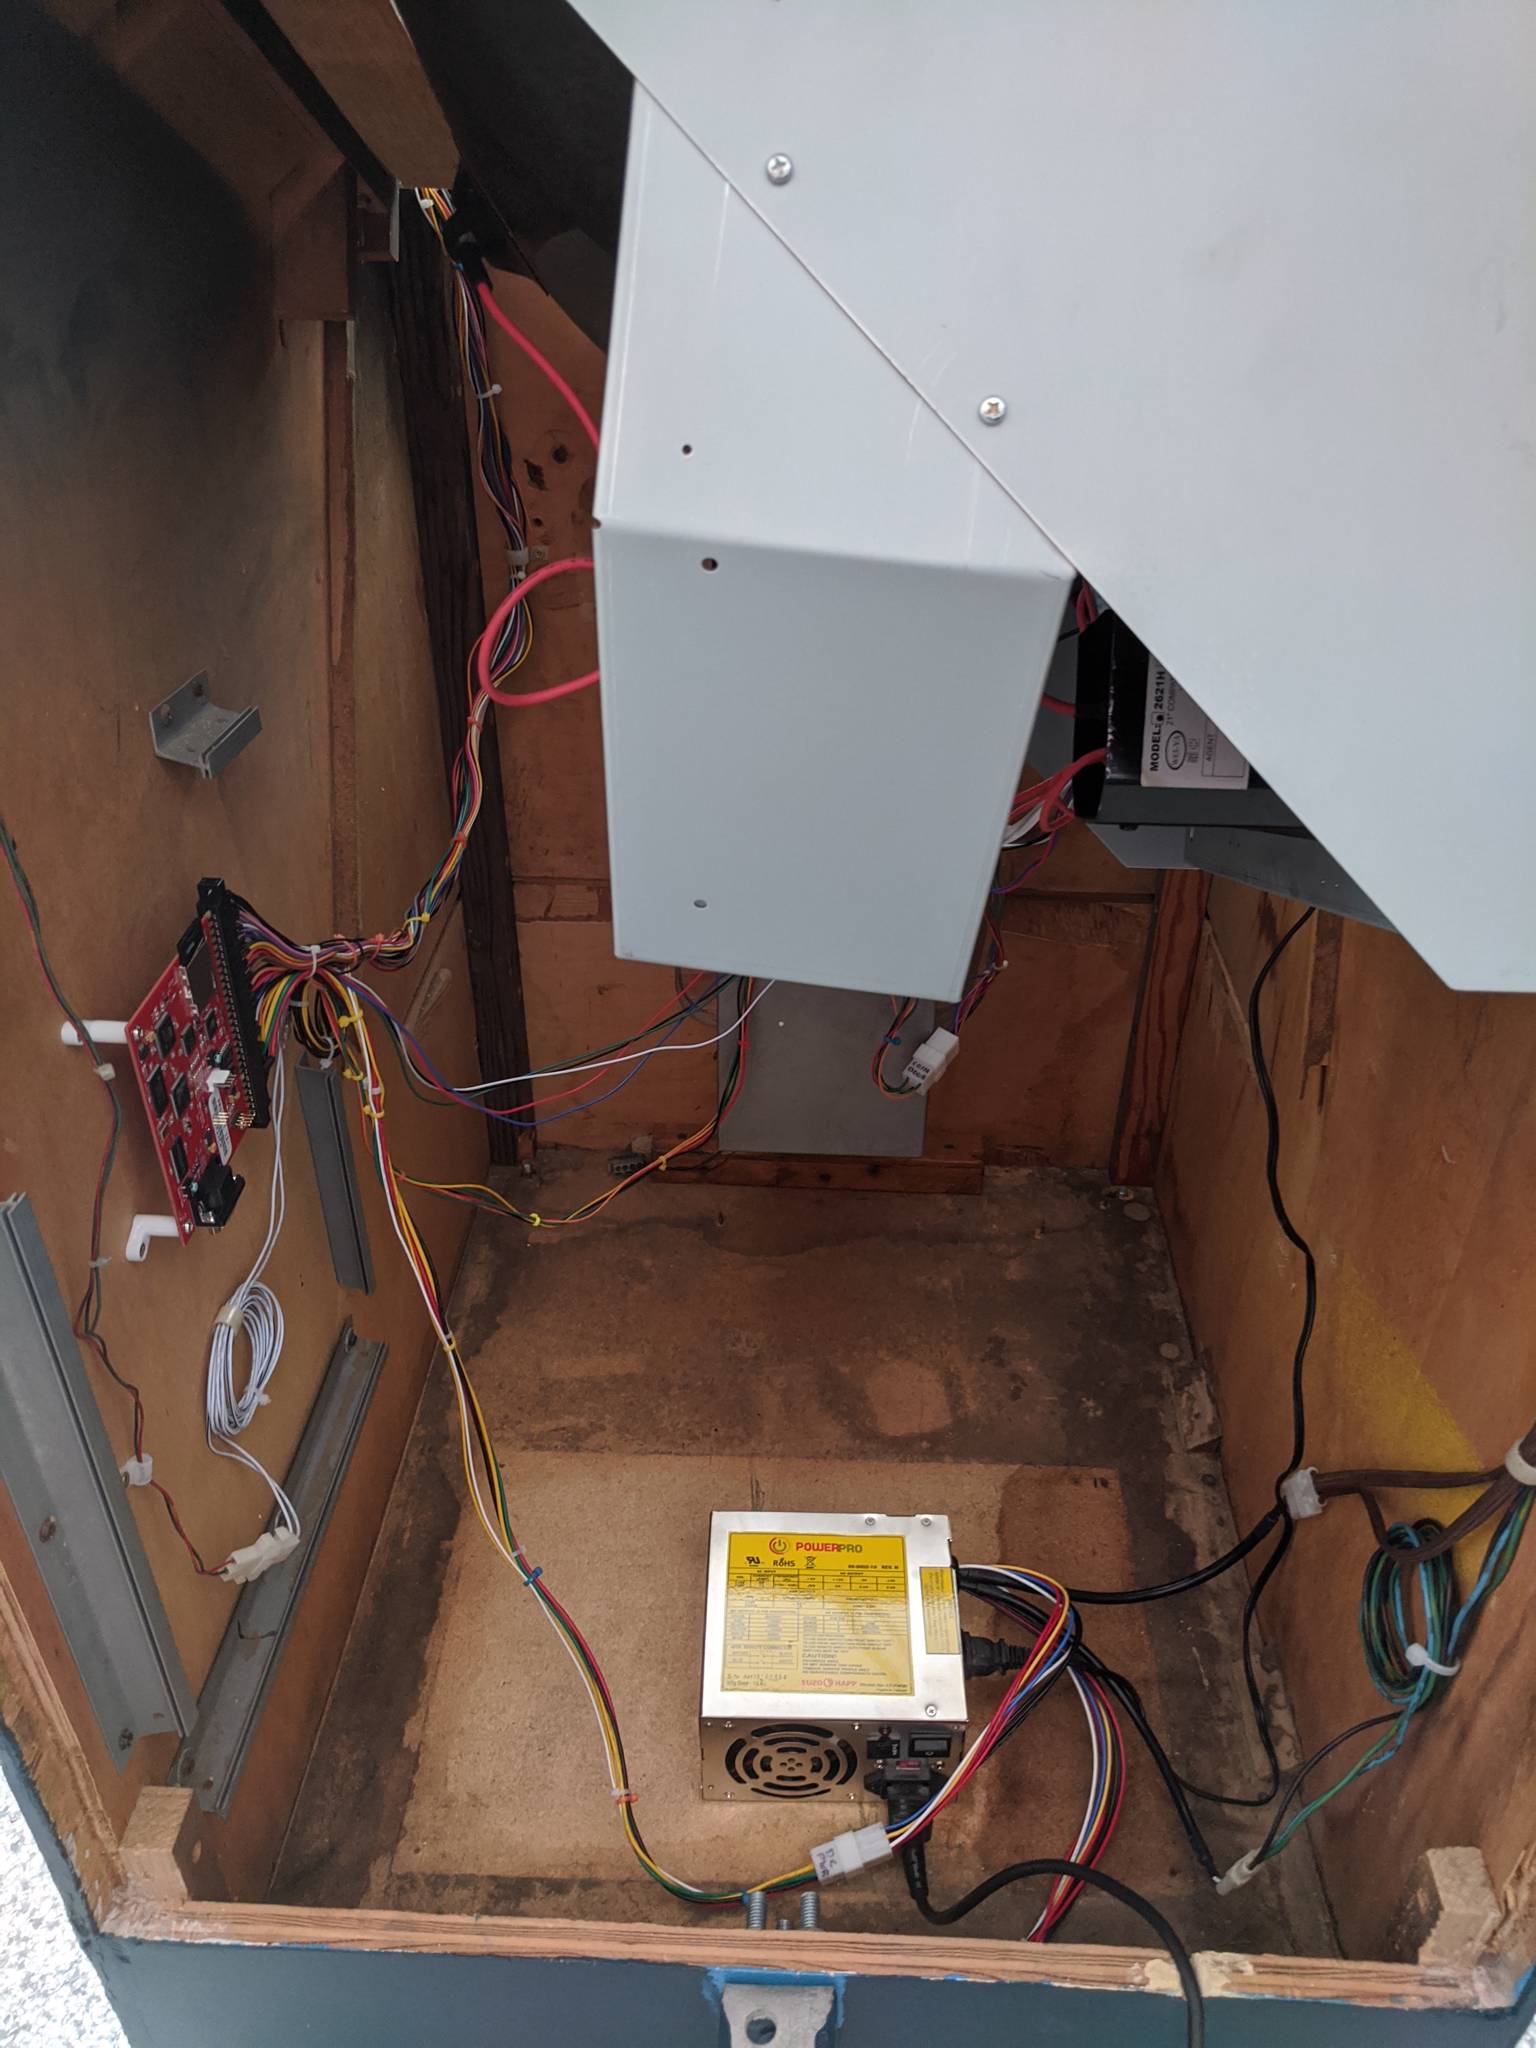
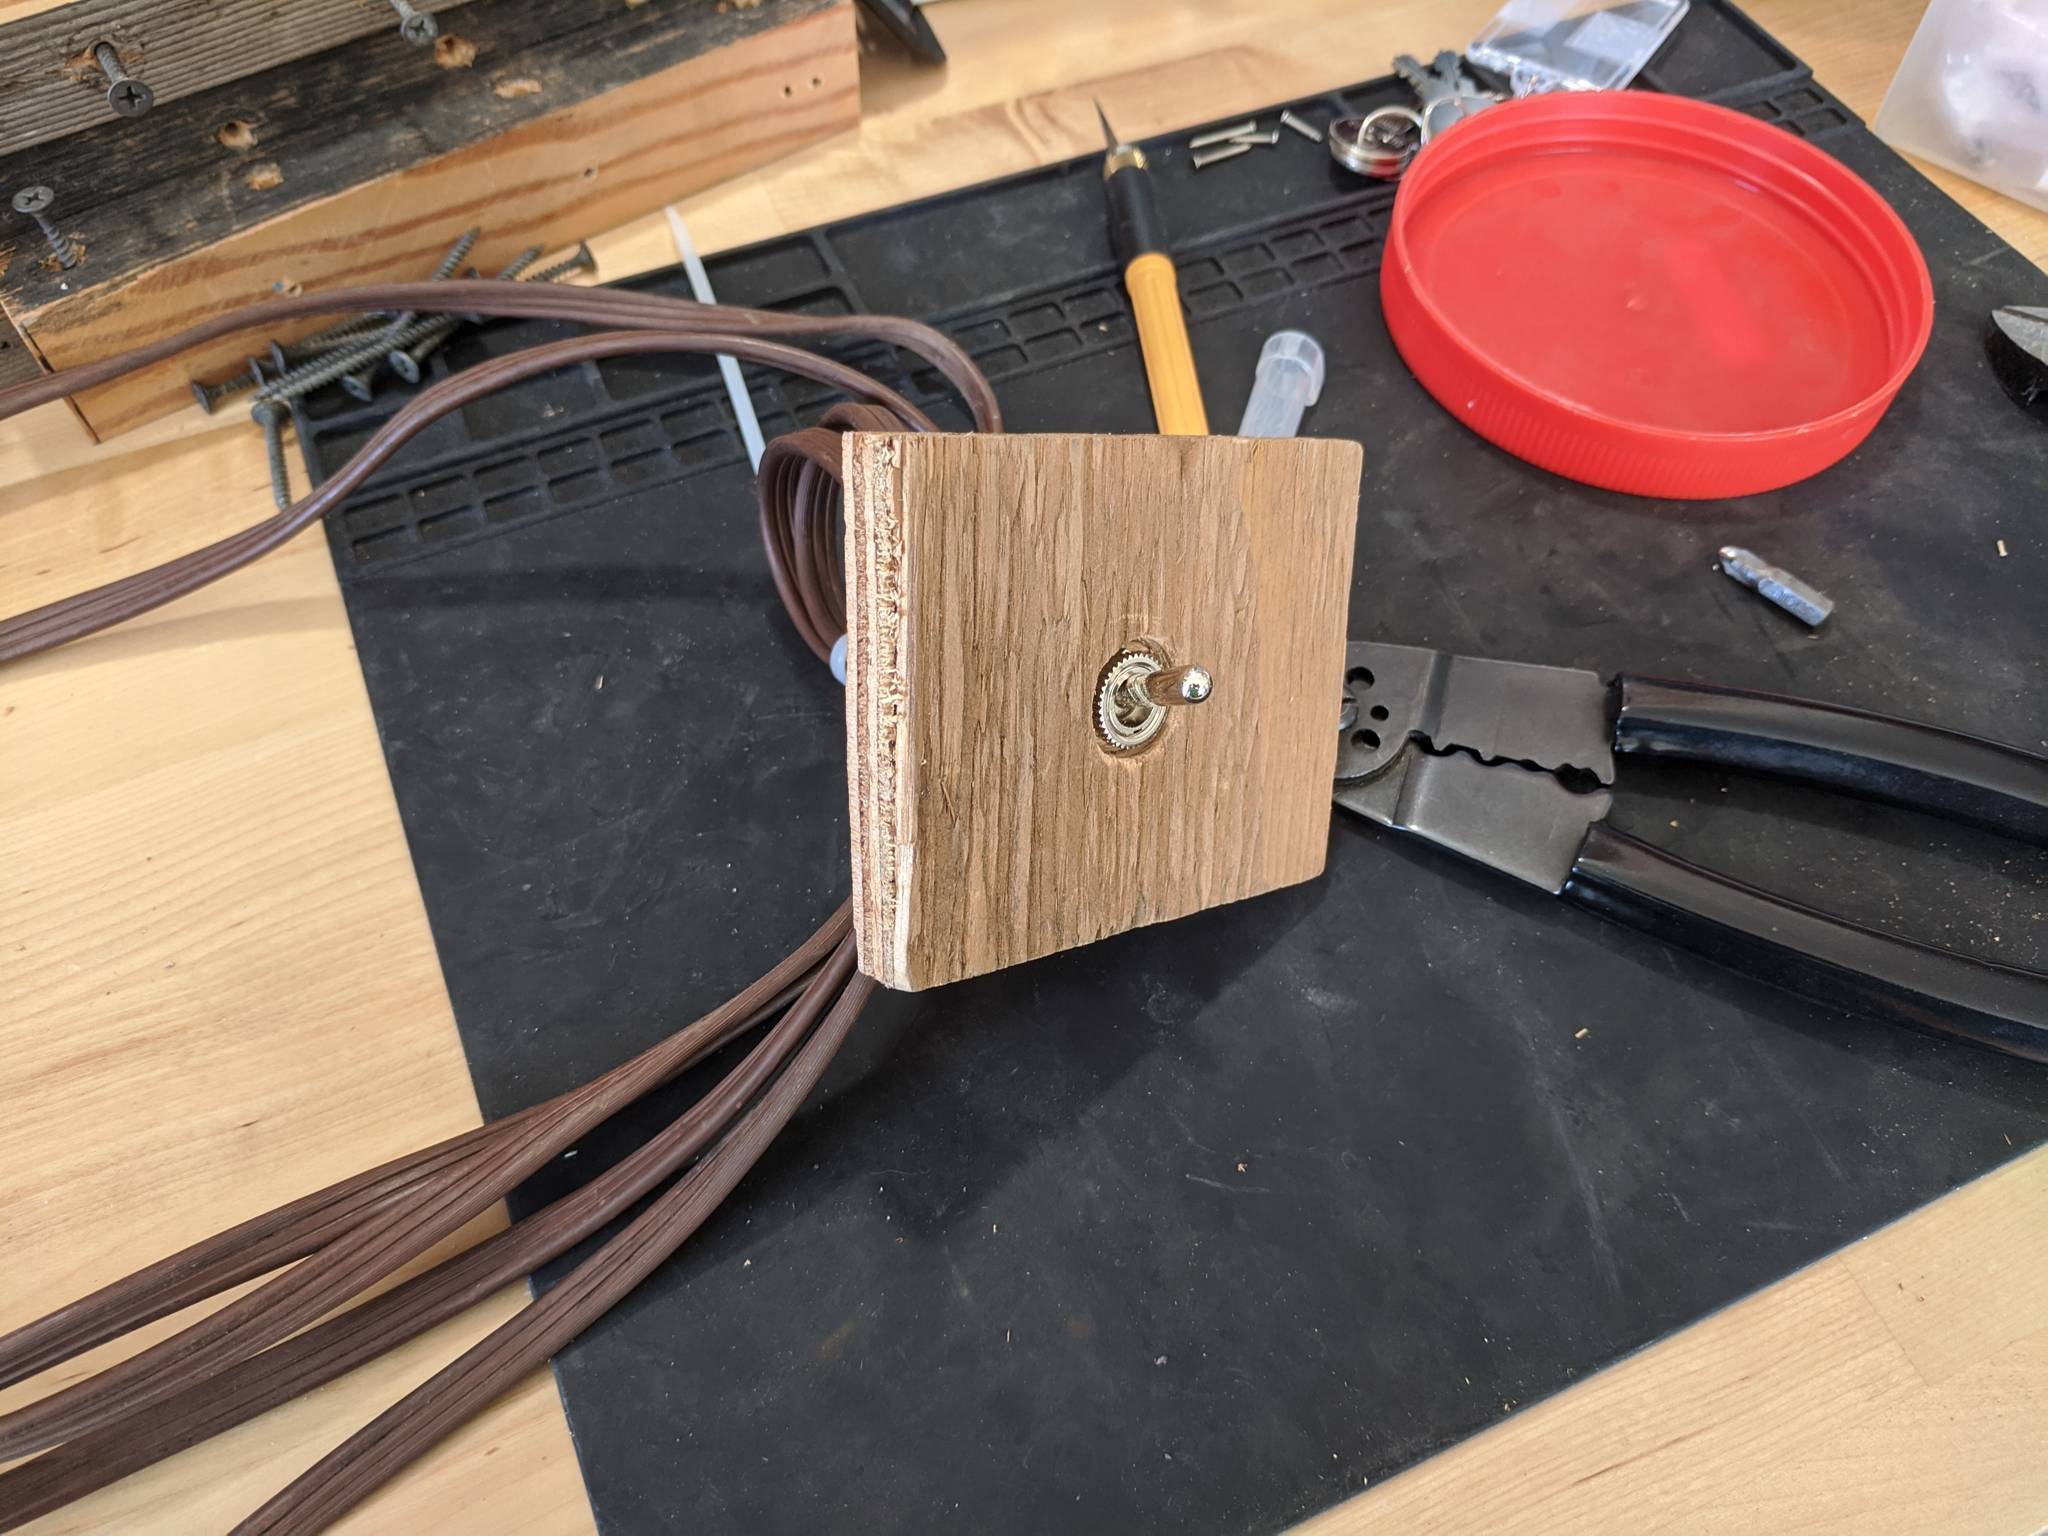
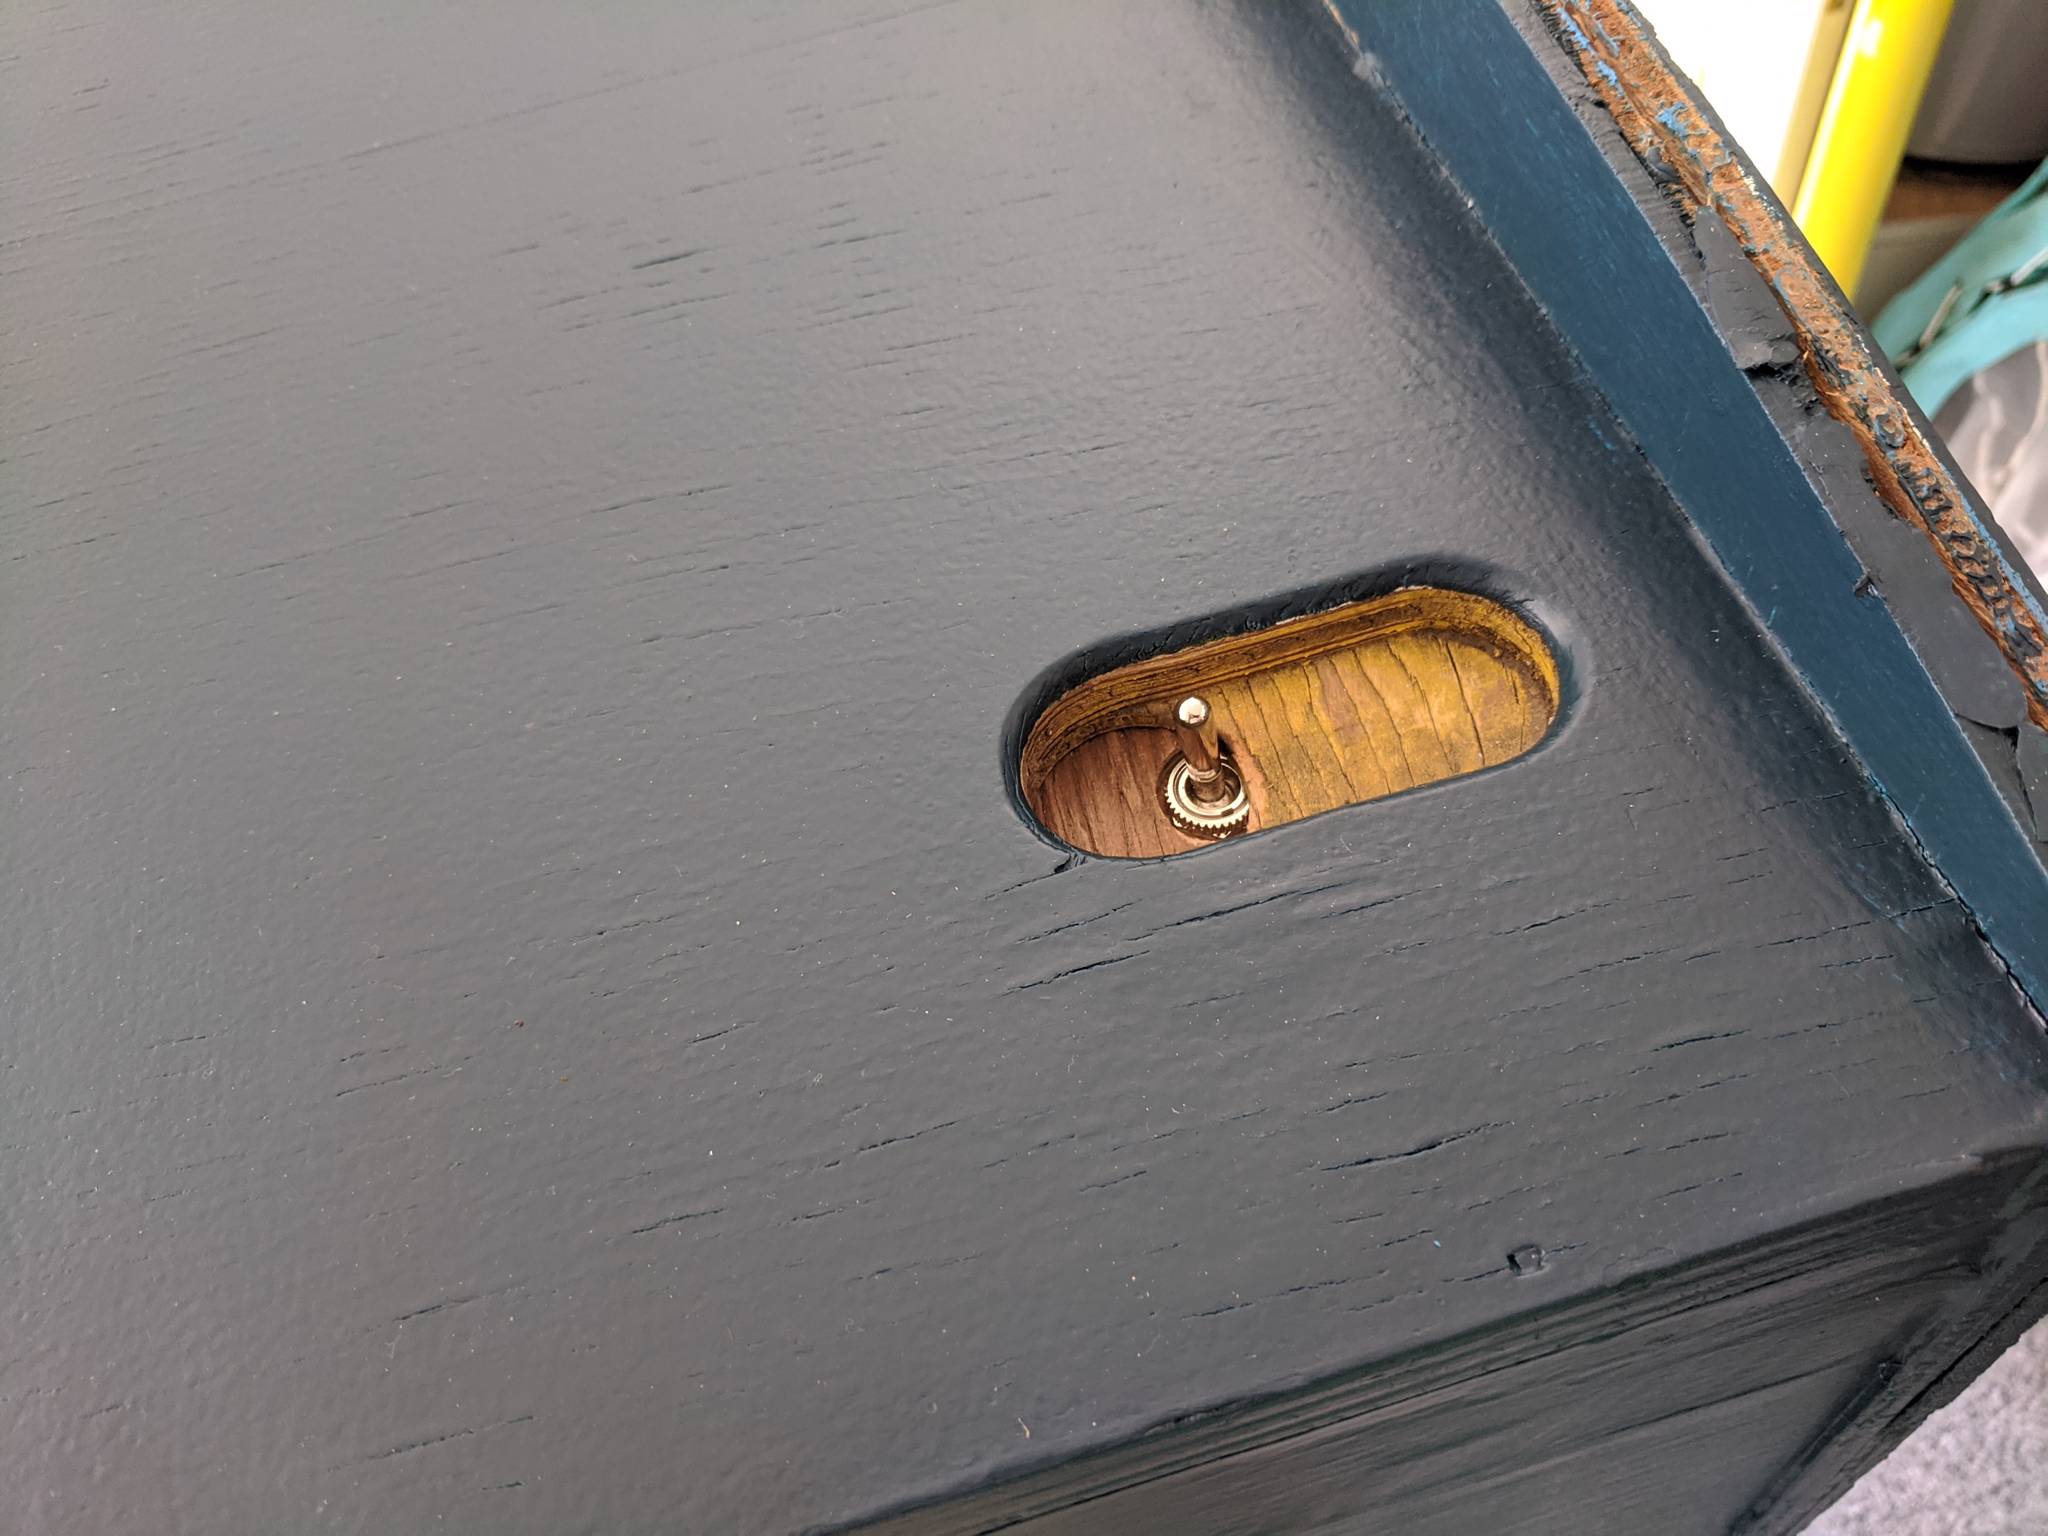
For power, I went with my standby: the HAPP Pro from ArcadeShop. I like this power supply because it has an AC outlet for the CRT and remote power switch capability, which I use to power the machine on/off via a DPST toggle switch on the top of the cabinet.

End Result
Like every project I finish, this is my new favorite! It looks great under the blacklights in the game room. I love the artwork! The game line-up is awesome! It has blinking start buttons! It can play trackball games! I love it!!!