![]()
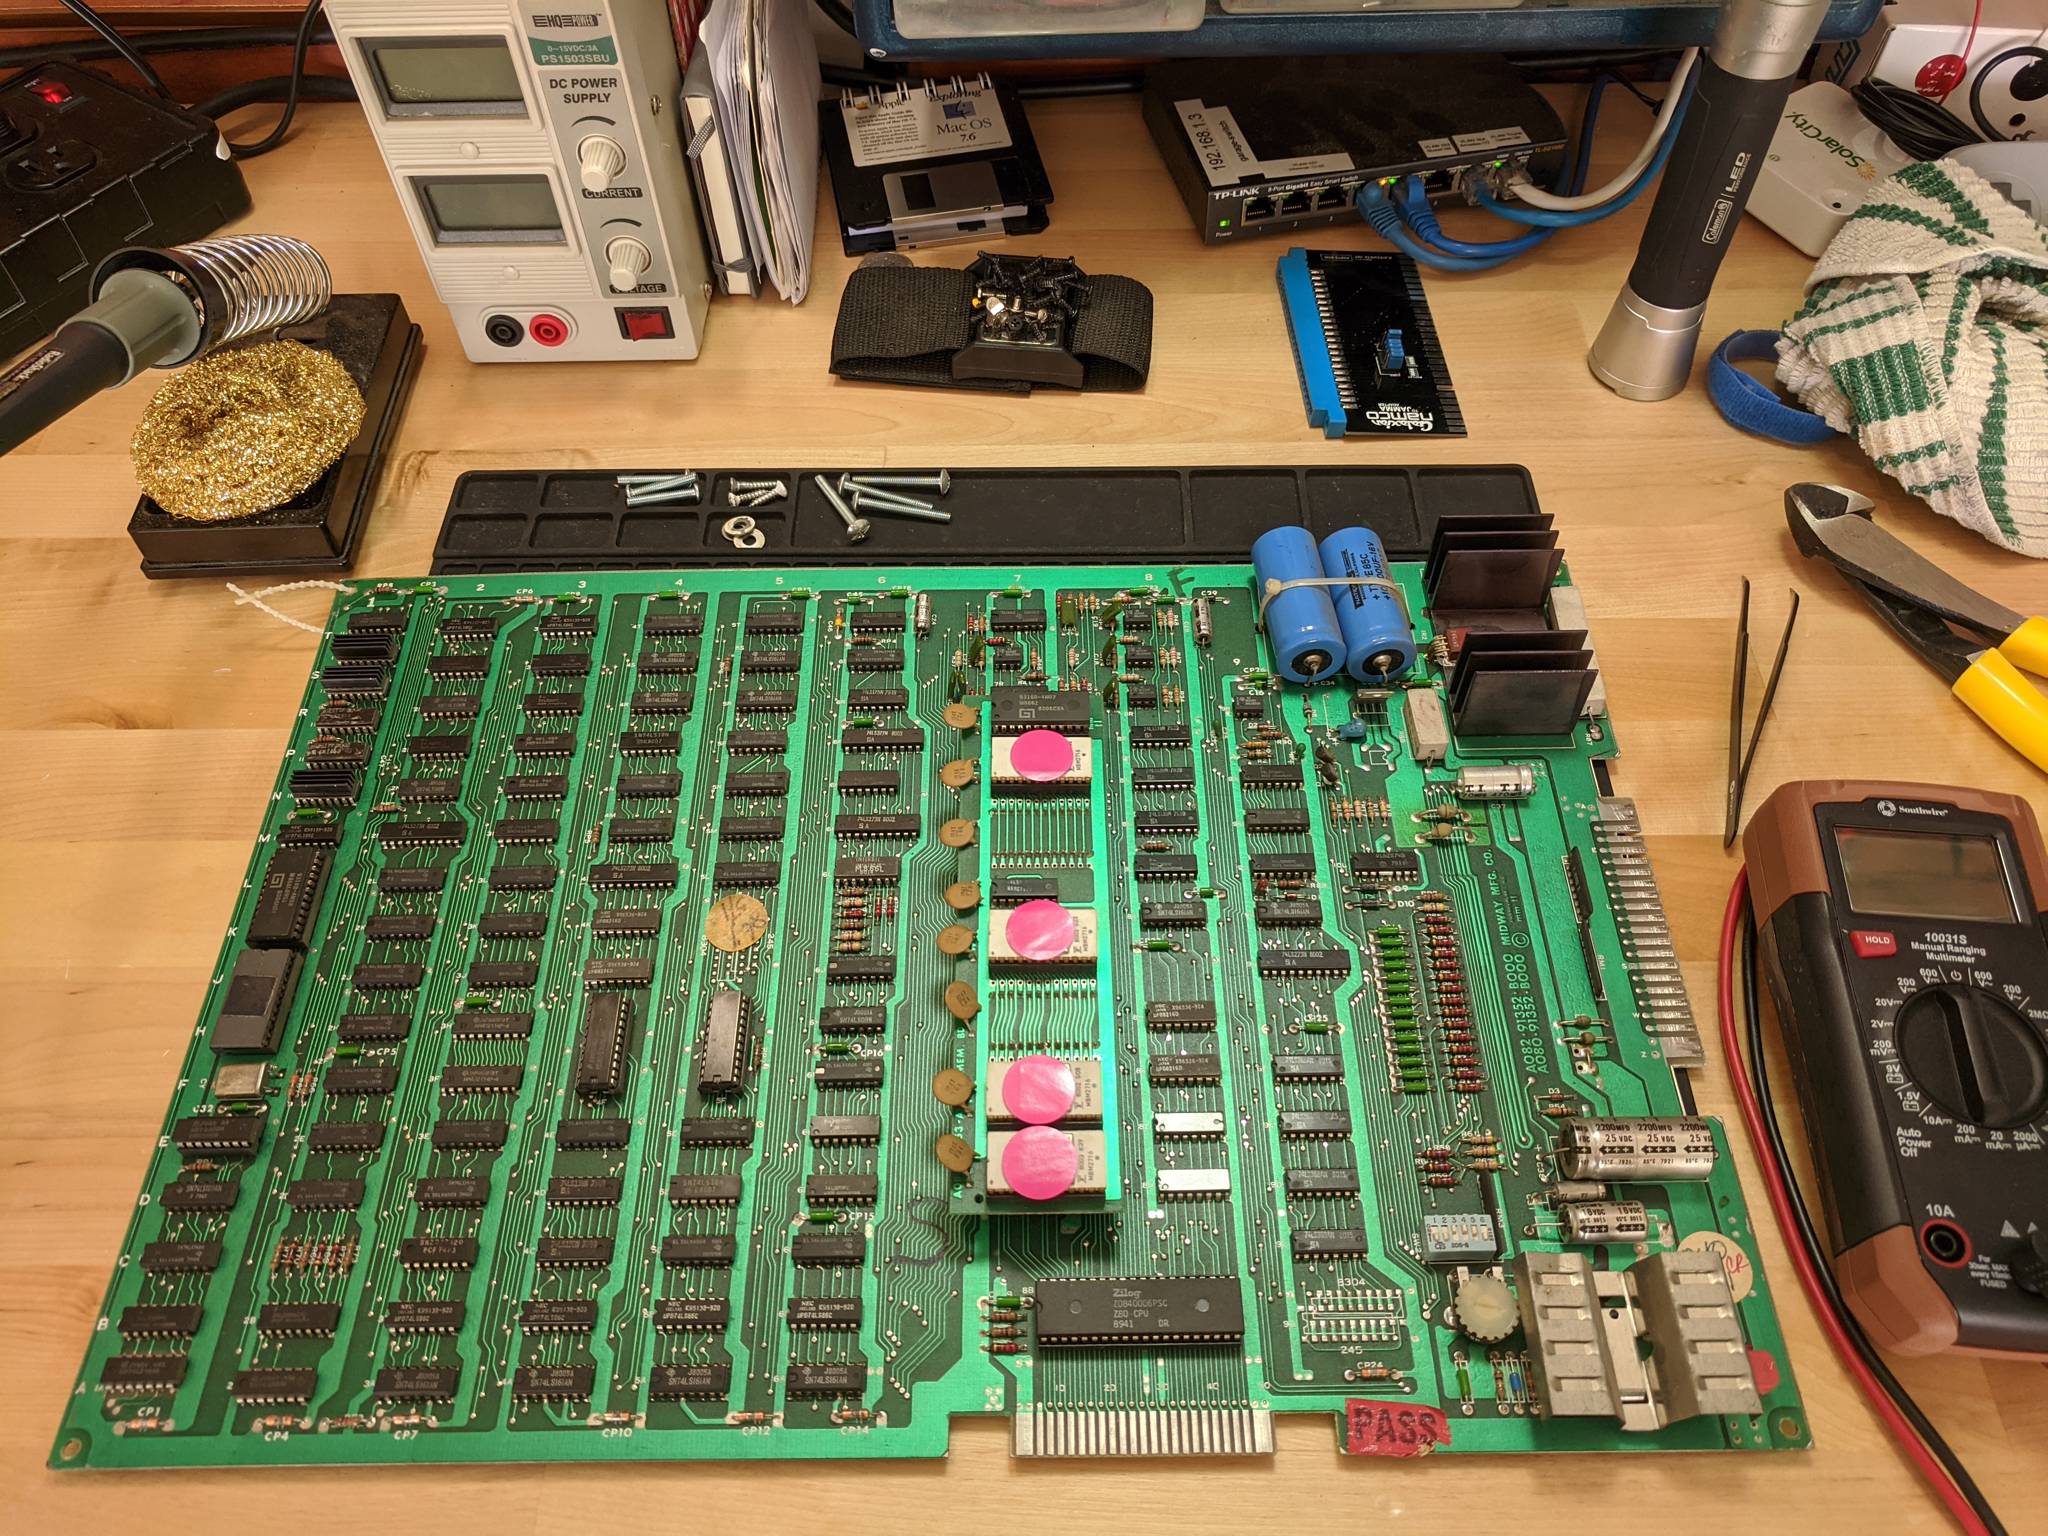
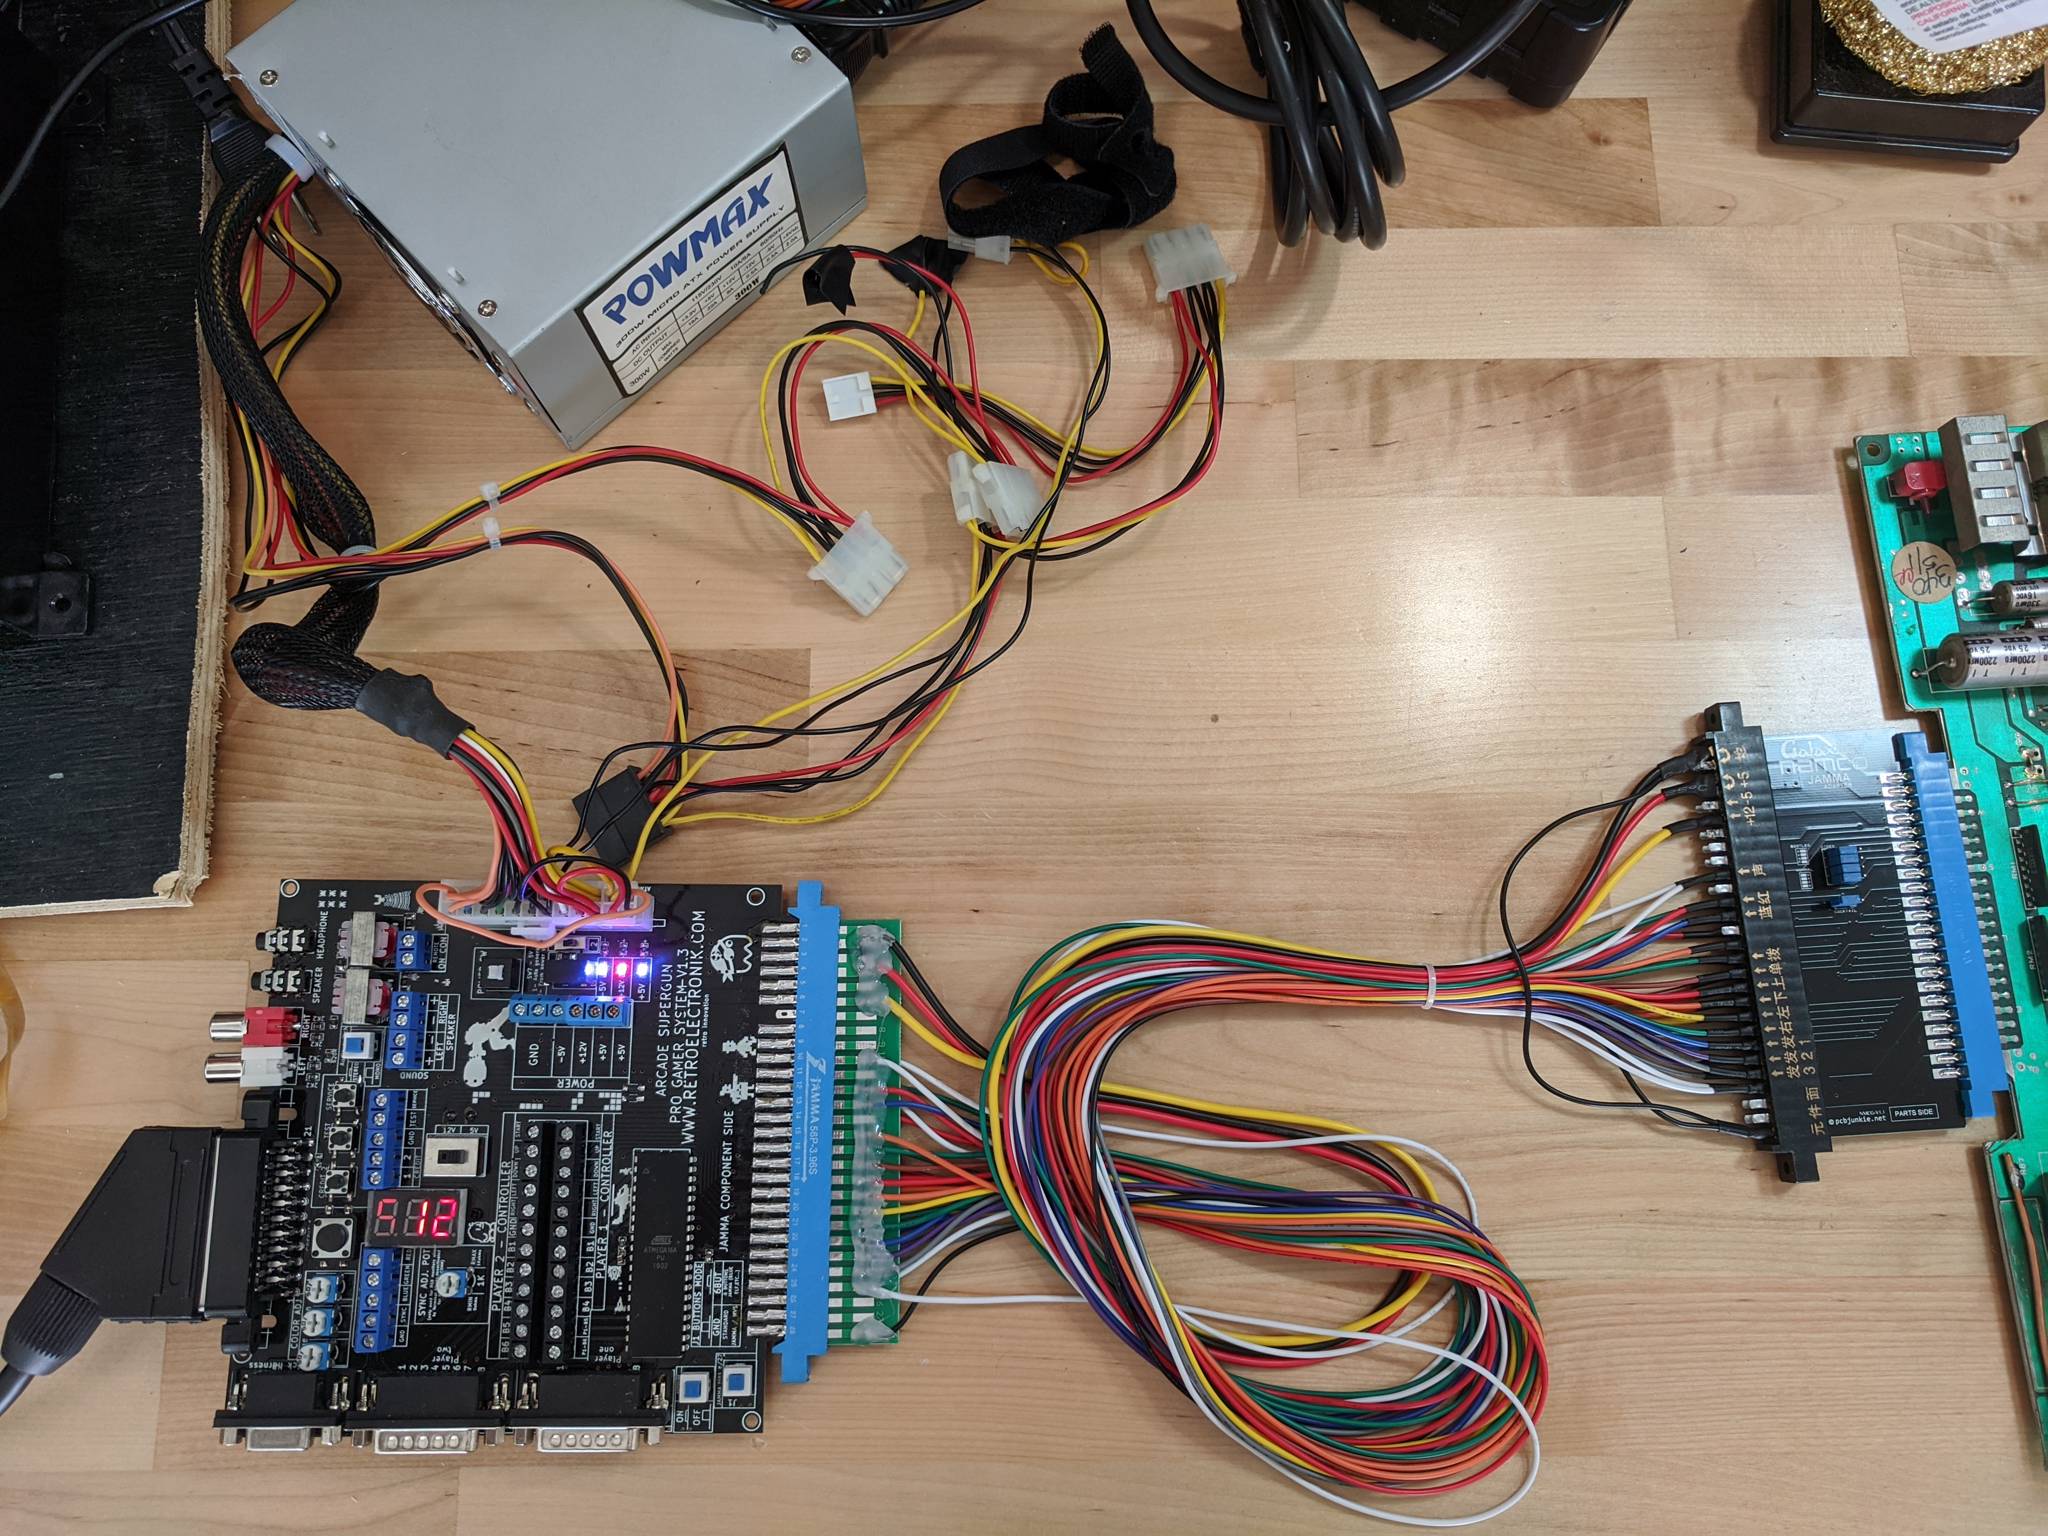
I'm working on converting my Galaxian MAME cabinet back into an OG cabinet with an original PCB and CRT. In this cabinet, I will be using a JAMMA switcher to switch between Galaxian and Galaga.
An original Galaxian board expects to receive 7 volts AC and has hardware on the PCB to convert this into 5 volts DC. However, since I am using a JAMMA harness and power supply with my JAMMA switcher, I have 5 volts DC supplied by a switching power supply. To allow the Galaxian board to work with my JAMMA setup, I needed to modify my Galaxian PCB to accept 5 volts DC directly.
Paul Swan has written an excellent guide on how to accomplish this, which can be found on the internet in several locations, including Mike's Arcade, Marco's Arcade, and the UK VAC forums.
However, as of this post, none of those sources include pictures. The instructions are straightforward, but when you have a vintage PCB in your possession and are about to take a soldering iron to it, it's a bit more comforting to have some pictures to confirm you're following the steps correctly. I put this post together to provide some pictures for reference.
Again, I didn't write these instructions, but I can confirm they work. If you want more information on the mechanics, the aforementioned UK VAC forums post goes into more detail.
With that...let's get started! To perform this modification you'll need:
- Wire cutters
- Wire (solid, not stranded)
- Soldering iron
- Solder
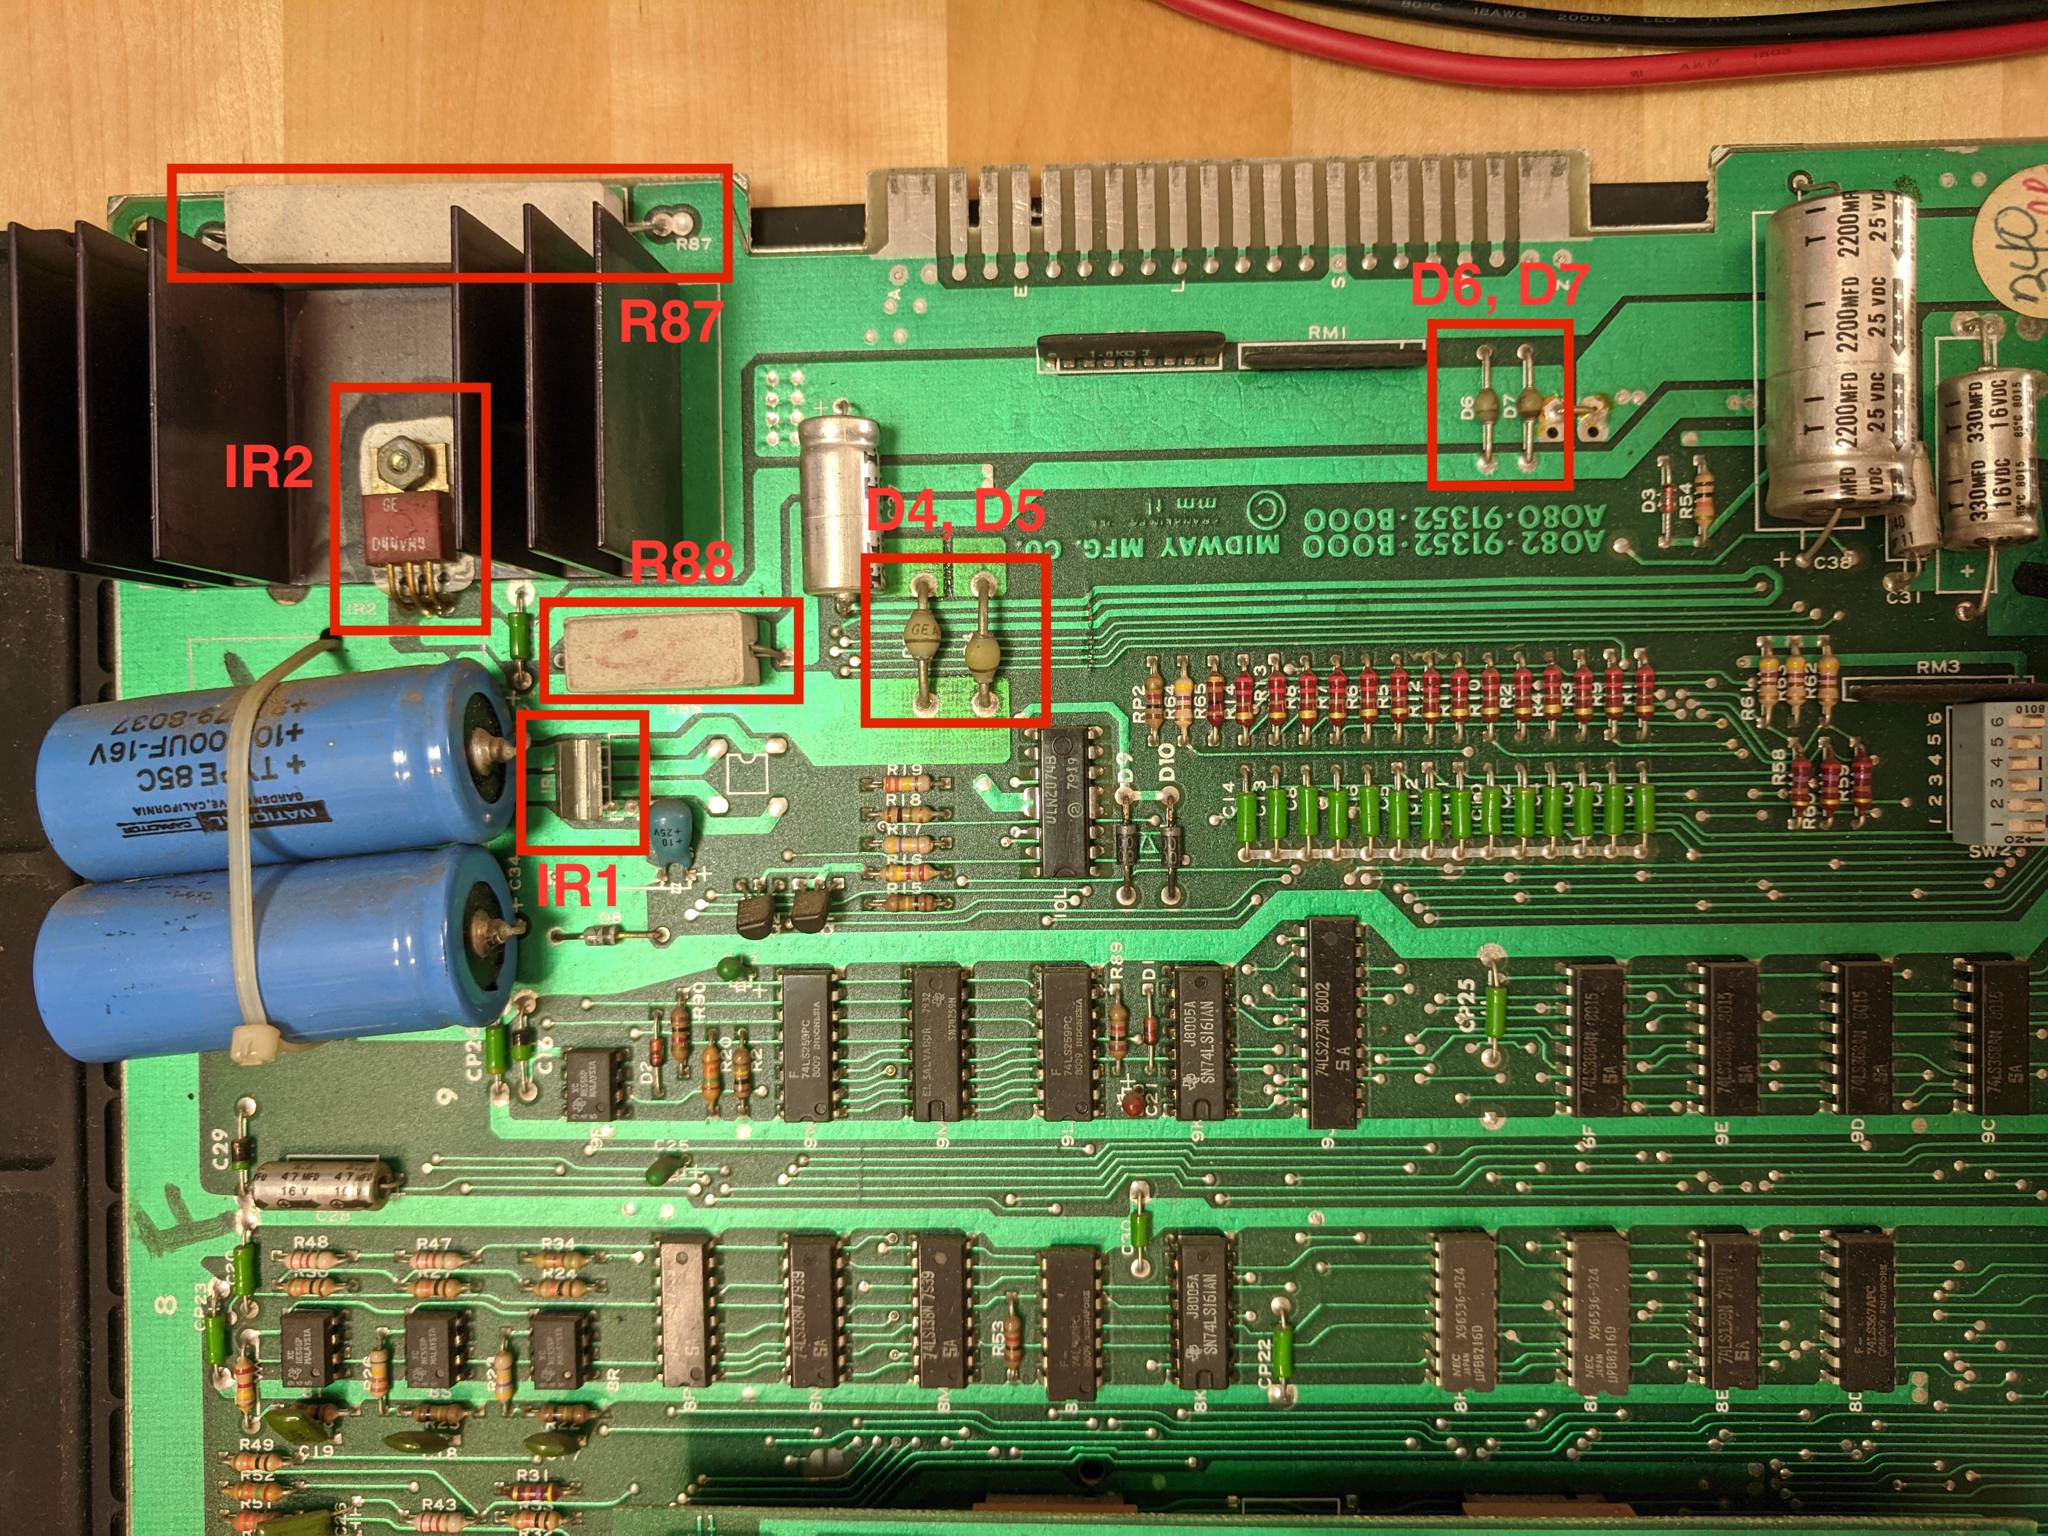
Here is a list of the components you'll need to remove from the board using the wire cutters. A few of the components will need to be replaced with a jumper wire. In addition to part number, the board quadrant is also listed for each part below.
| ID | Part | Action |
| IR1 | 78GU I.C. | Remove |
| IR2 | D44VM4 transistor | Remove |
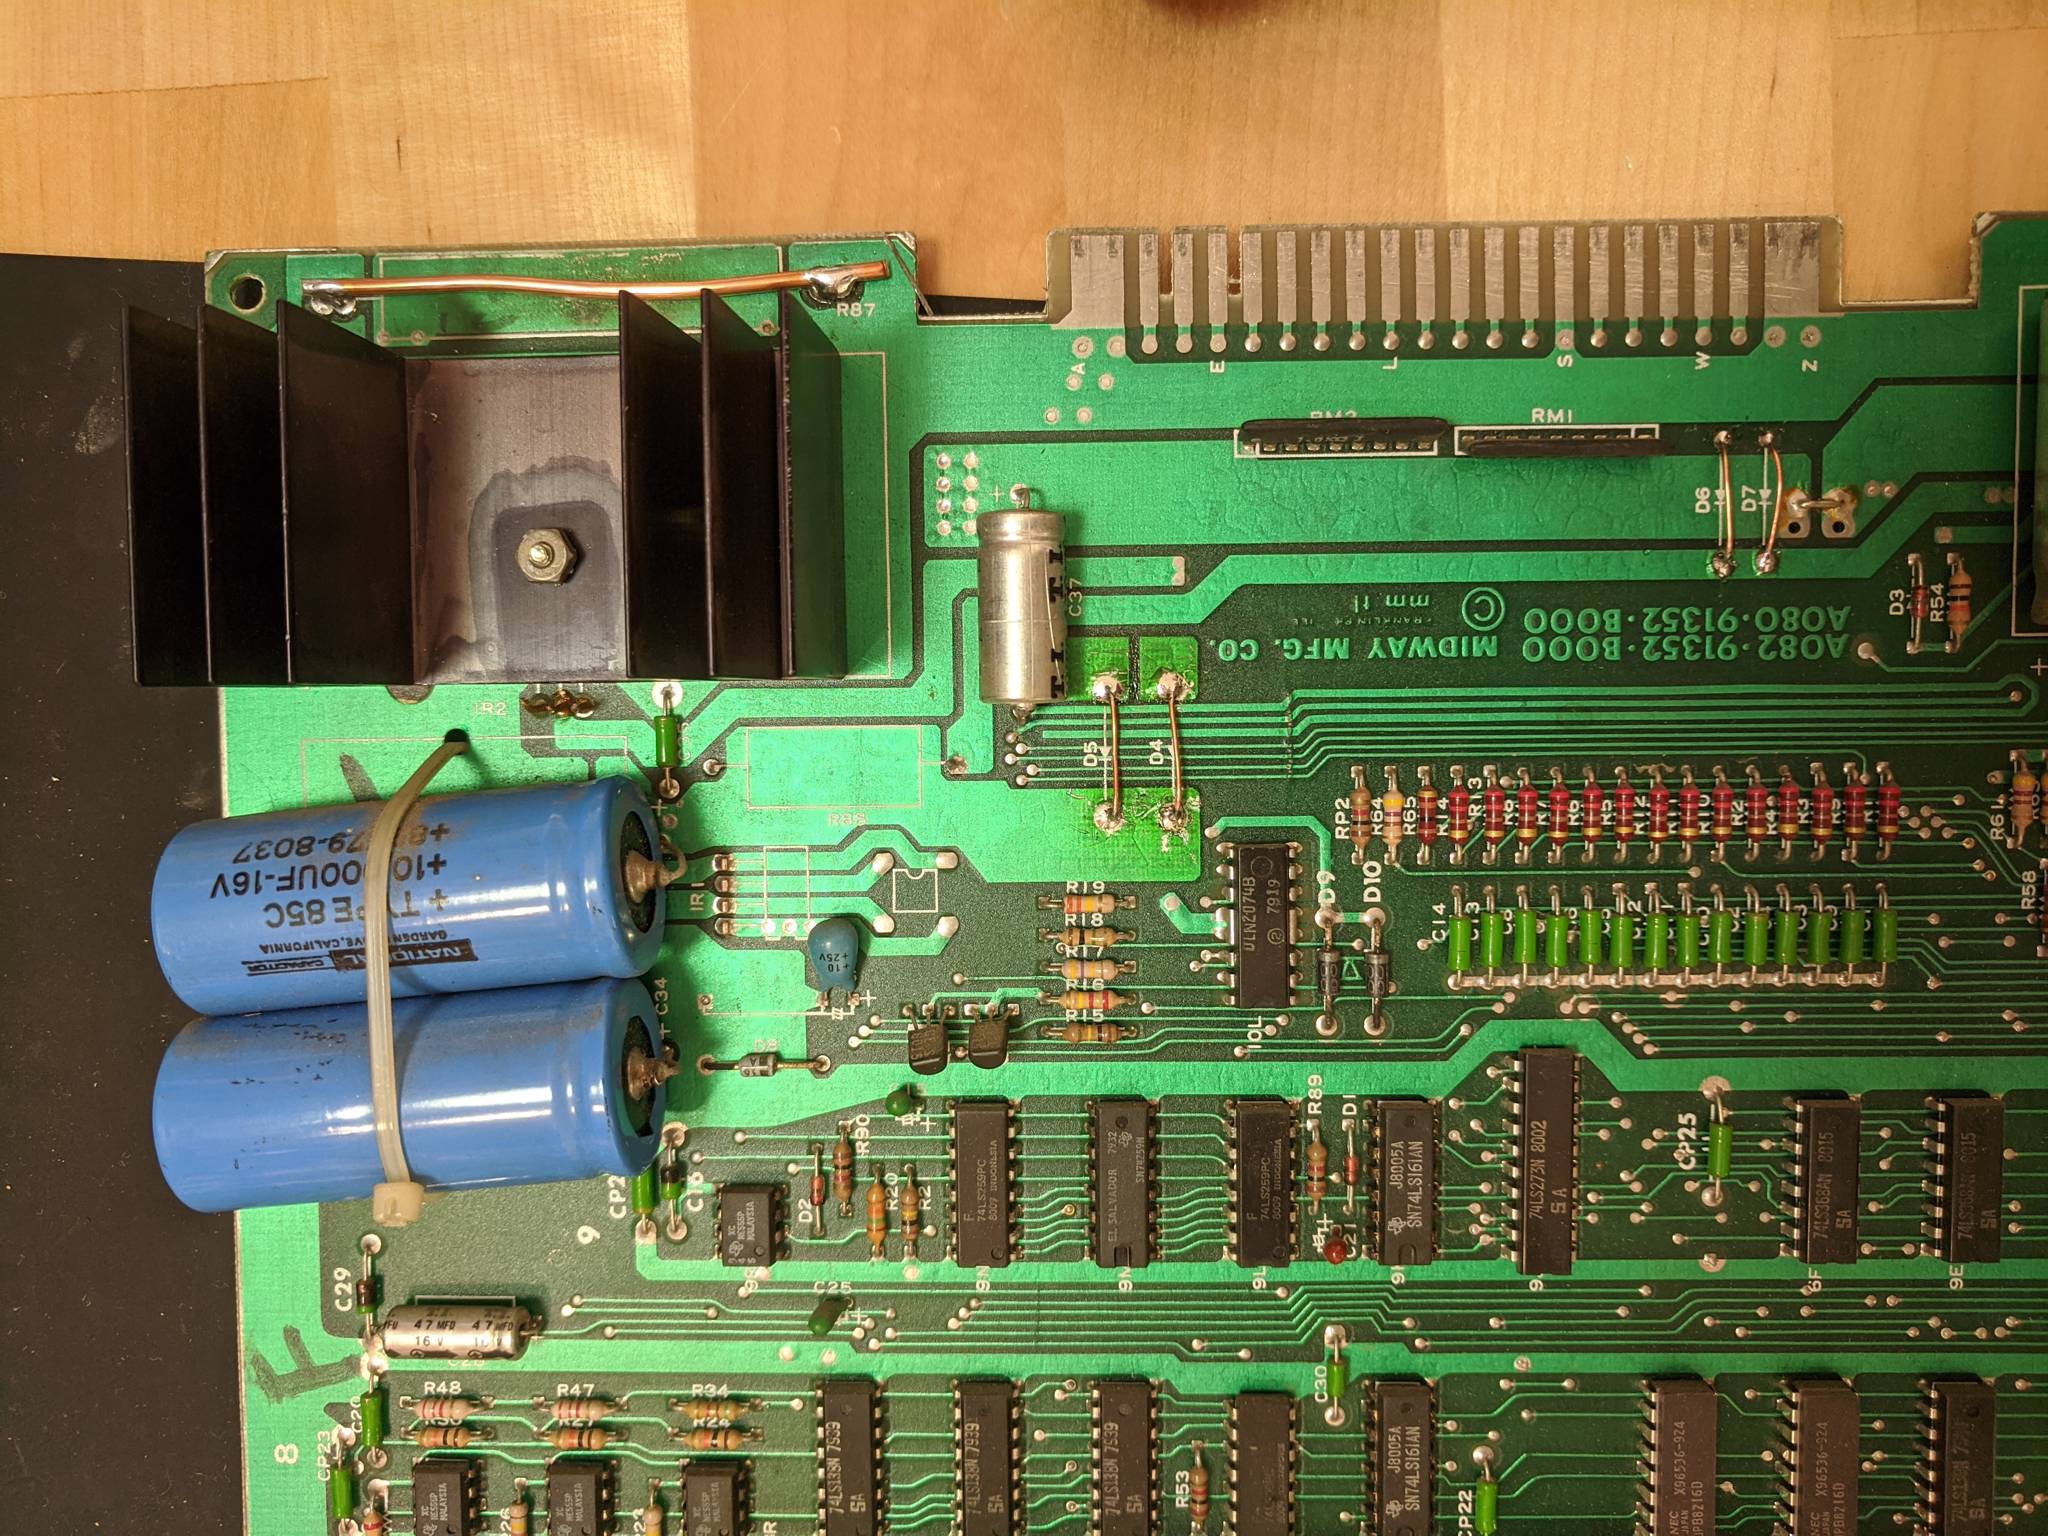
| R87 | 4 Ohm 10W resistor | Remove and replace with wire |
| R88 | 50 Ohm 5W resistor | Remove |
| D4 | A15F diode | Remove and replace with wire |
| D5 | A15F diode | Remove and replace with wire |
| D6 | A14F diode | Remove and replace with wire |
| D7 | A14F diode | Remove and replace with wire |
Finally, you may need a wire link between the edge connector pair 5,E to 4,D. I did not need this connector because the JAMMA adapter I used already bridged these connections.
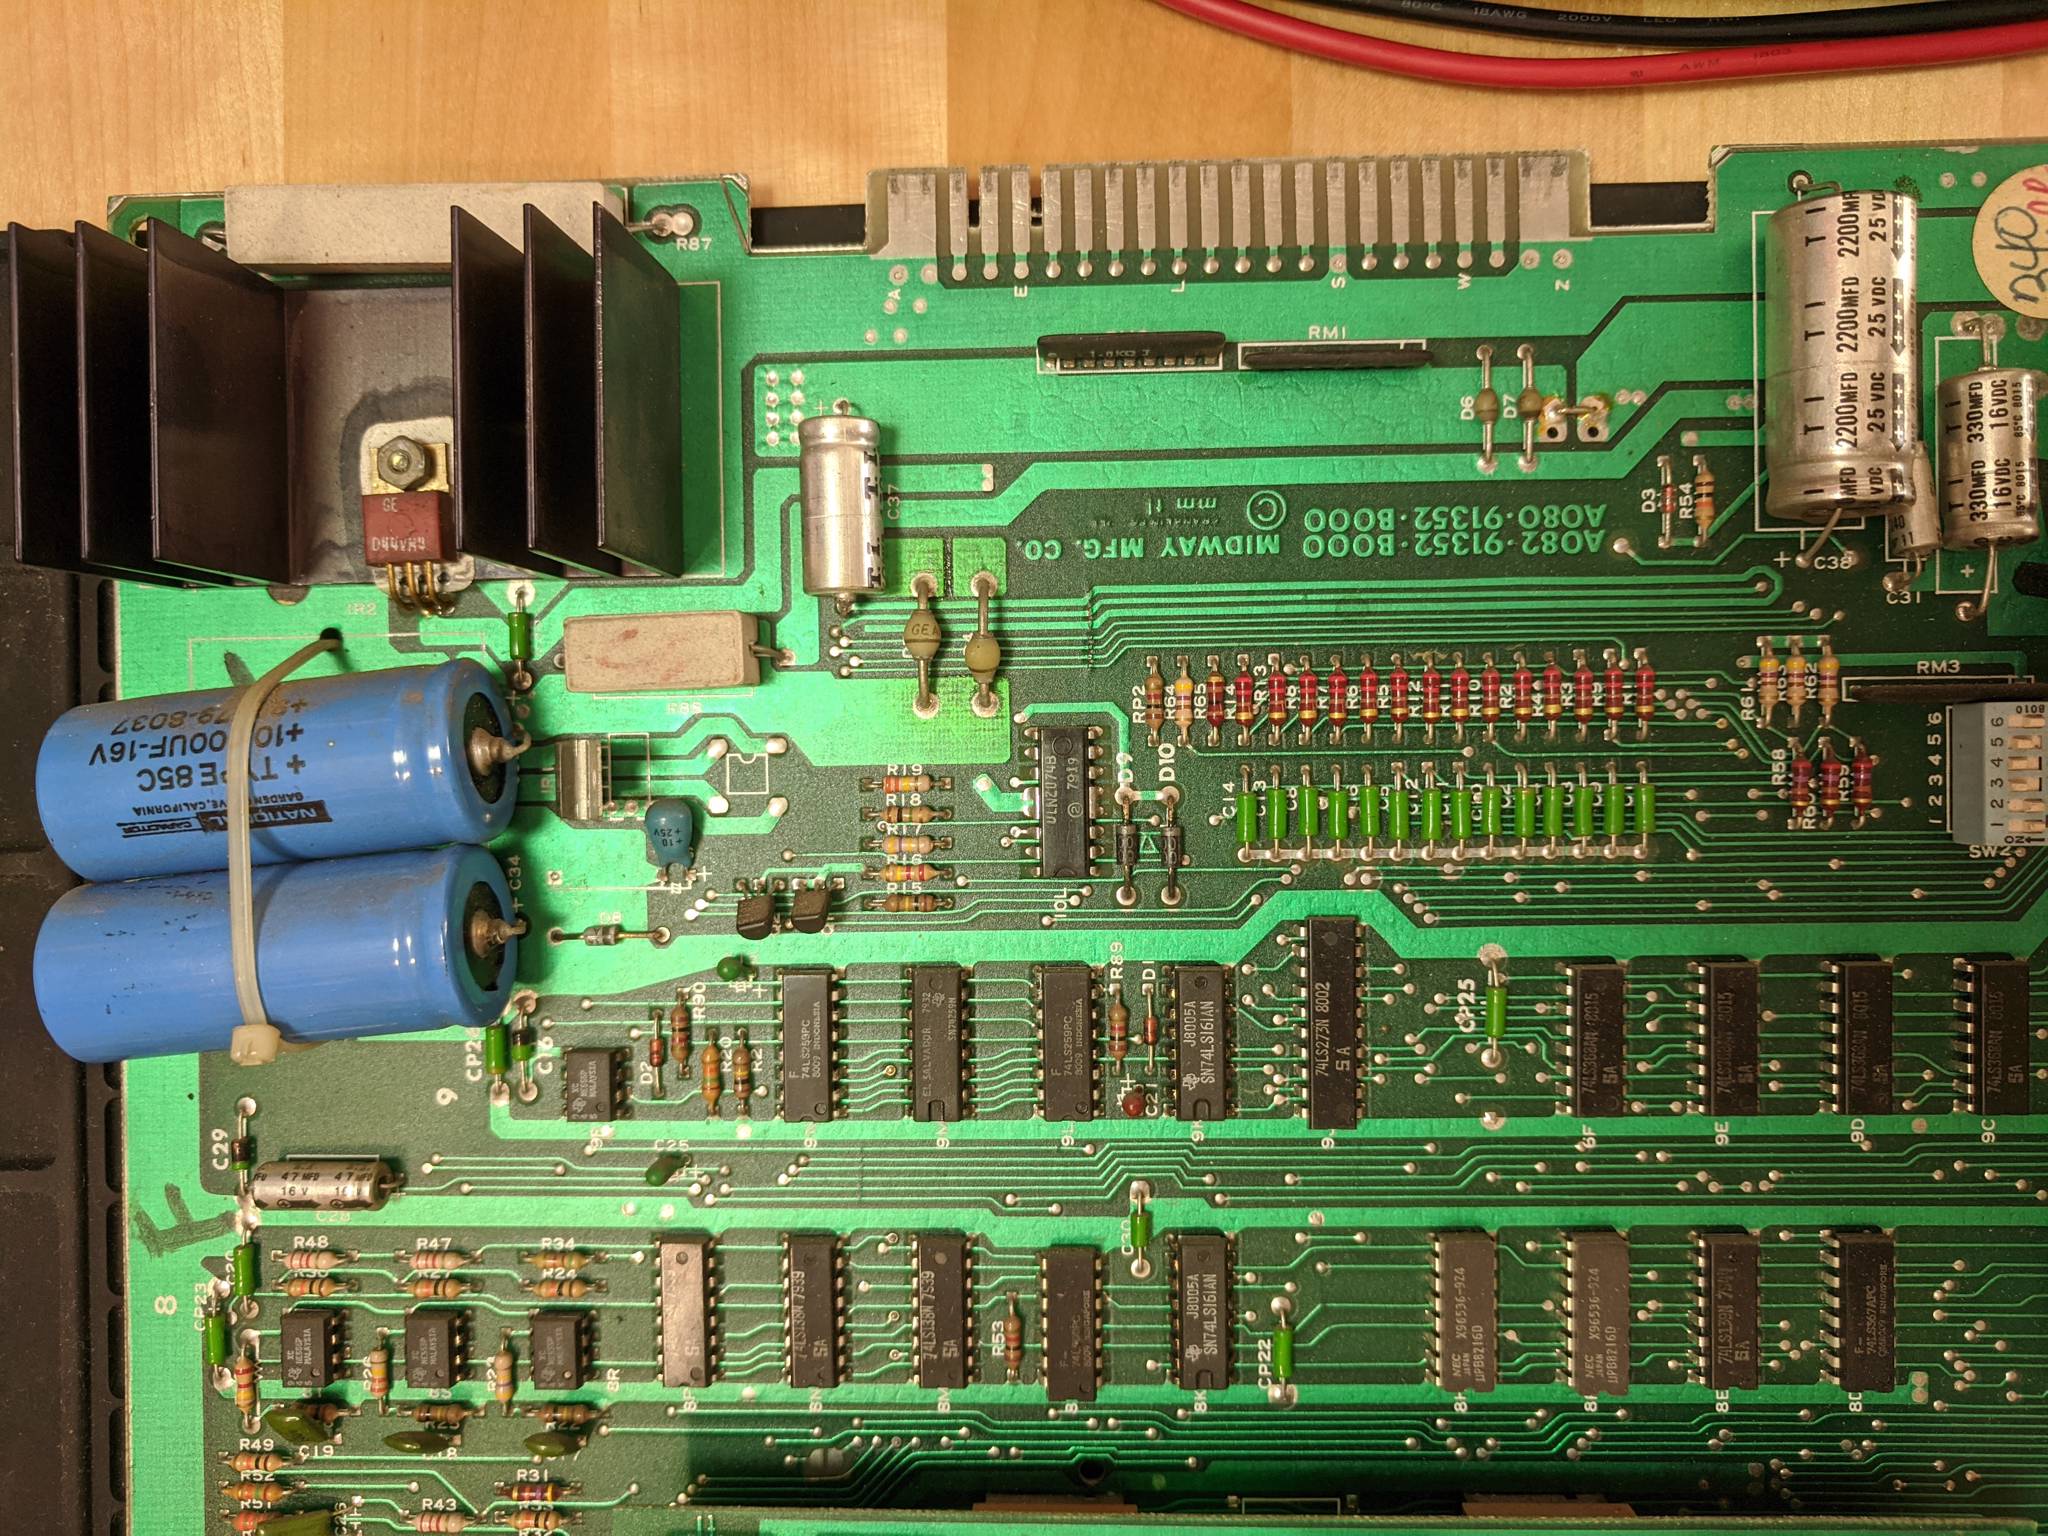
On to the pictures! The third picture is annotated with each of the part IDs.