After building my own MAME machine from scratch, I decided I wanted to try my hand at a restoration project.
I jumped on Craigslist and found a four-player sit-down Nintendo VS cabinet. When I got down to the place to pick it up, I found myself staring at a treasure trove of old cabinets packed into a barn. I looked around and ended up leaving with a second cabinet also, one that reminded me of Ms. Pac-Man.
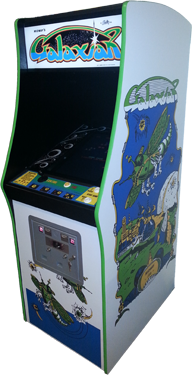
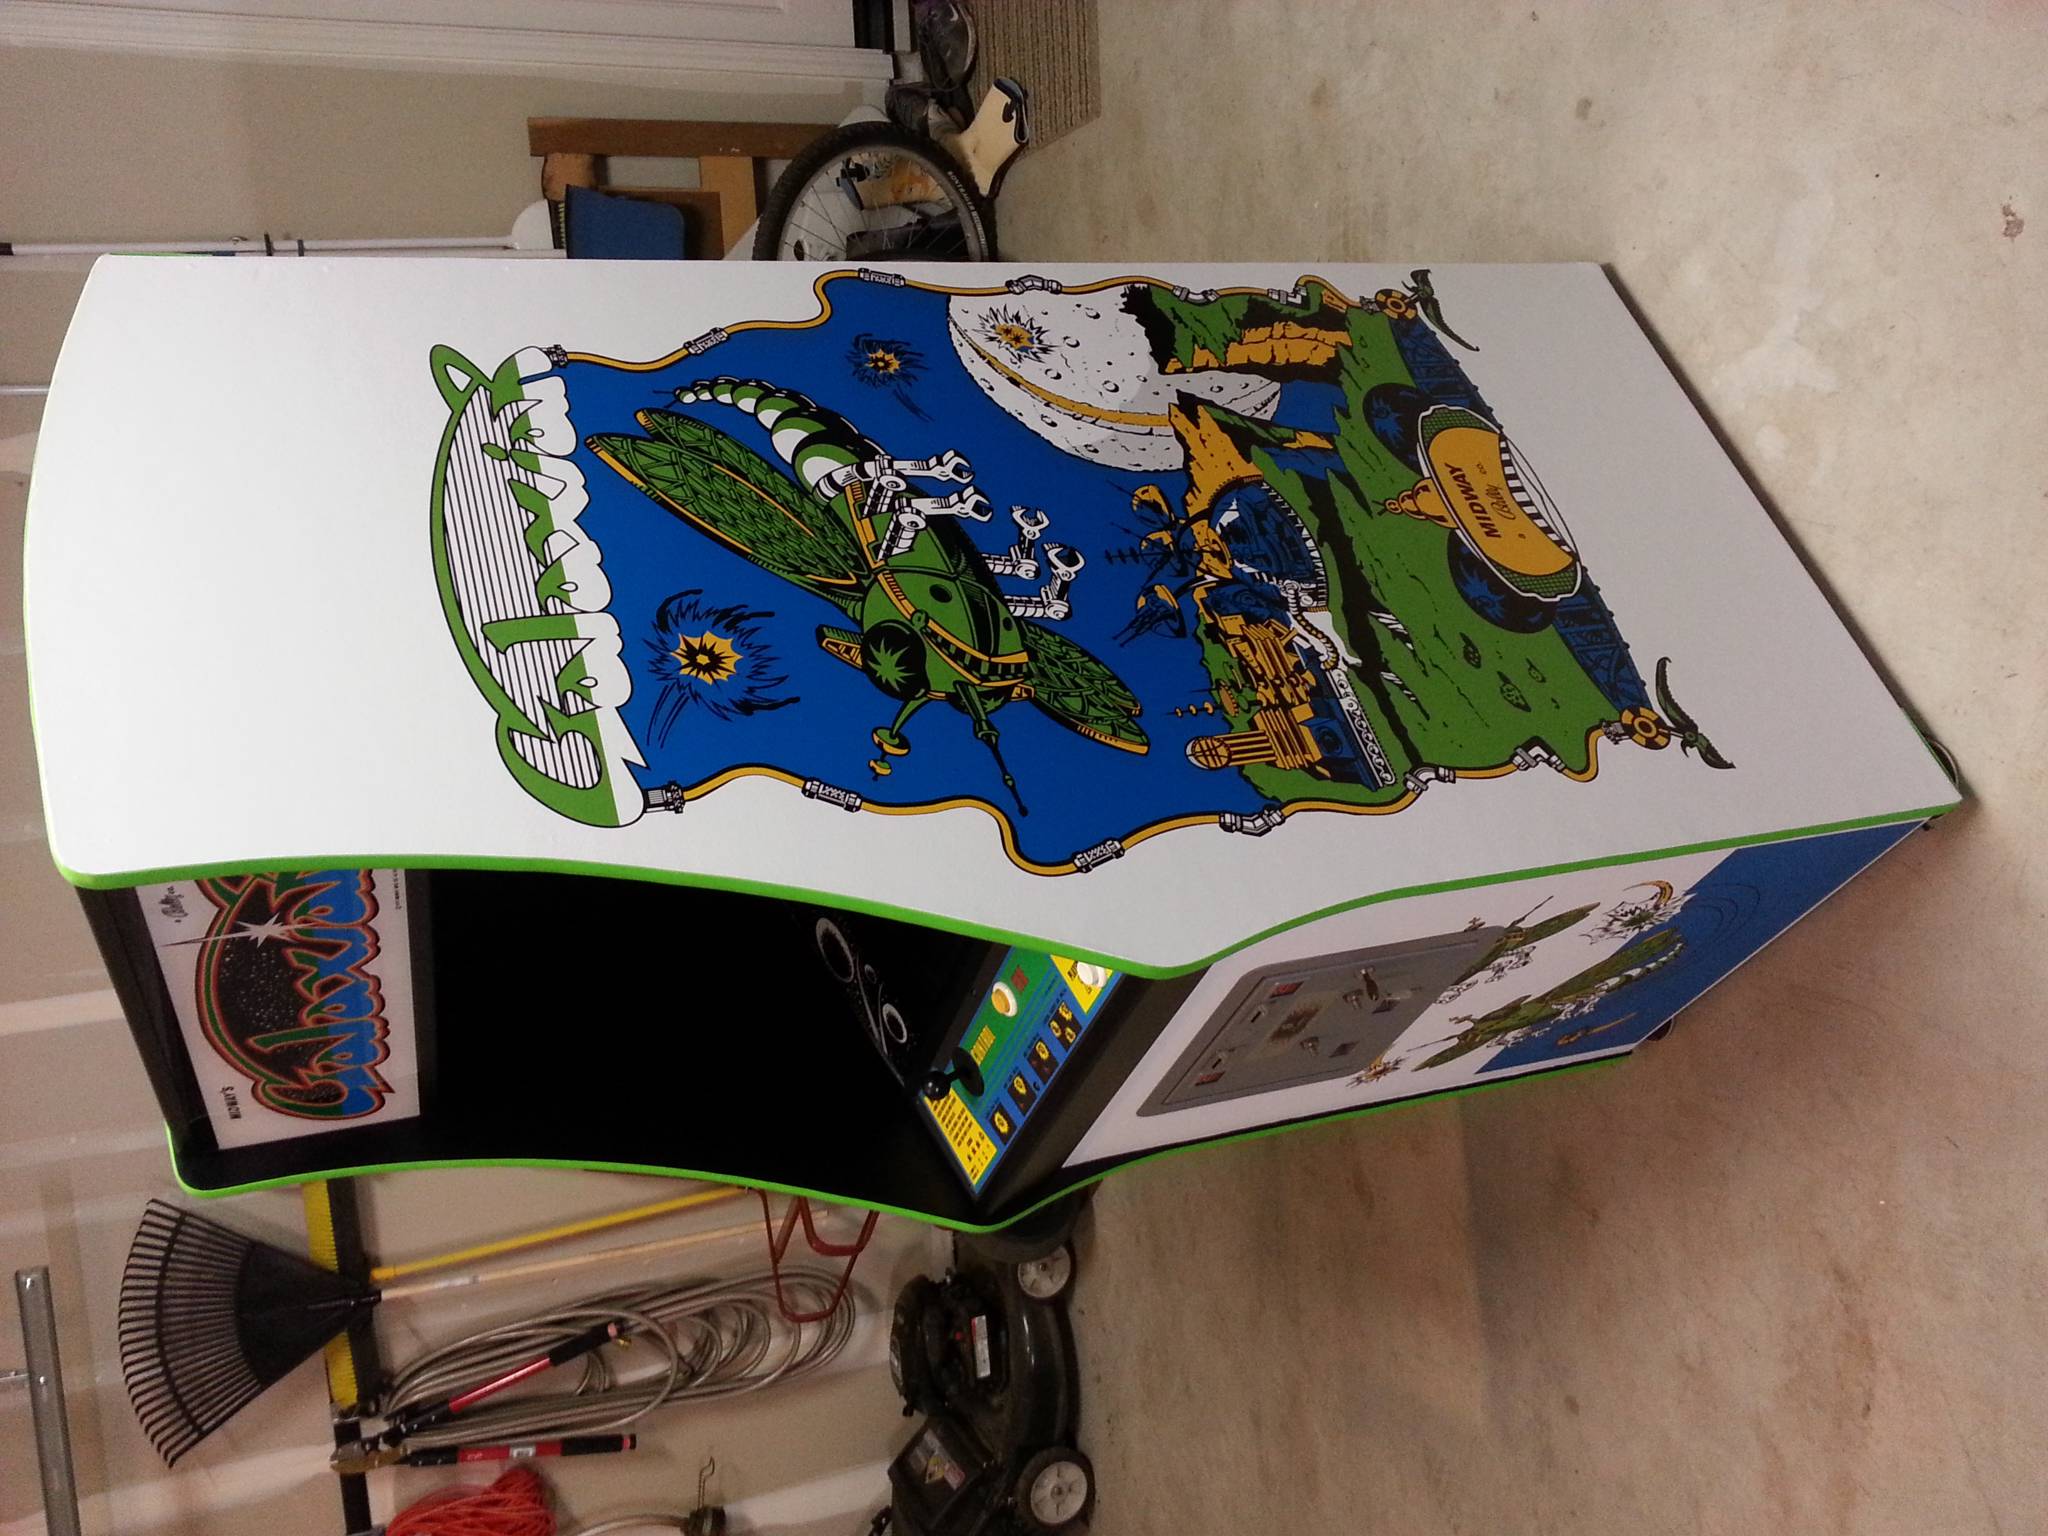
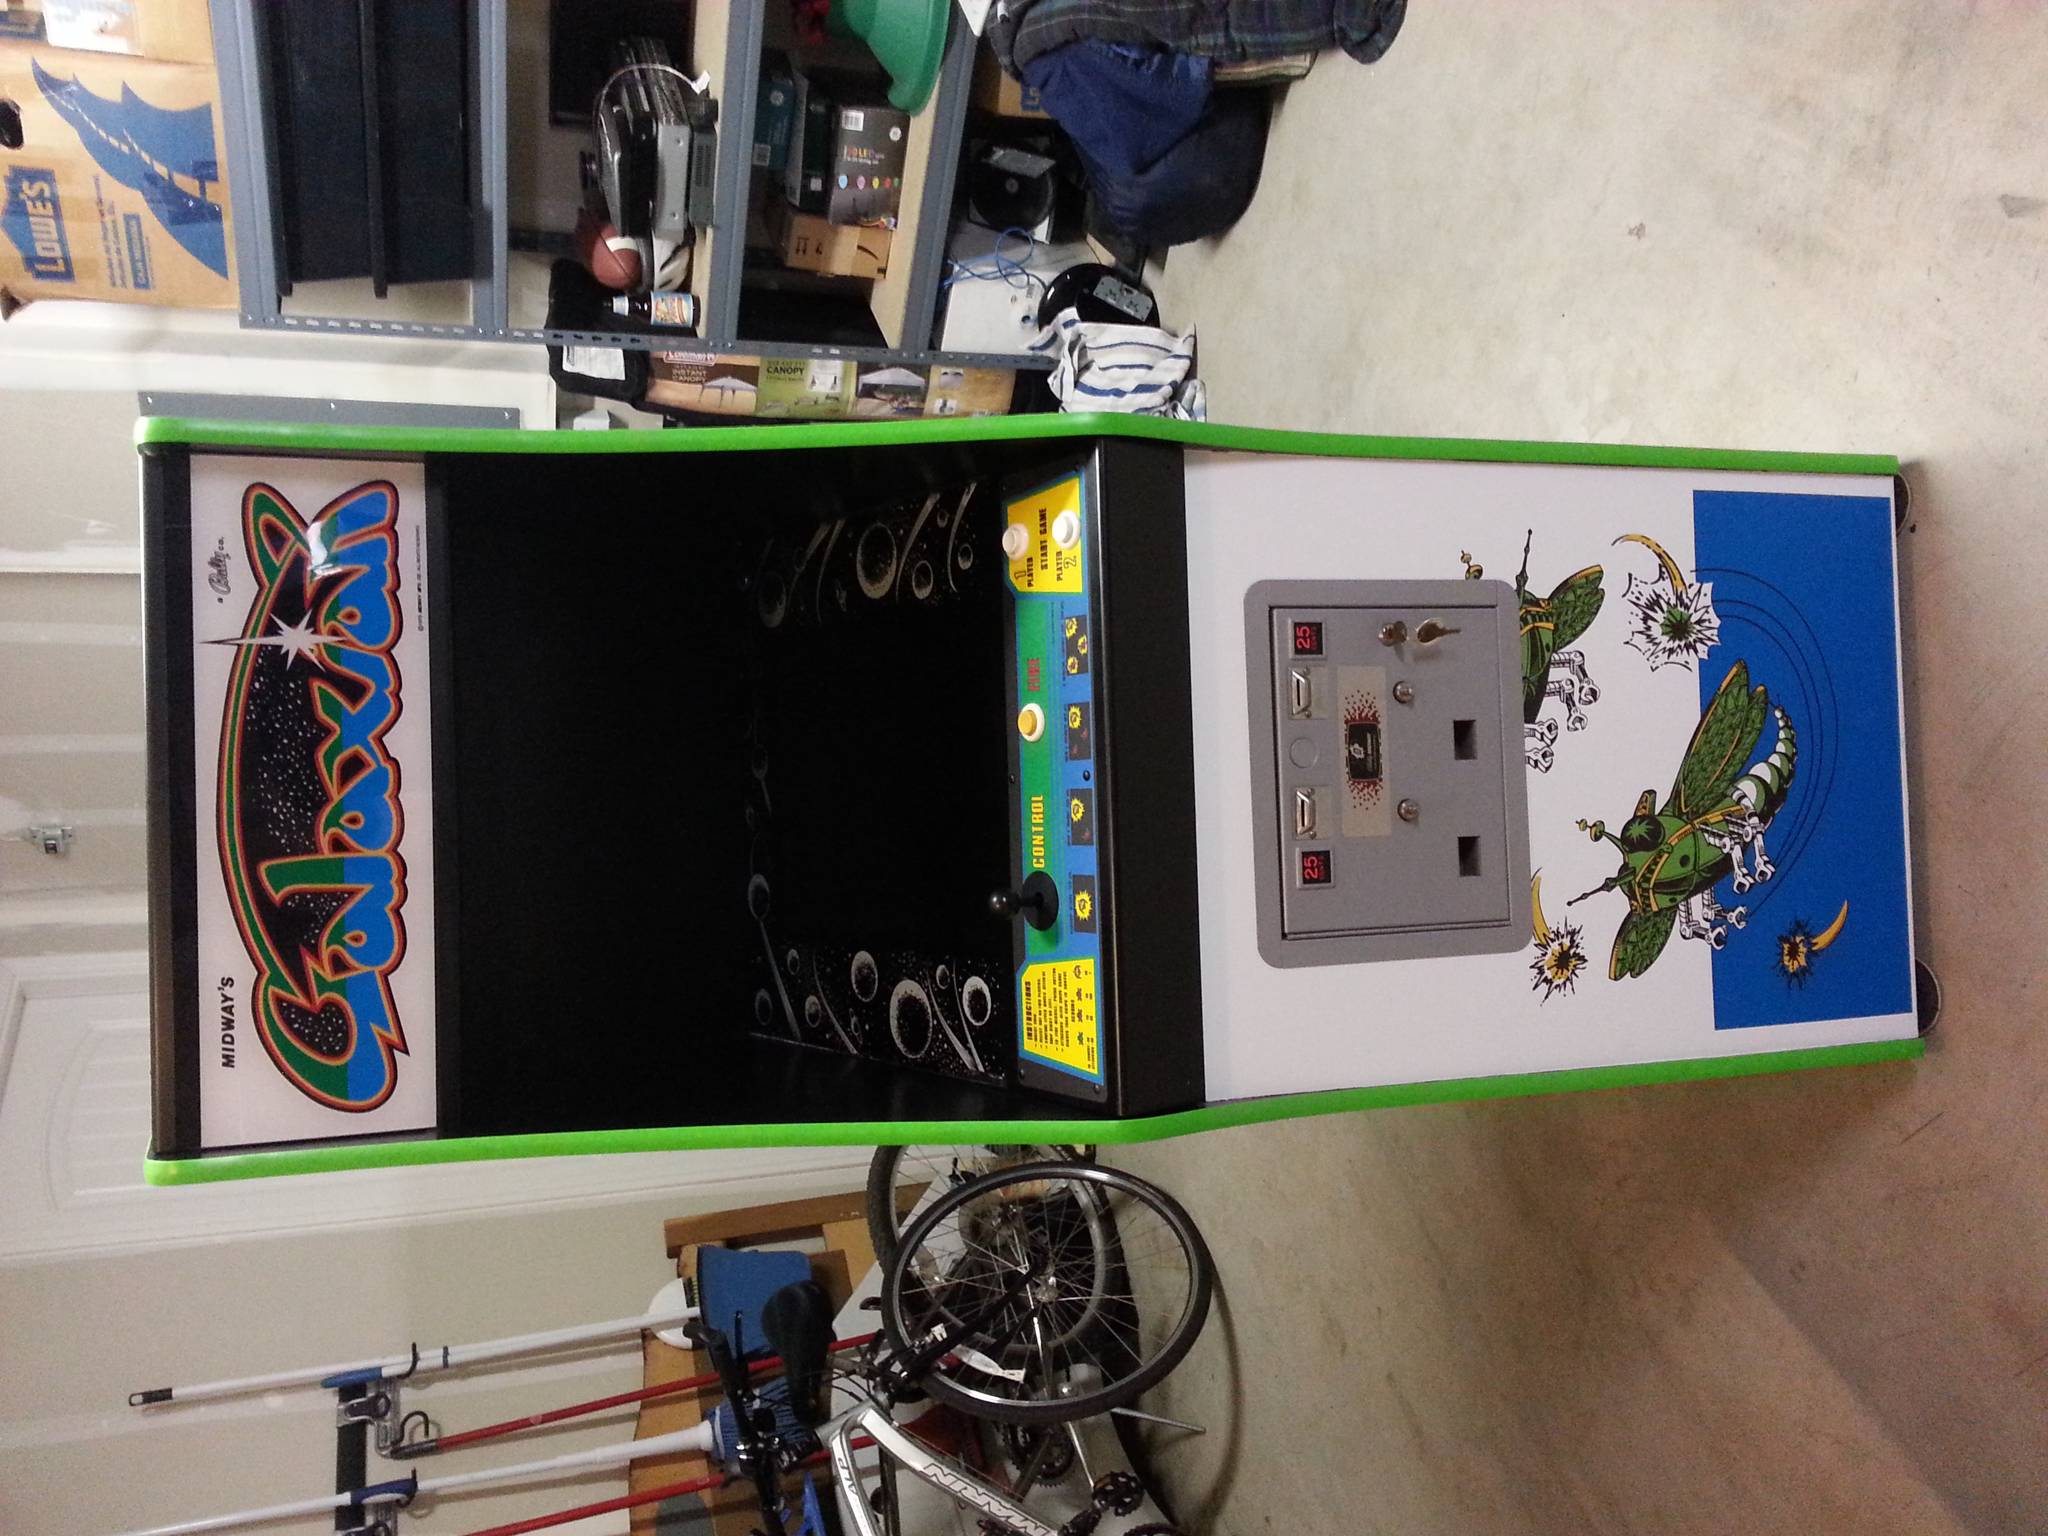
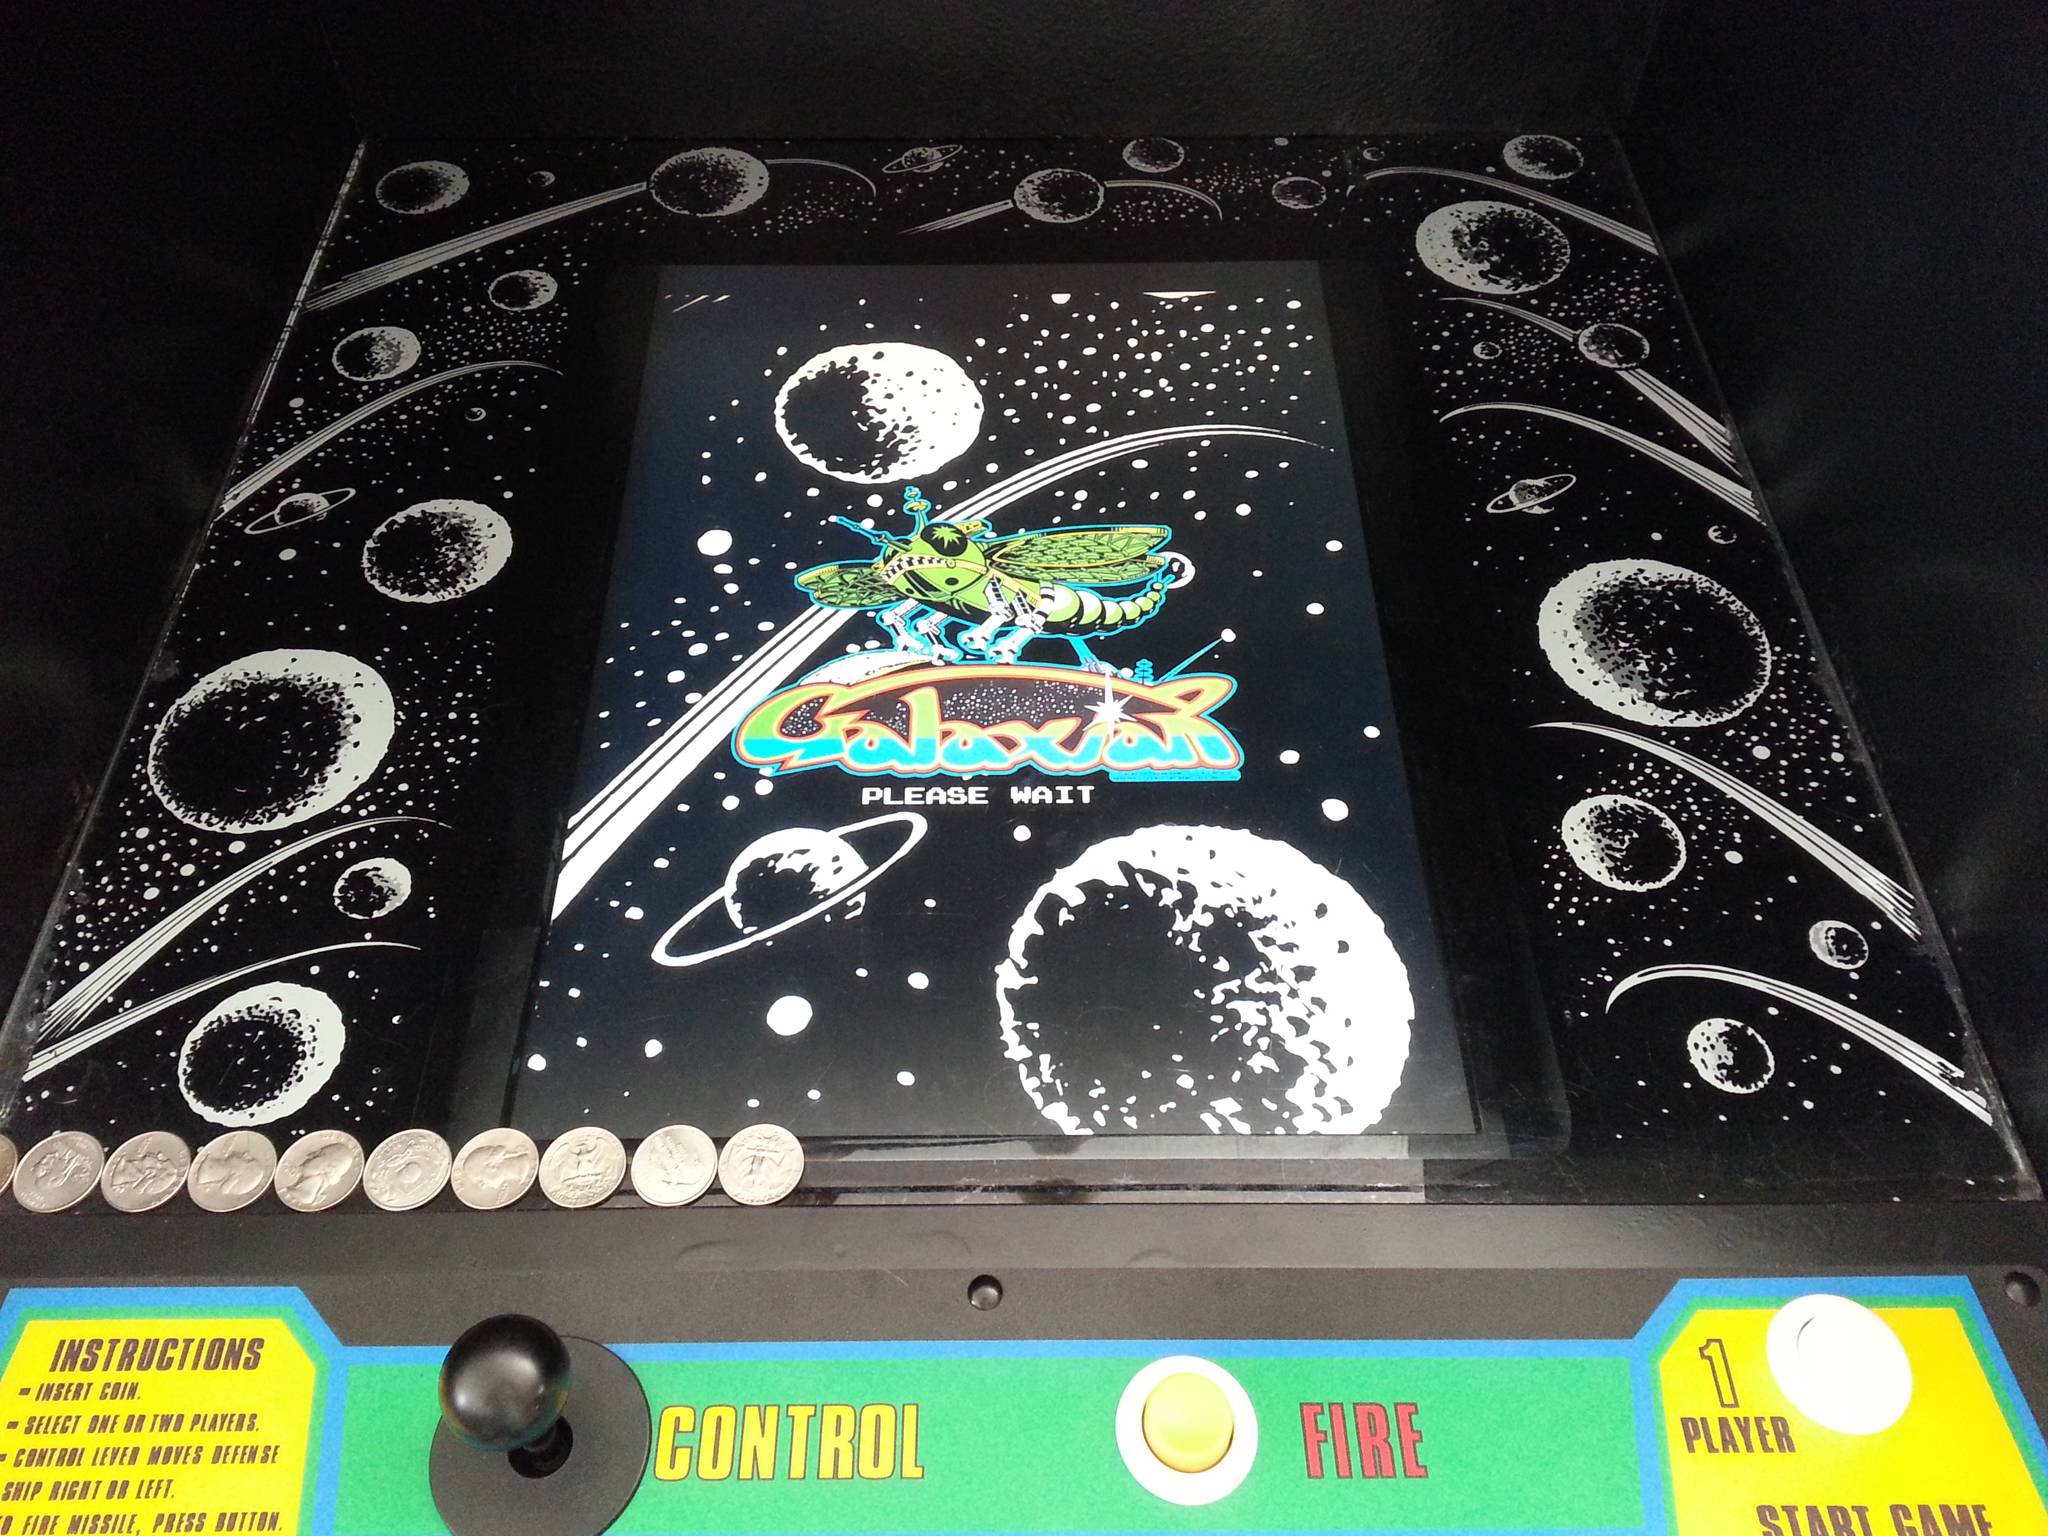
Back at home with my haul, I found that I was more interested in checking out the second cabinet. It turned out to be a Galaxian converted to a Galaga. I decided to restore it to its original glory.
What follows is the original restoration project from 2015. For the 2020 CRT/PCB update, skip below.
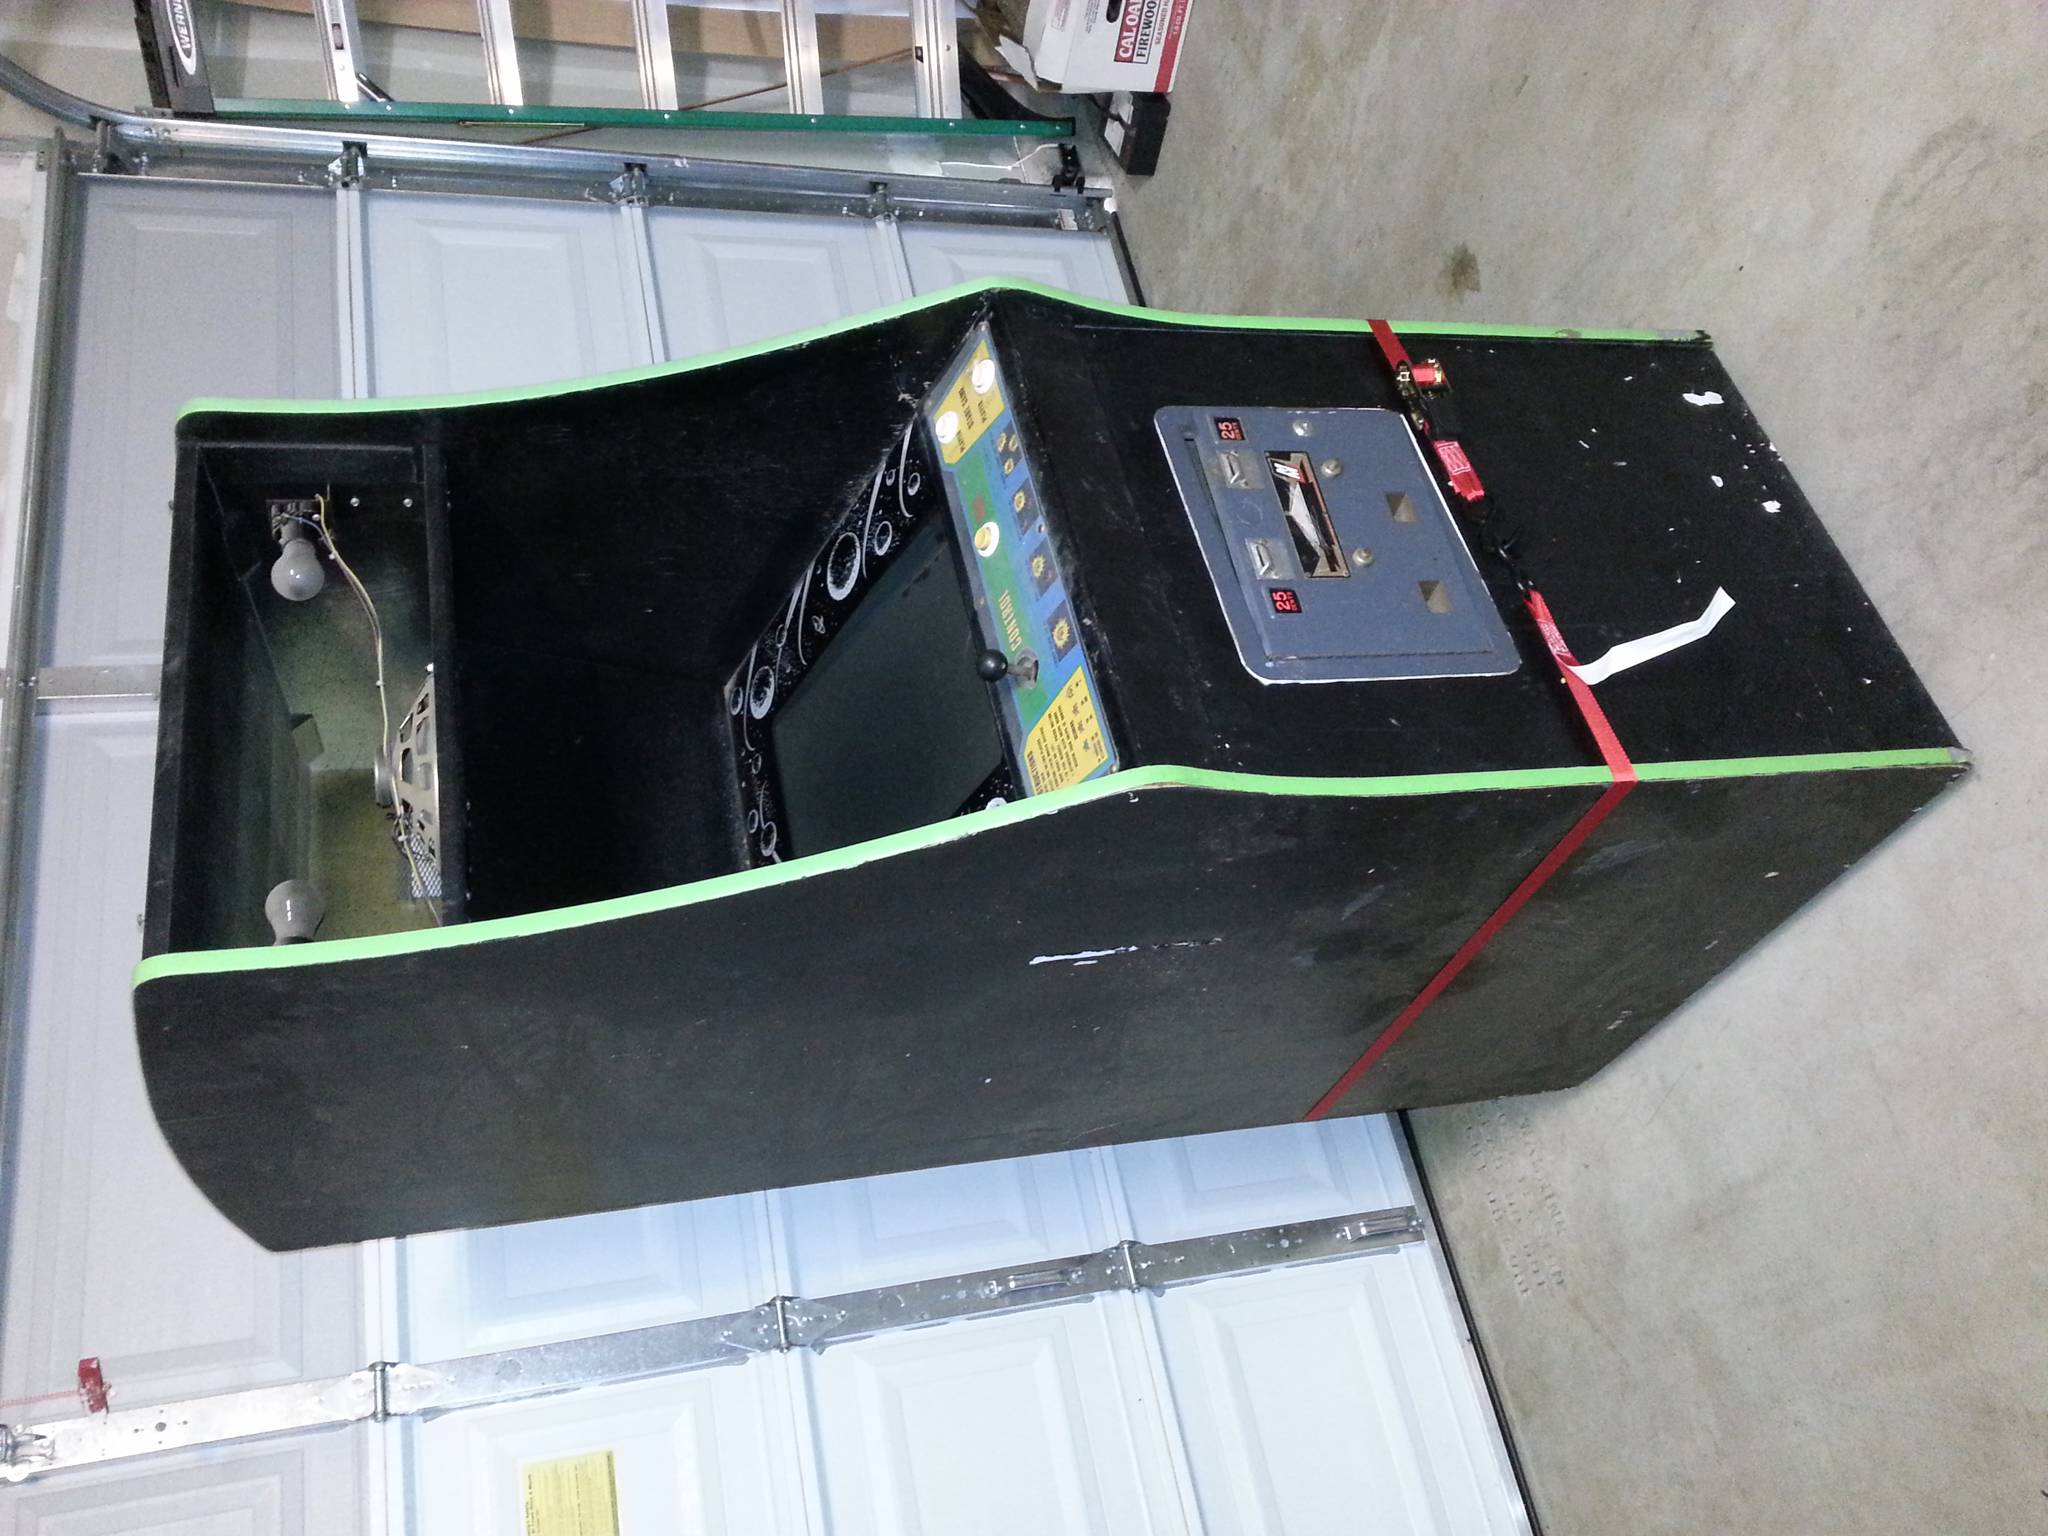
The cabinet itself was in decent shape, albeit quite dirty from sitting in a barn for so long. Other than the dust, there was no structural or water damage.
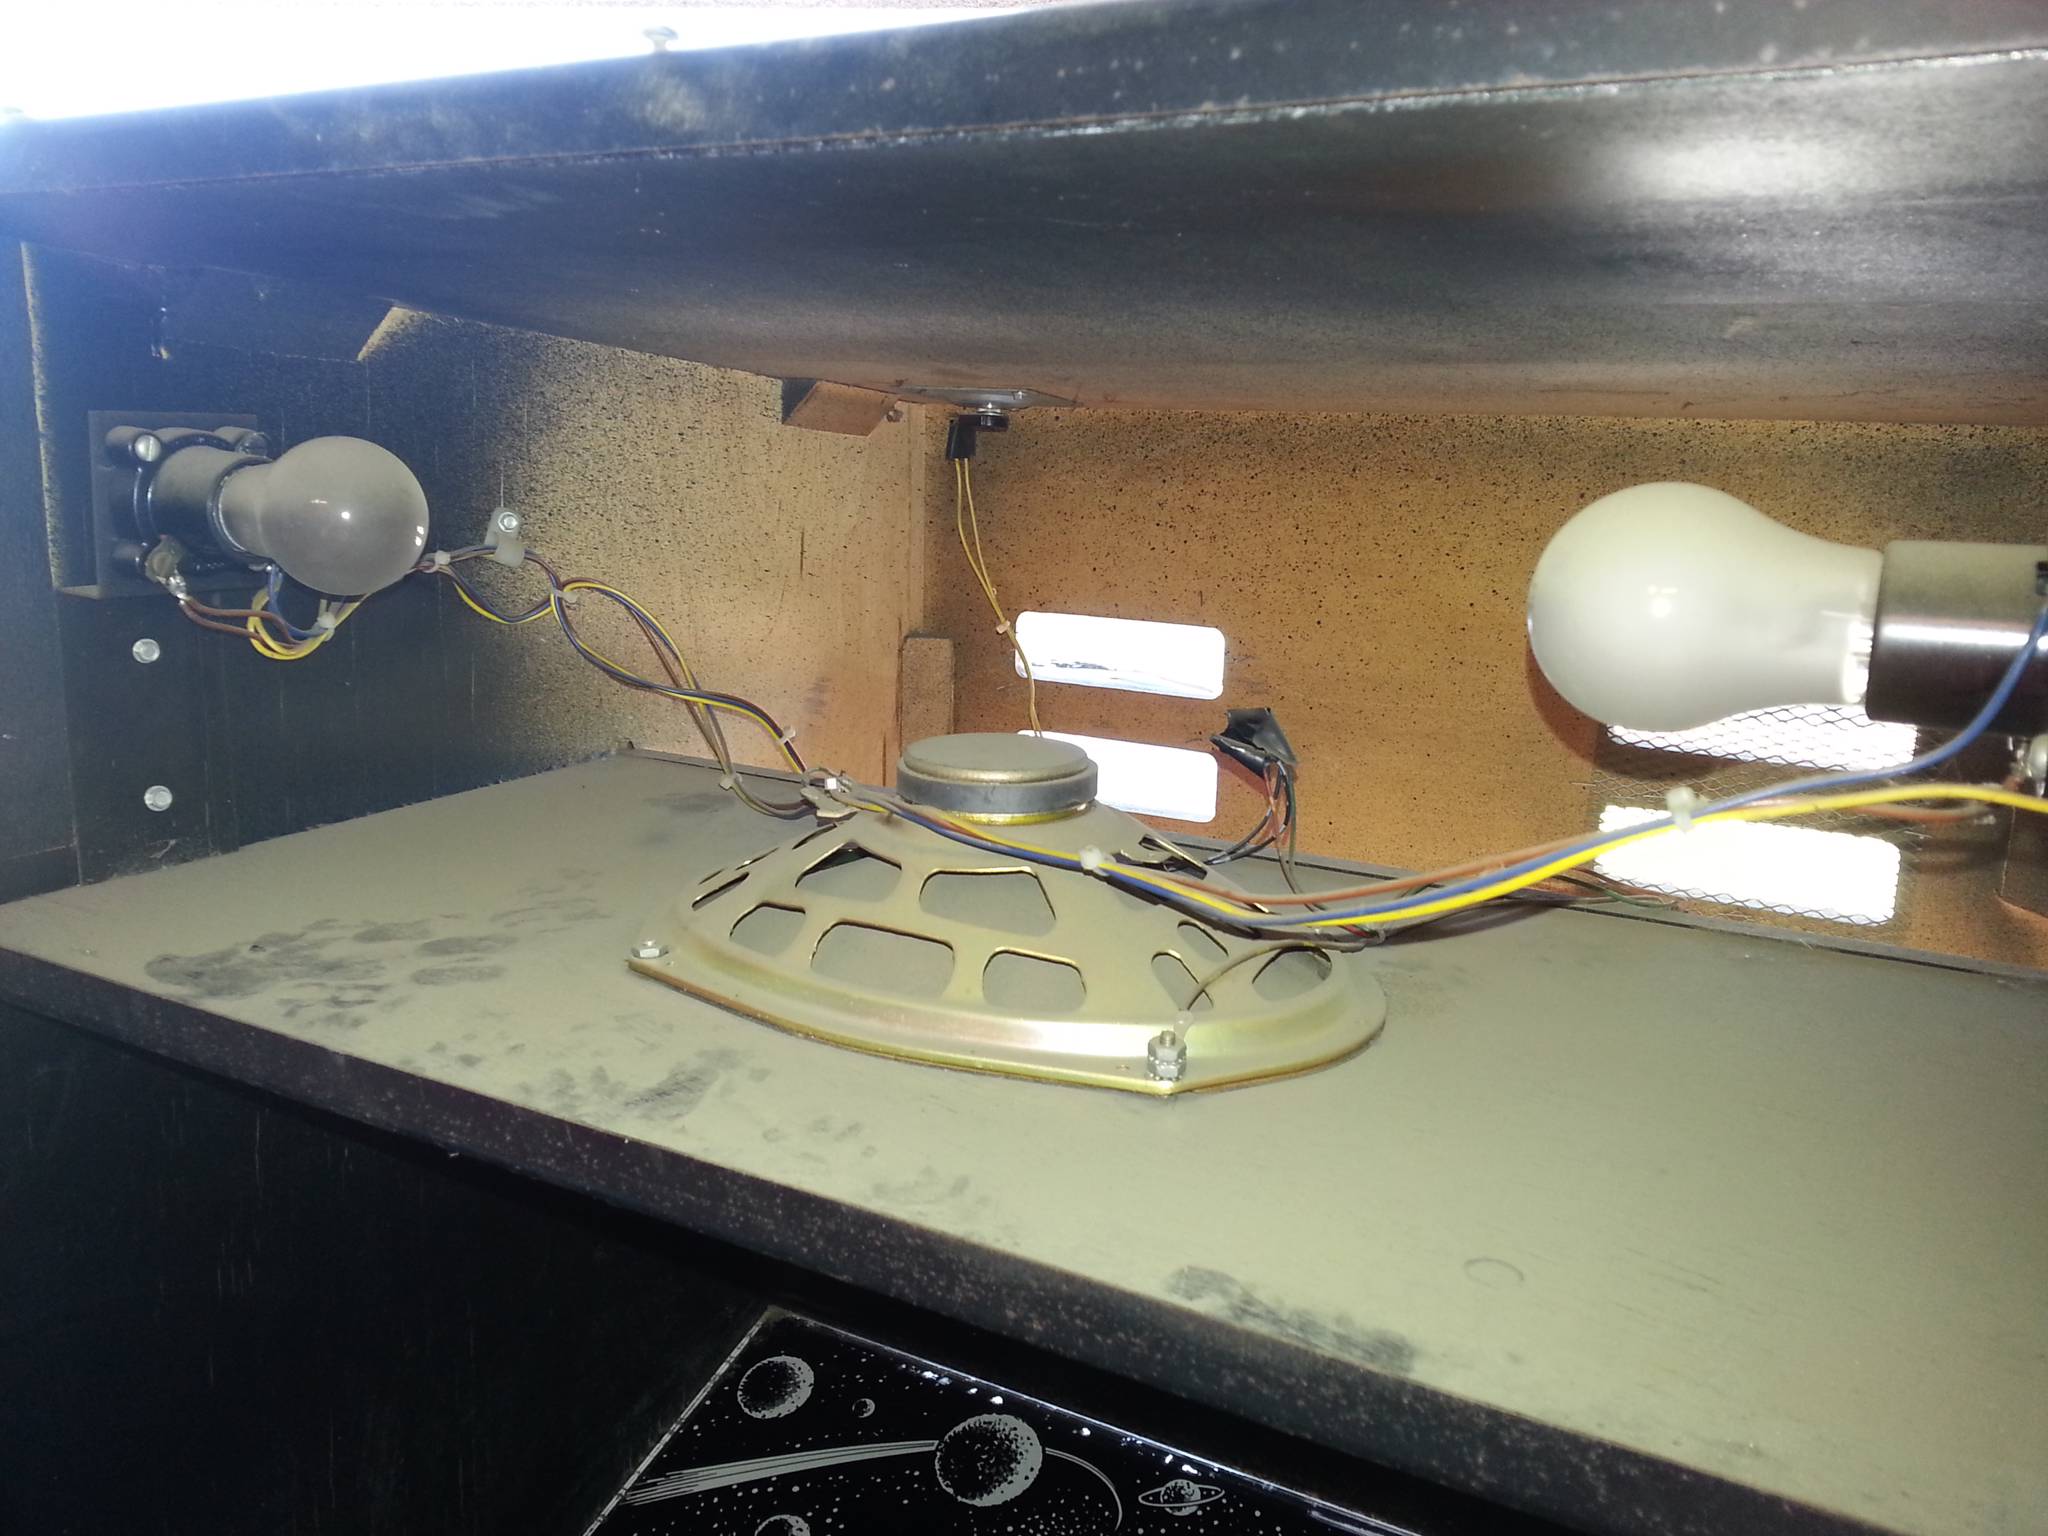
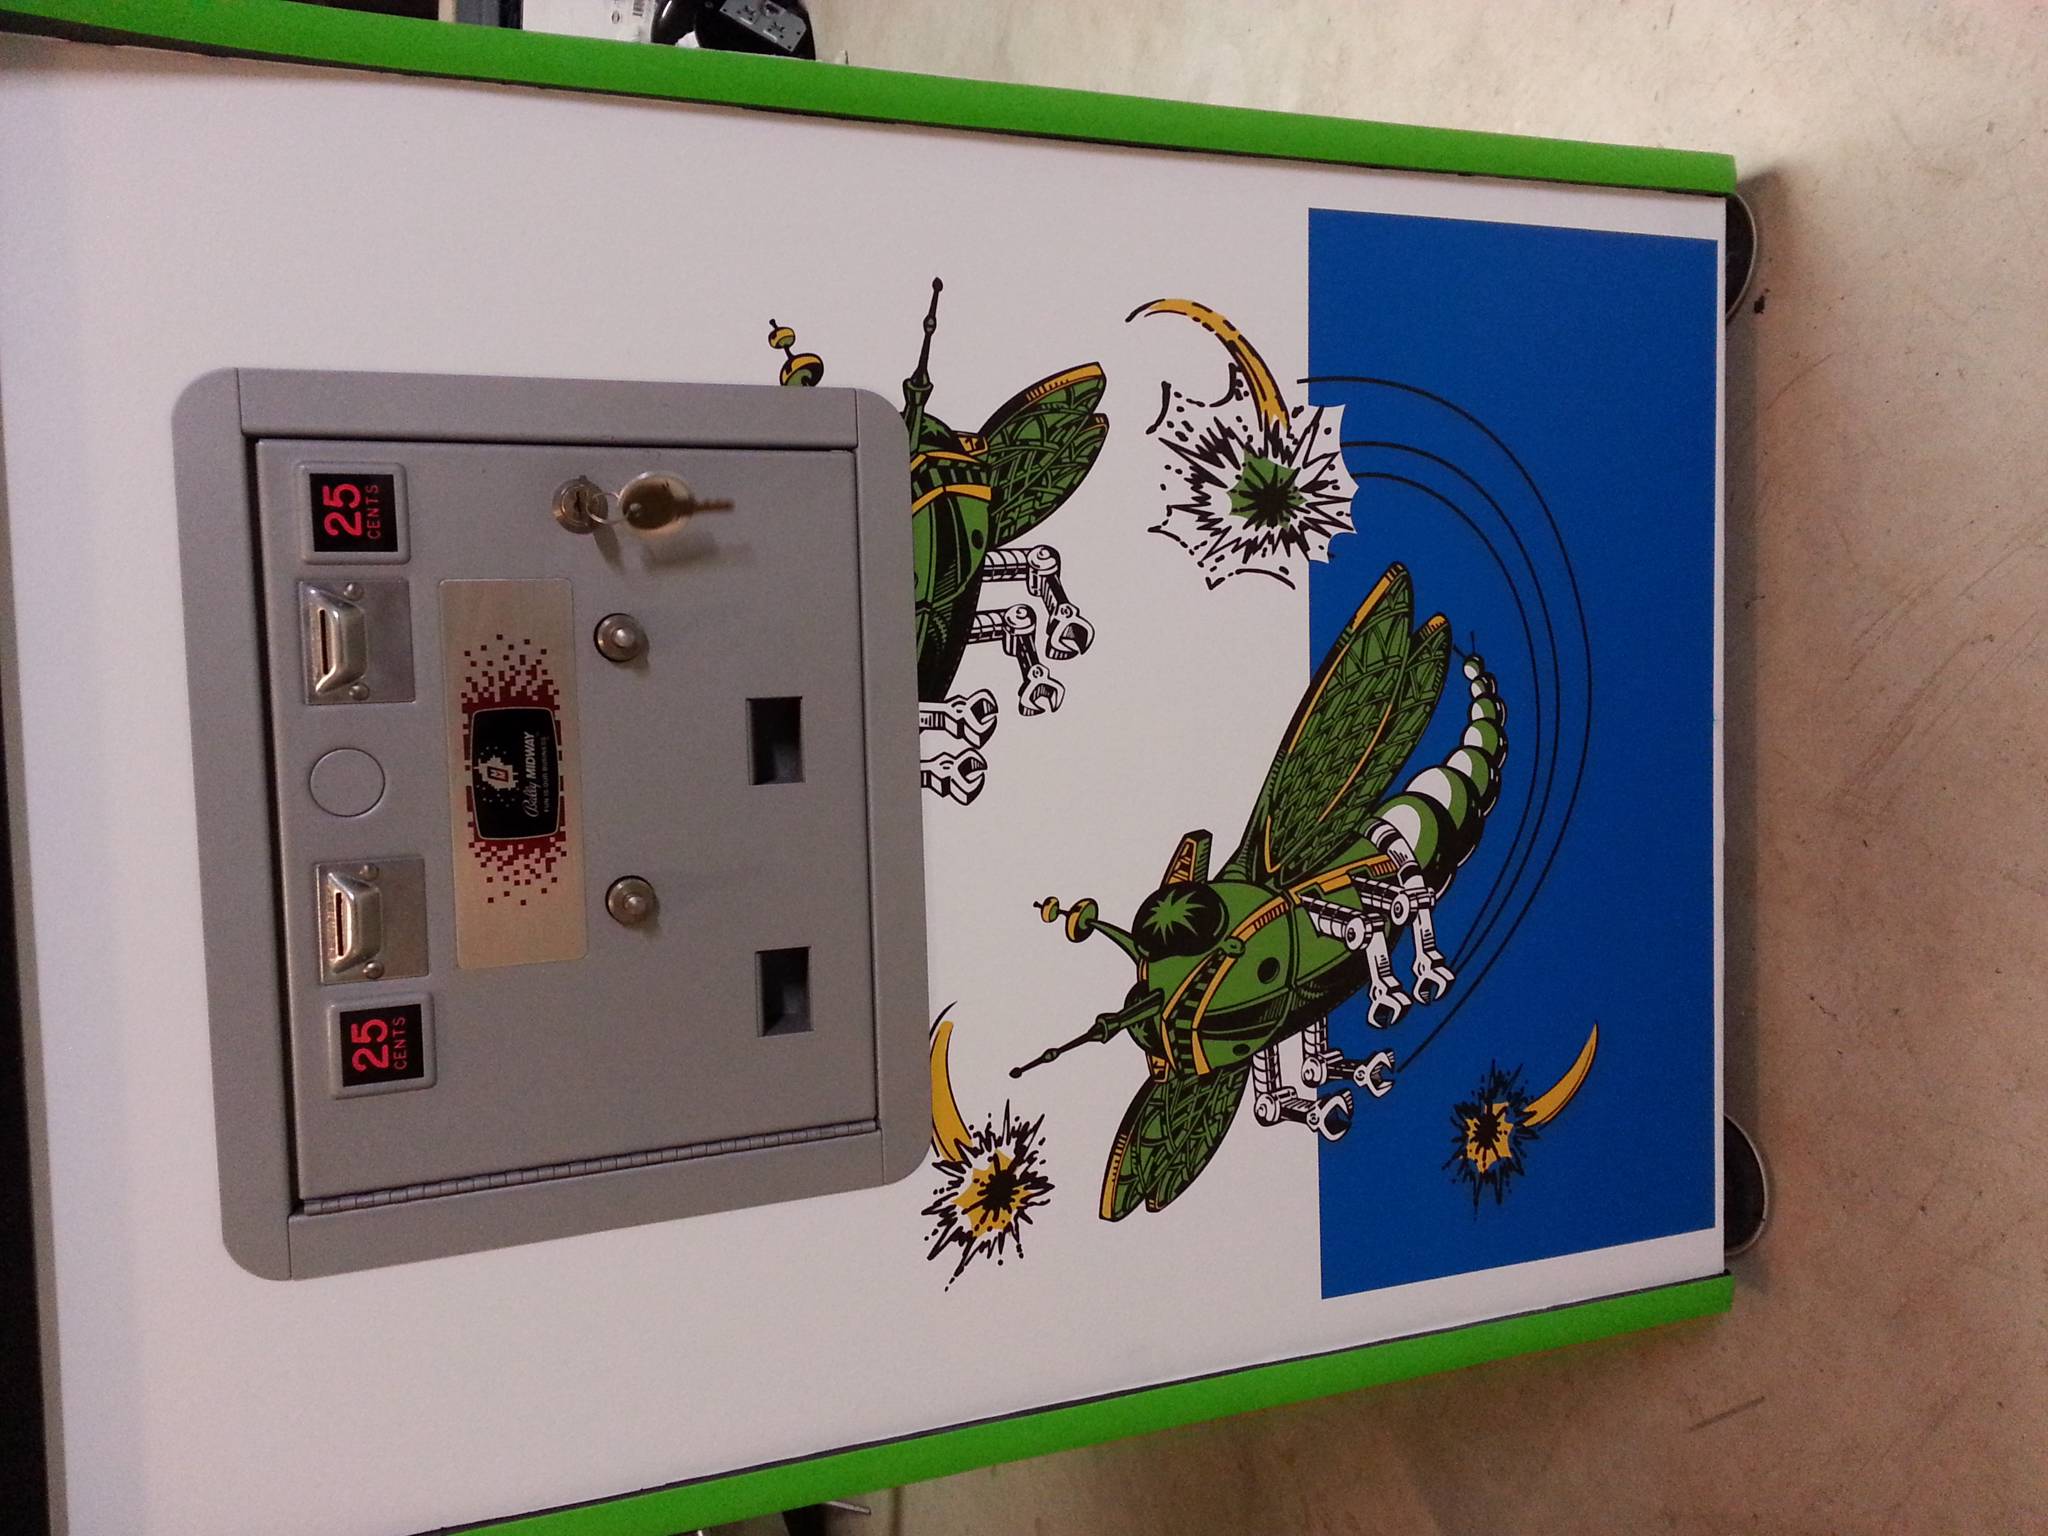
The project required sanding and painting, replacement of all the artwork, updating the electronics, and more. Though I tried to keep everything as close to stock as possible, I did decide to make a few changes.
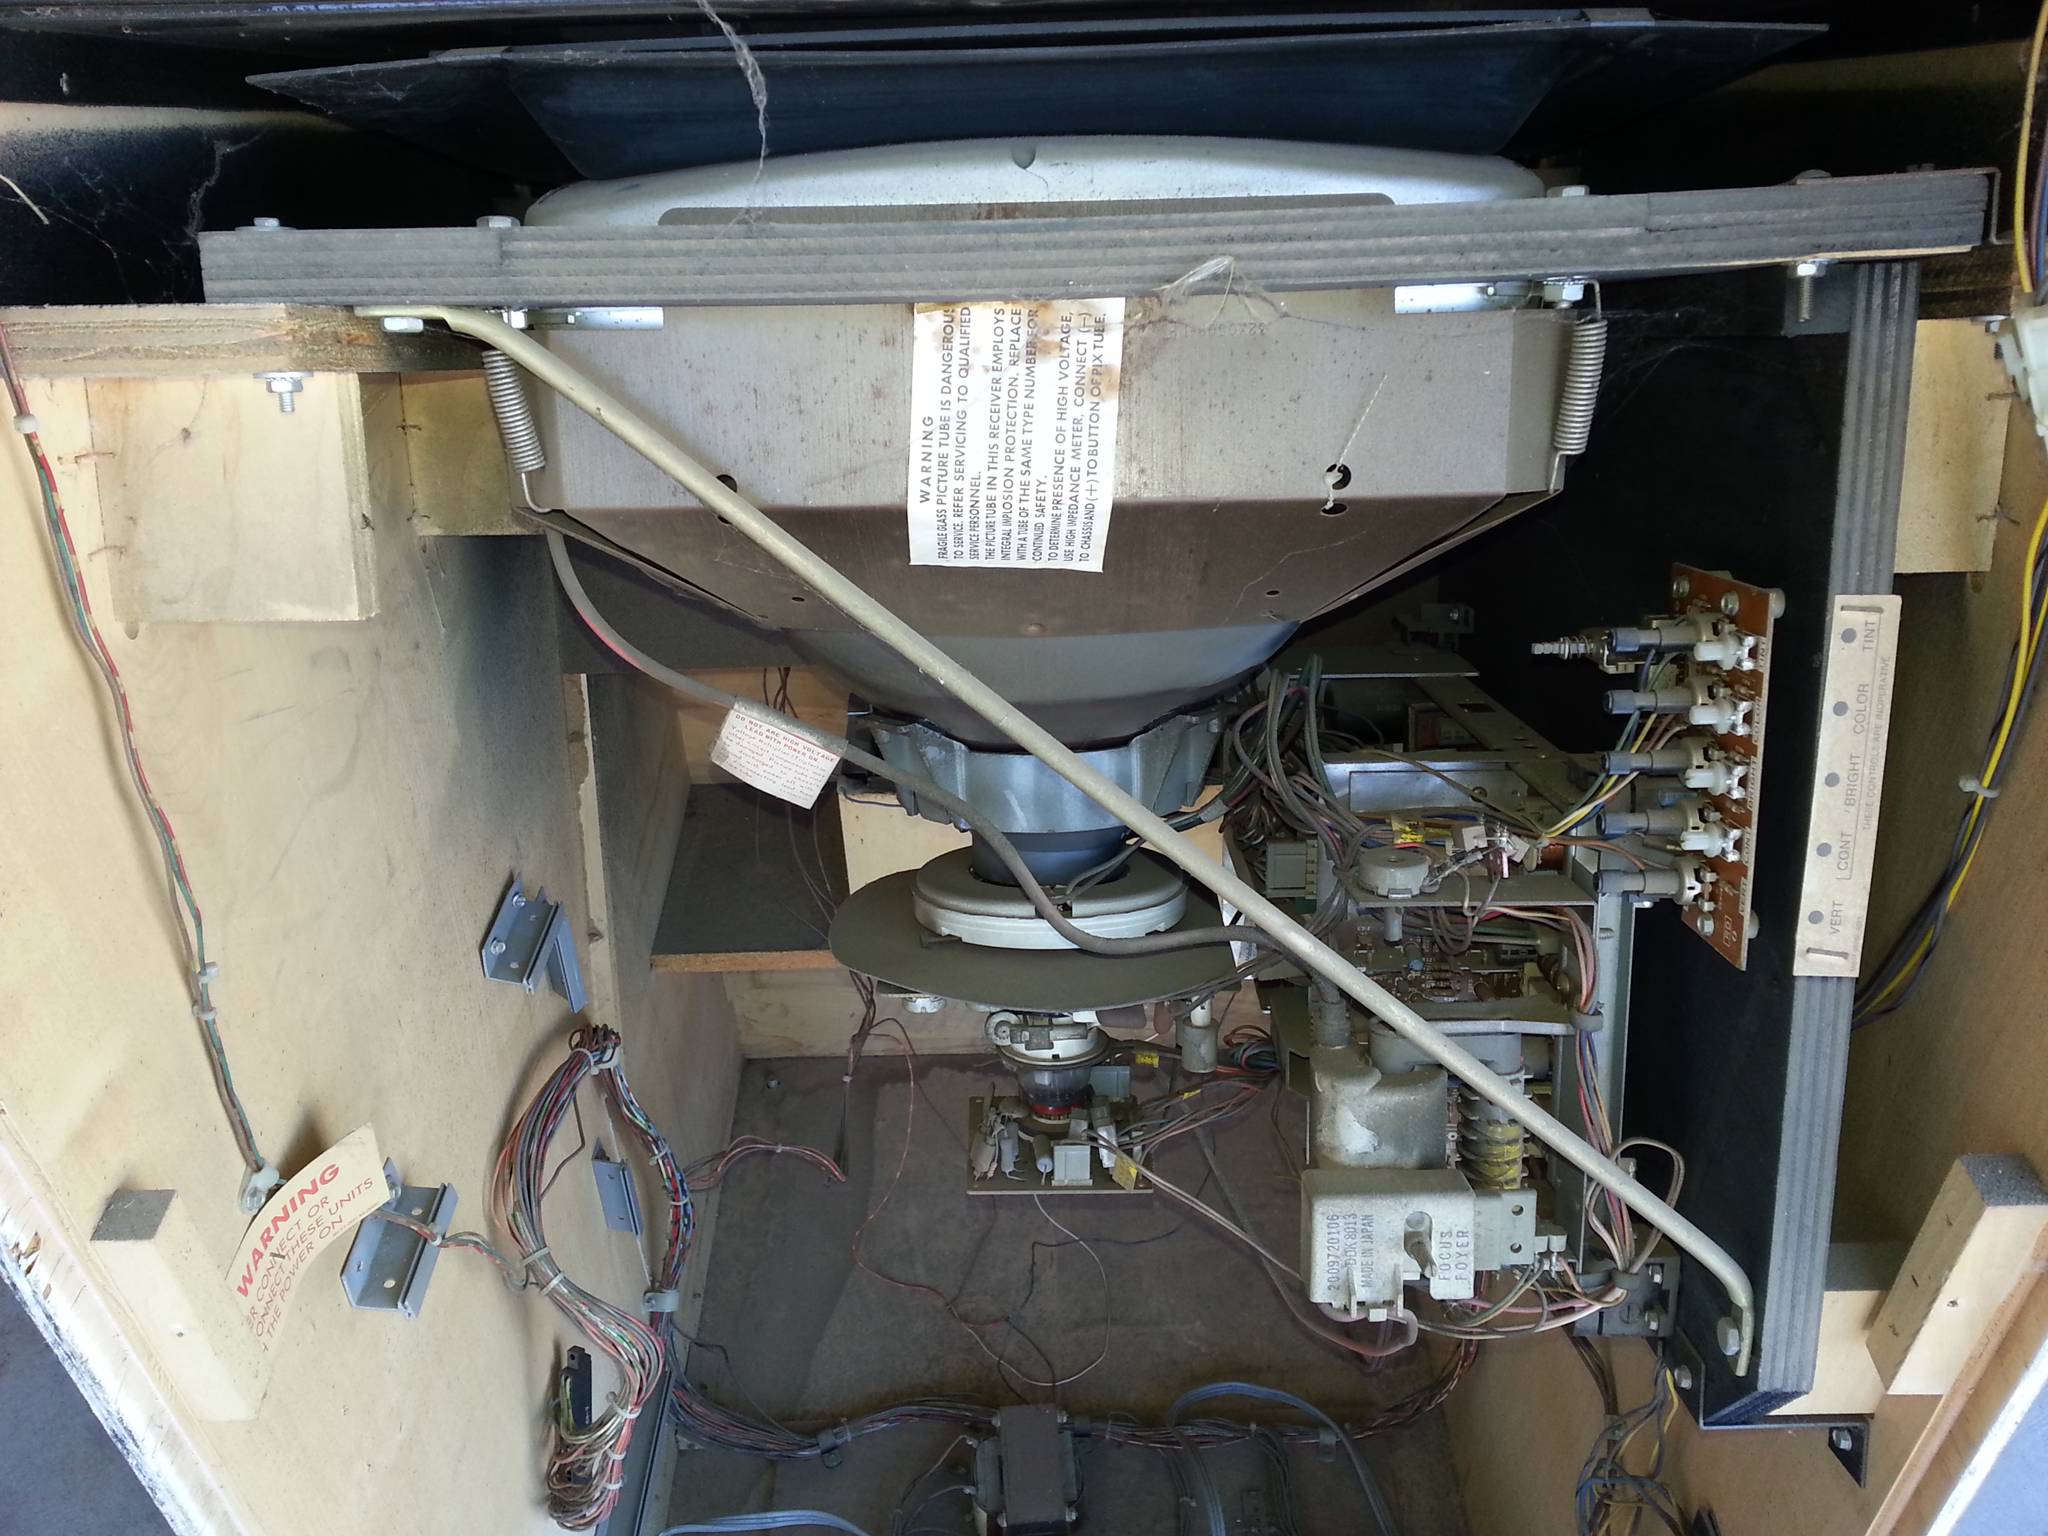
I swapped out the failing CRT for an LCD, and with the help of a custom MAME layout file, I was able to run vertical games in a 9:16 orientation on a 16:9 screen, using only a 3:4 viewport. This allowed the games to run in the correct aspect ratio without stretching.
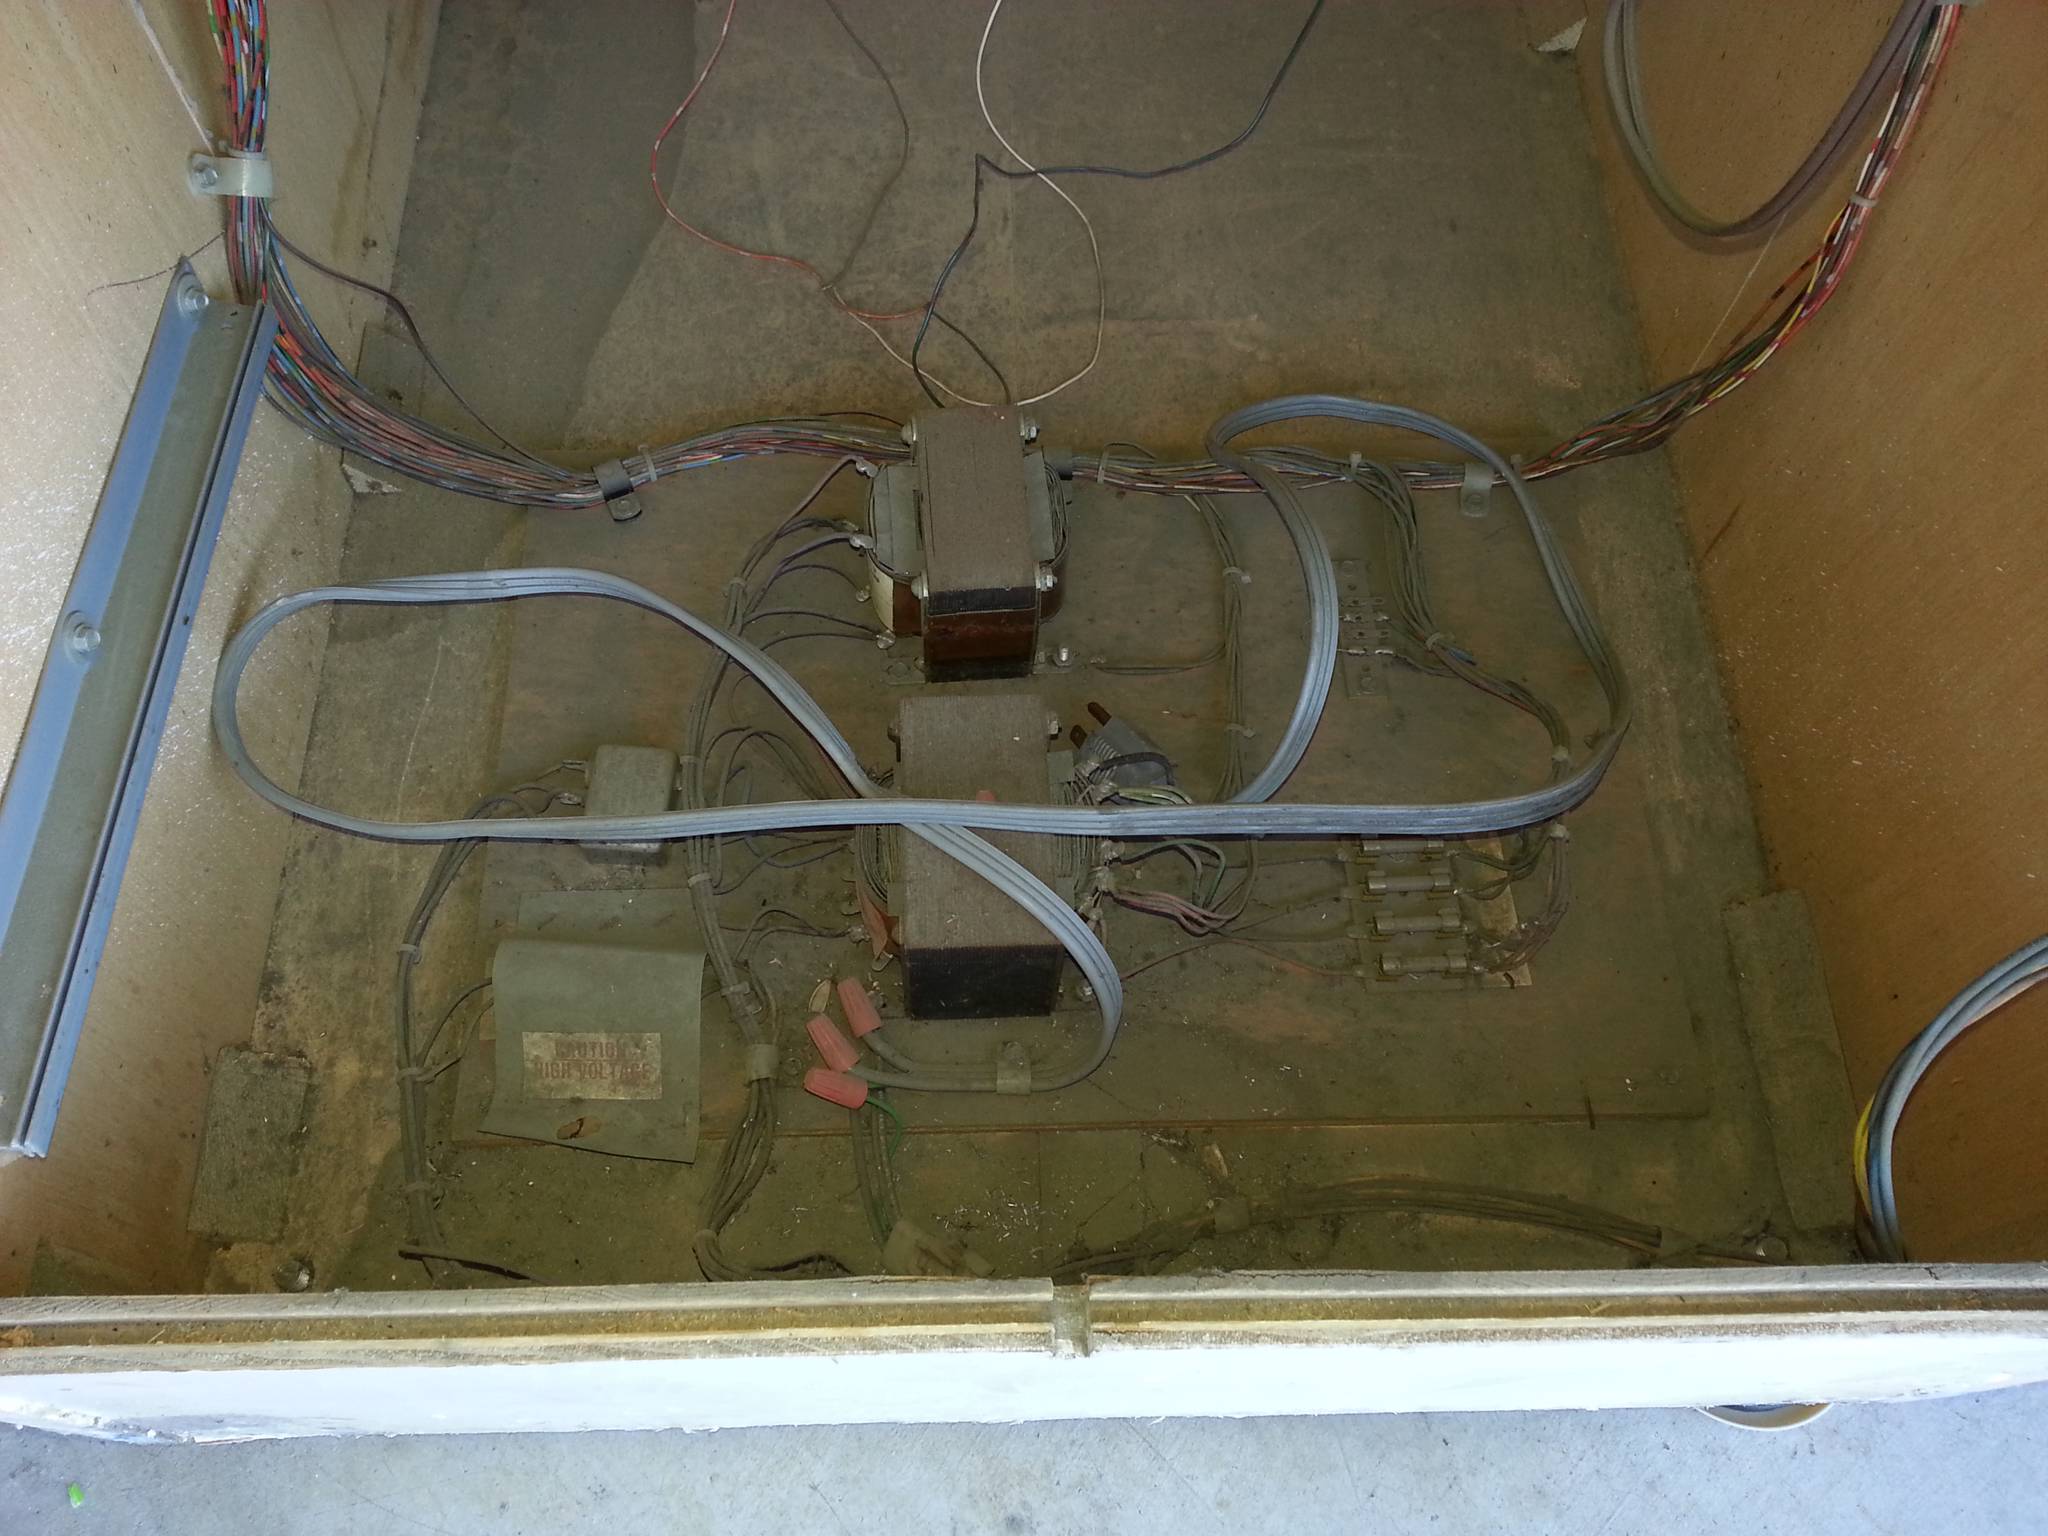
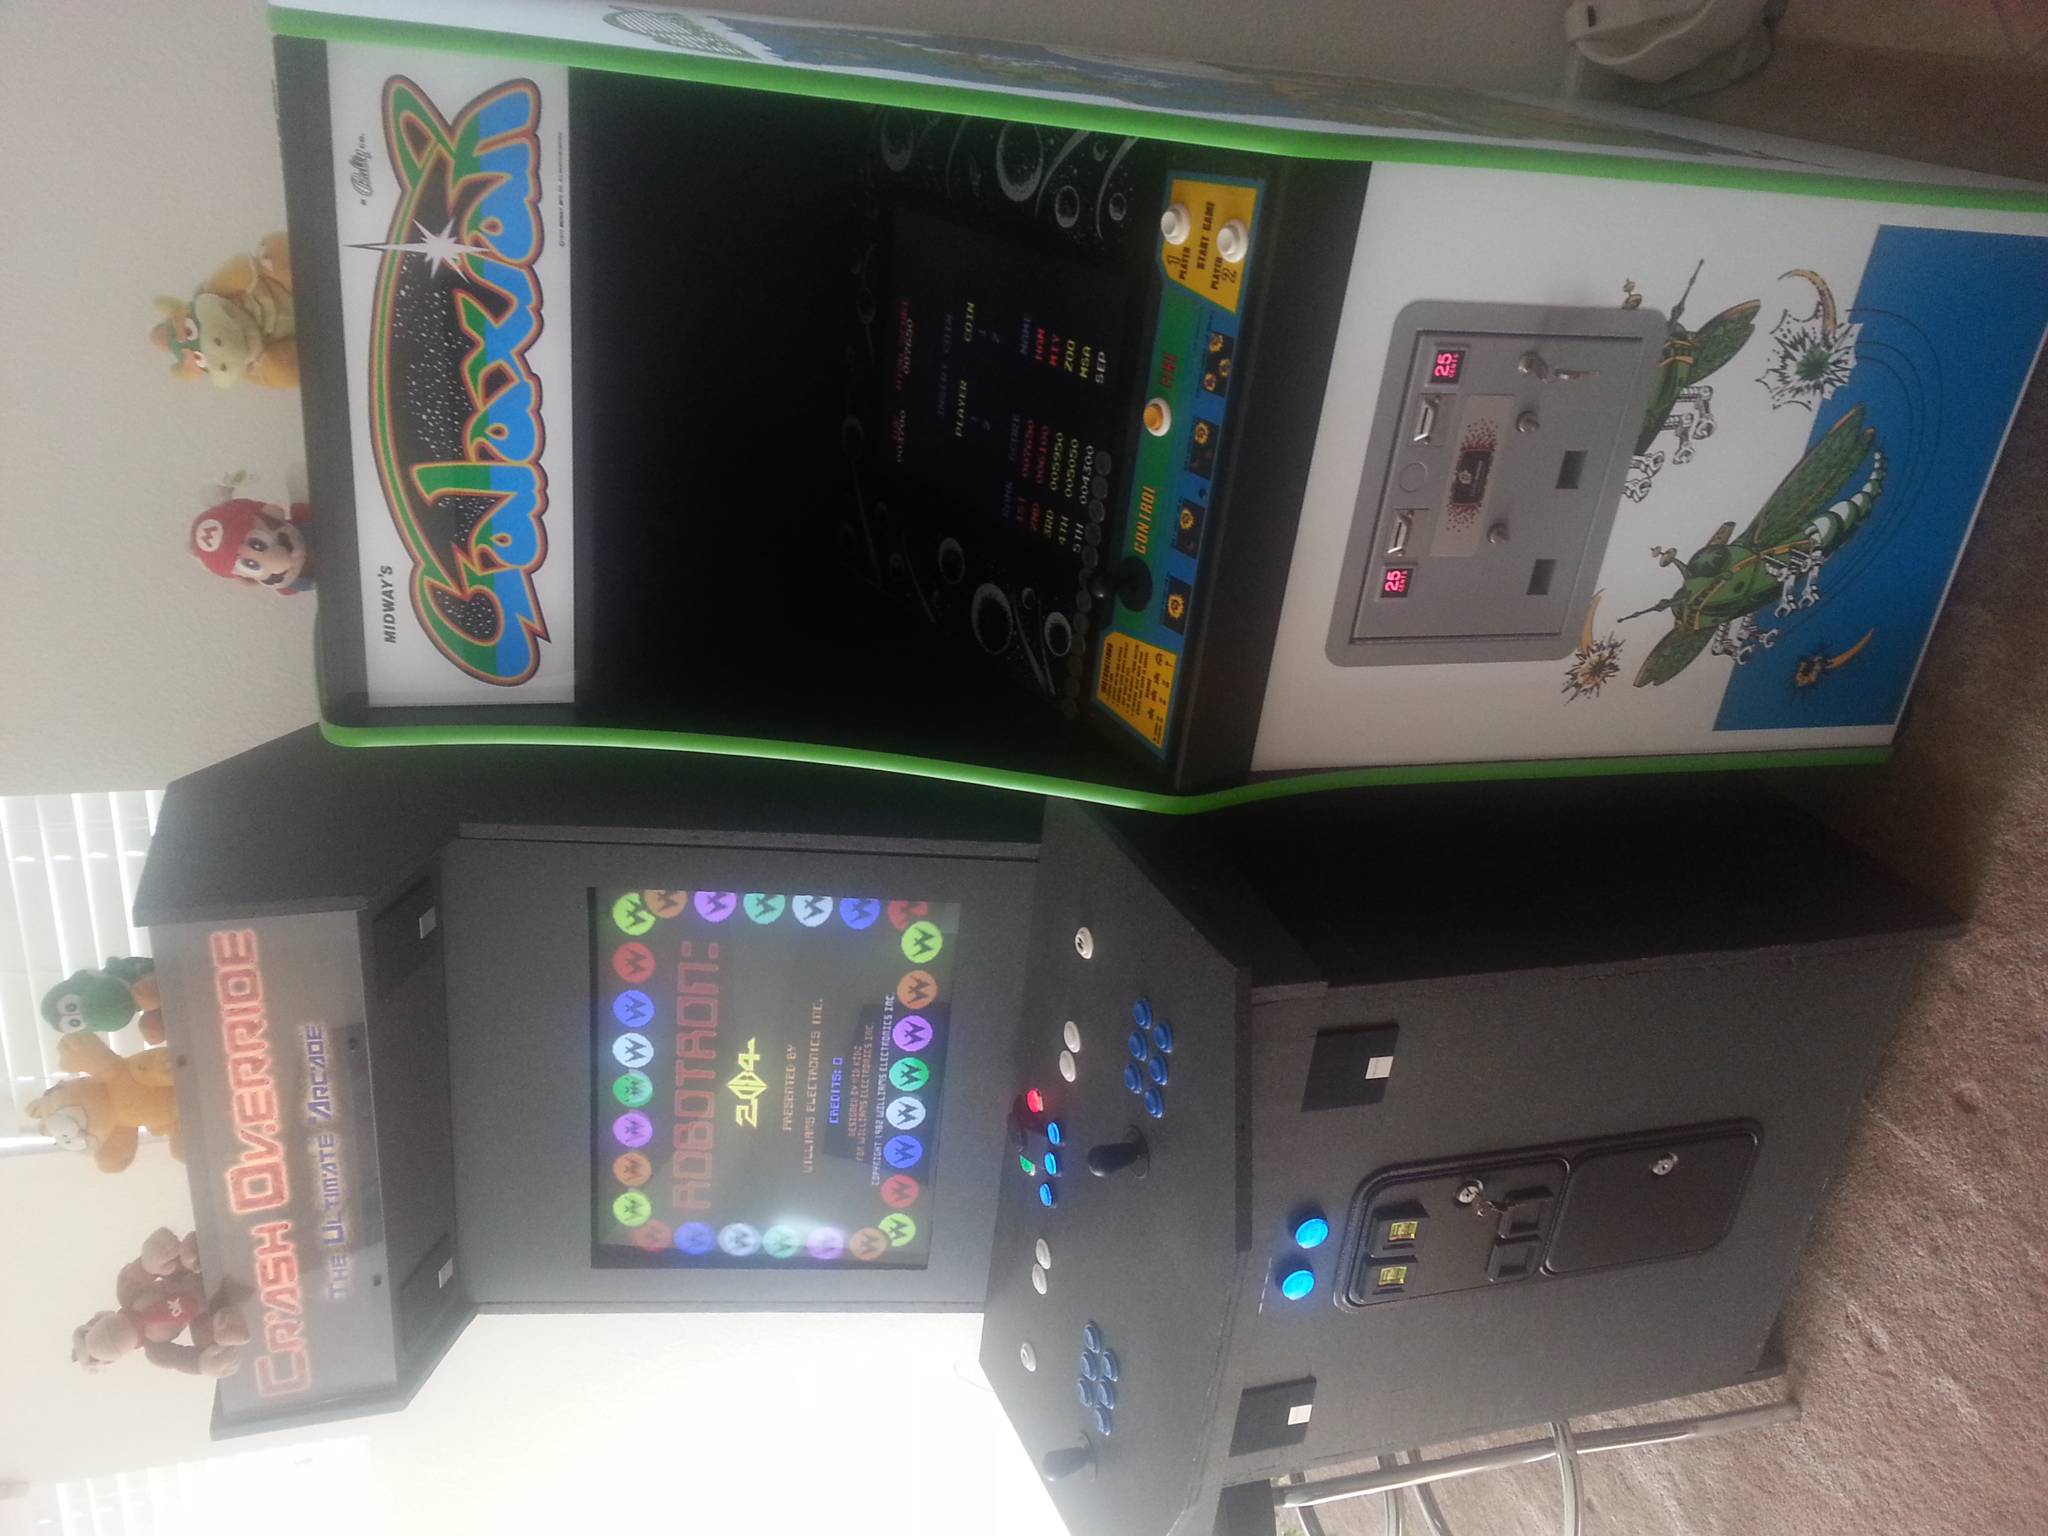
I also decided to run a mini-ITX motherboard with an Intel Atom processor to power MAME instead of using the original Galaxian PCB. Because I have limited space for arcade games in the house, a single cabinet that can run multiple games is worthwhile to me. I did manage to keep all the original wiring harnesses intact (I even built some of my own connectors to interface with the existing harnesses) so that the cabinet could be switched back to the original Galaxian hardware at any time.

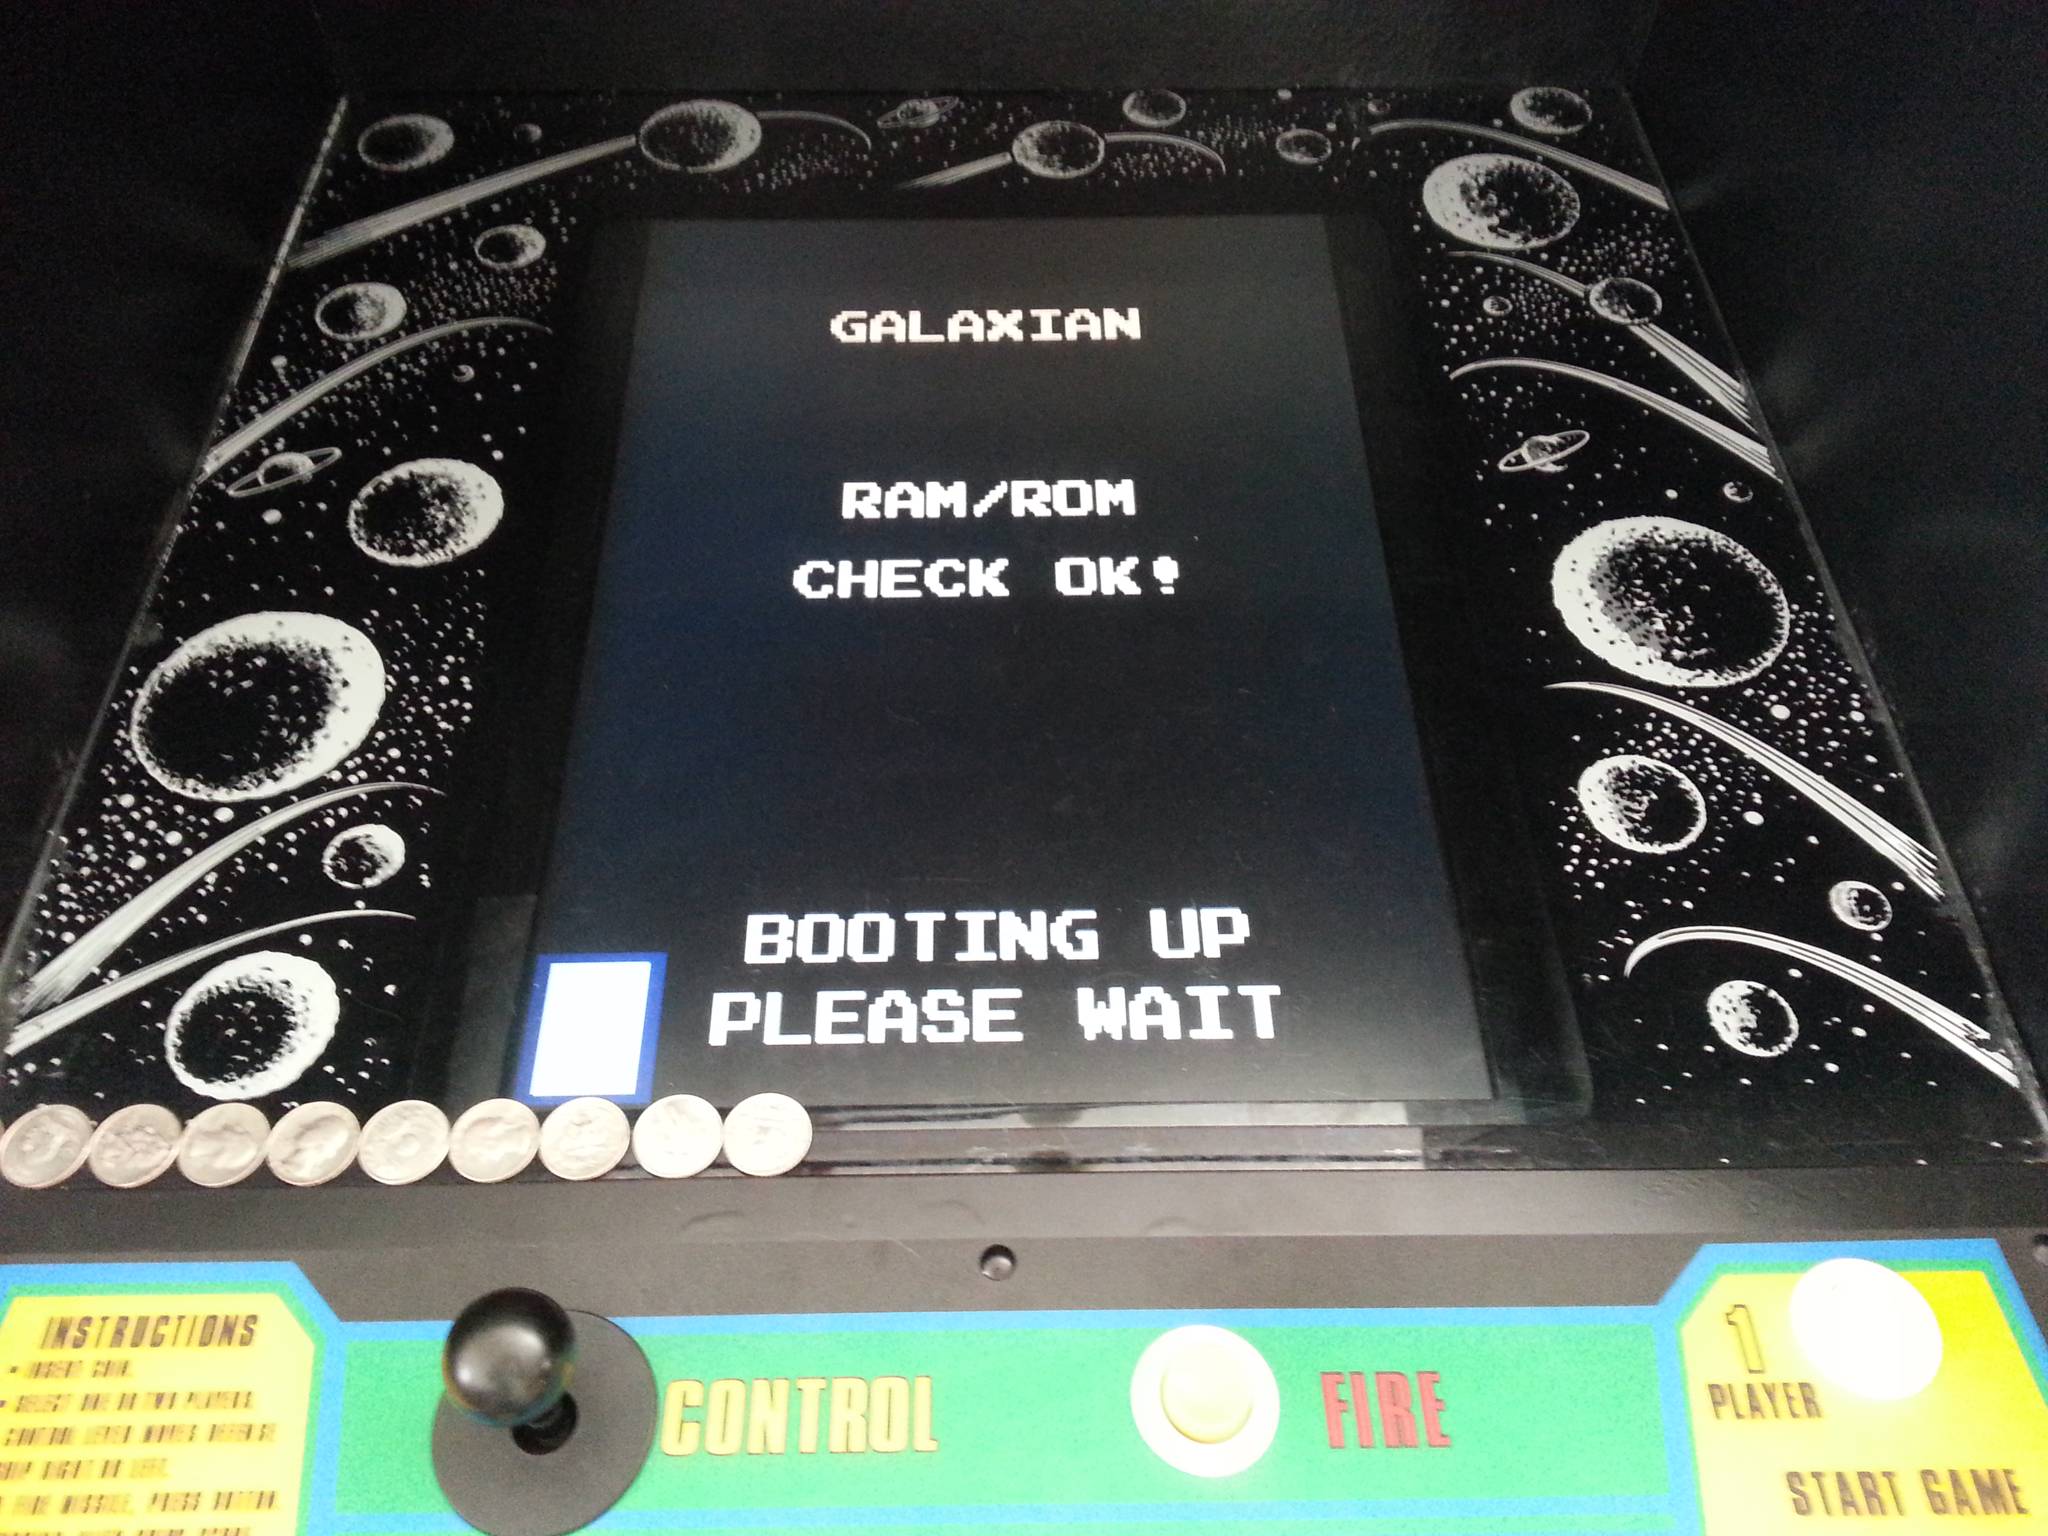
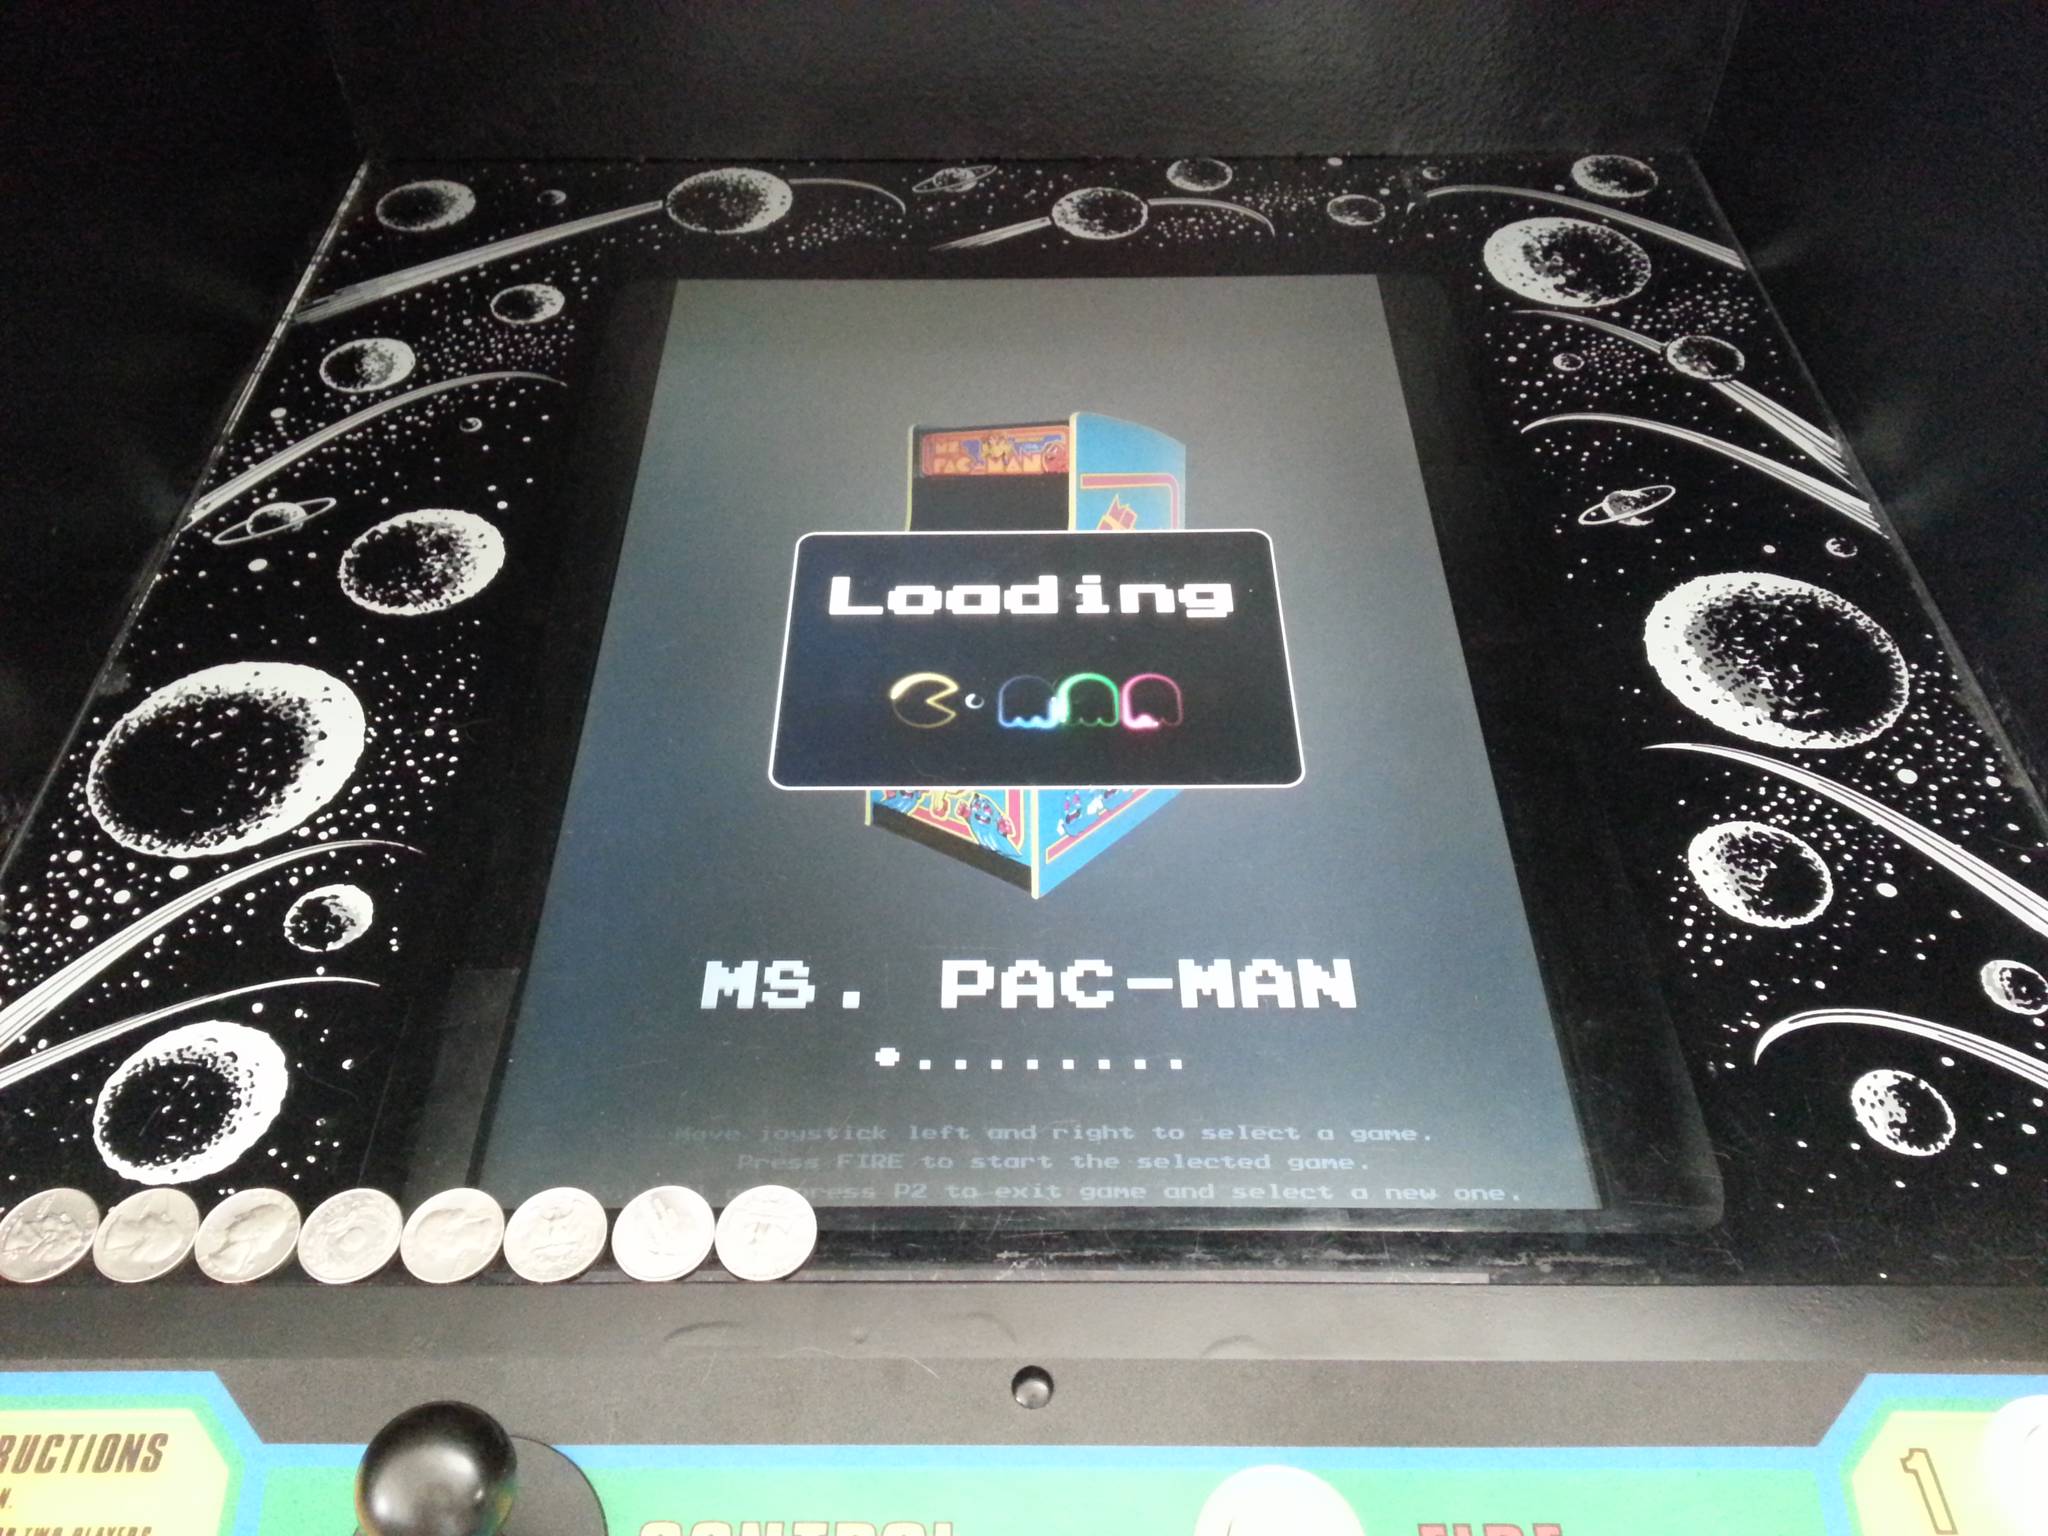
I customized the BIOS splash screen and operating system boot/login screens, so the layman wouldn't even notice the cabinet uses a standard PC. I decided to write my own frontend; HyperSpin is awesome, but I wanted a very simple selection screen for only a half-dozen vertical games.
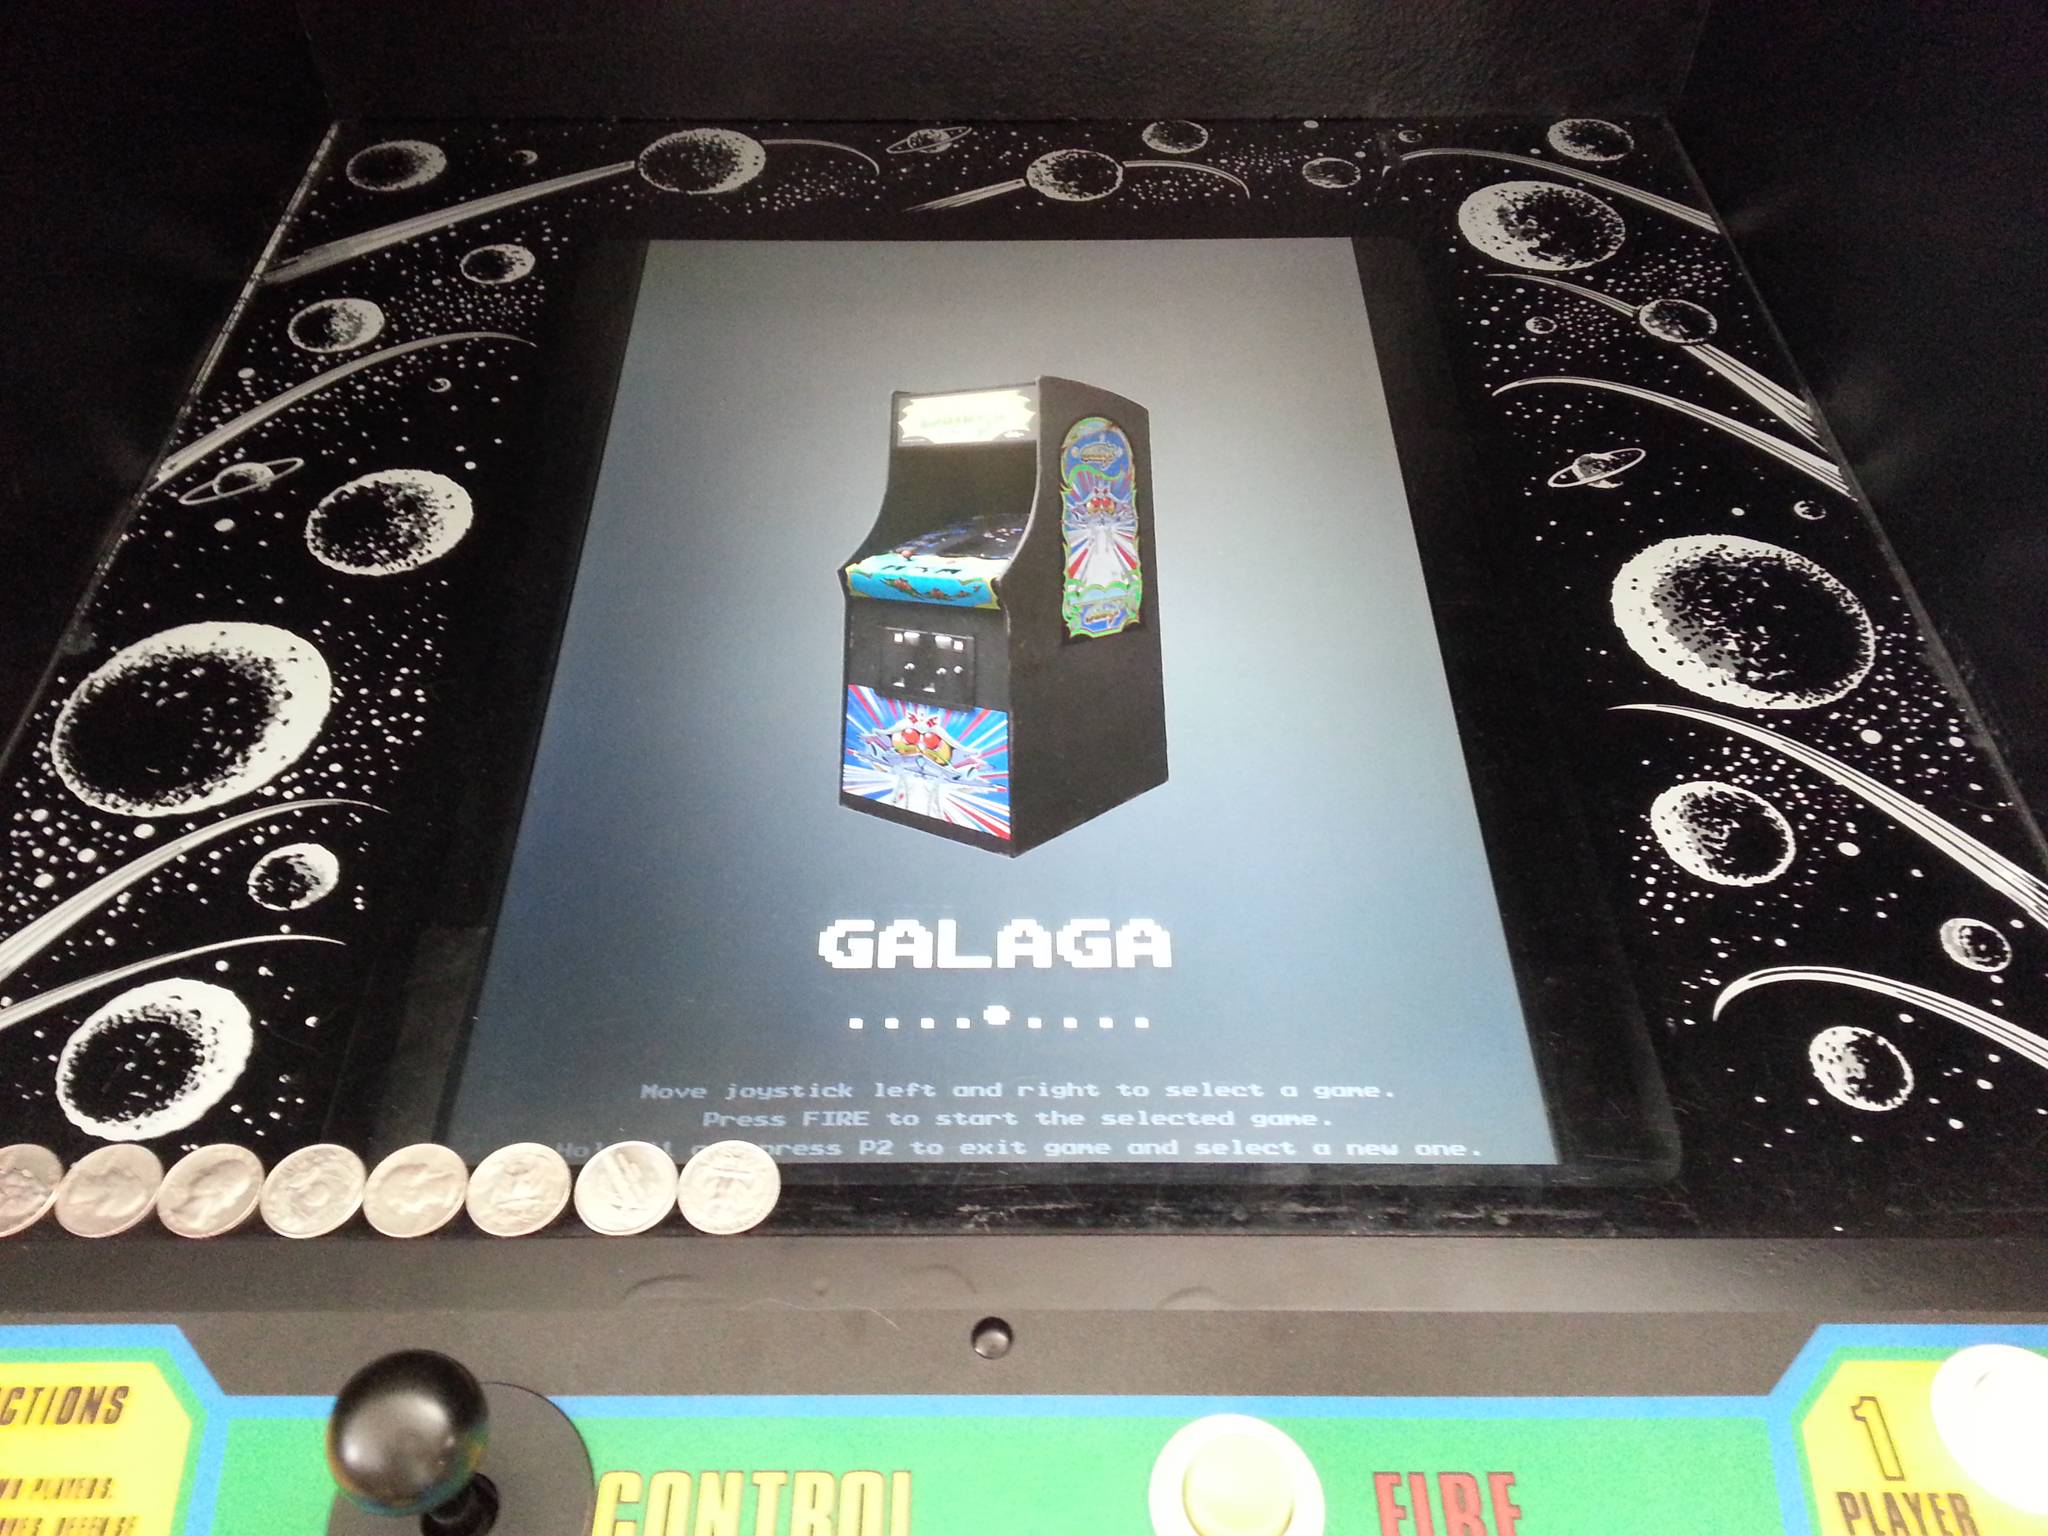
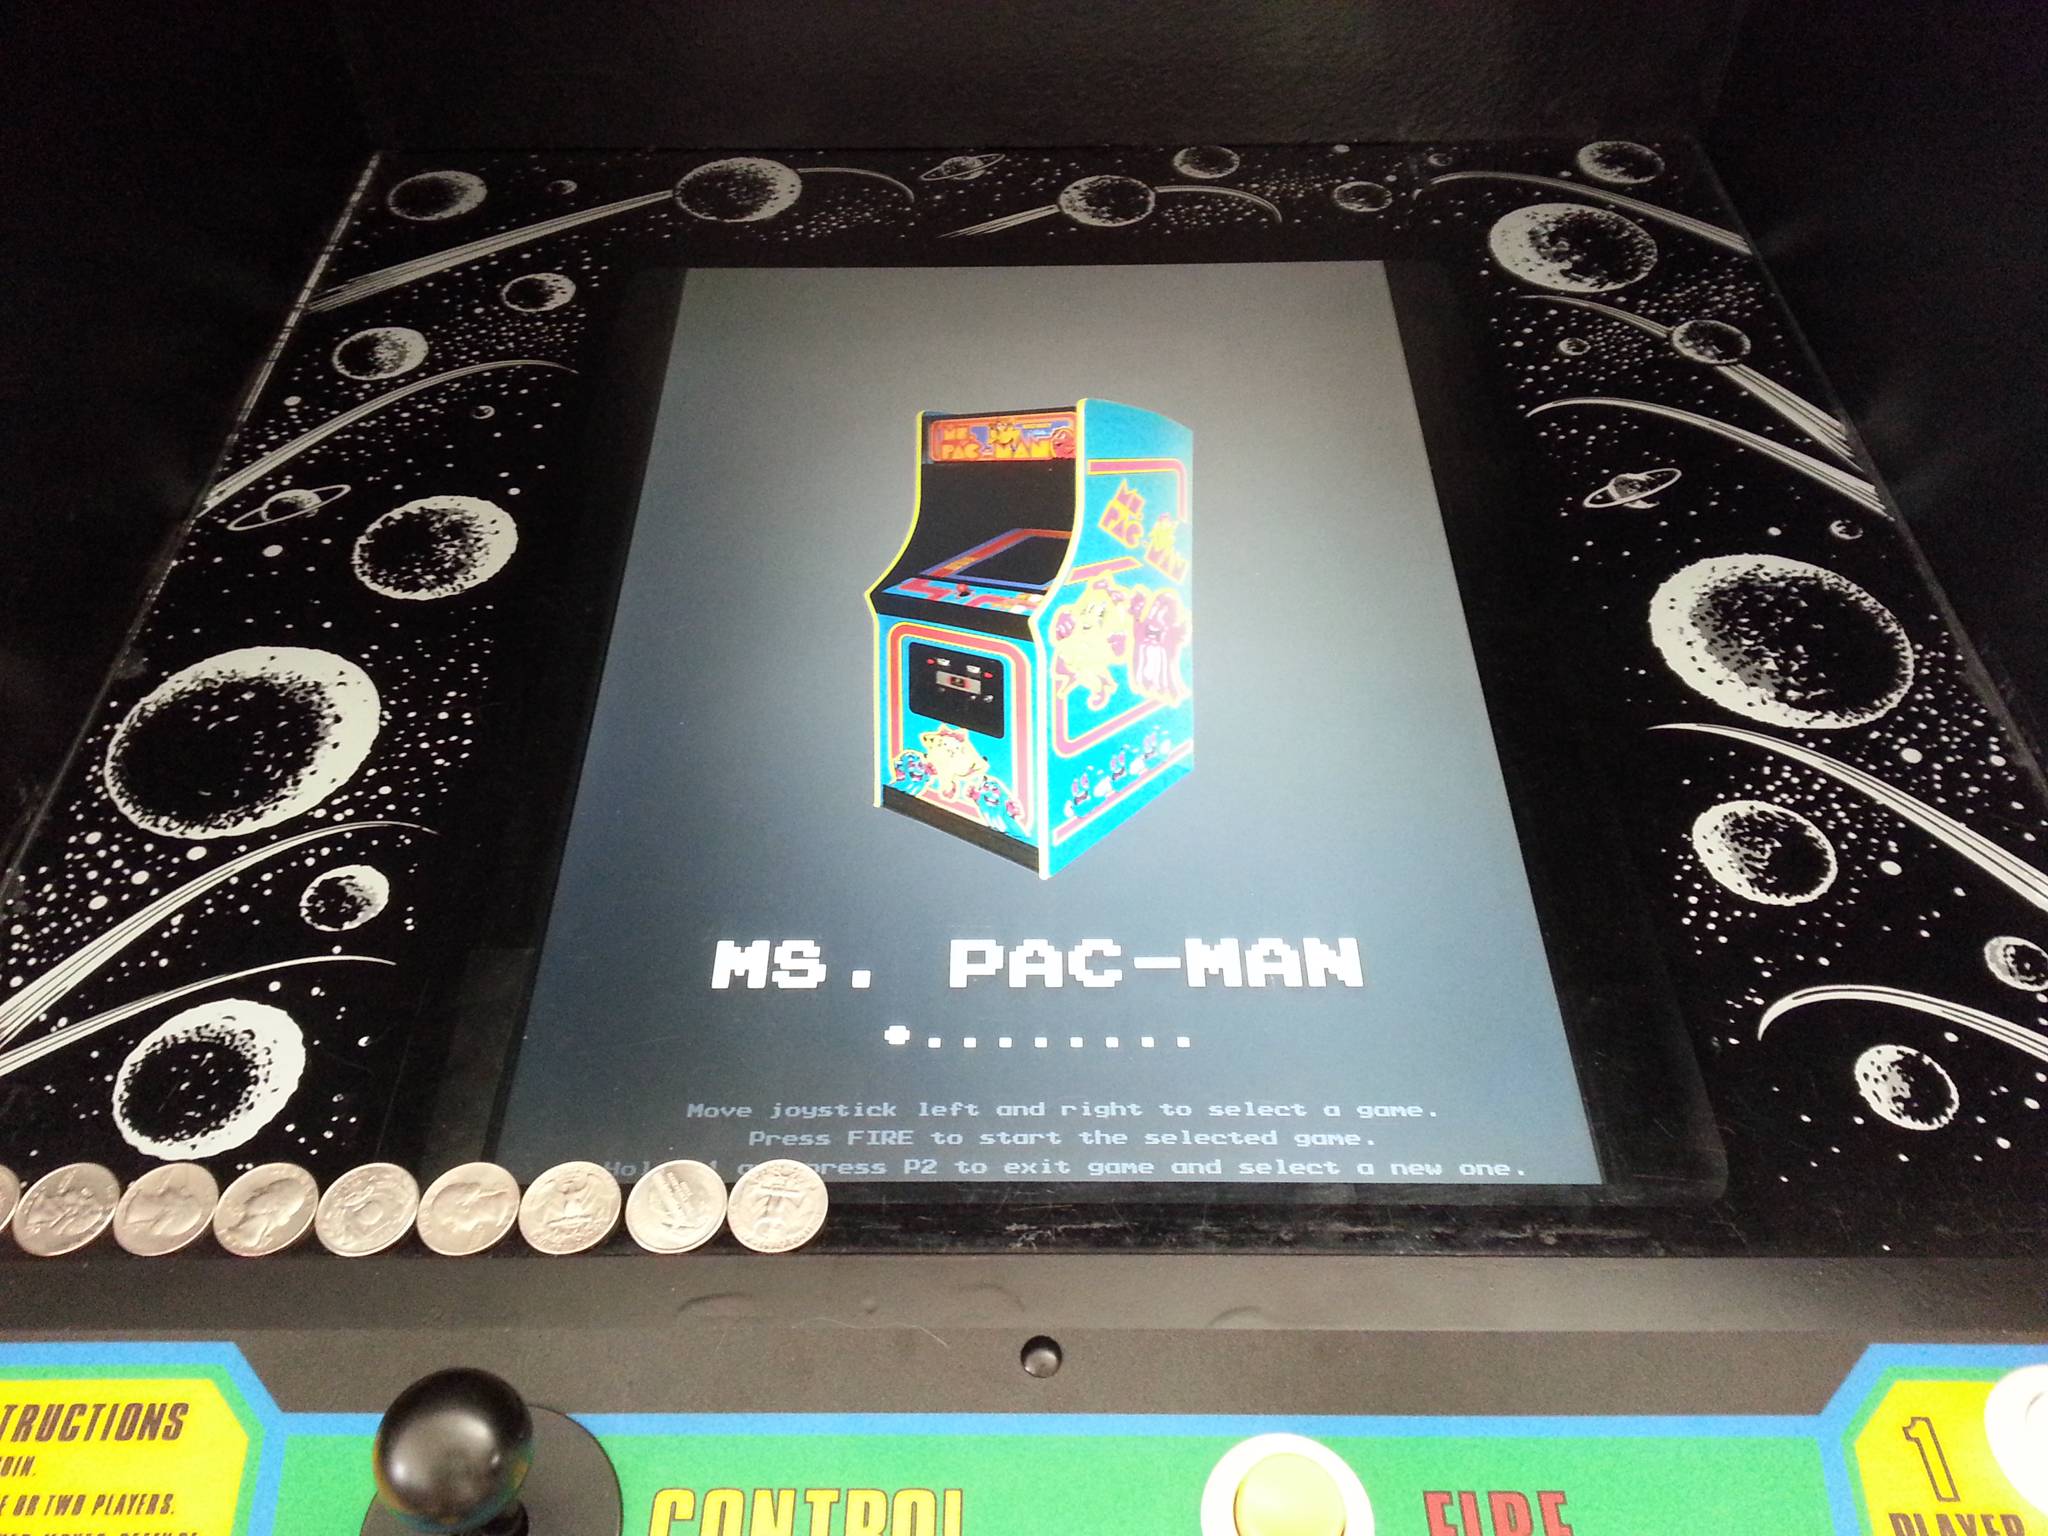
The code I wrote for the frontend is available on GitHub. Keep in mind that it is fairly specific to this cabinet, so it may not work out of the box without modifications.
The video below shows the custom boot sequence and frontend.
A full gallery of pictures showing the entire restoration process is available via Imgur. 👈 📷
CRT/PCBs Update (2020)
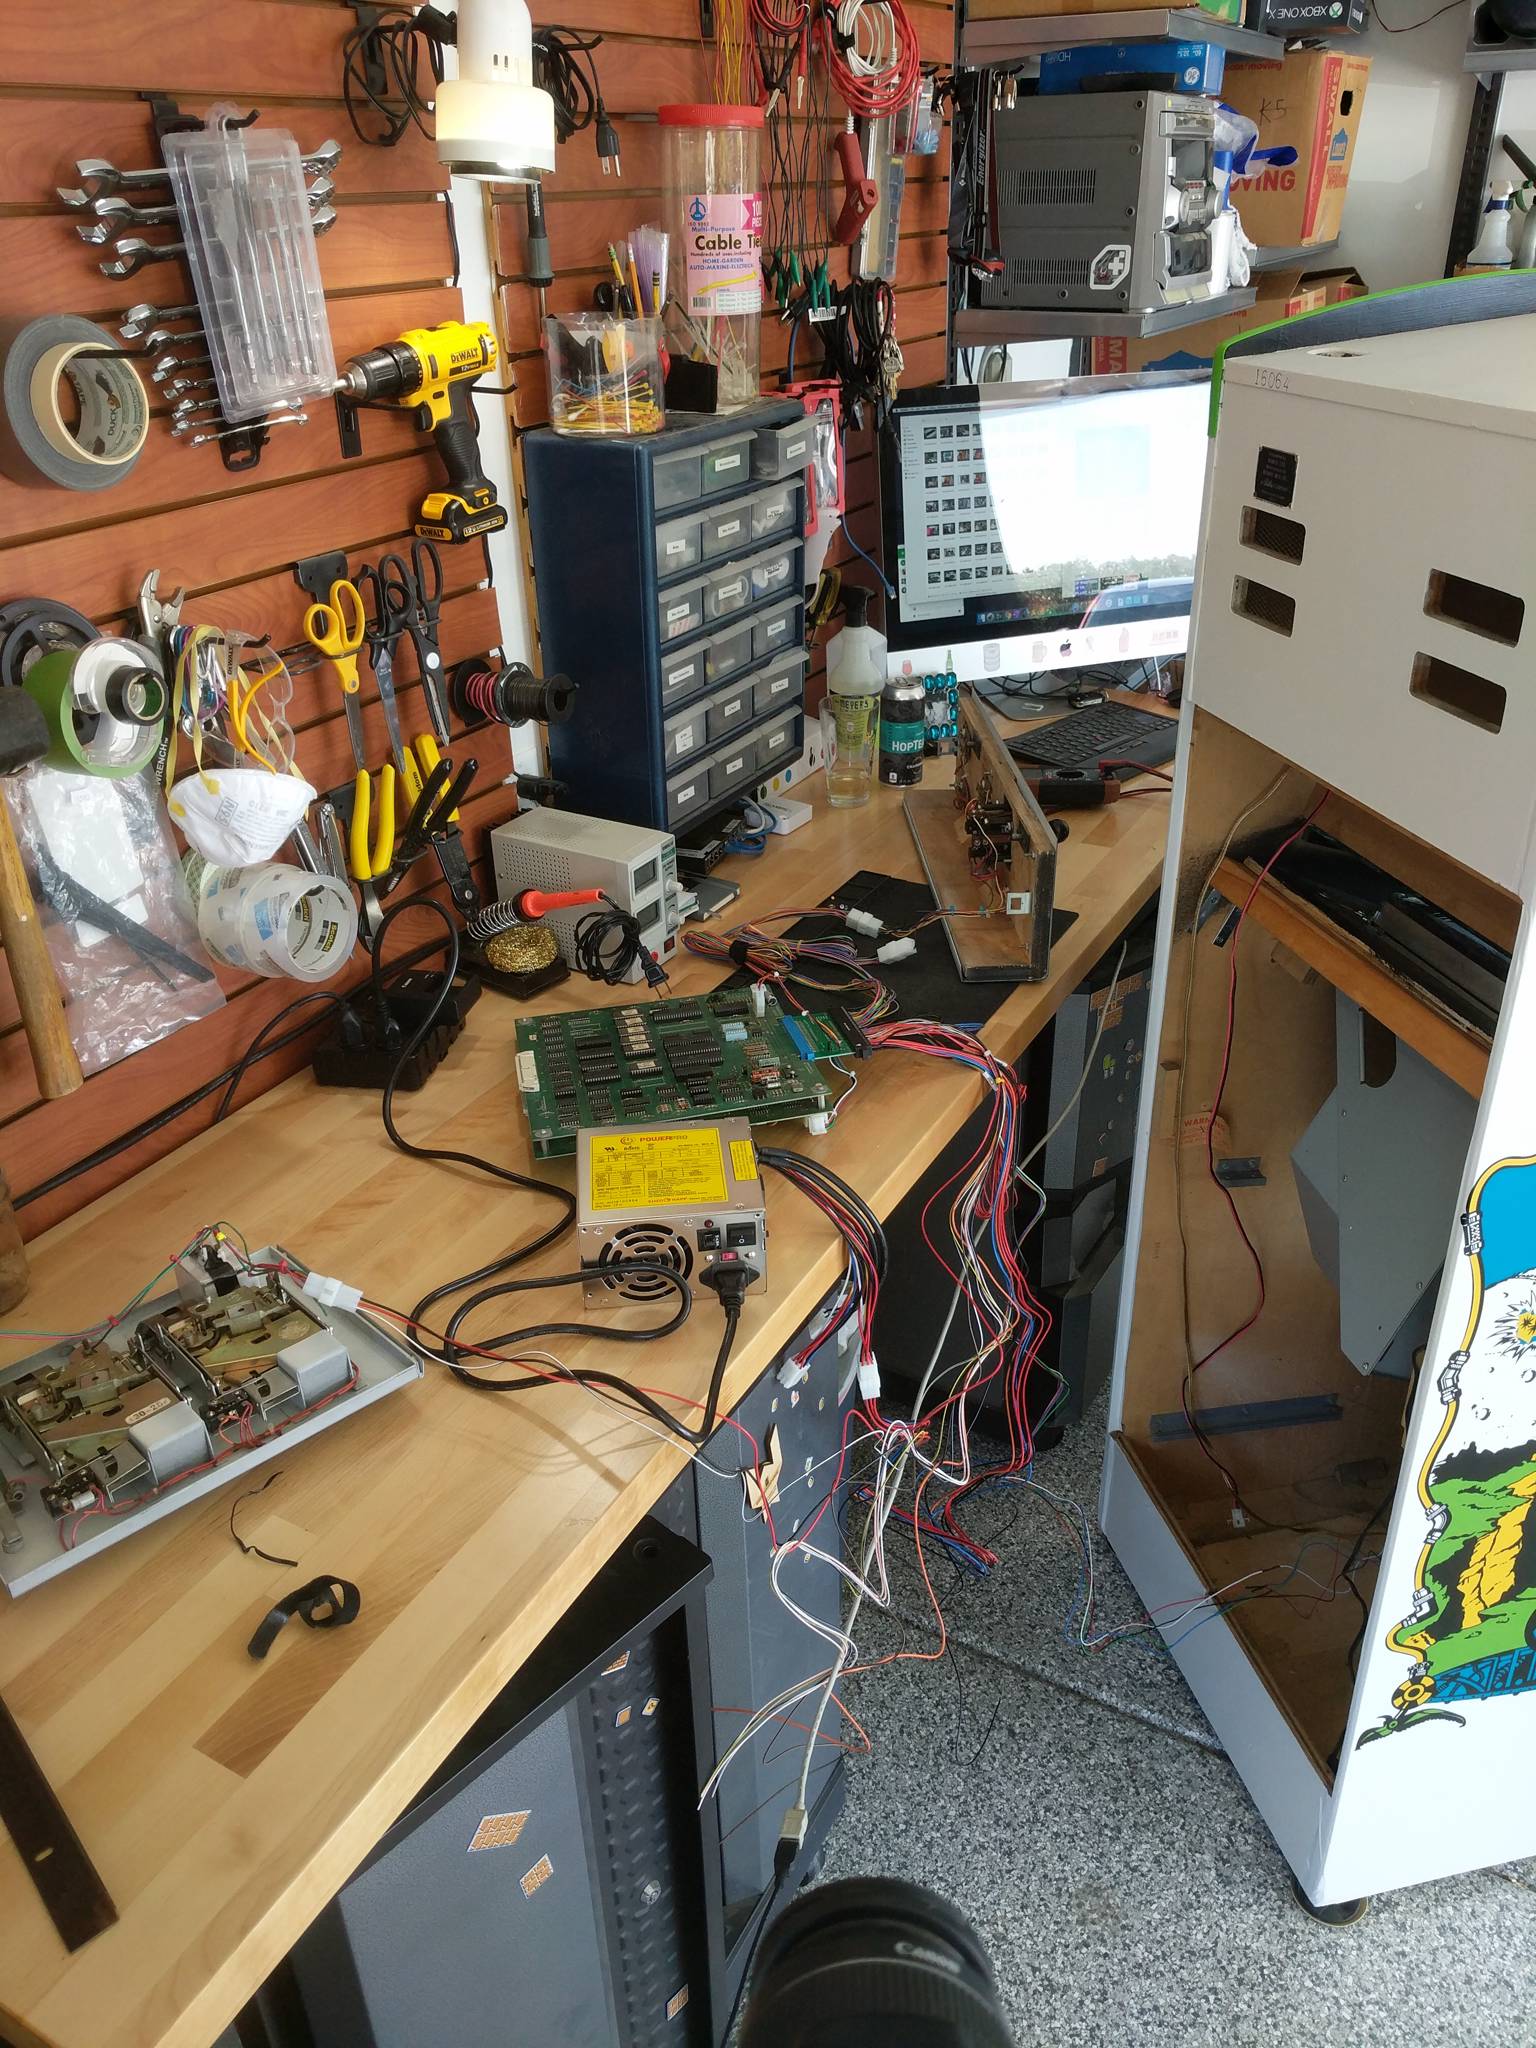
While the original Mini-ITX board worked well for a while, it started to have issues in early 2020. The hardware would spontaneously reset... no blue screens or crash dumps, just hard resets seemingly at random. I pulled the board out to test in isolation on the workbench, but the resets persisted.
I've grown tired of dealing with the Windows/MAME/PC setups, so I decided to start a project to convert my remaining MAME cabinets back to original hardware, and Galaxian was first up!
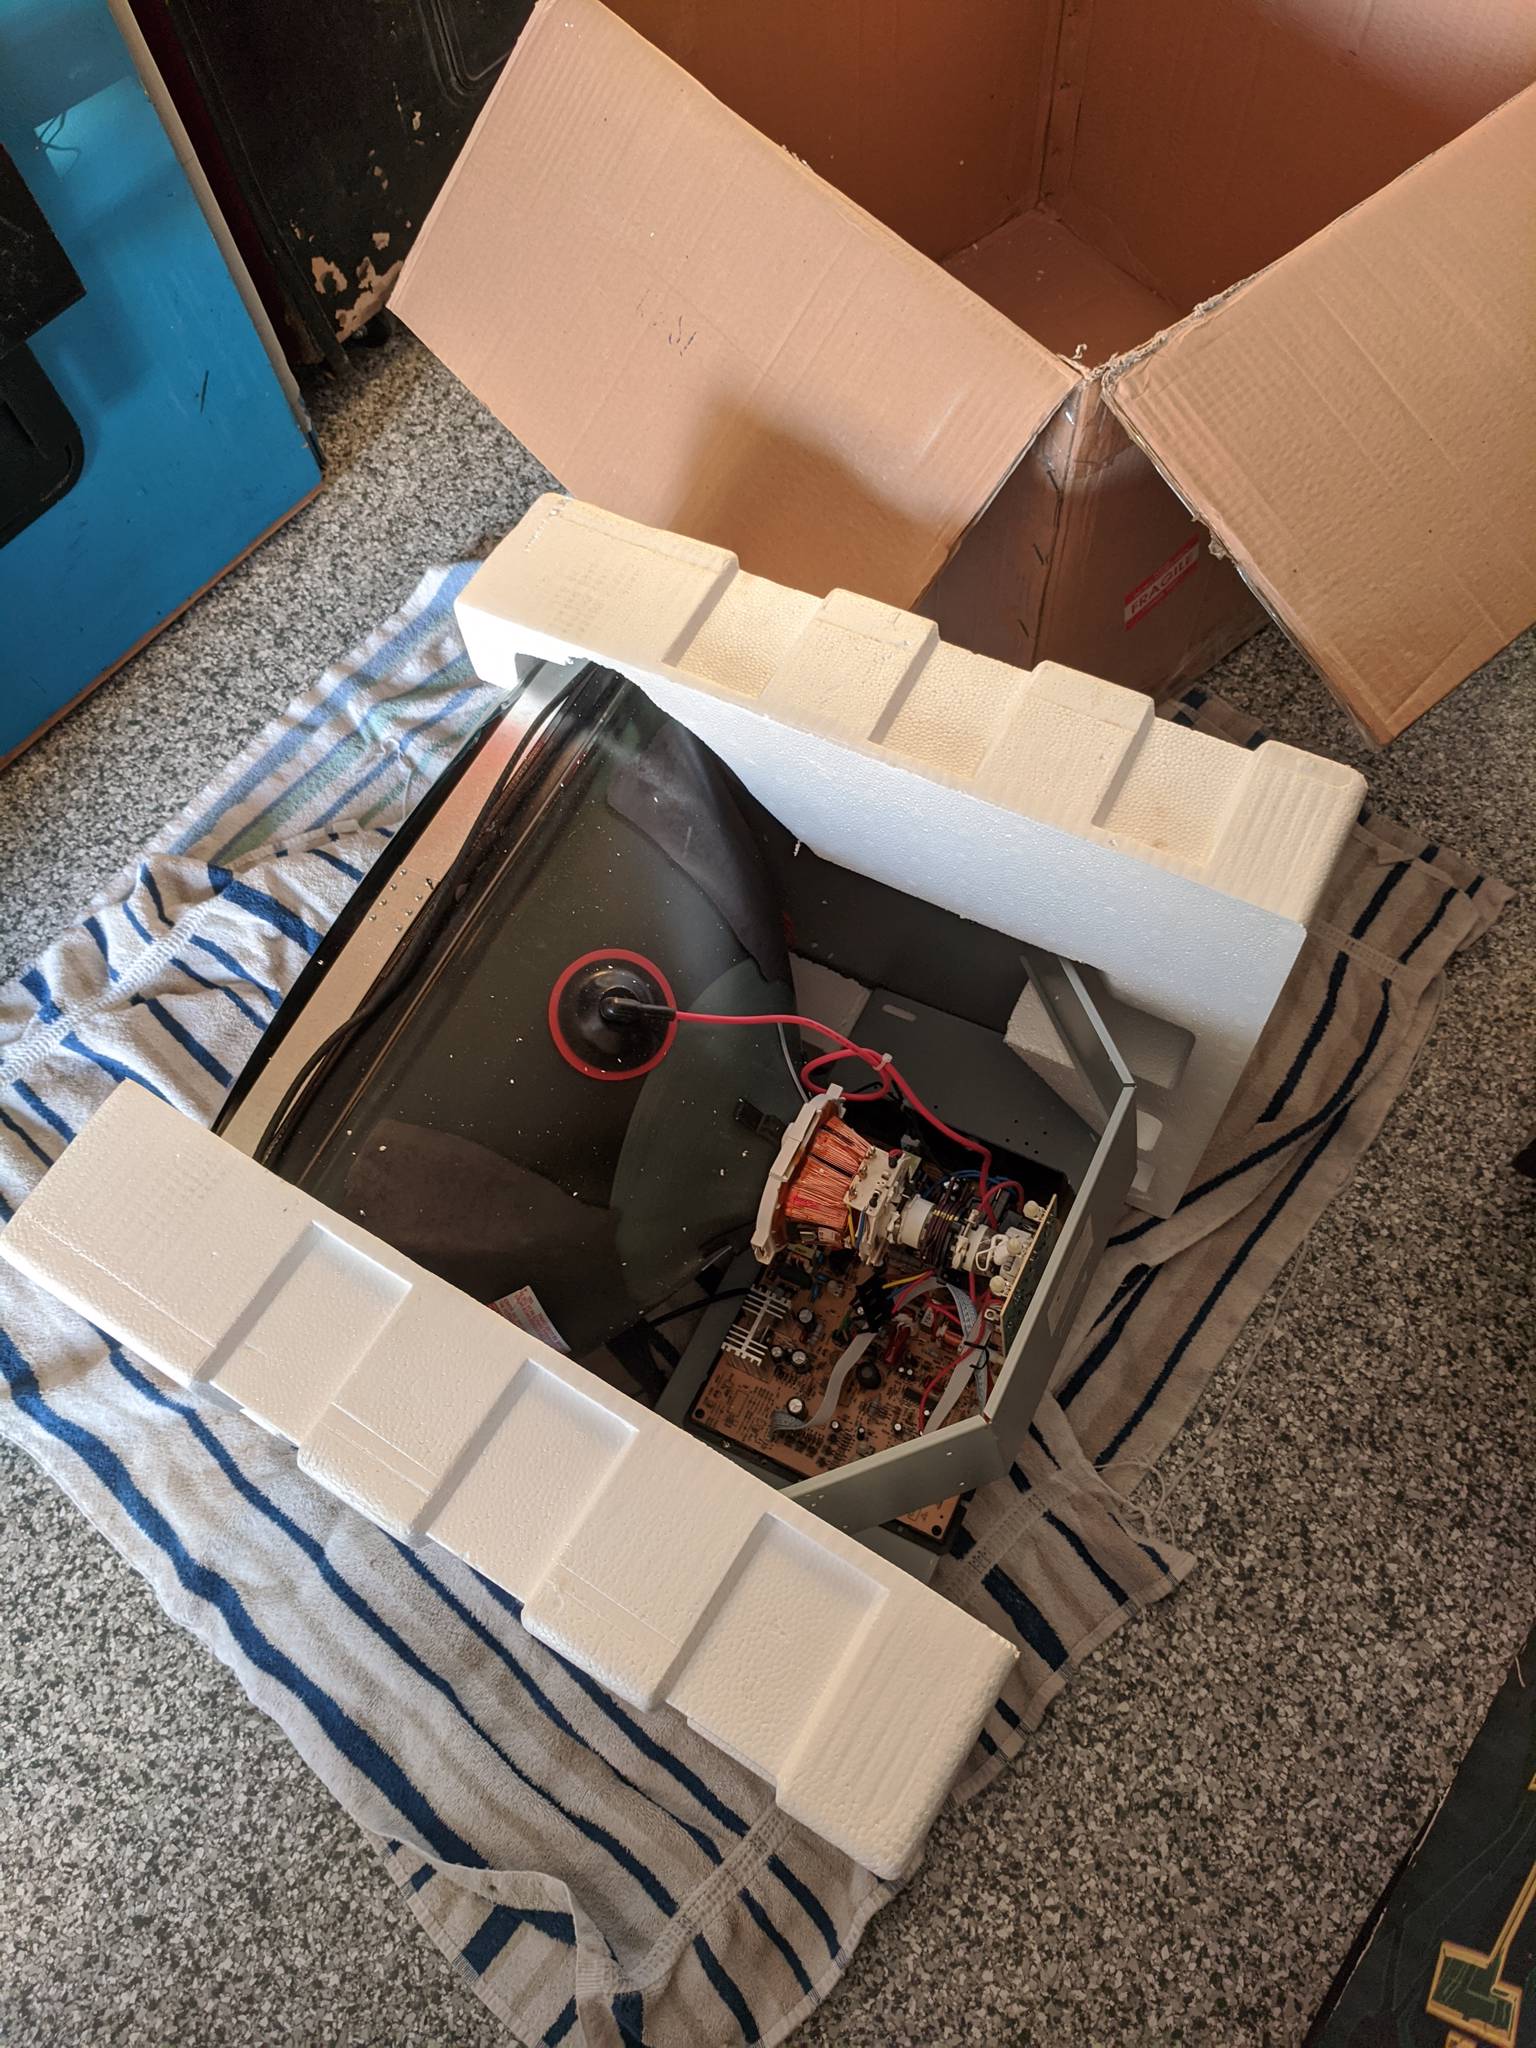
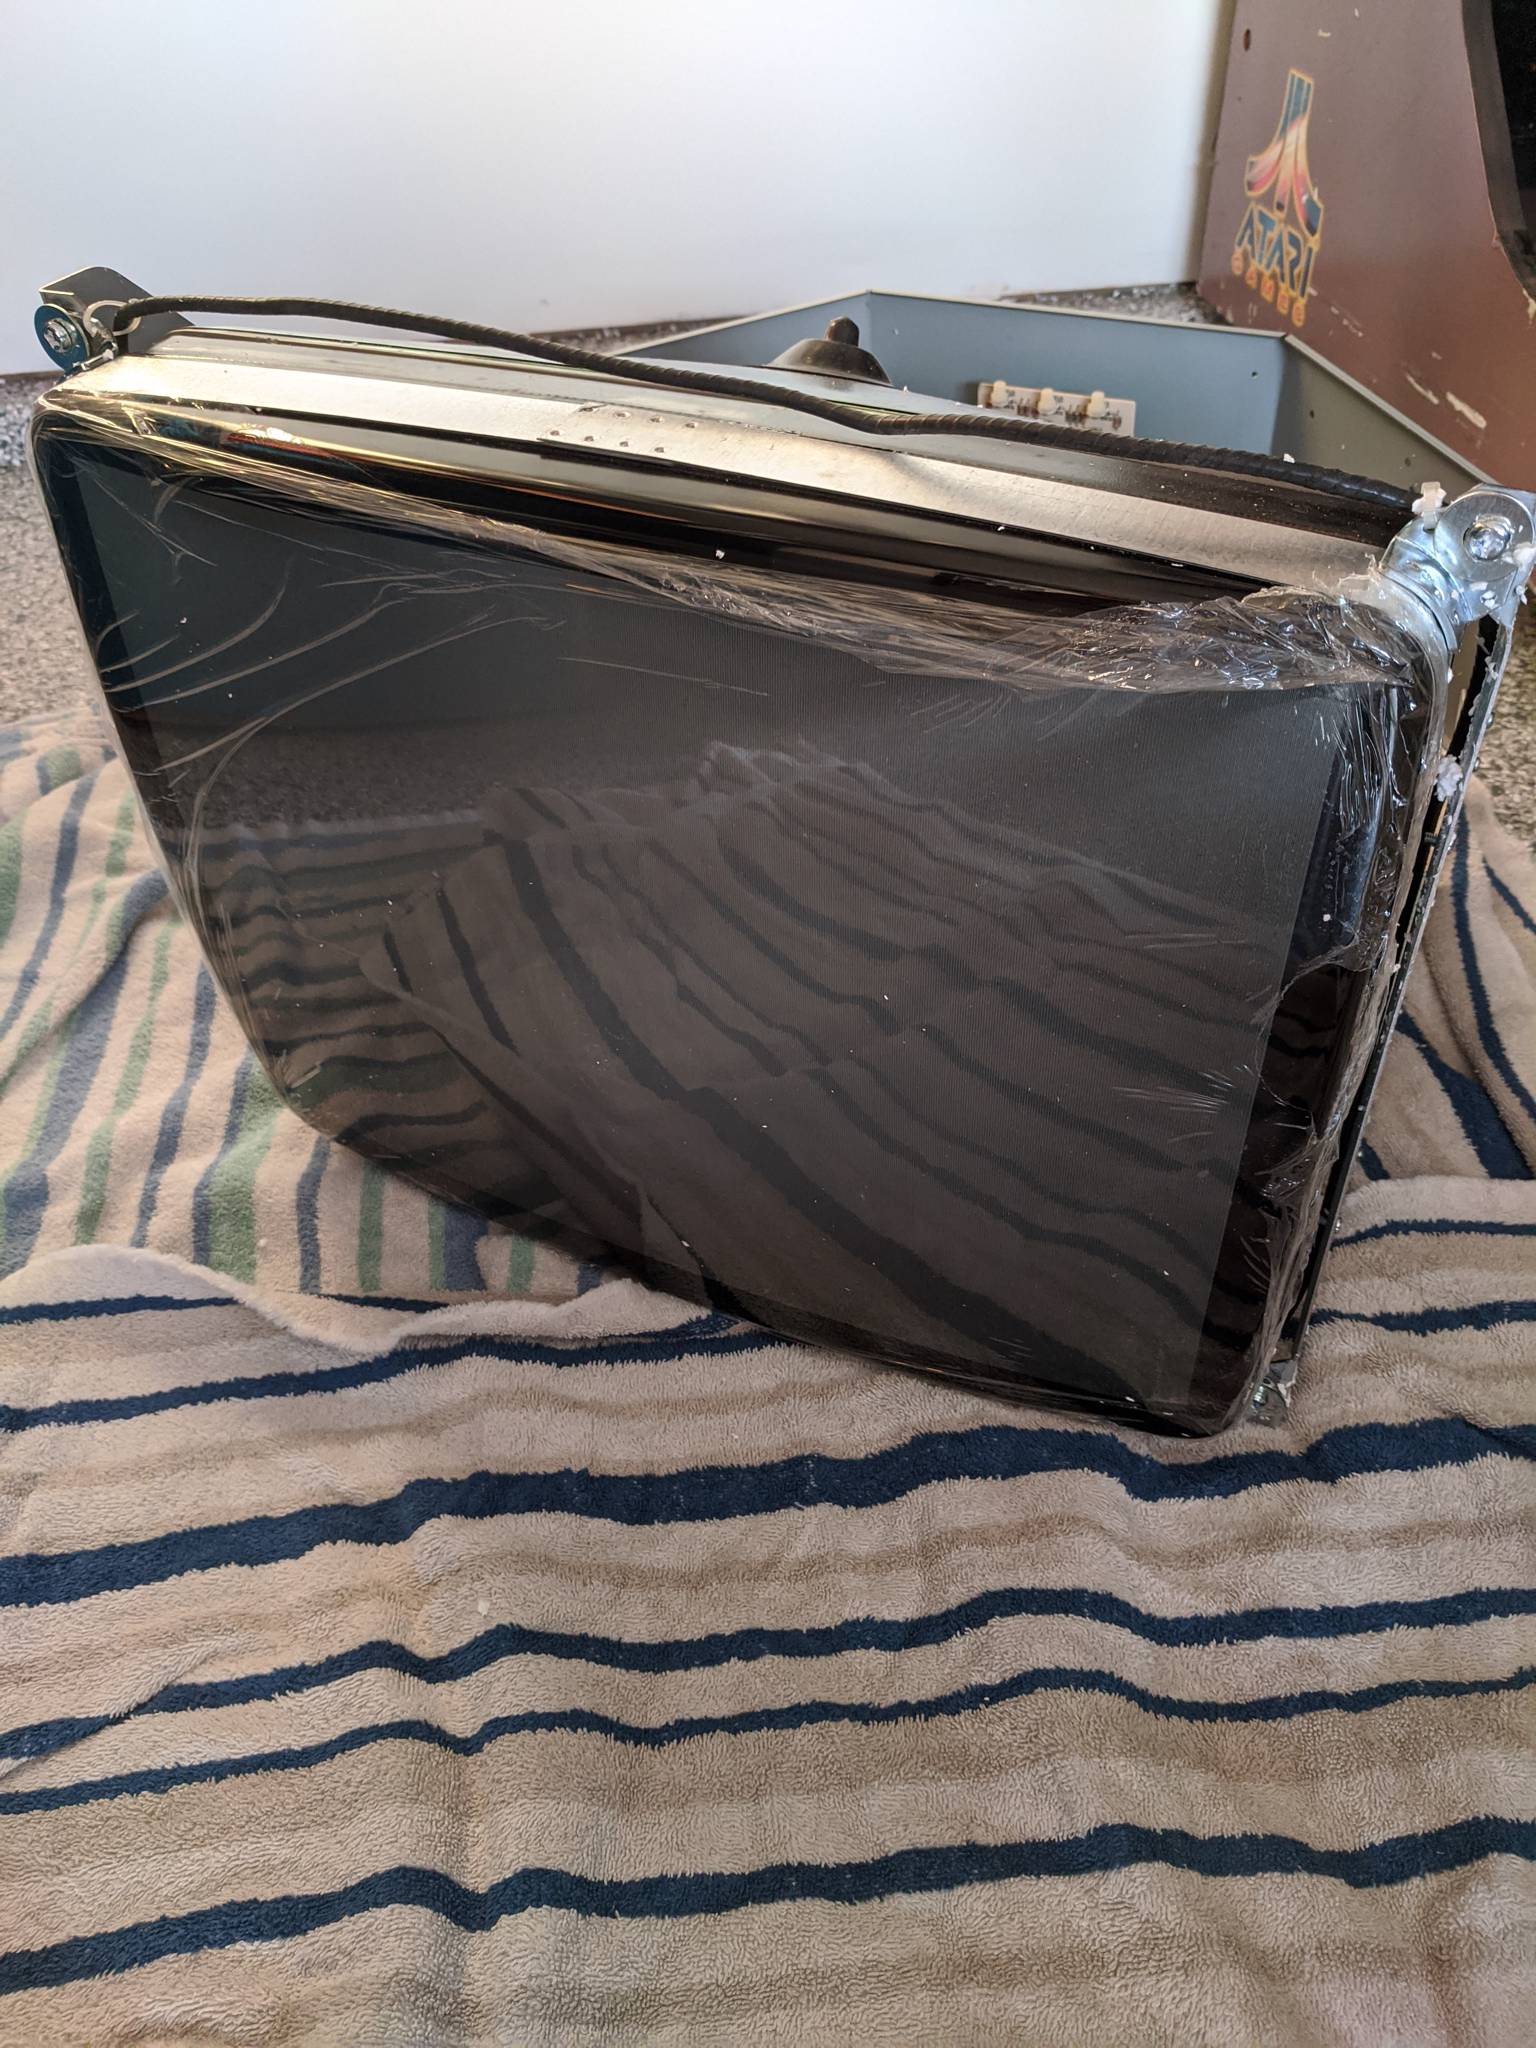
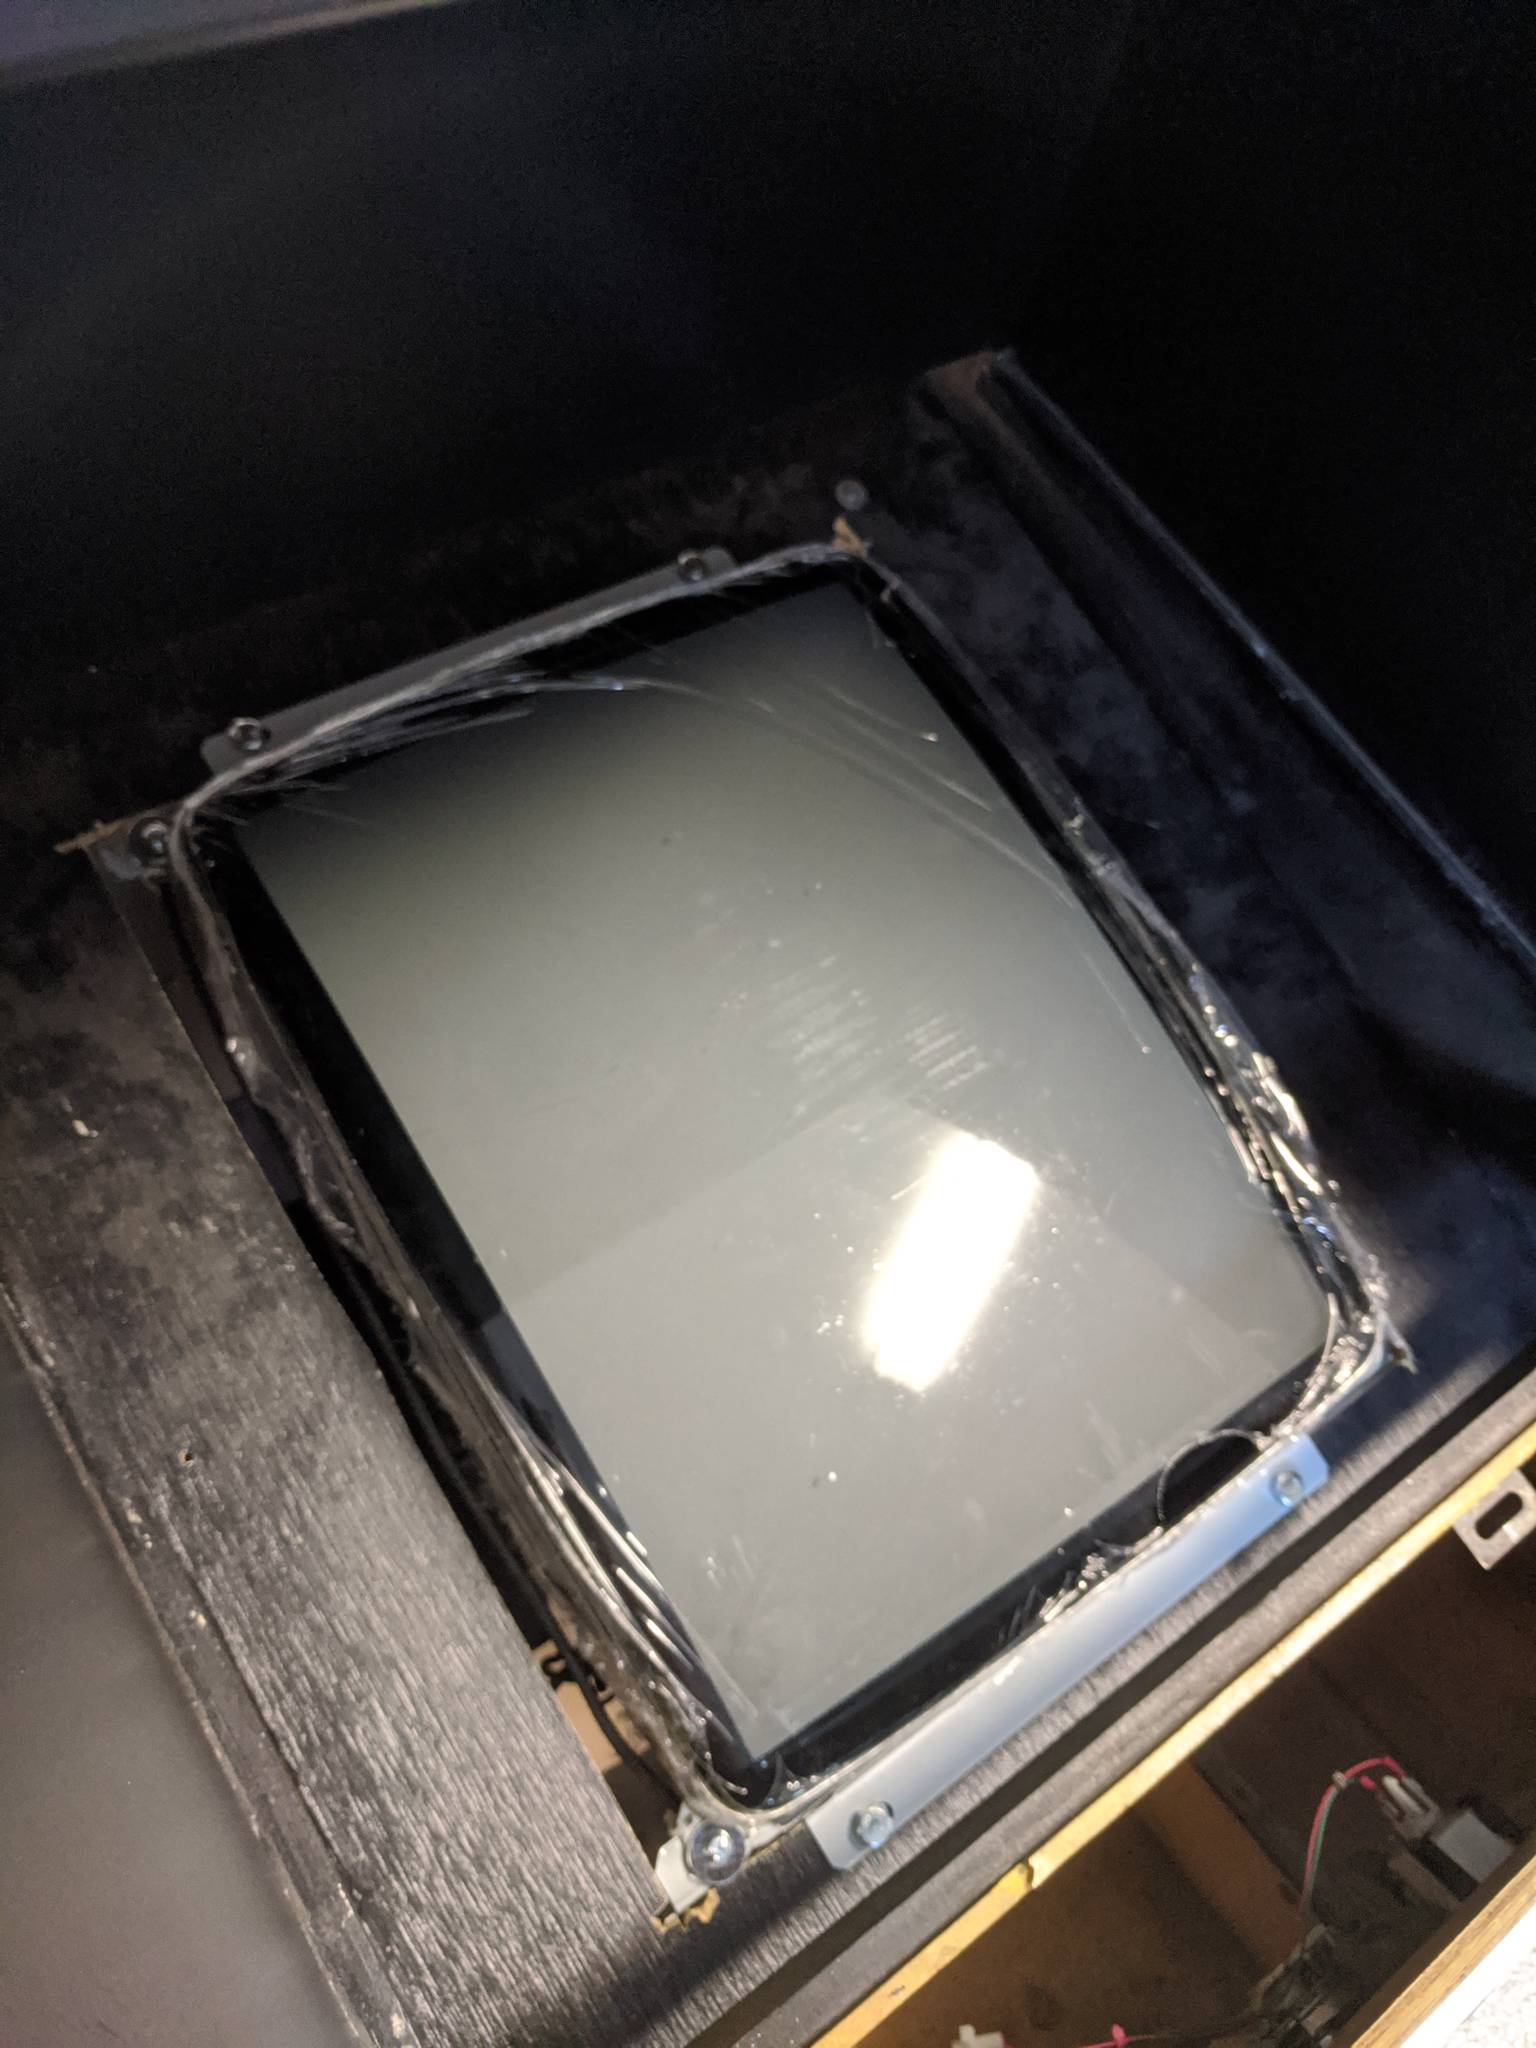
The first part of the upgrade consisted of removing the LCD and going back to a CRT. I used a 21" NOS CRT (WEI-YA M2621H).
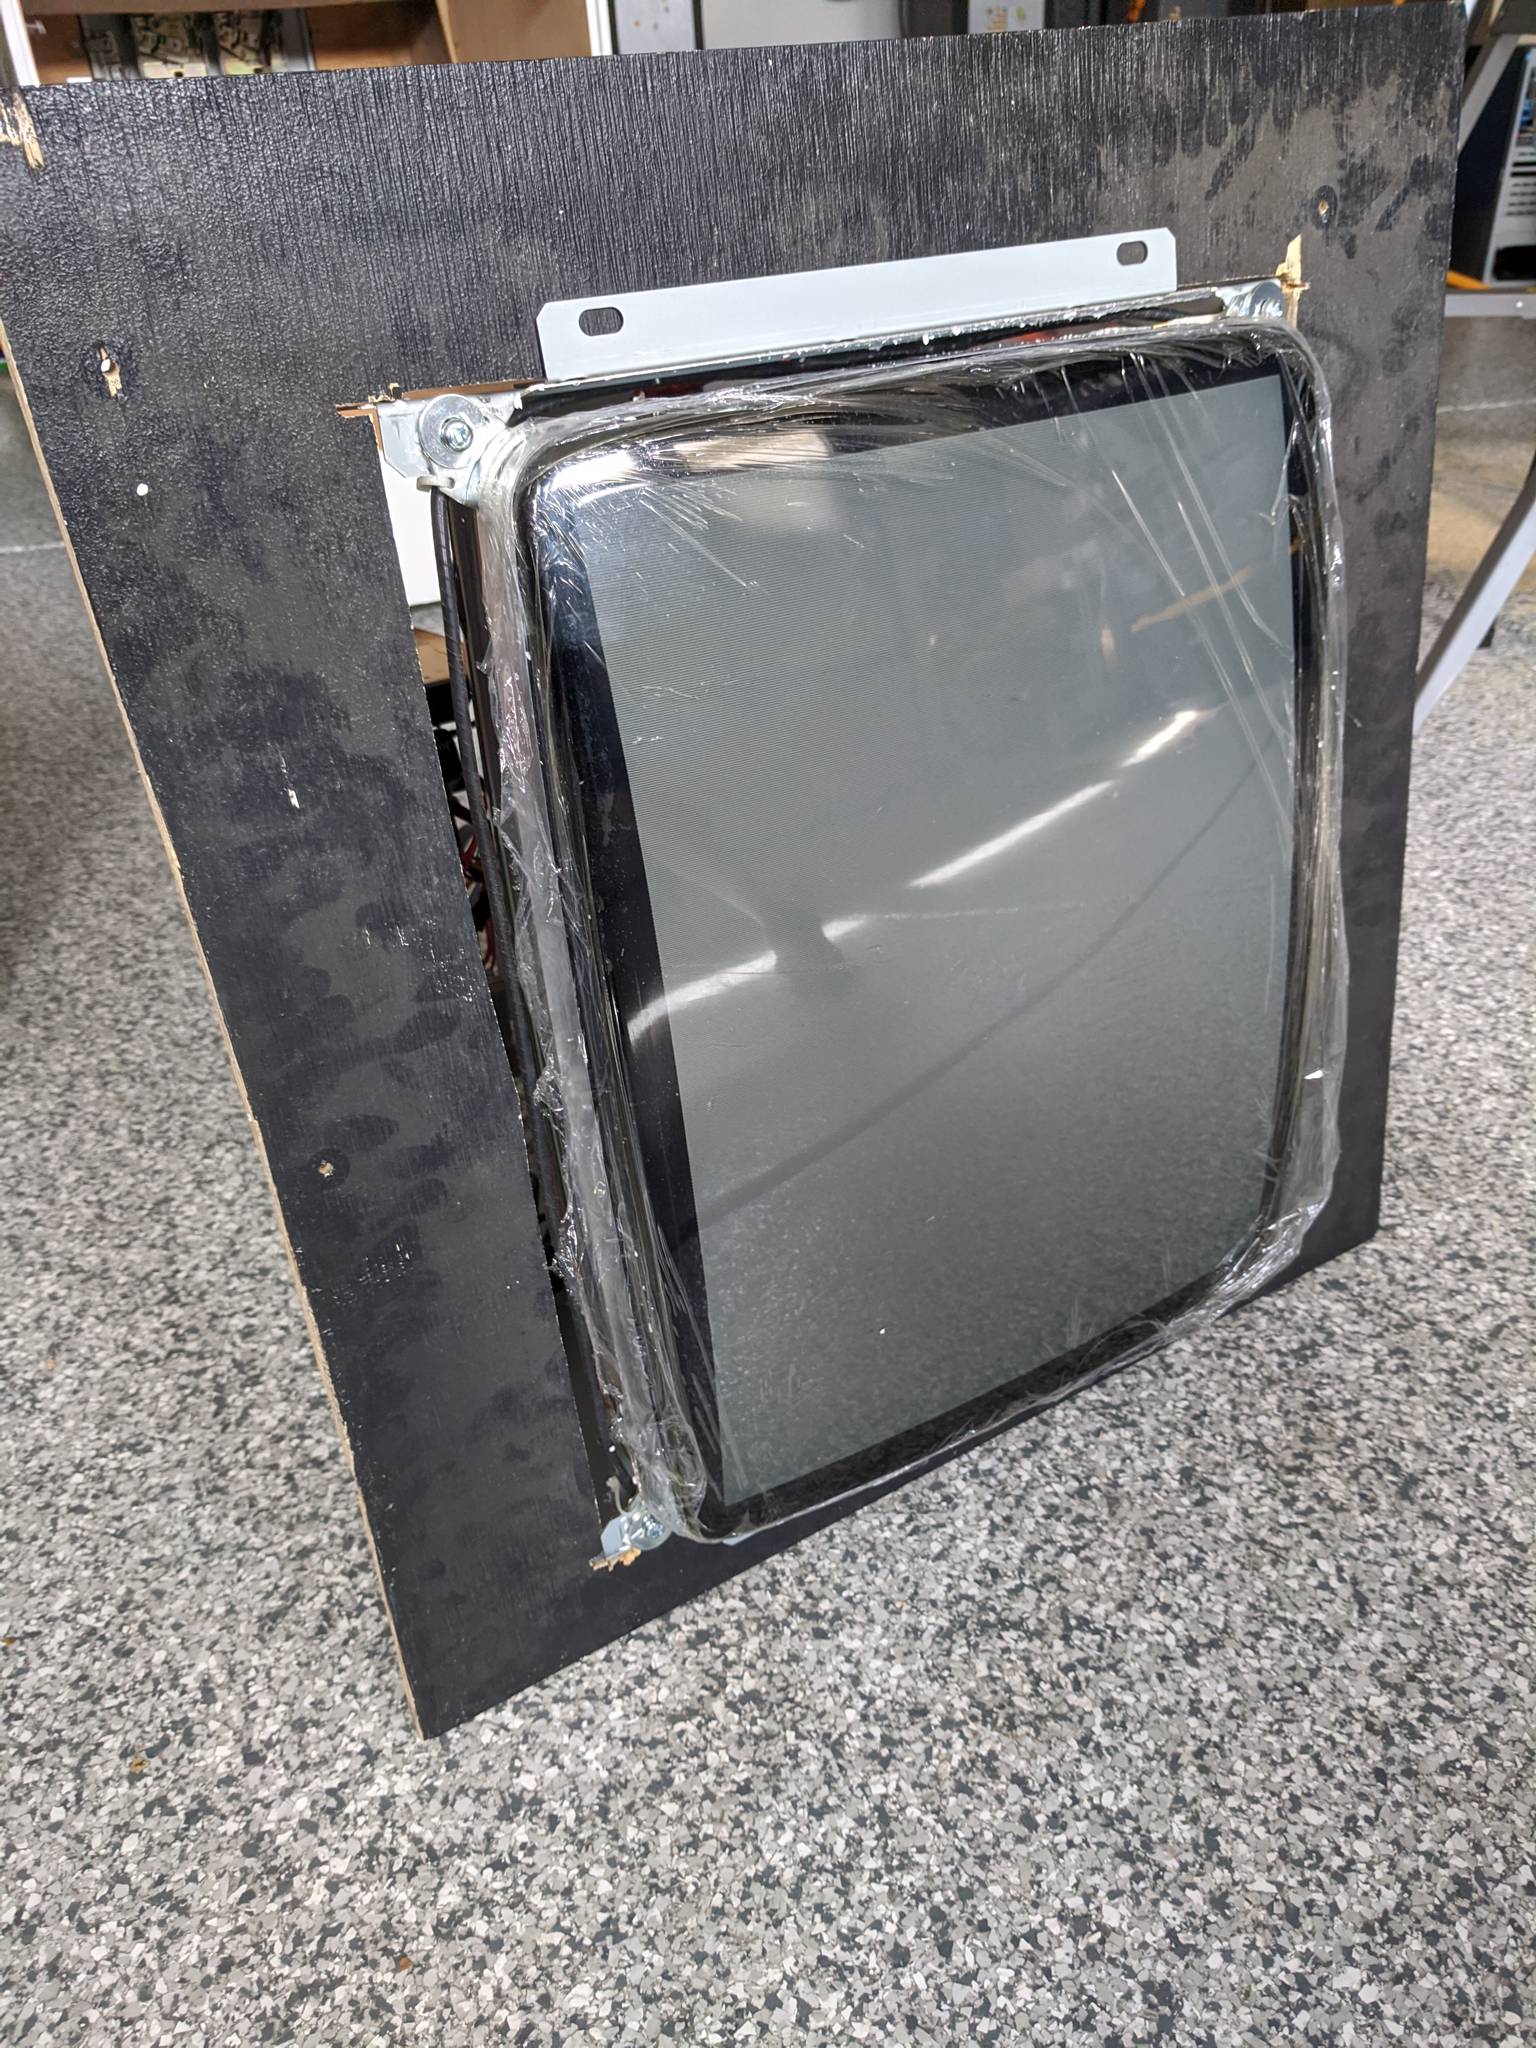
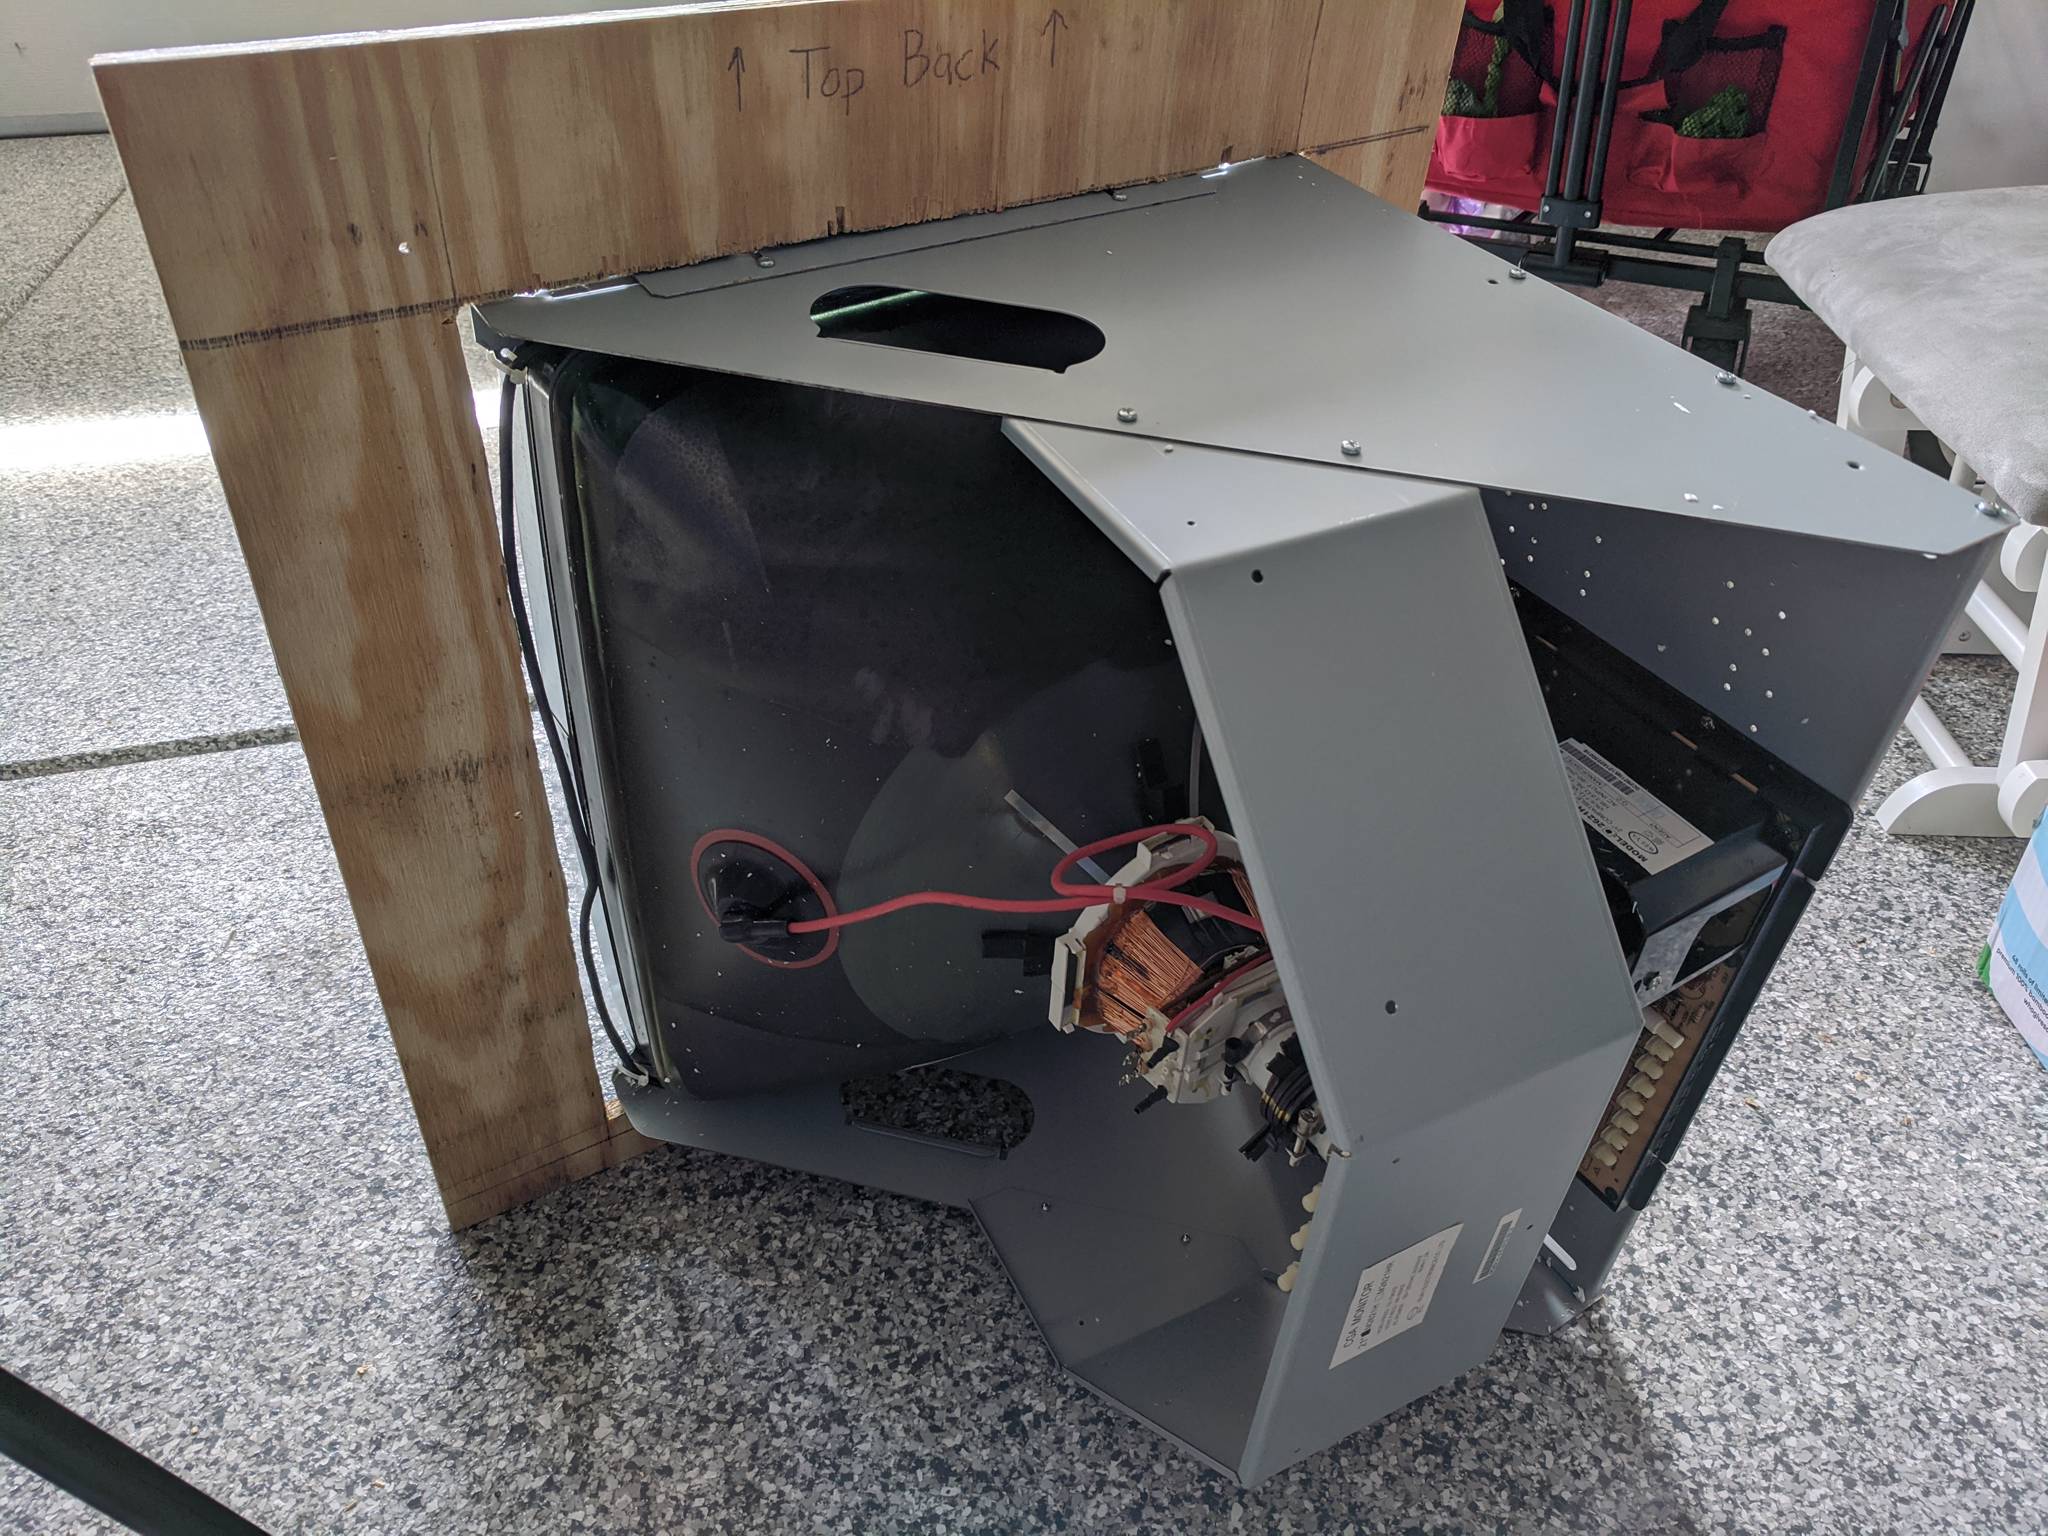
I was able to re-use the LCD mounting board for the CRT by simply cutting a CRT sized hole in it. 😄


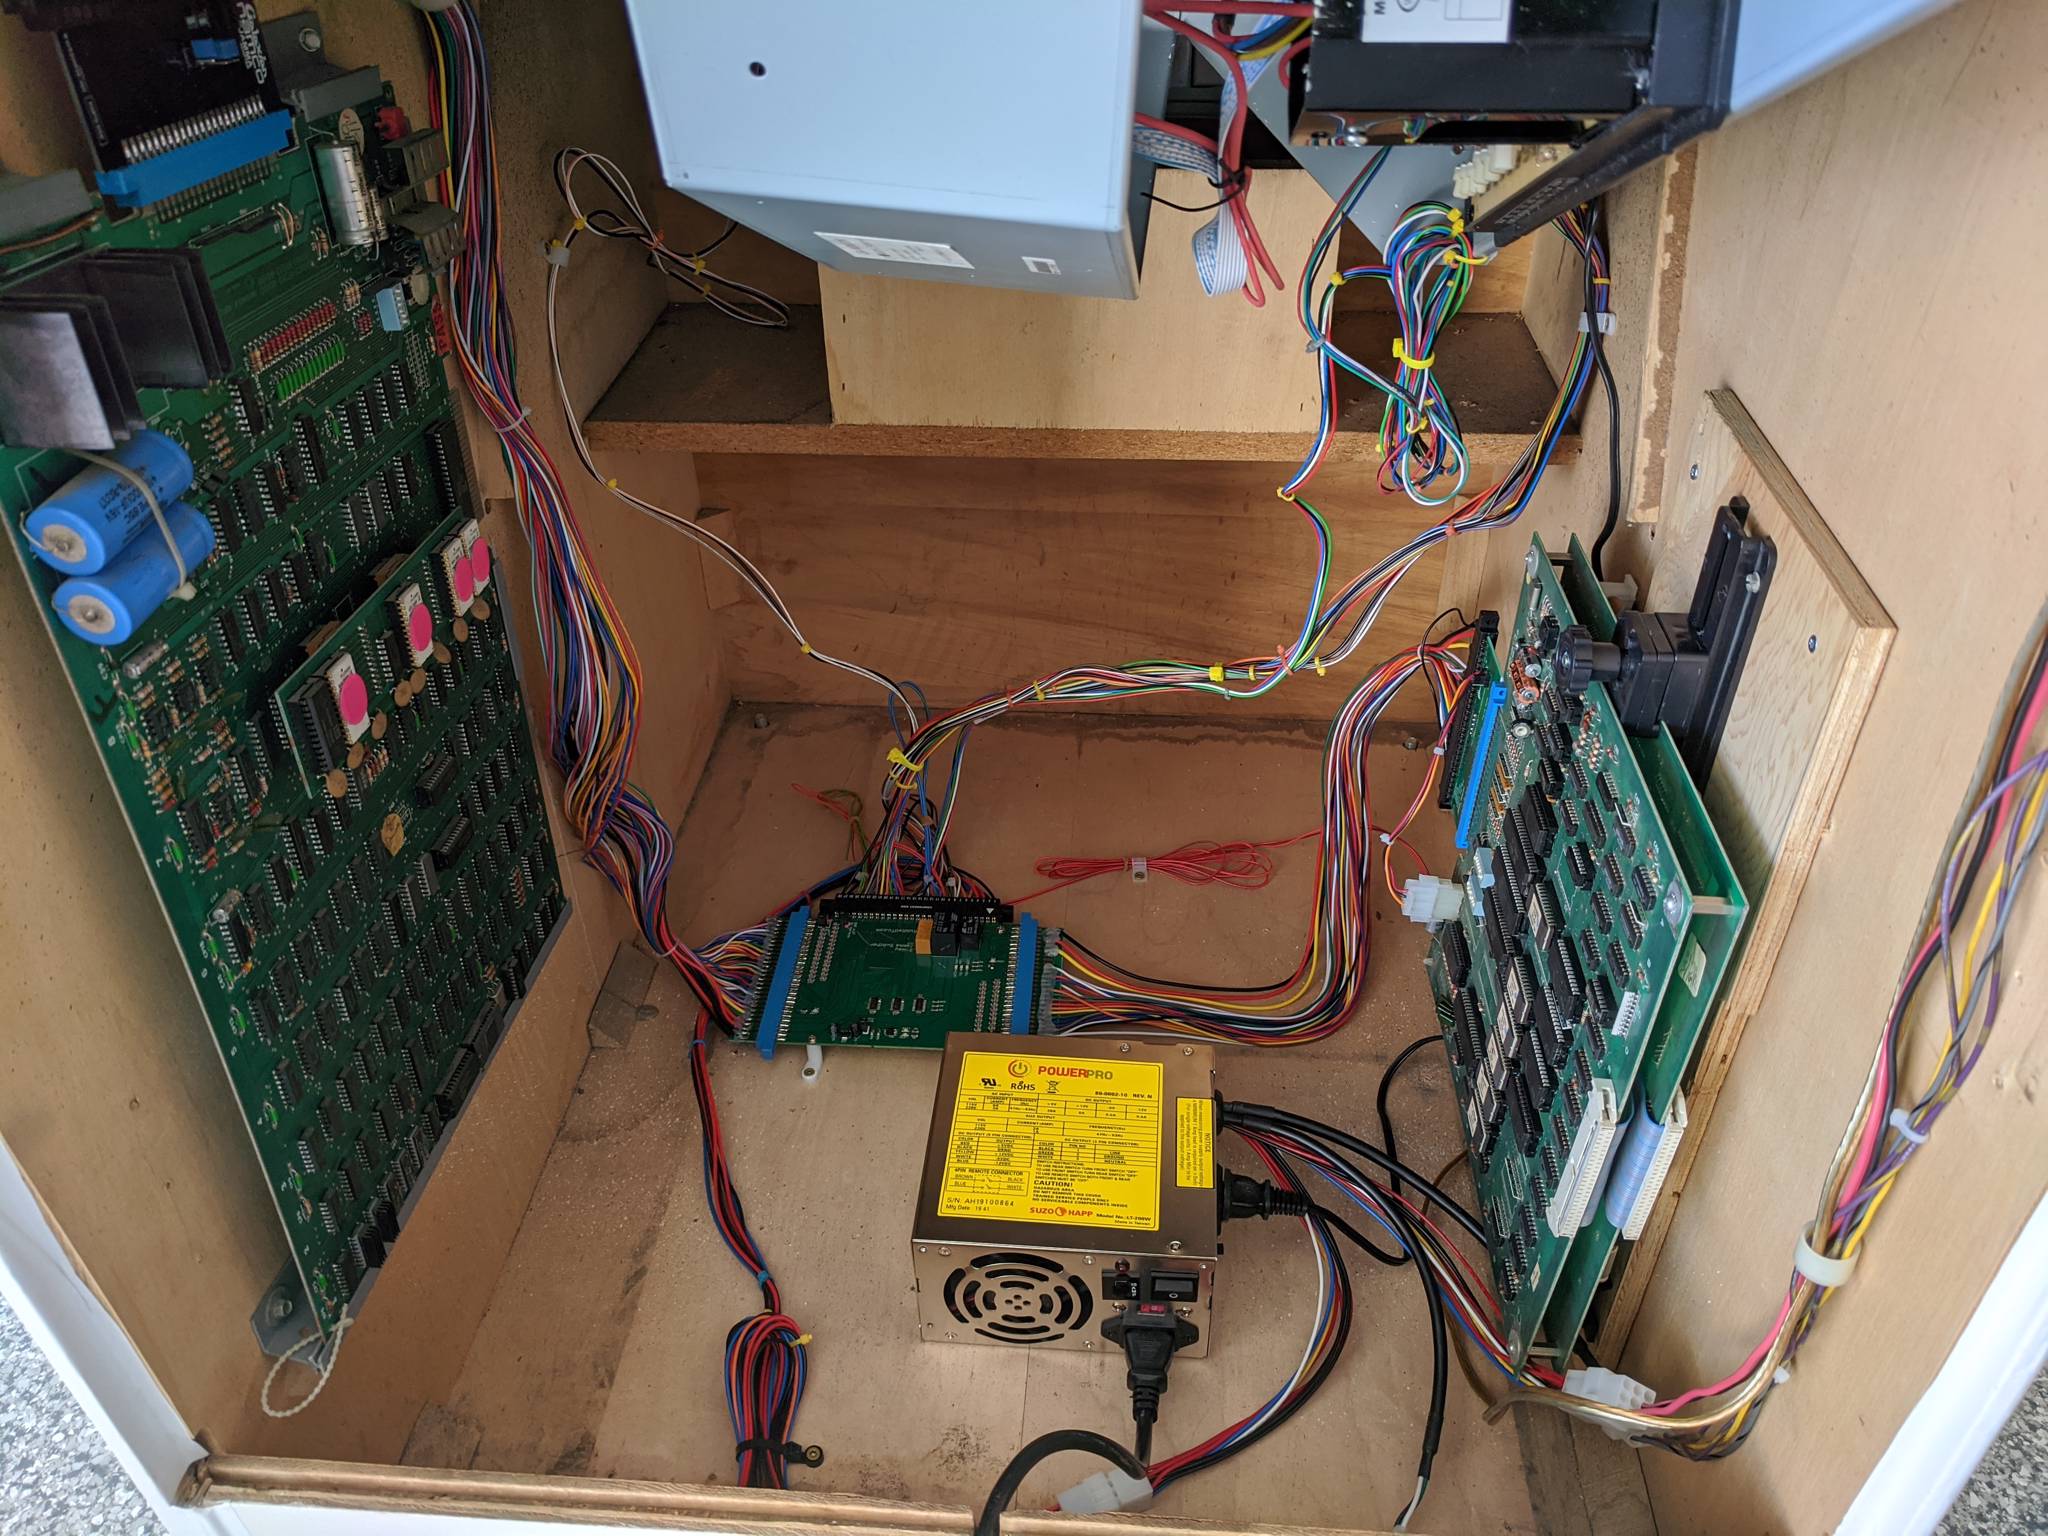
I rewired the cabinet for JAMMA and modified the original Galaxian board to support DC power.
I've found that I prefer Galaga over Galaxian, so I also purchased a Galaga board from e-bay. Both boards are wired up to a JAMMA switcher so I can switch between the two games by holding down both player start buttons for 1 second.
Neither board is JAMMA, so I used JAMMA adapters from pcbjunkie.net and ArcadeShop.com.
If you'd like to see the entire process, you can check out the following video from my YouTube channel.

