Emulators have always been magical to me. I vividly remember the first time I fired up an NES emulator and ran Super Mario Bros. on my 486DX. It didn't run fast, and the experience wasn't great, but it was magical. As Pentiums replaced the 486s, emulation became more viable and I suddenly had access to Final Fantasy titles that were only released in Japan, along with fan translations.
Over the years, emulators have allowed me to play rare games that would otherwise cost exorbitant amounts of money on eBay, or re-experience titles I already own without dusting off my original hardware. Emulators also allow us to archive and preserve old games for future generations as older hardware fails and/or becomes more scarce.
Beyond playing games, I've always had a technical fascination with emulators as well. I knew the basics of how they worked from my computer architecture and assembly language classes, but even so, they were still shrouded in mystery. I've always wanted to write my own emulator, but sitting down to read how a particular piece of hardware works, or even reading existing emulator code, can be overwhelming.
When I came across an article on HackerNews talking about the CHIP-8, and how it was an excellent choice for writing your first emulator, I decided to finally tackle this project.
A lot has been written about the CHIP-8, so I won't go into a lot of detail here. Consider this the ClifNotes version.
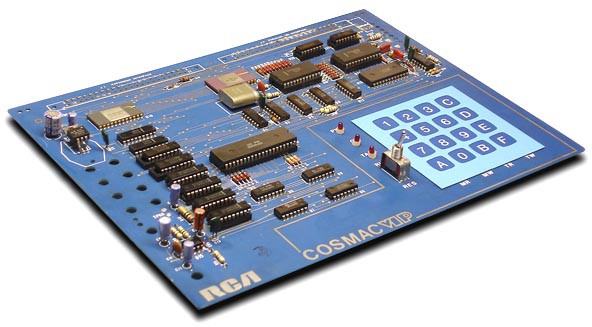
Technically, the CHIP-8 wasn't actually a hardware device. Instead, it was an interpreted programming language hobbyist computer, like the COSMAC VIP, from the mid-70s. It allowed software (mostly games) to be written in an intermediary opcode format and then interpreted in different hardware architectures.
However, language is a bit generous in this case. Instead of writing in a high-level language like Java, you instead type out 16-byte opcodes on a hexadecimal keyboard. Because you're still very low in the hardware stack, it's similar to writing an emulator for a piece of hardware: you have a program counter, registers, a stack, etc. This makes it a great candidate for a first emulation project.
Overall, this was an extremely rewarding project, and I would highly recommend anyone who's thought about doing this to check out the article I linked earlier. It lays the groundwork without giving too much away.
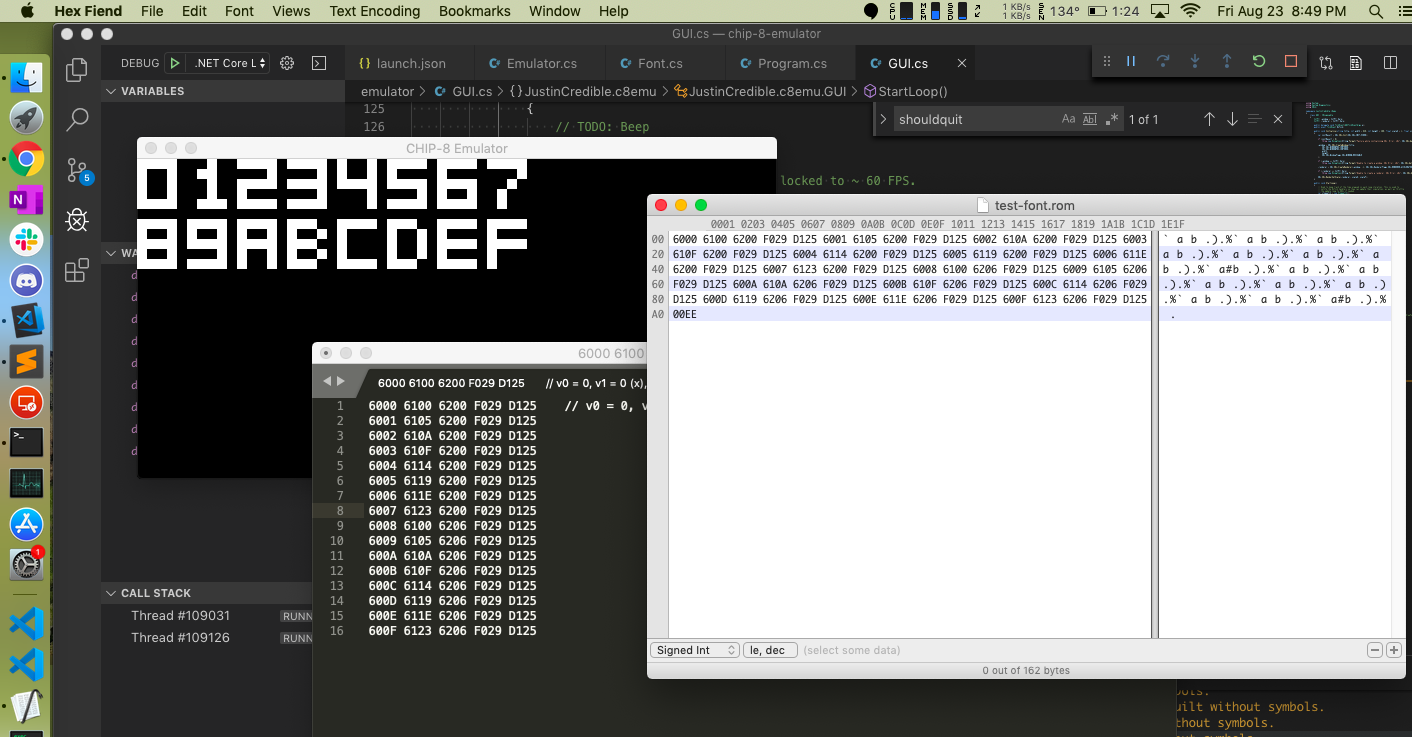
I wrote my emulator and assembler in C# targeting the cross-platform .NET Core runtime. It uses SDL2 for the GUI.
You can find more details on GitHub. The readme contains a resources section with some links for recommended reading.

