The Nintendo VS. System was an arcade game system that played popular NES games that were slightly modified from their home counterparts. In some cases, the games were harder, had different levels, or included slightly better graphics.
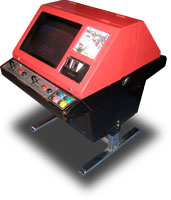
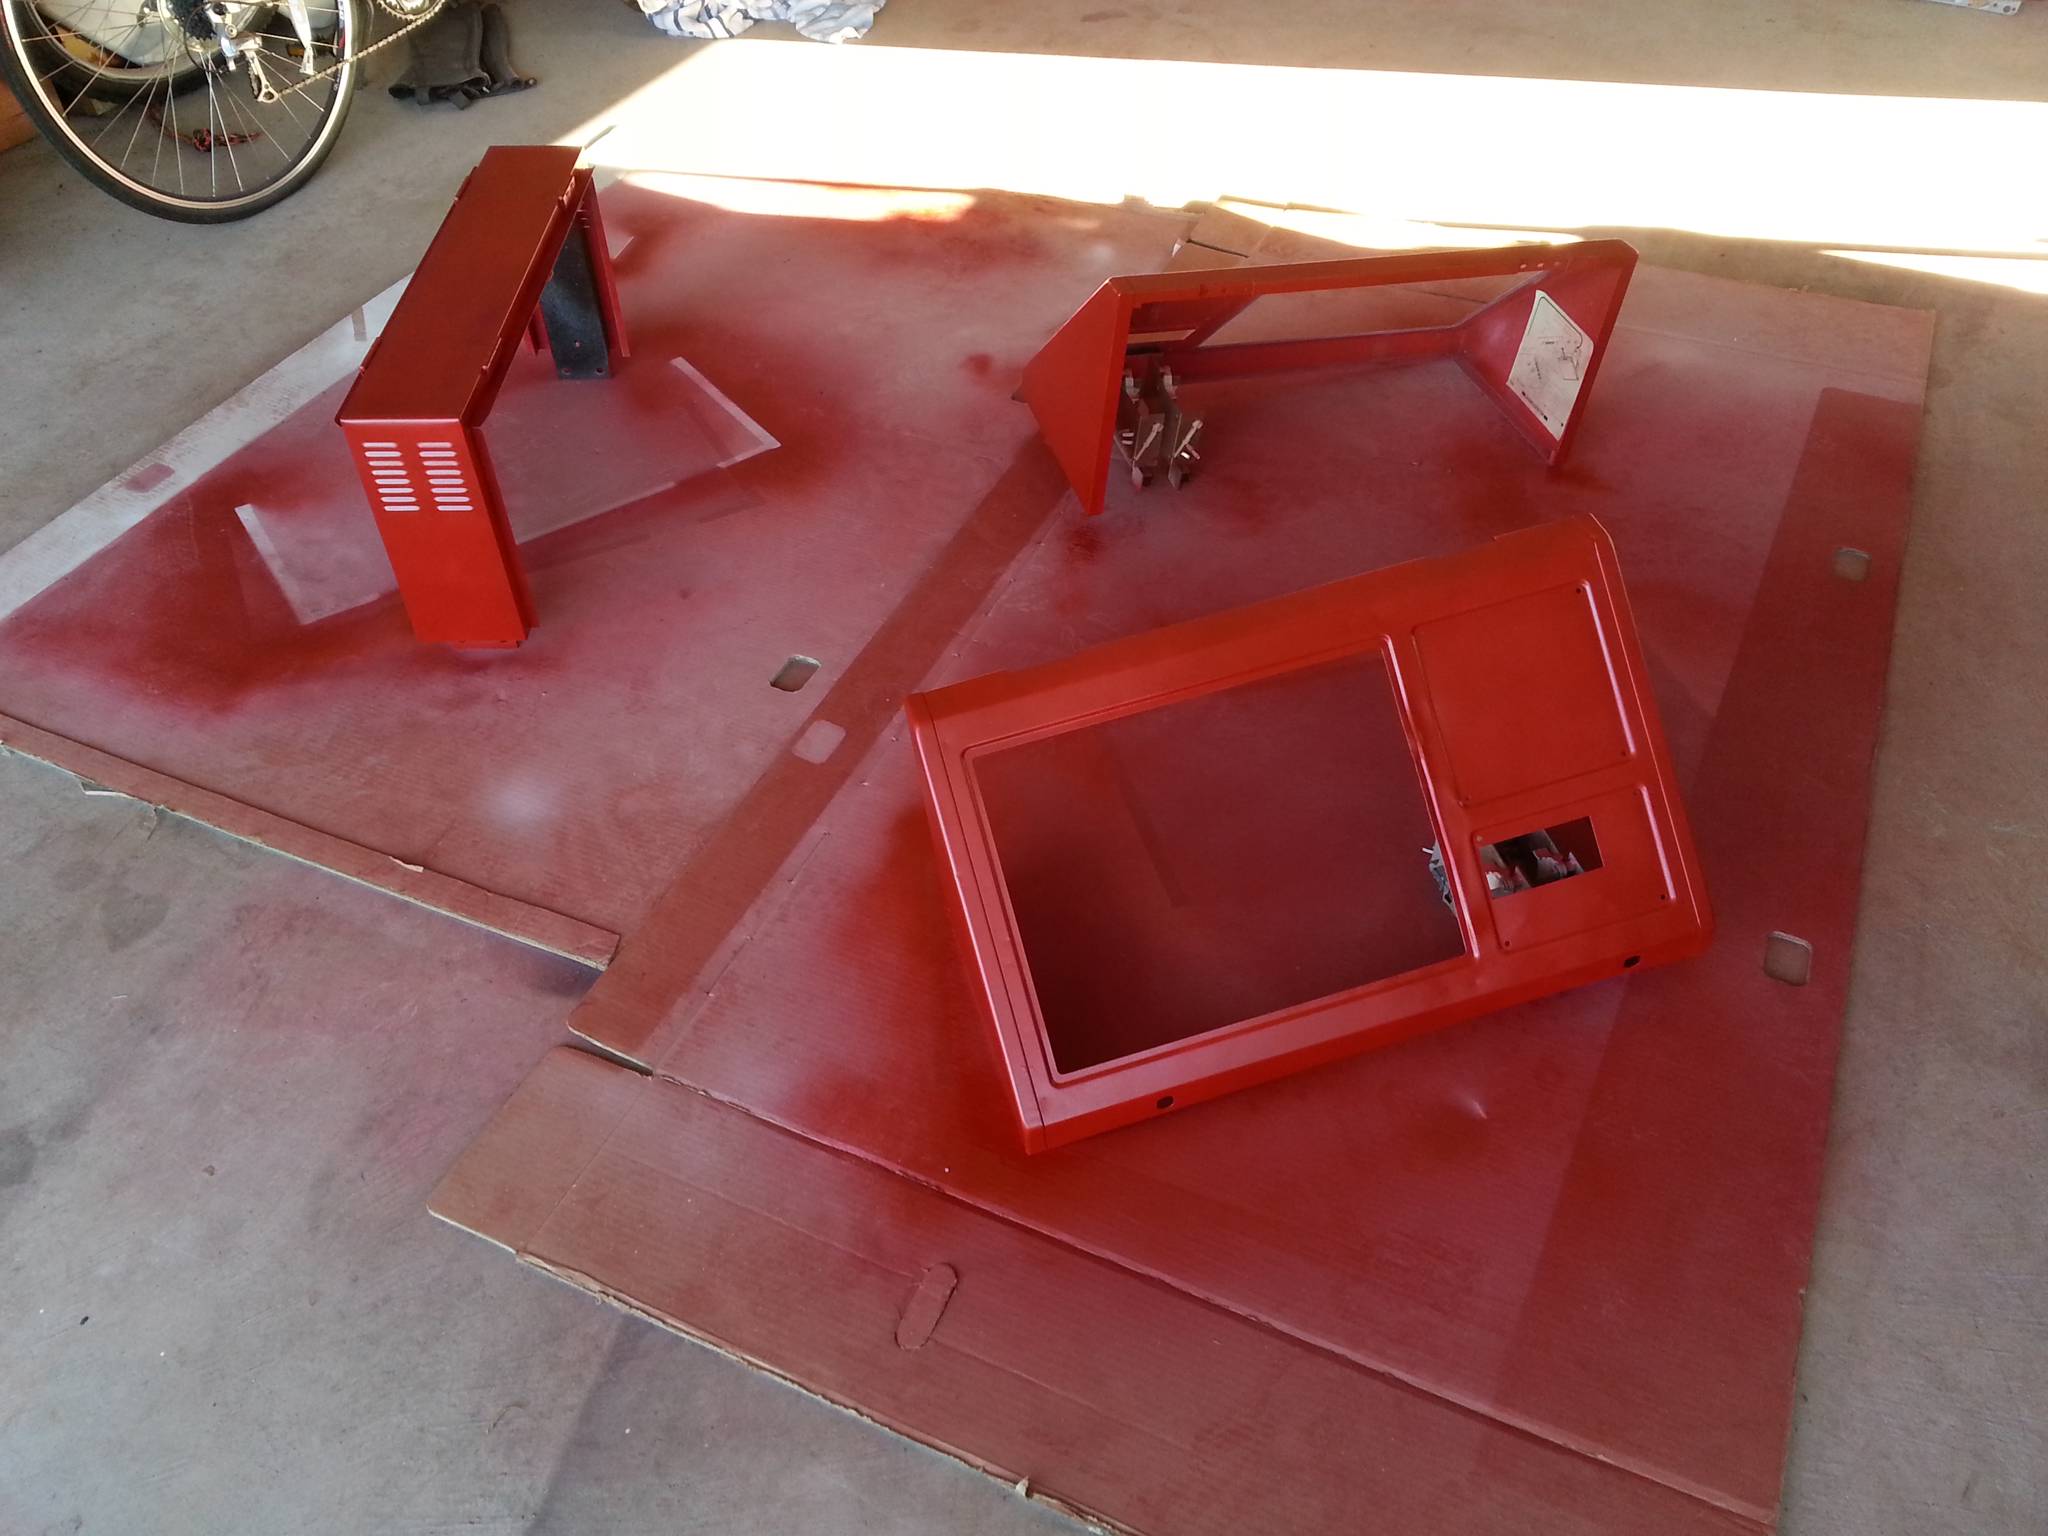
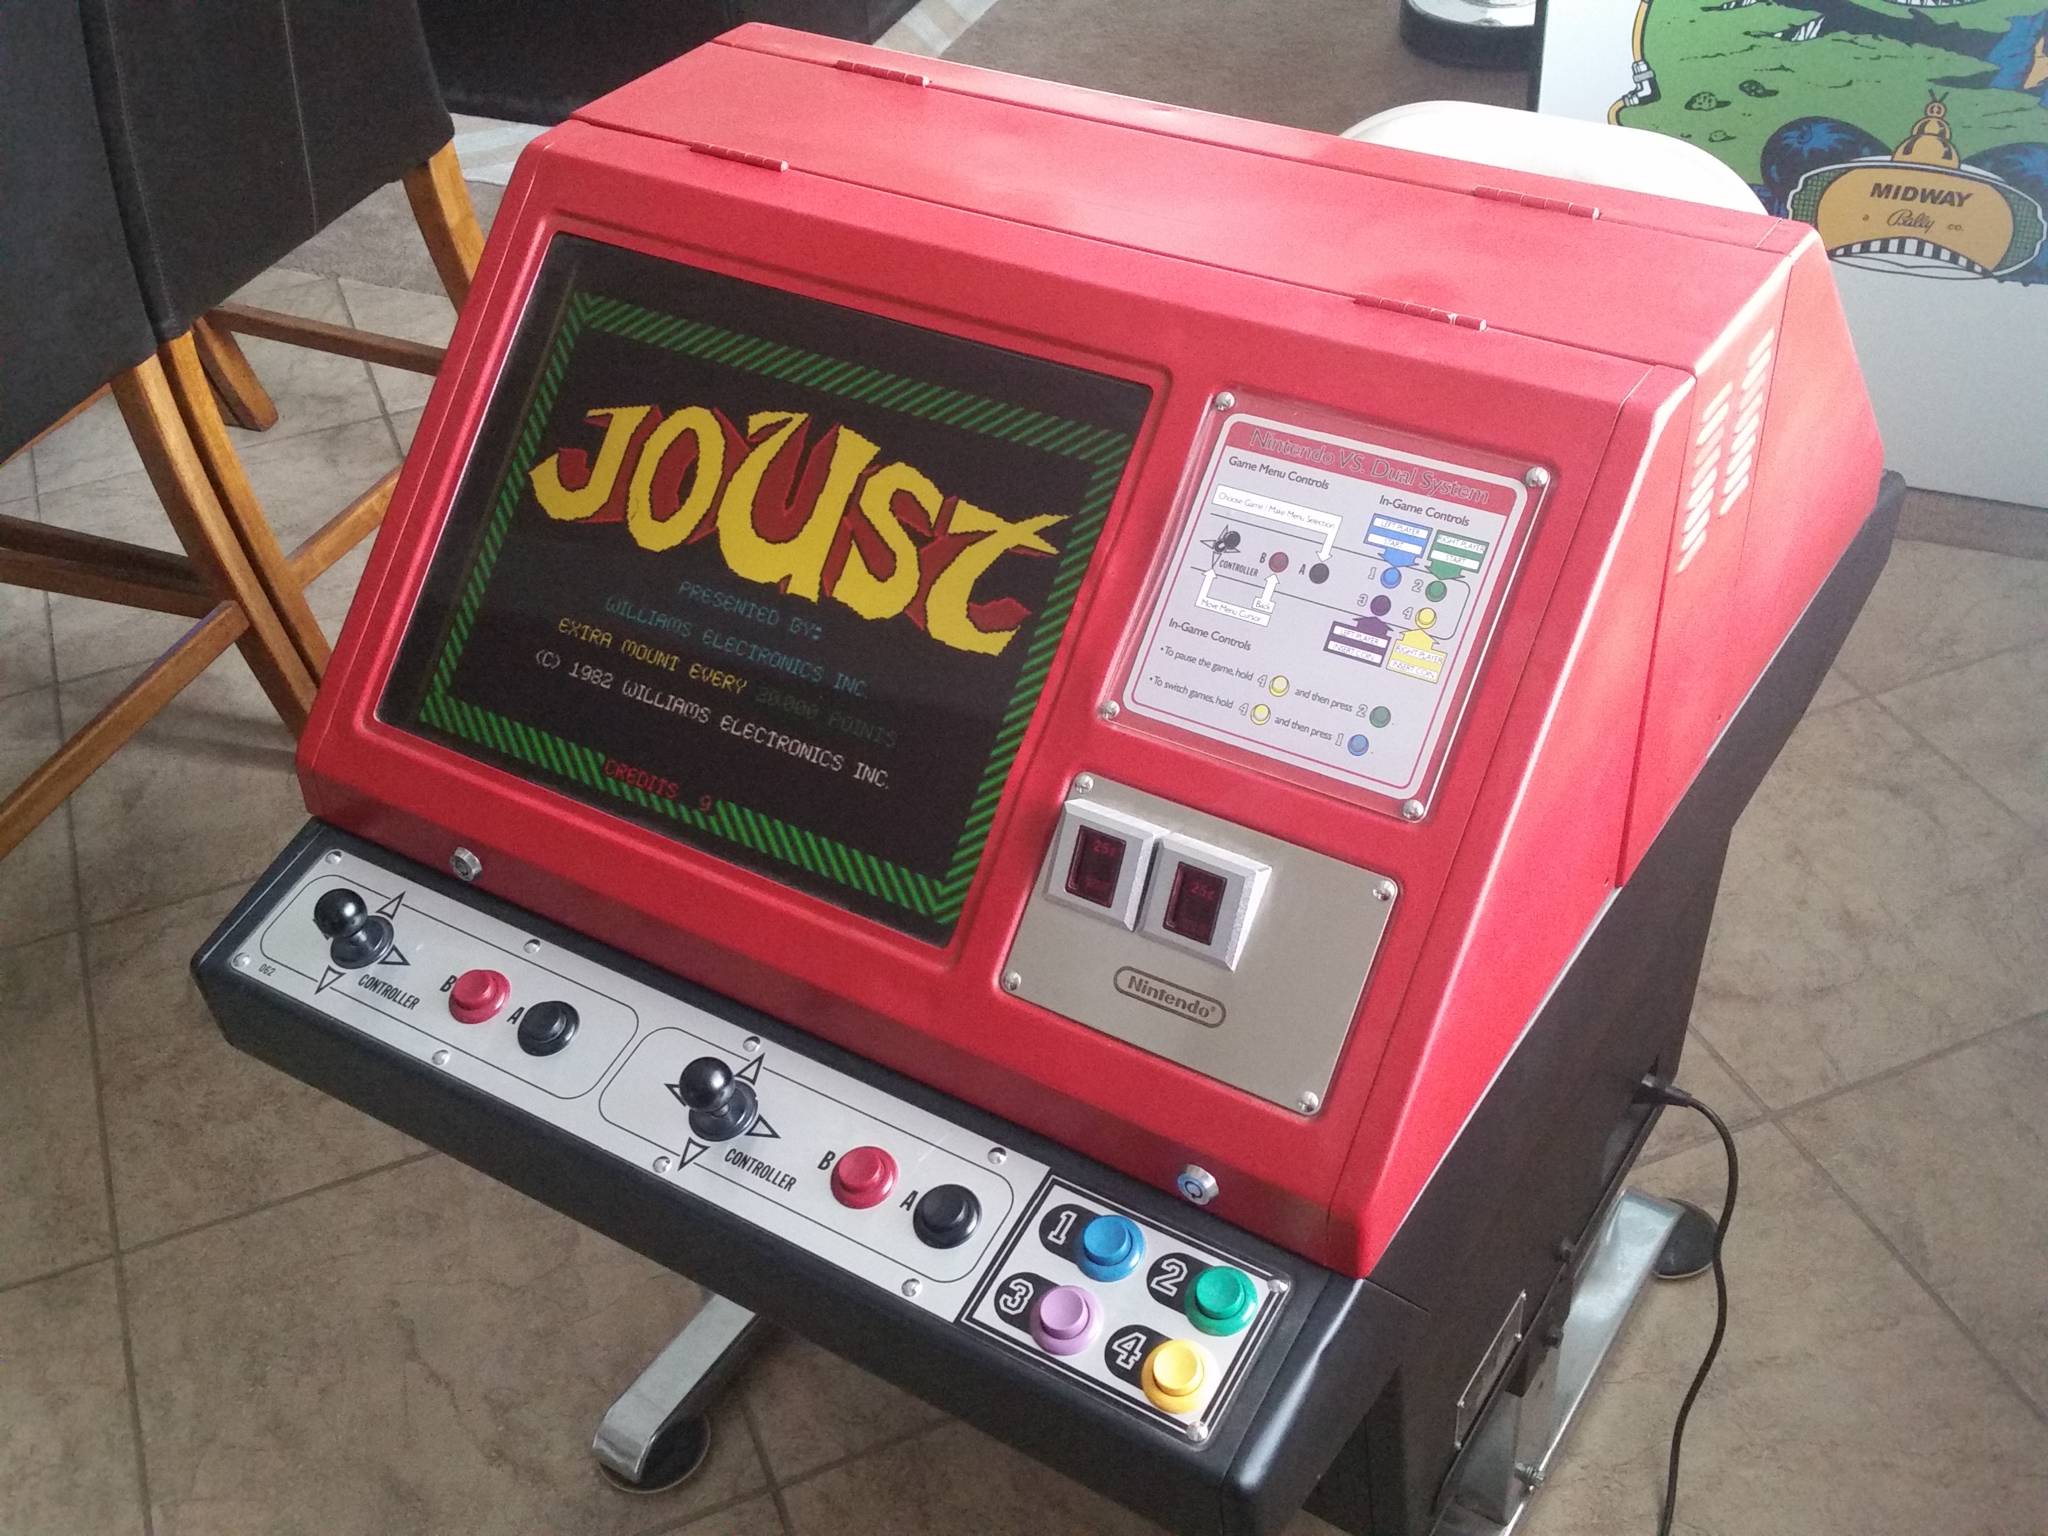
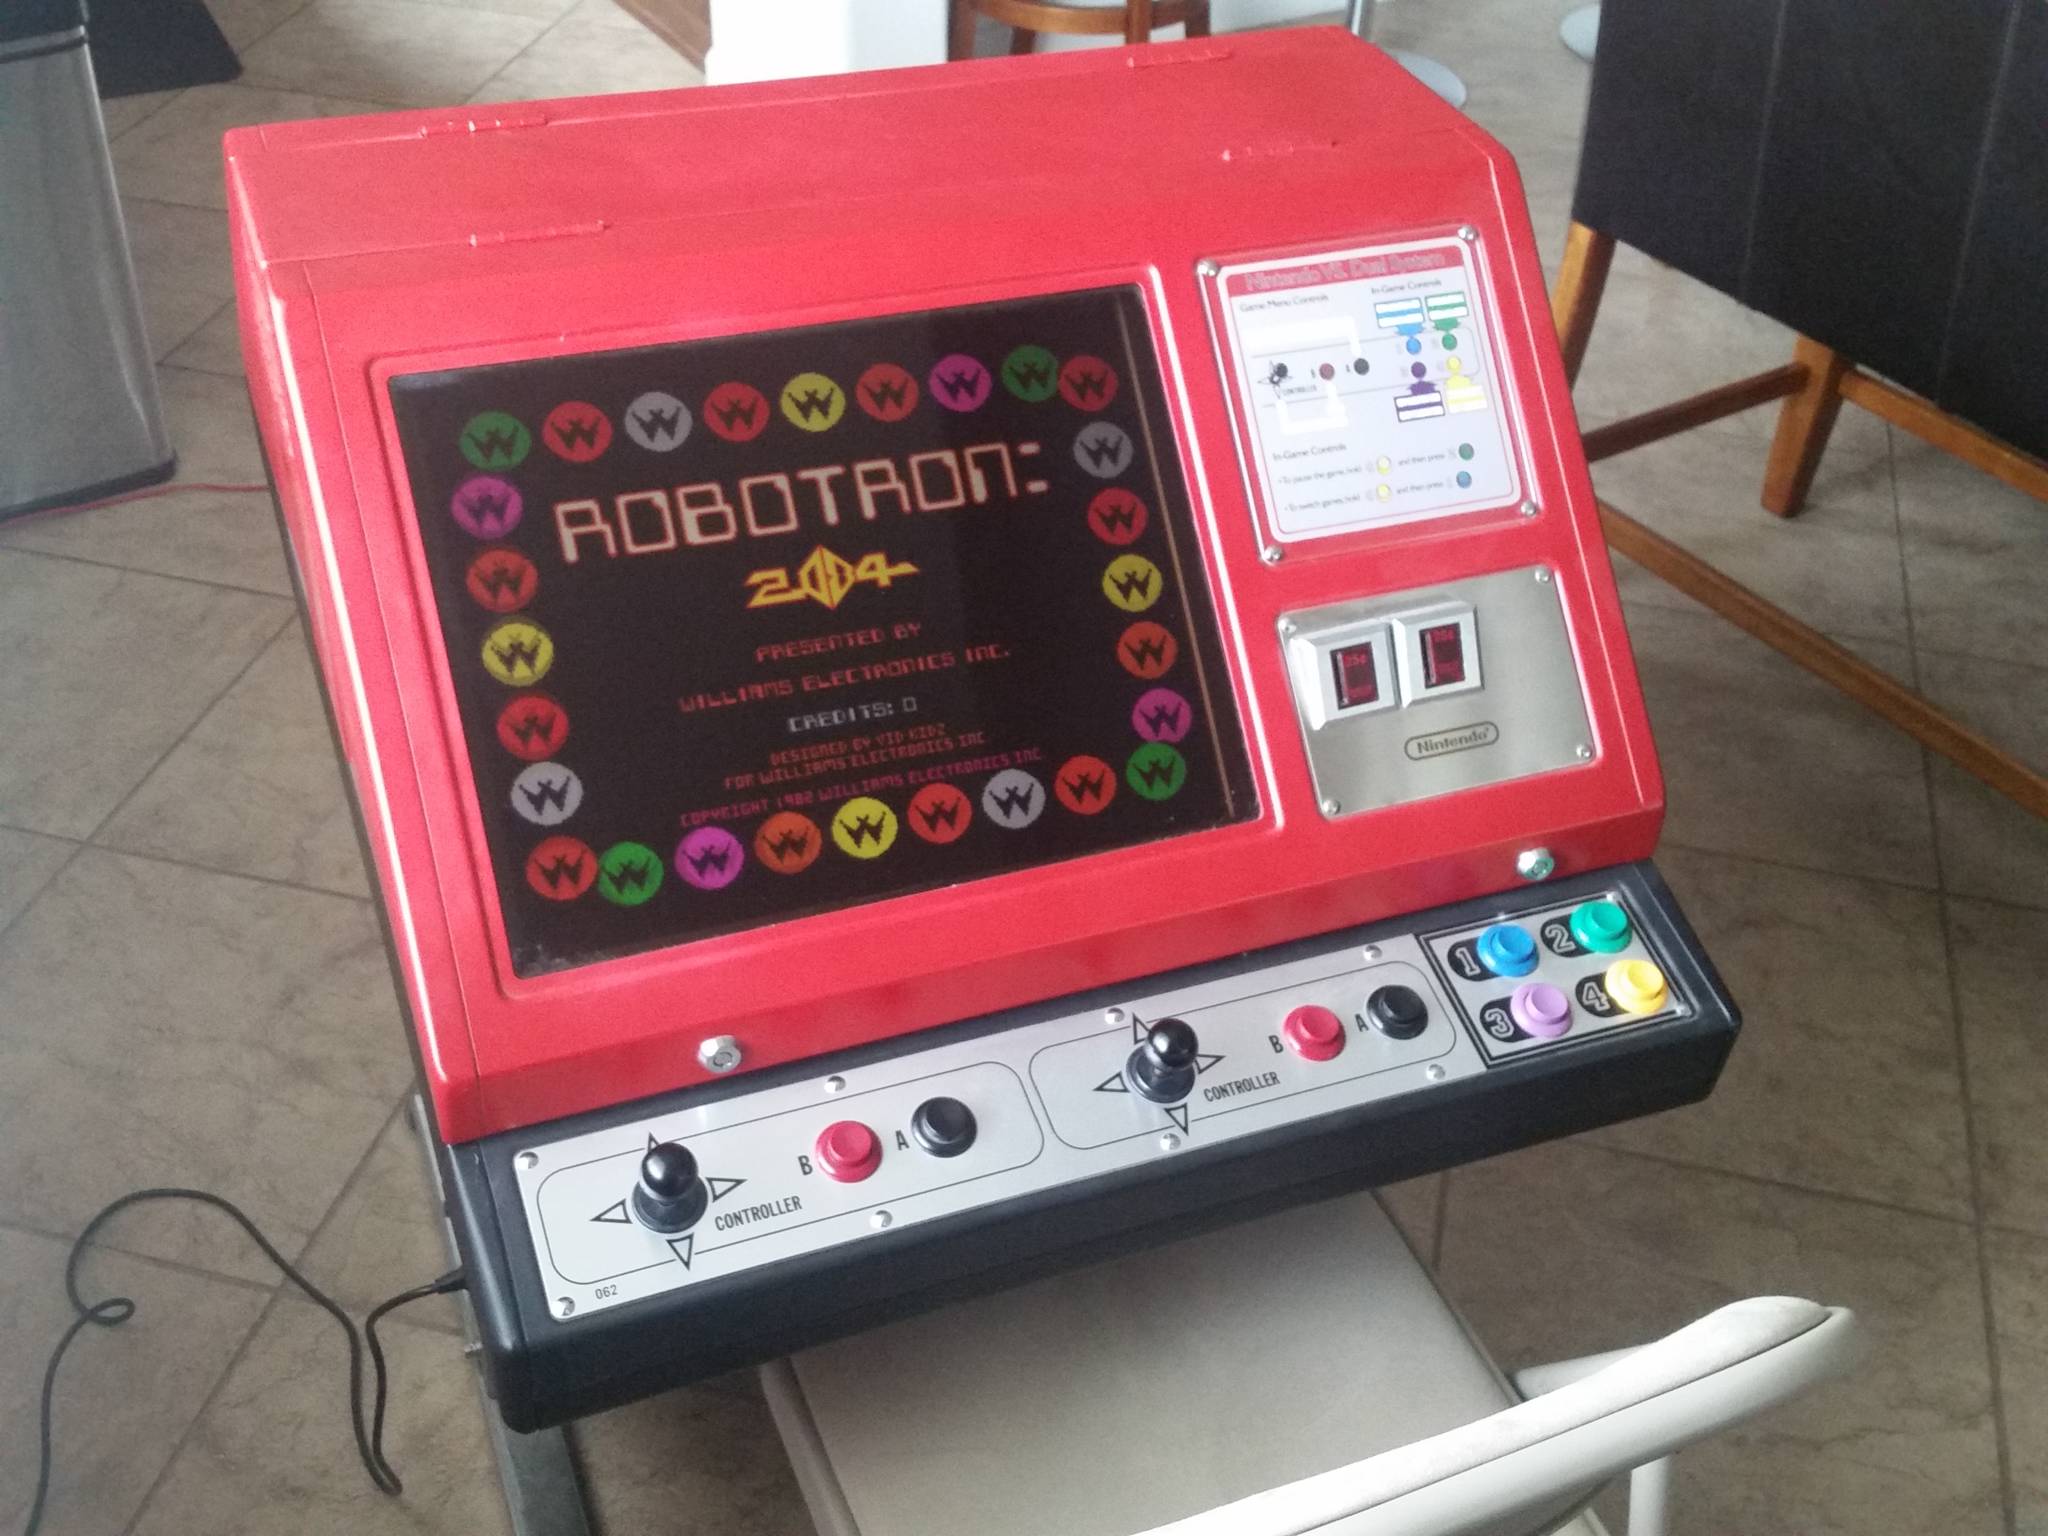
While the system was primarily sold as a retrofit kit for Nintendo cabinets, there were also some dedicated cabinets, one of which was a bright red metal sit-down cabinet with dual screens. This was more commonly referred to as the Nintendo "Red Tent." Ever since I read about this cabinet on John's Arcade, I wanted one.
I was lucky enough to find one of these rare cabinets on Craig's List just a short drive away from home. I could not pass up the opportunity to own one!

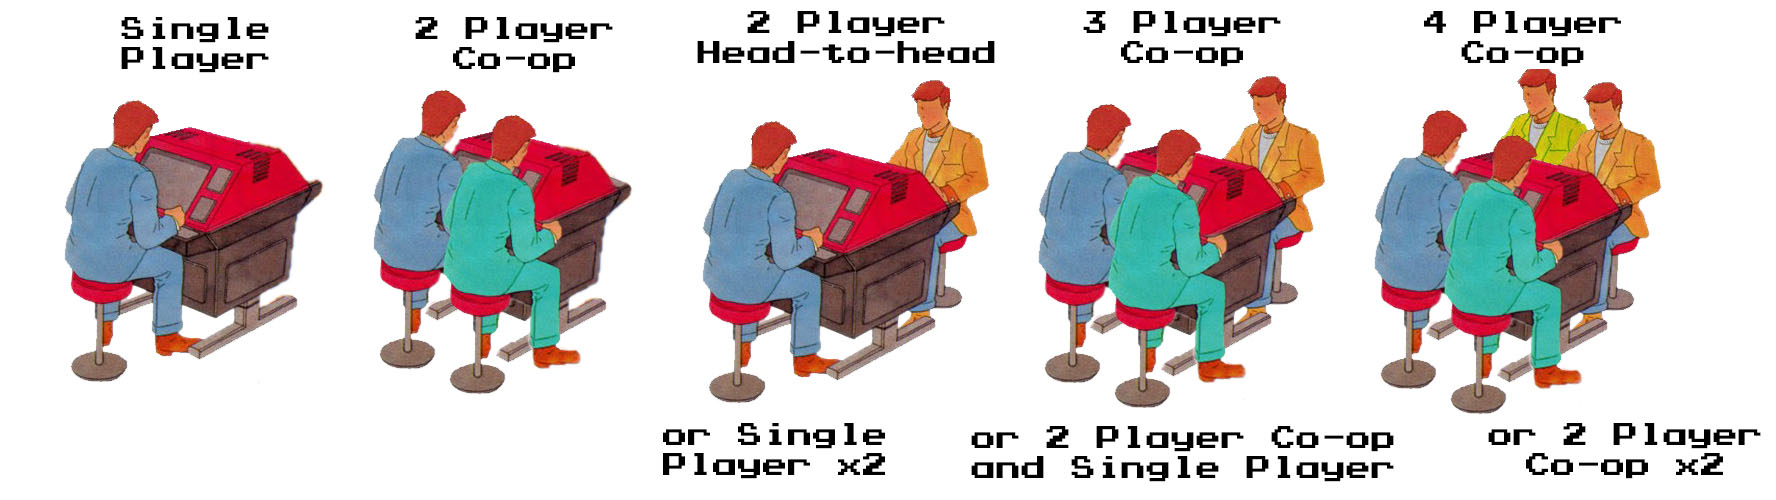
What I found particularly cool about the red tent was that two completely different games could play on each side of the cabinet. Or, a single game (like Vs. Tennis) could be played using both screens for up to four players simultaneously.
My goal for this cabinet was to use a single PC to play two different games simultaneously on each side, as well as to allow for both sides to play the same game for 4-player co-op fun (Gauntlet! TMNT!). This turned out to be a massive undertaking on the software side of things. (Skip ahead if you're here just for the software side.)
Acquisition
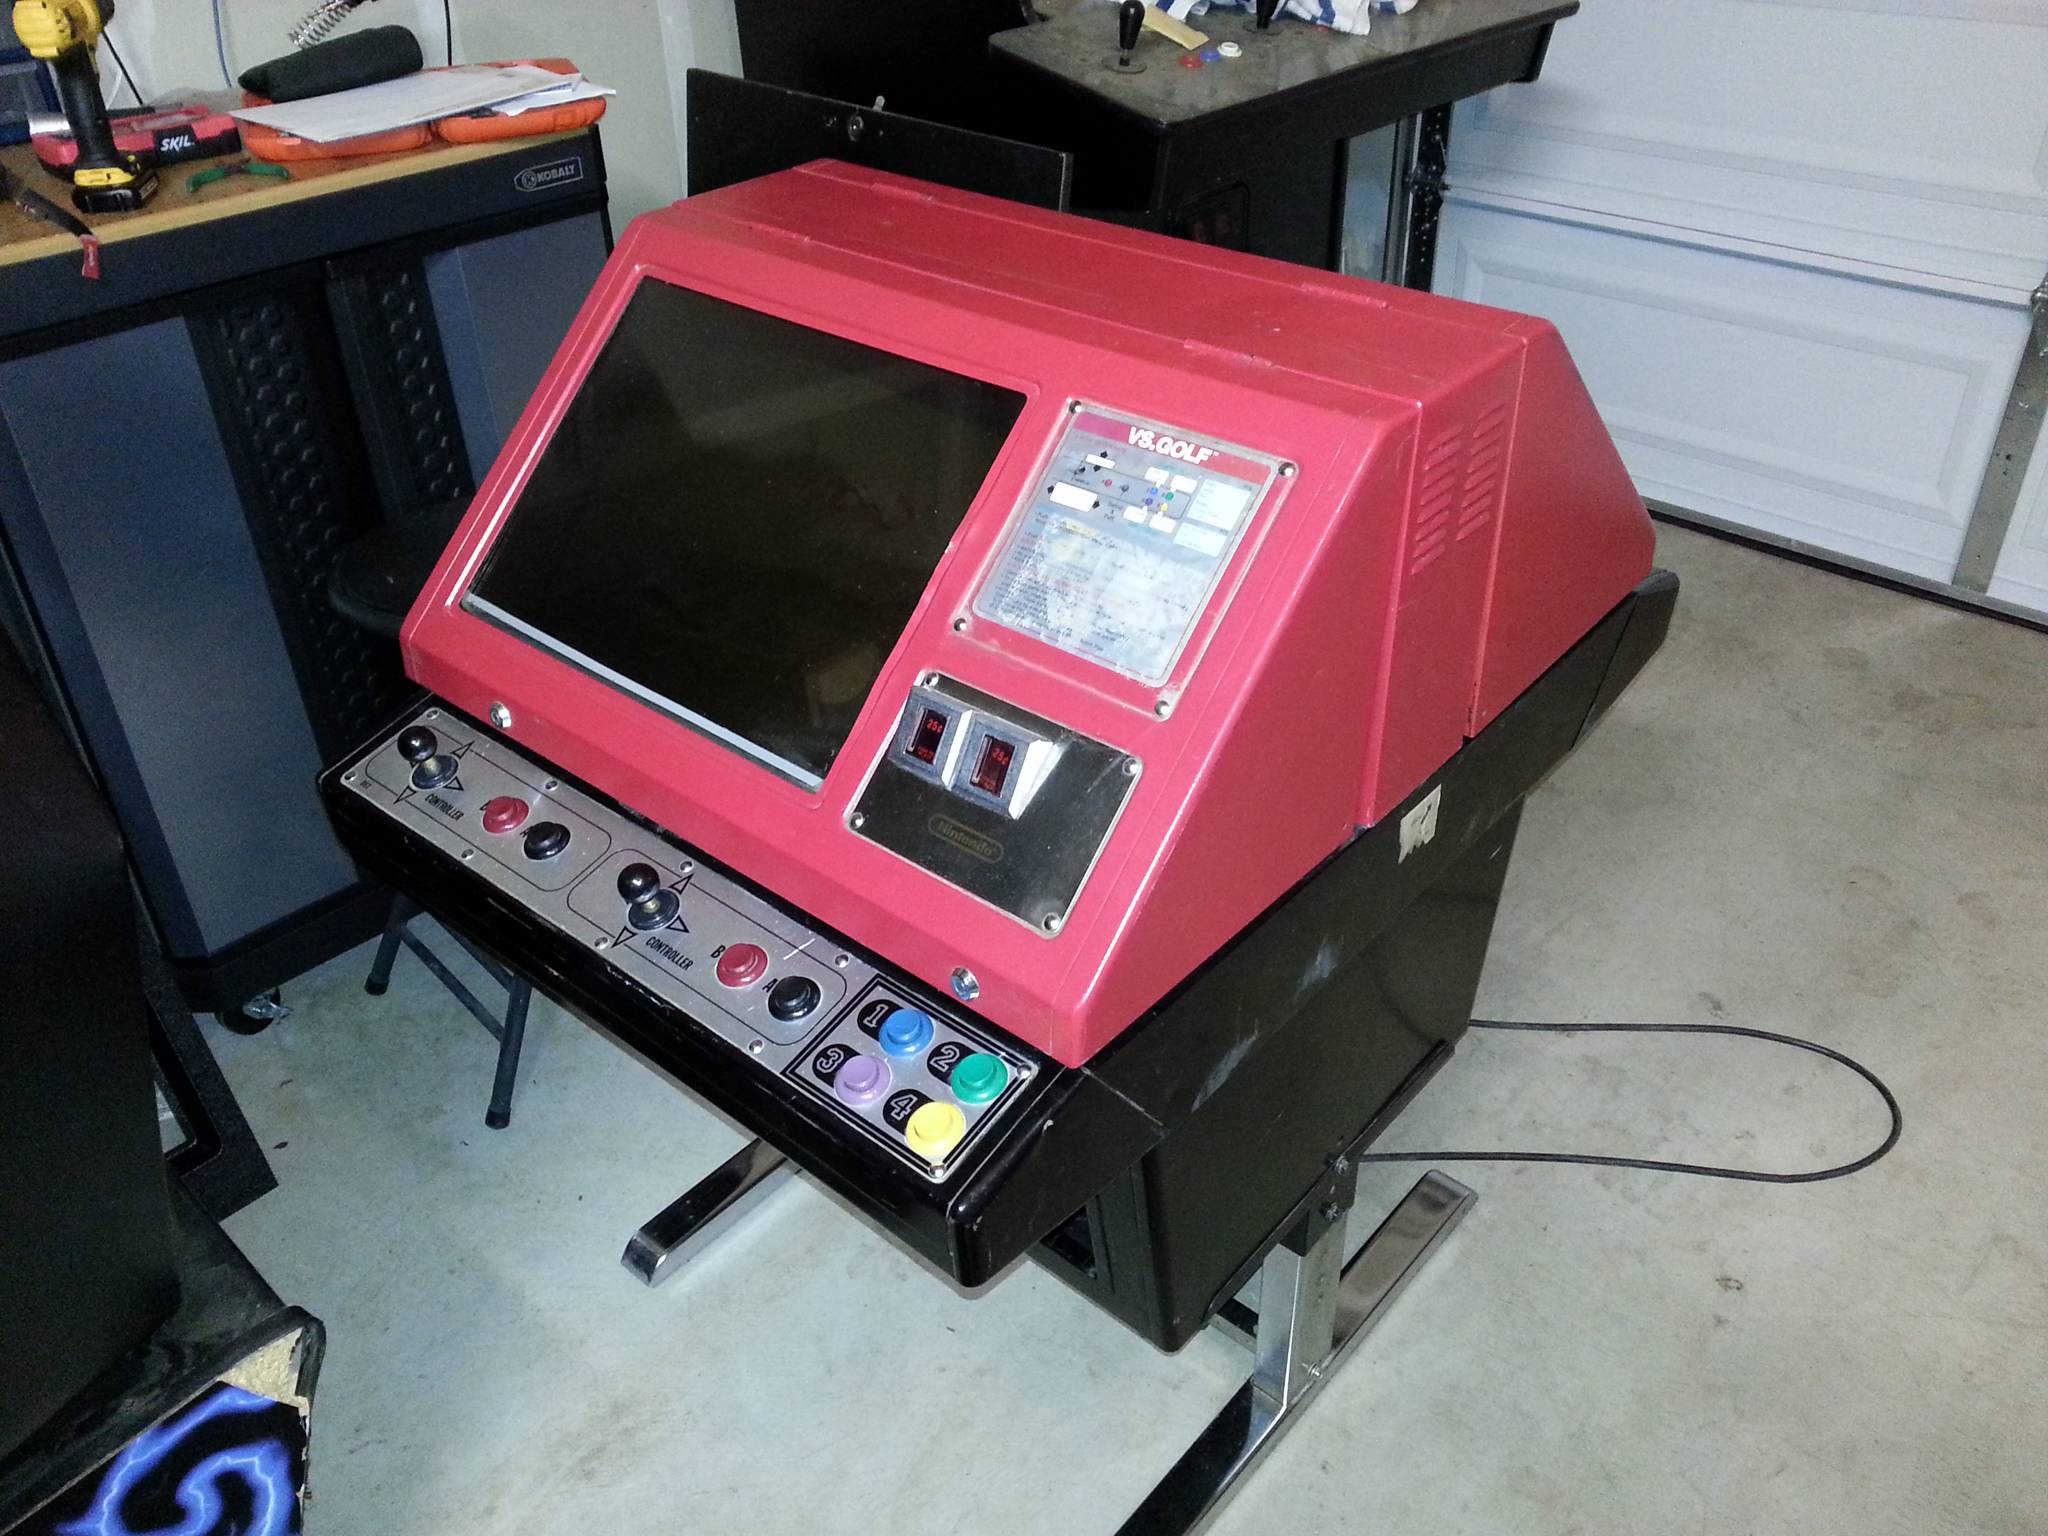
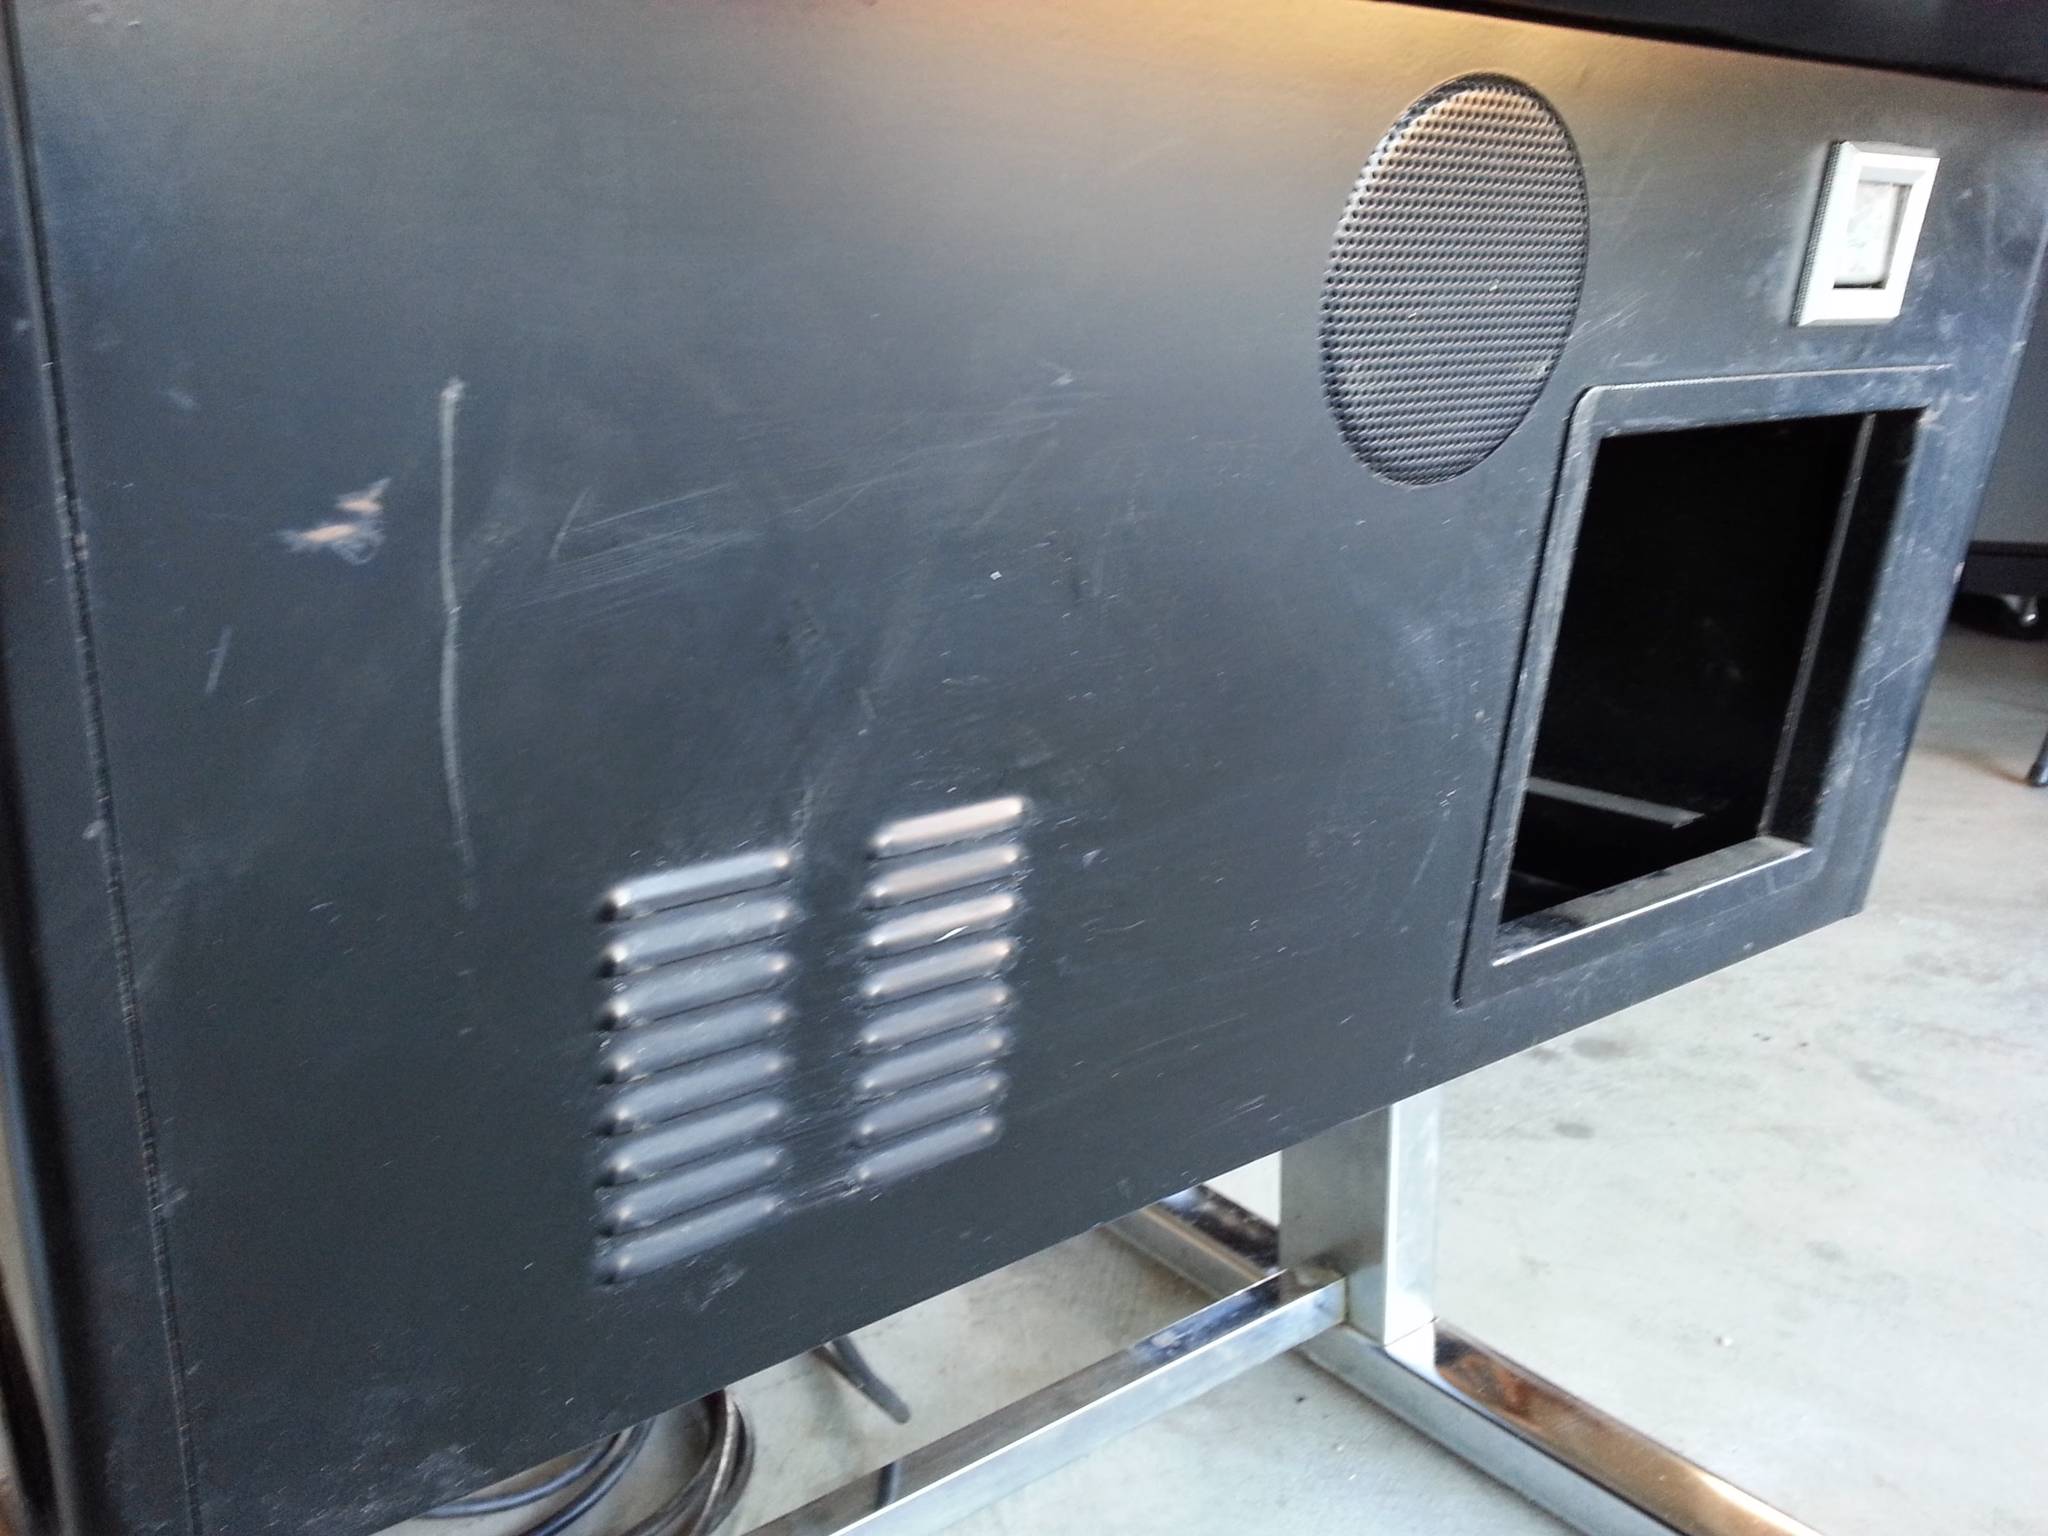
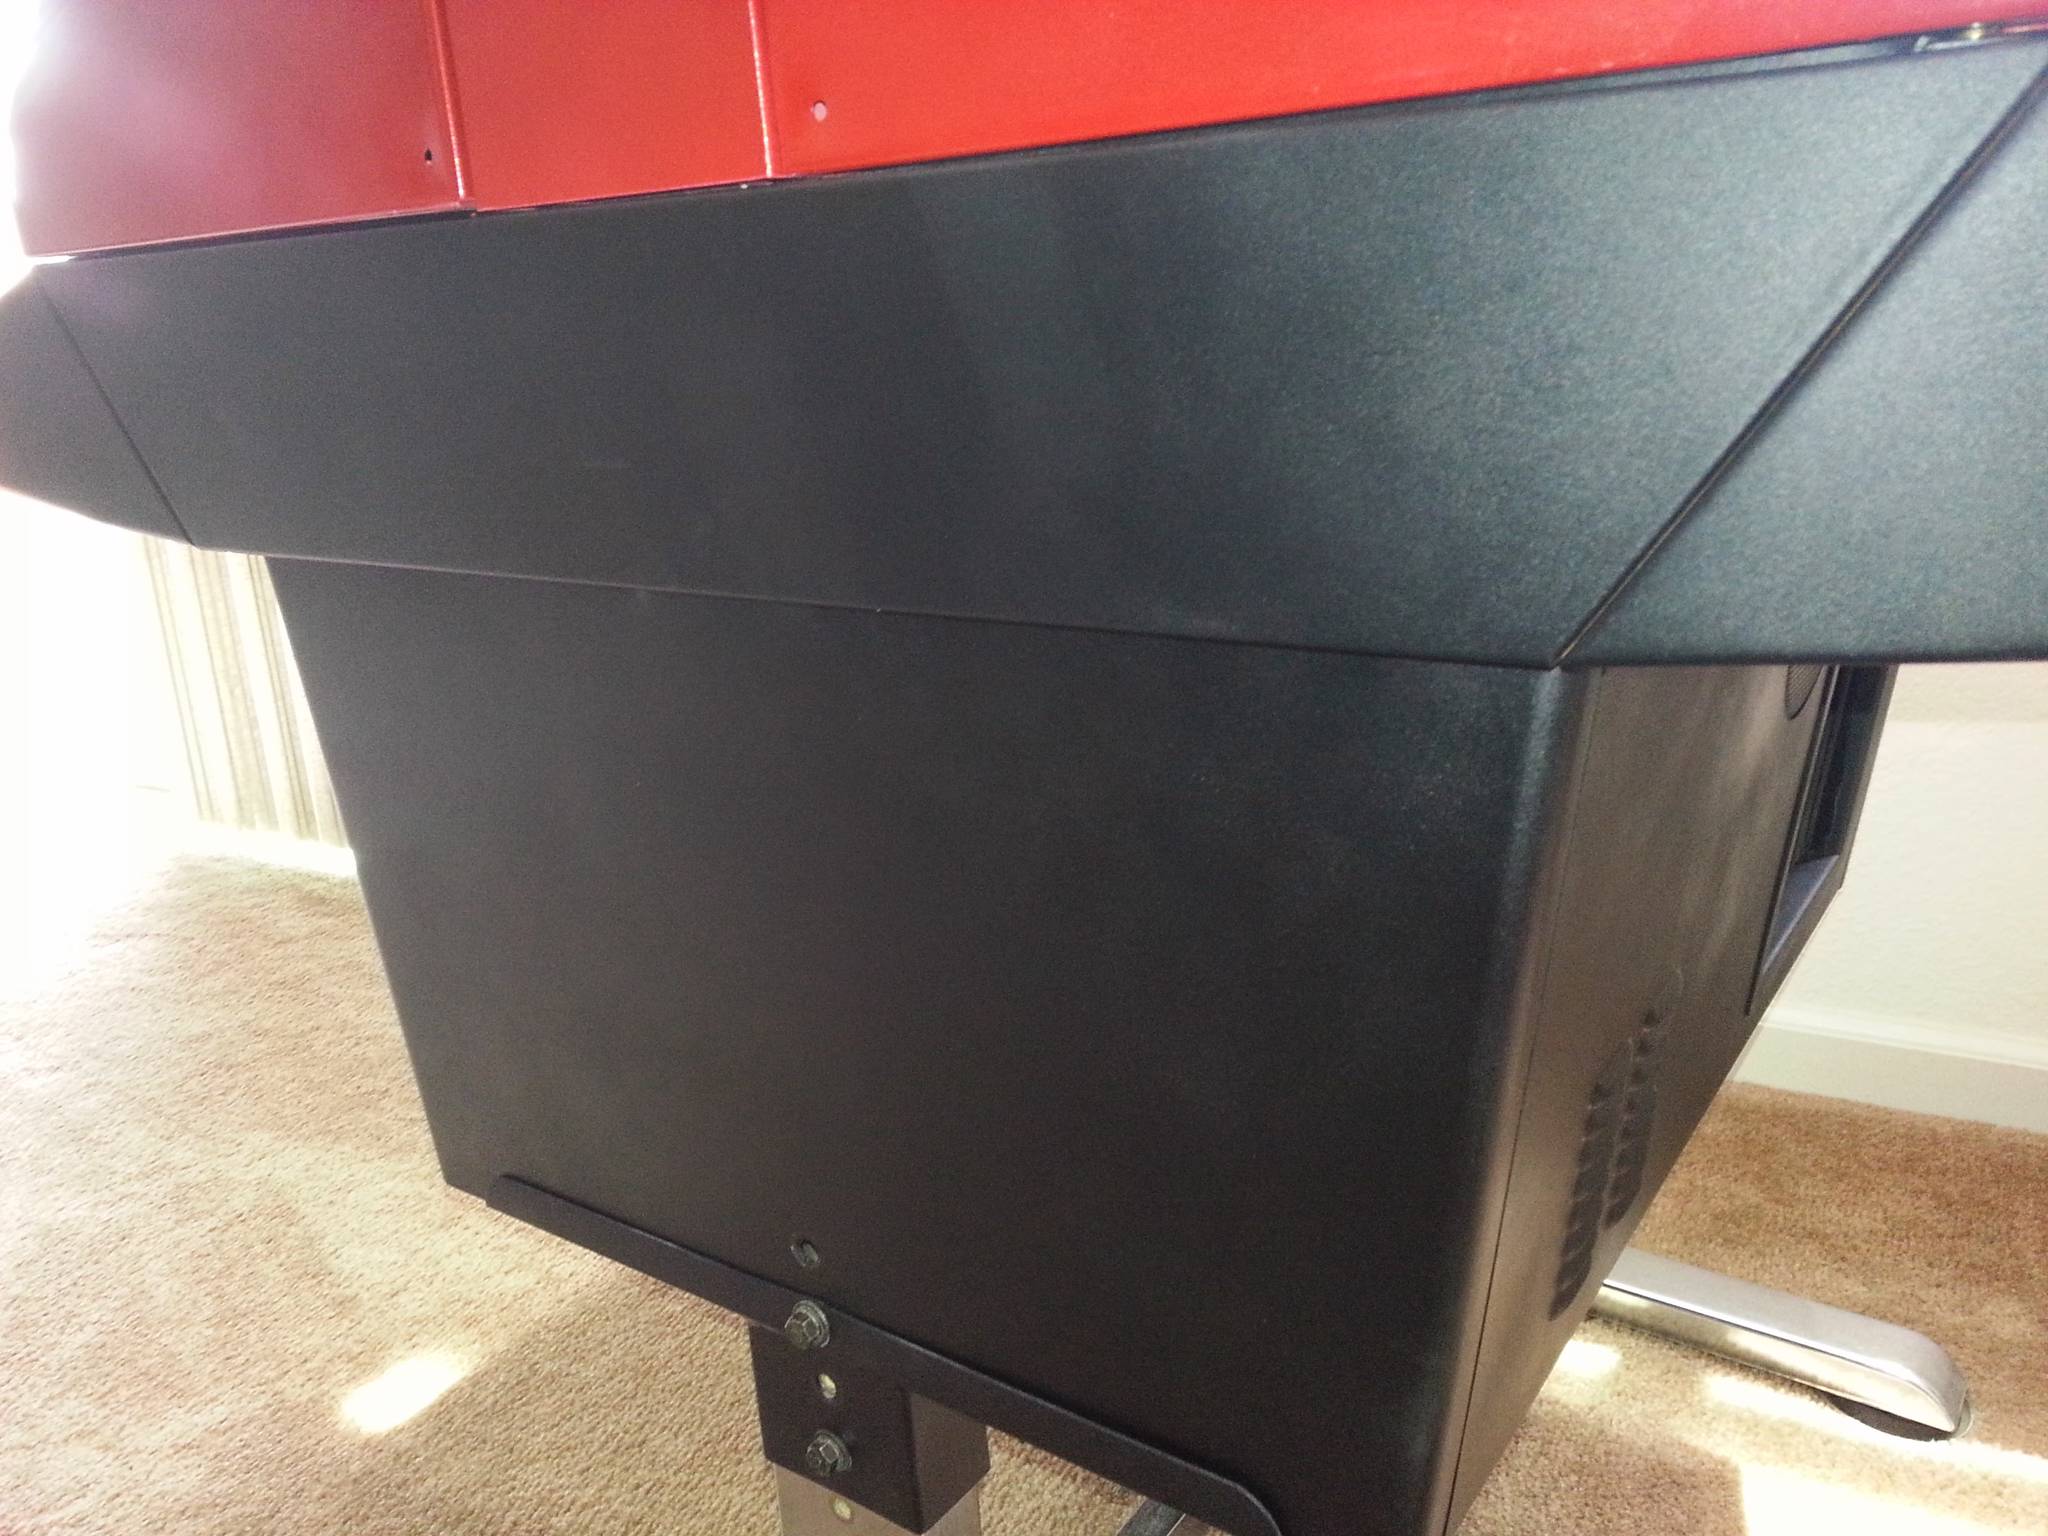
The cabinet exterior was in decent shape. There were some dents and scratches and a few rusted areas, but nothing serious. Unfortunately the inside was a different story; it had been stripped of the PCBs and power supply, and one of the monitors had a broken neck.
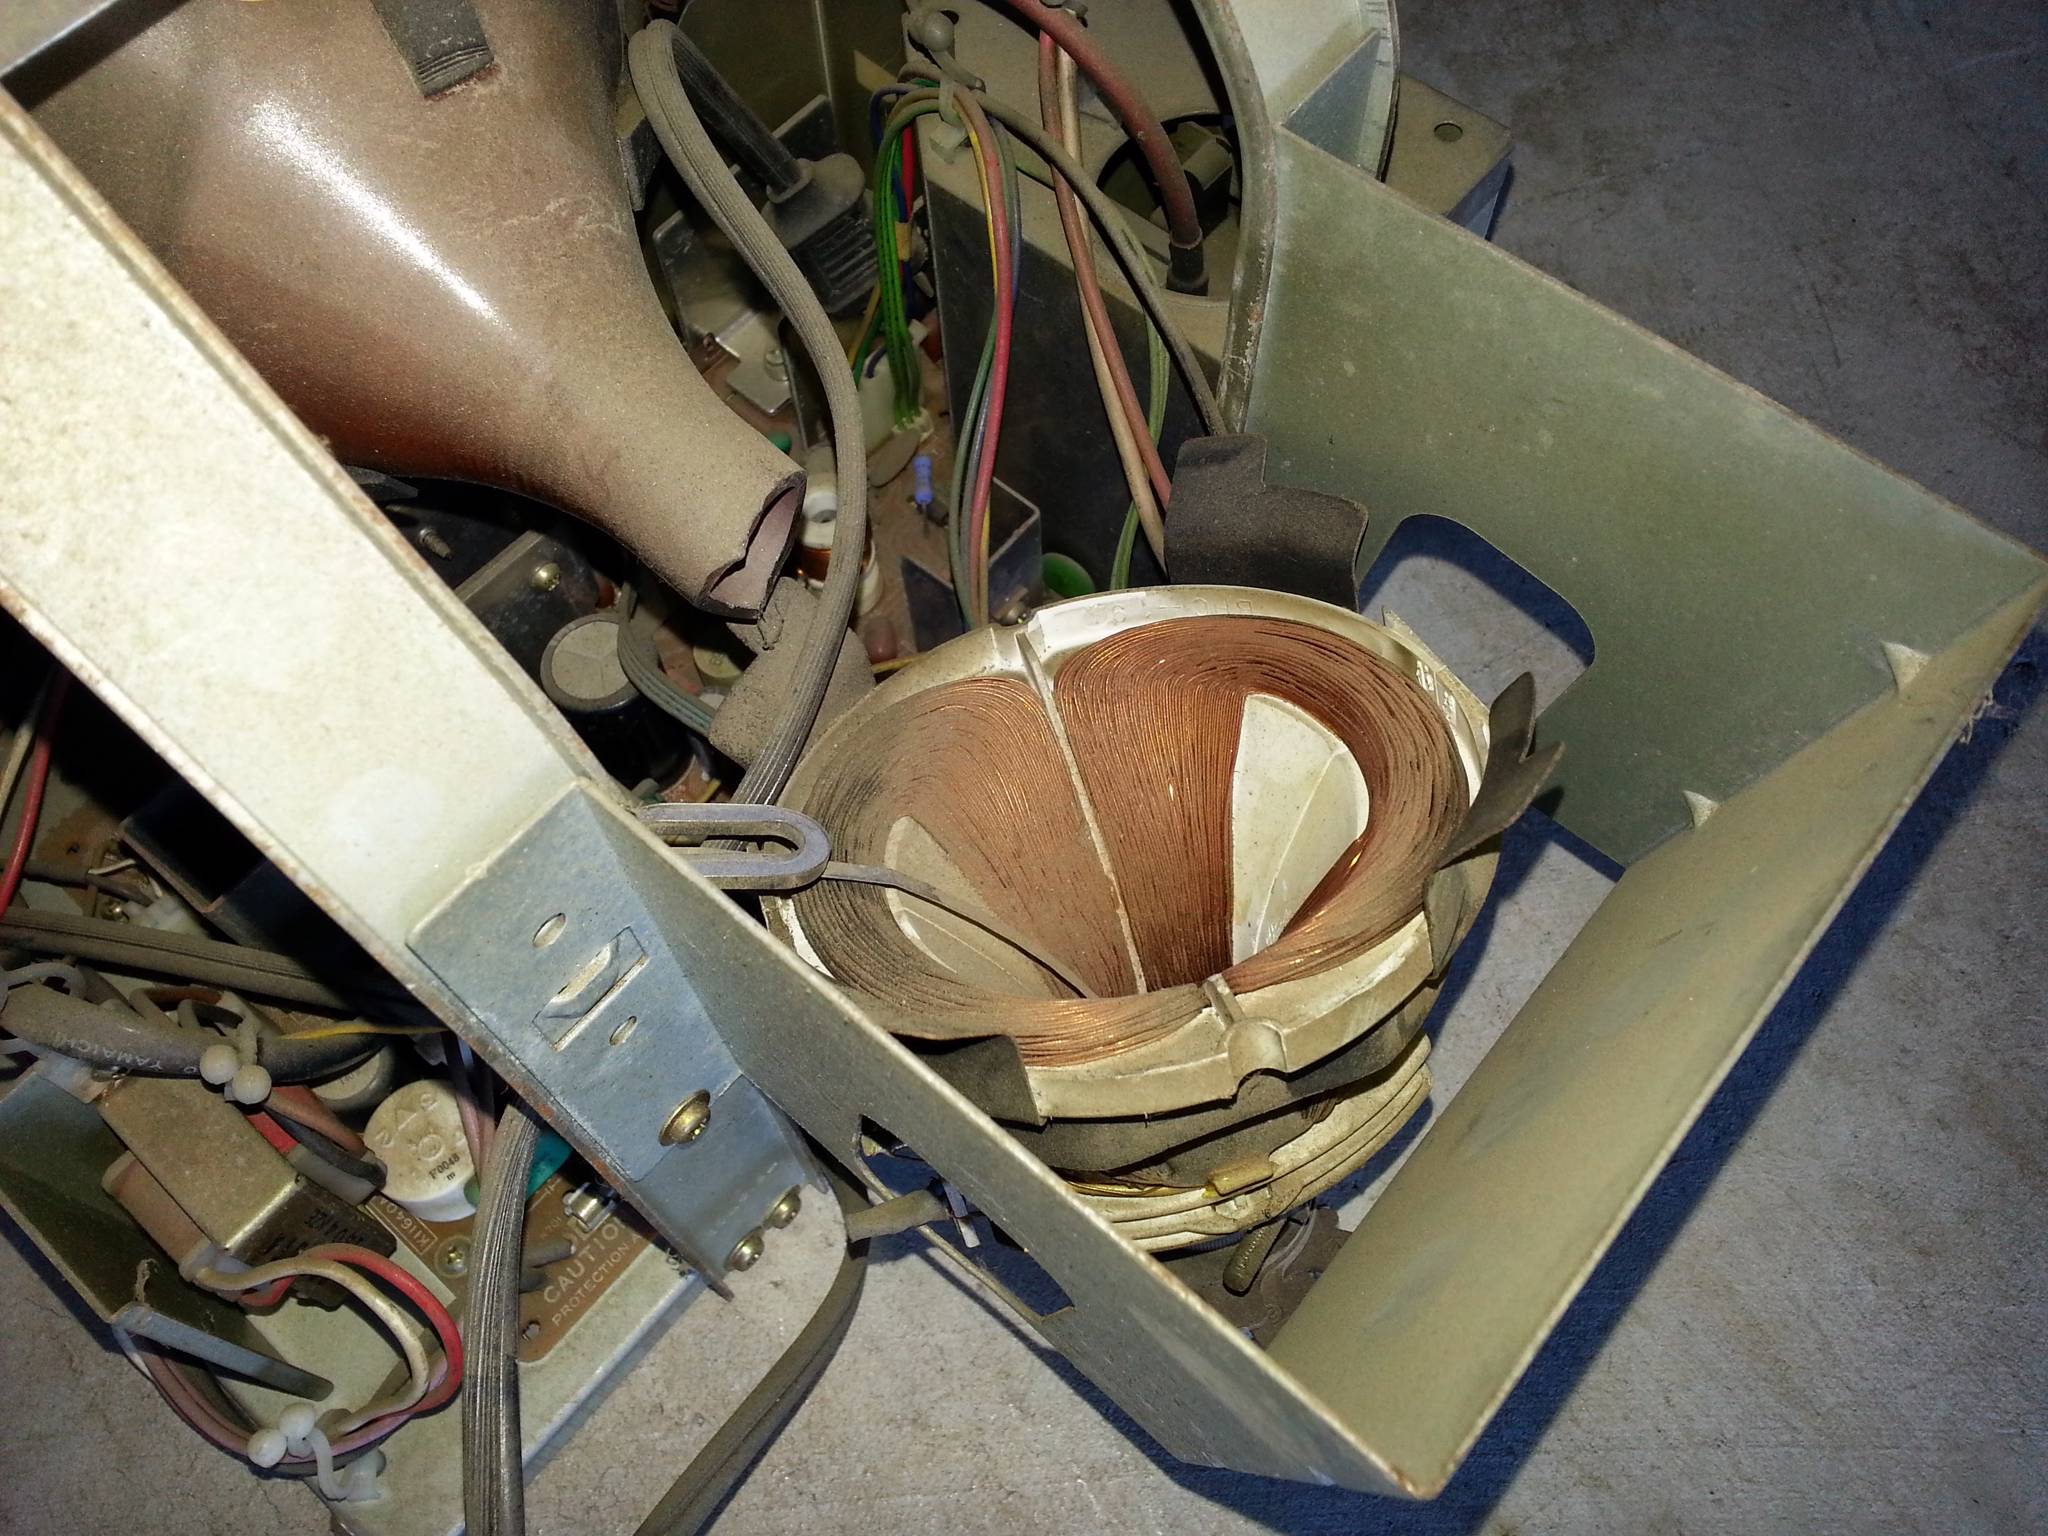
Since the CRT monitors for this cabinet are hard to find, I decided to give away the good one to a member of the KLOV forums forums rather than try to hunt down a second for my machine. Instead of CRTs I decided to use LCDs.
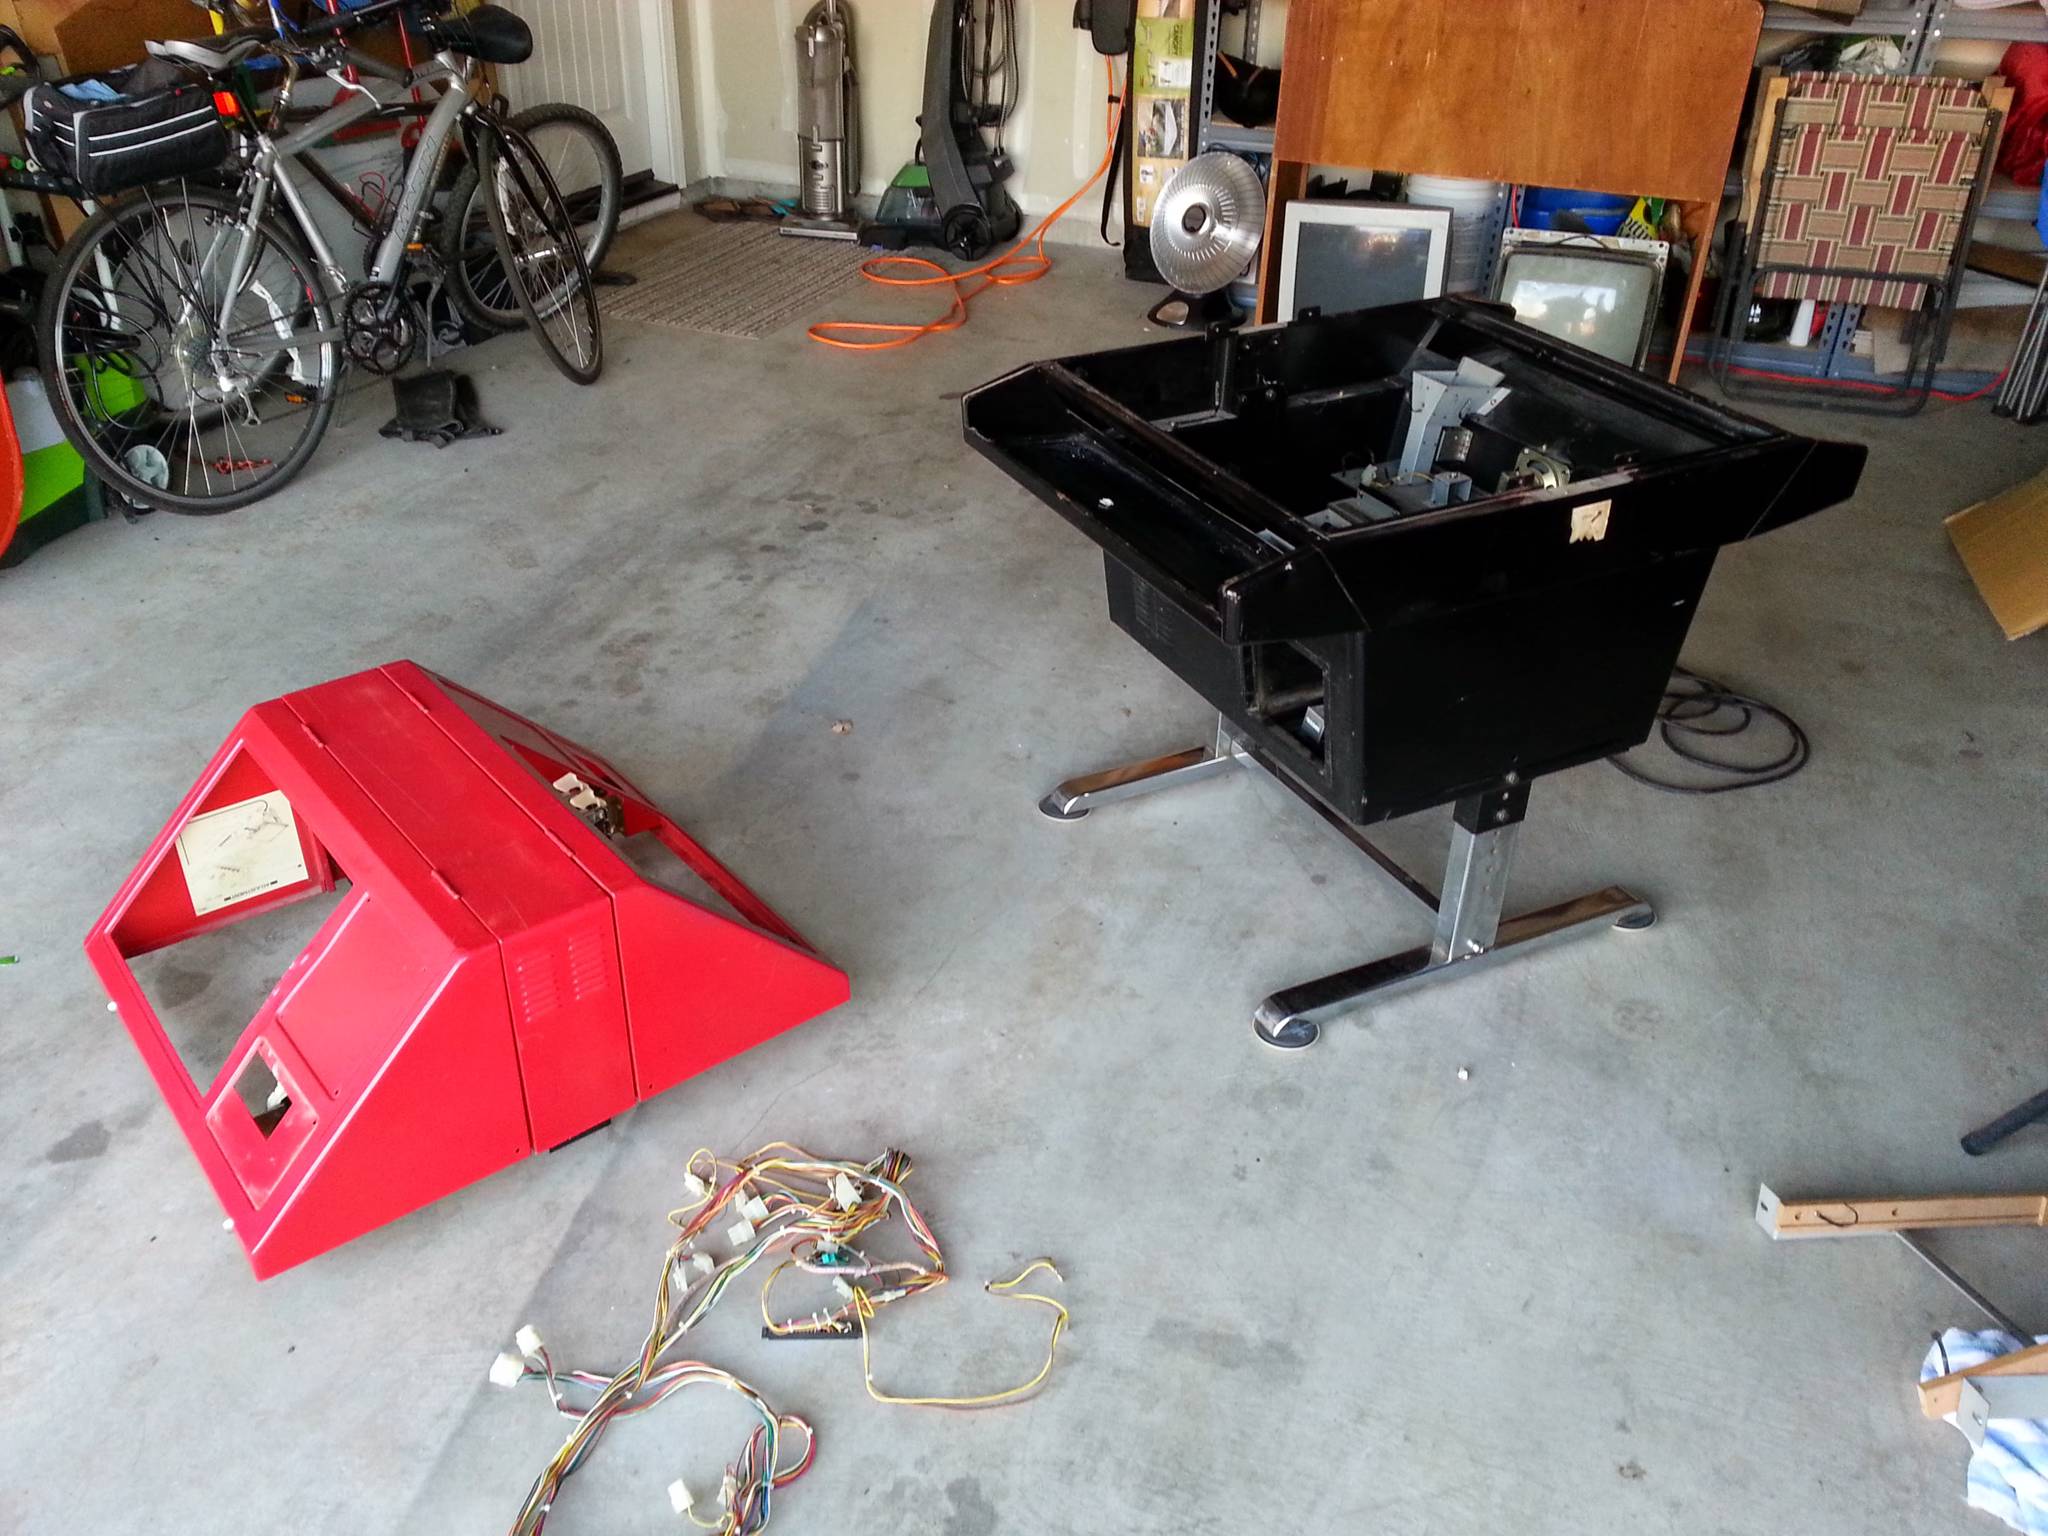
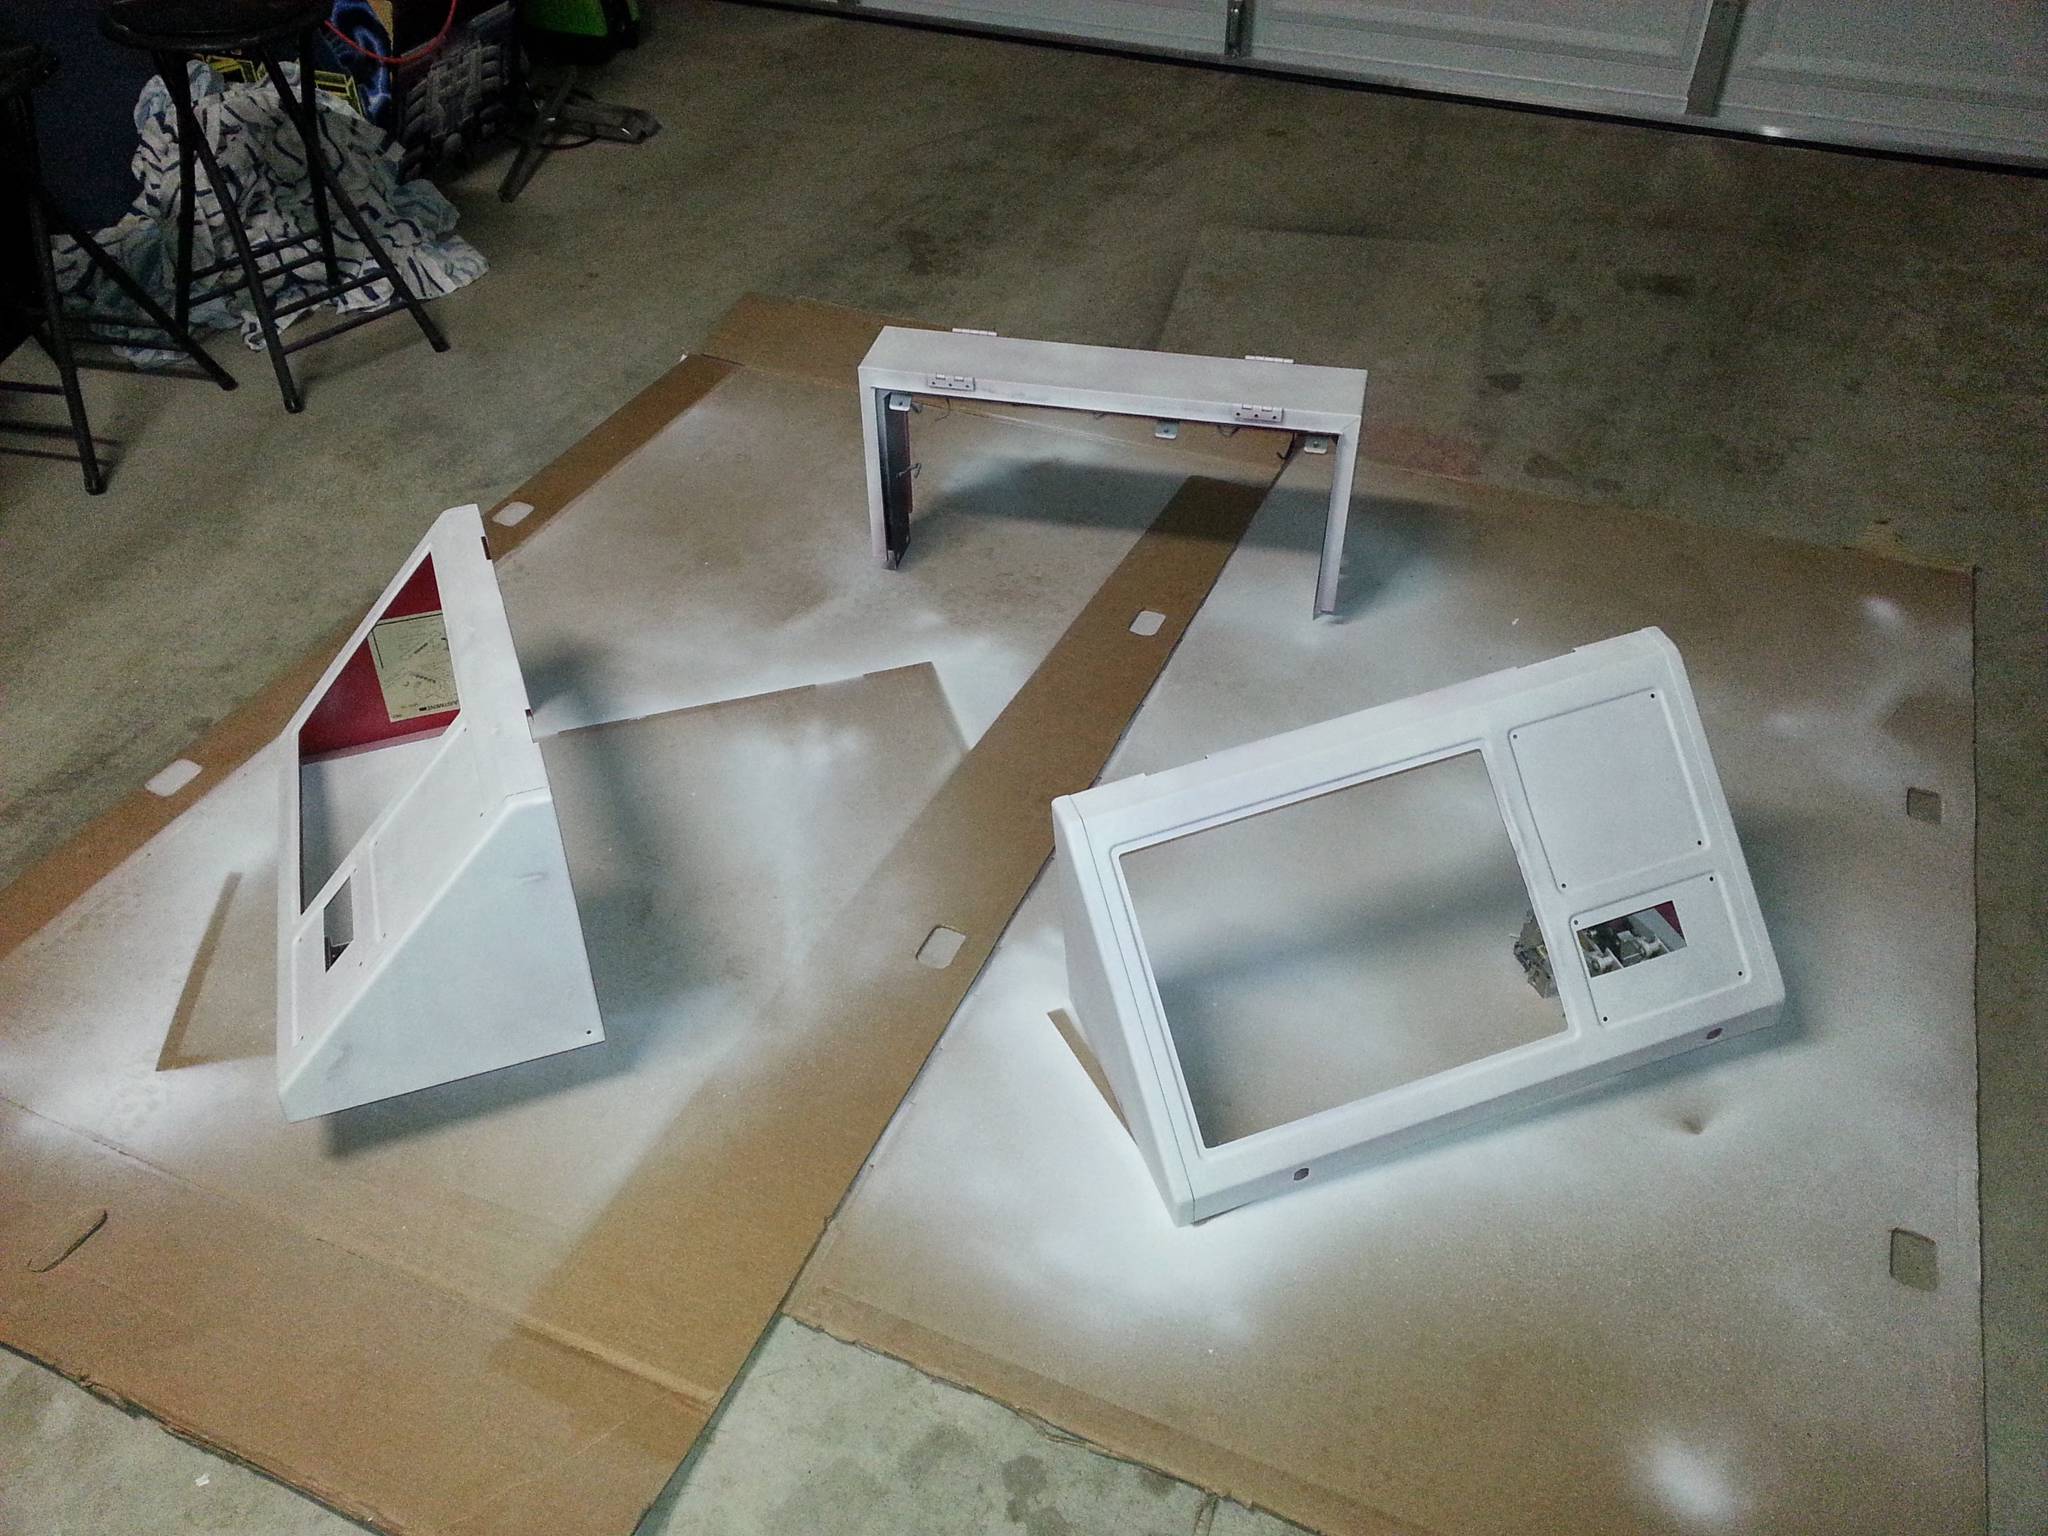
Sanding and Painting
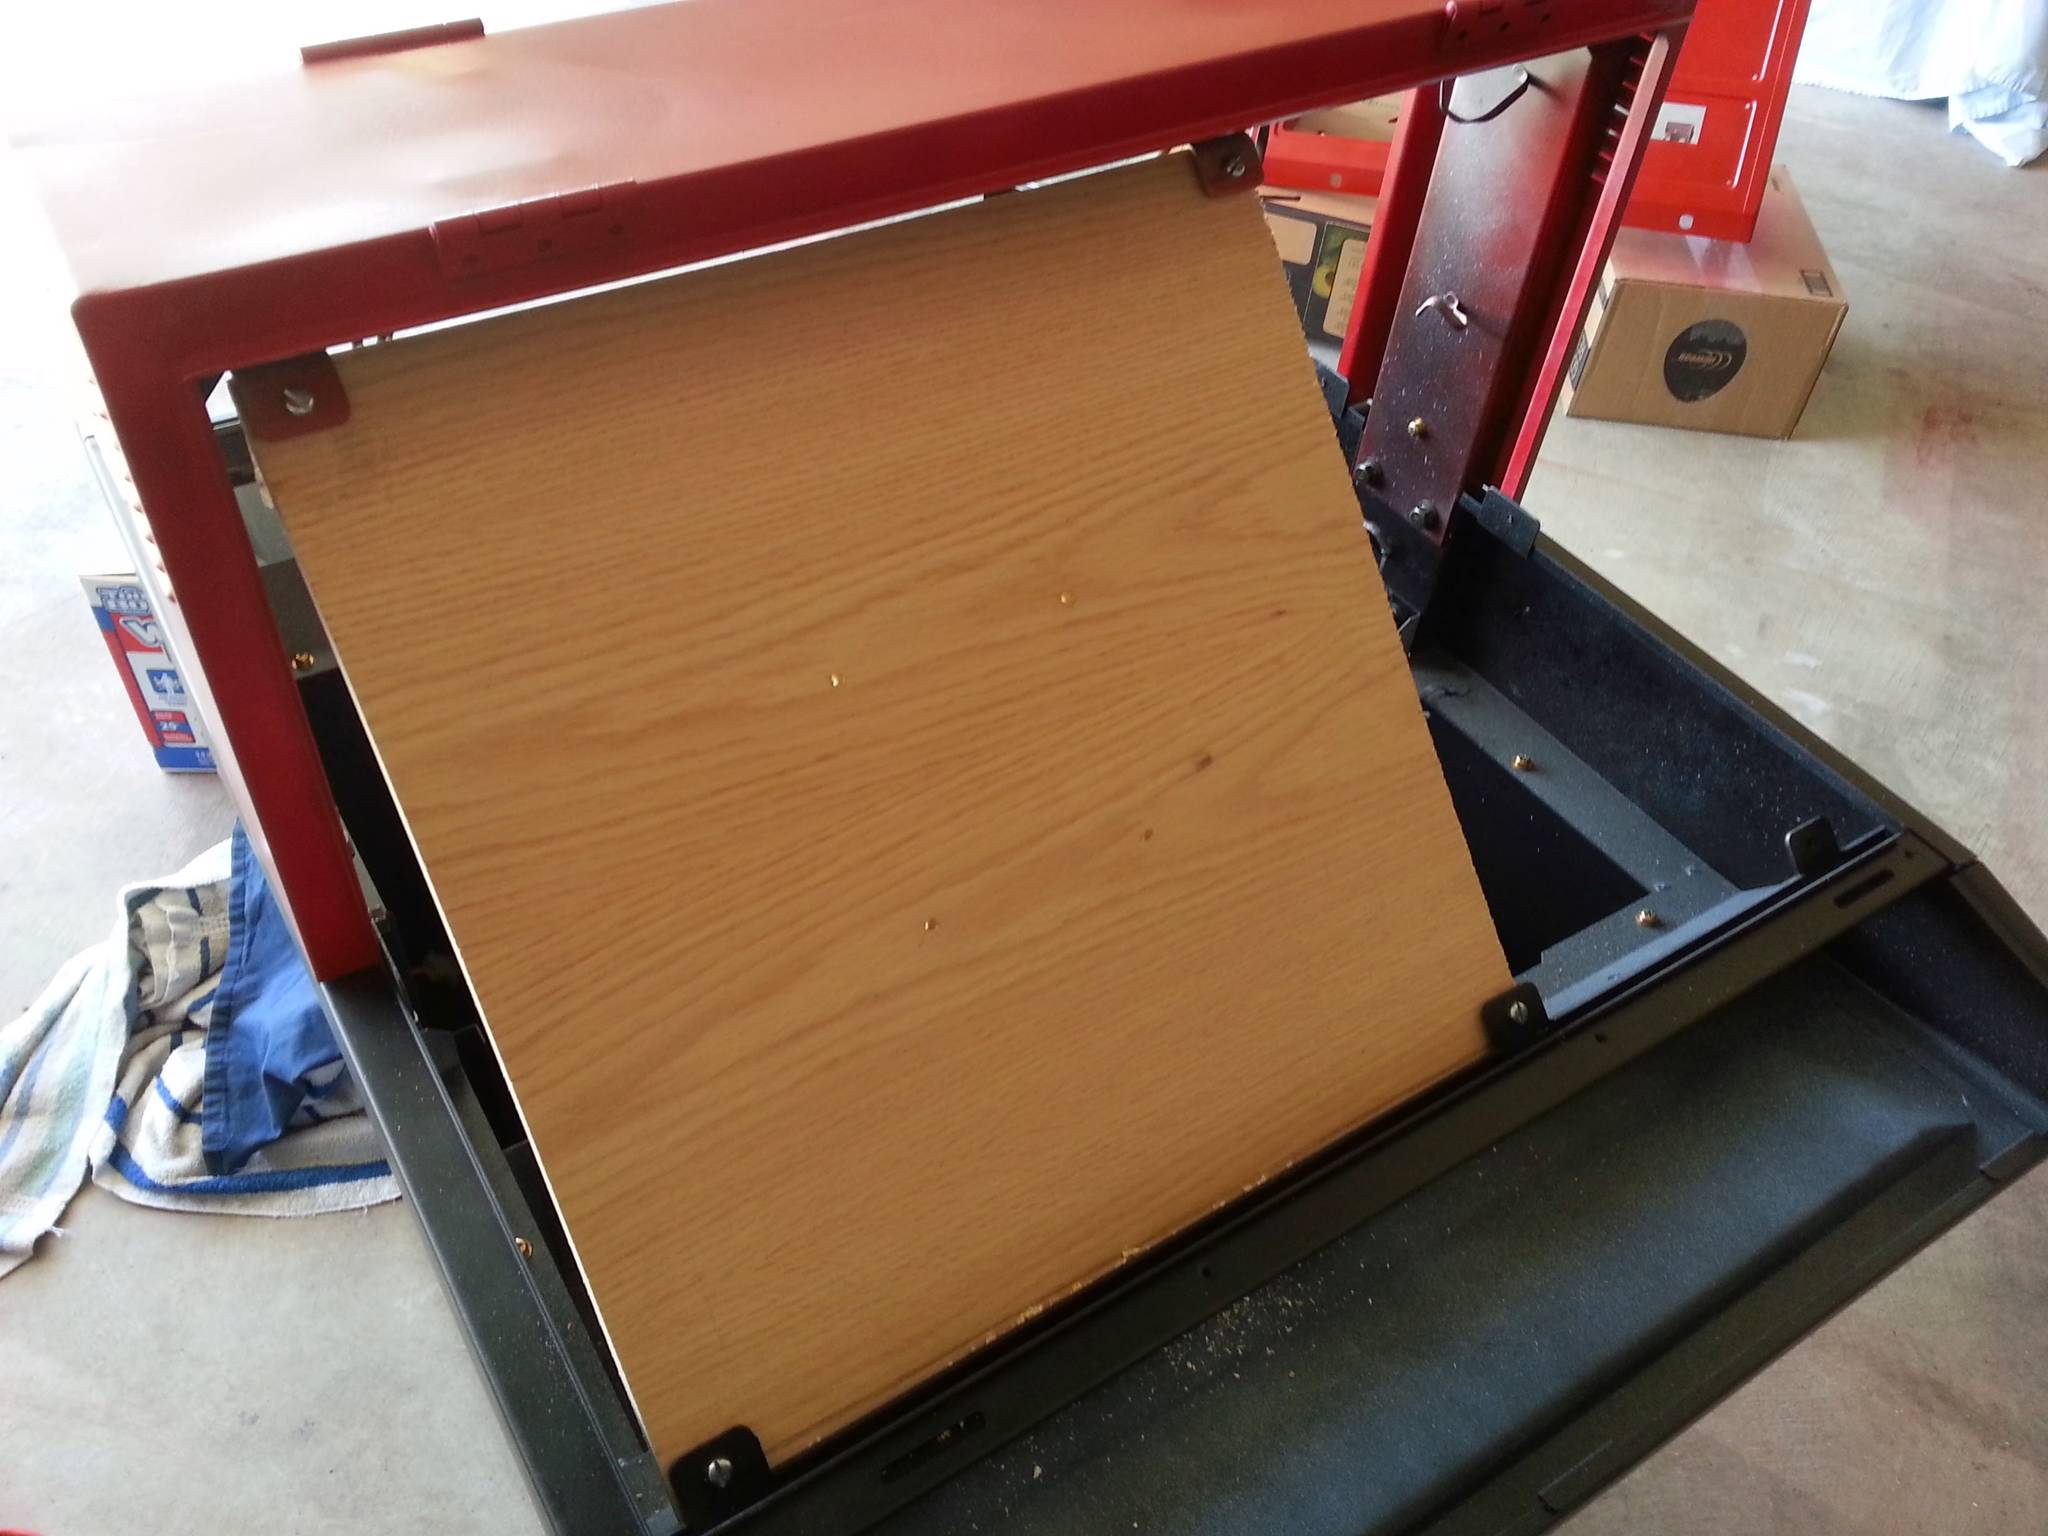
After removing the monitors, I disassembled the cabinet itself in preparation for sanding and painting.

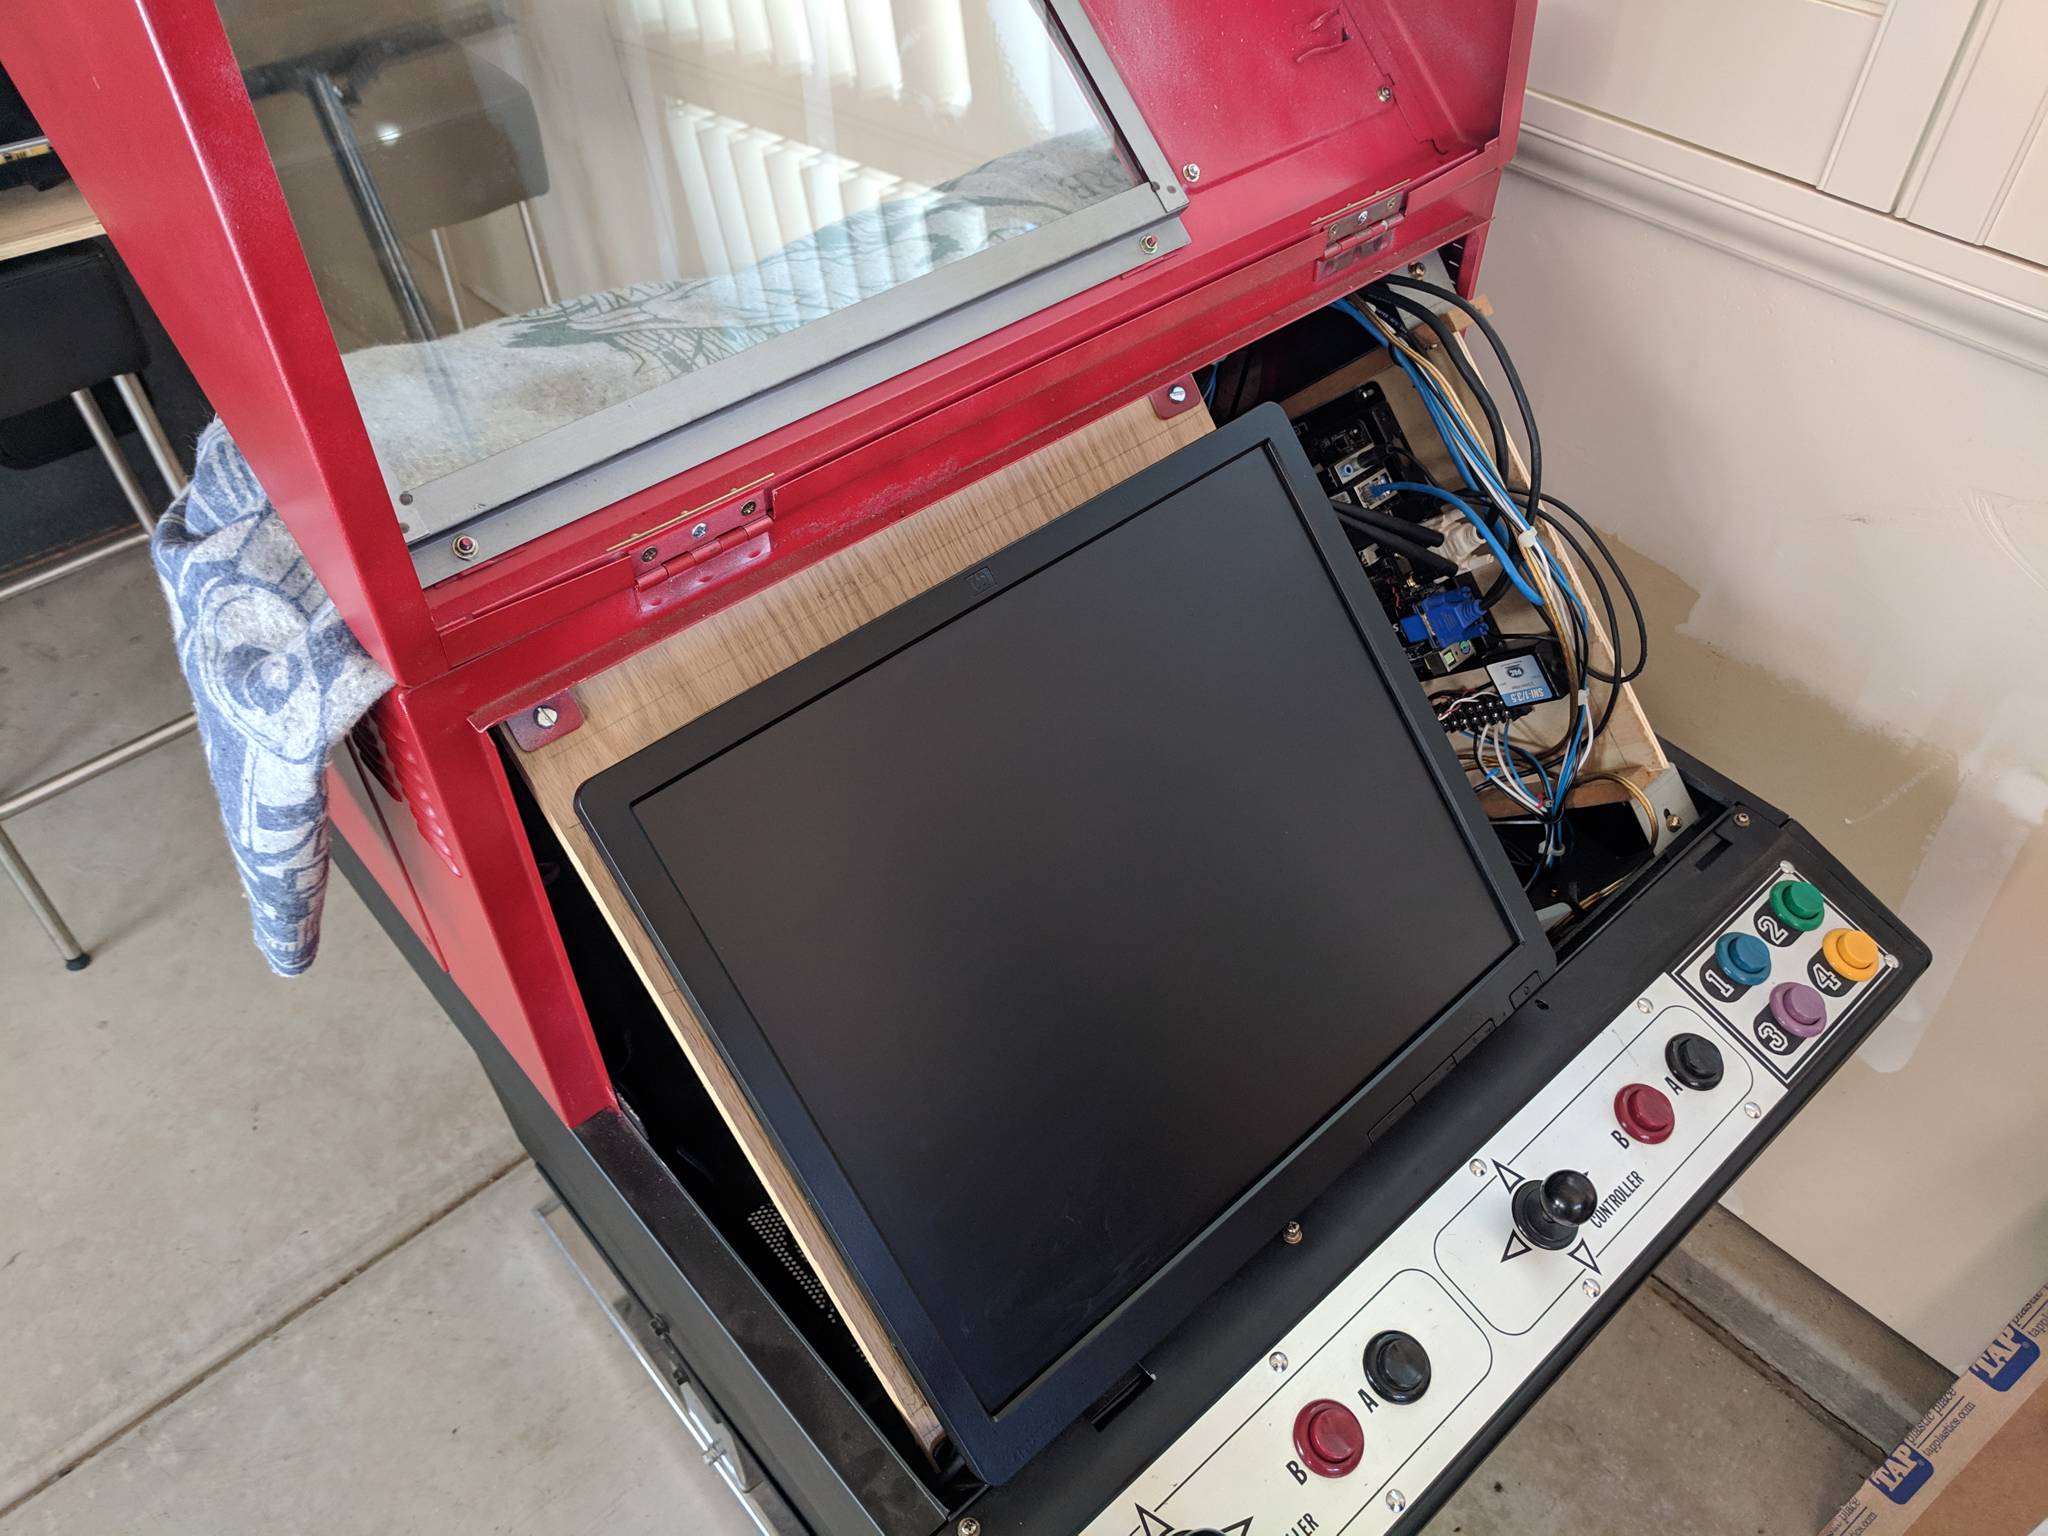
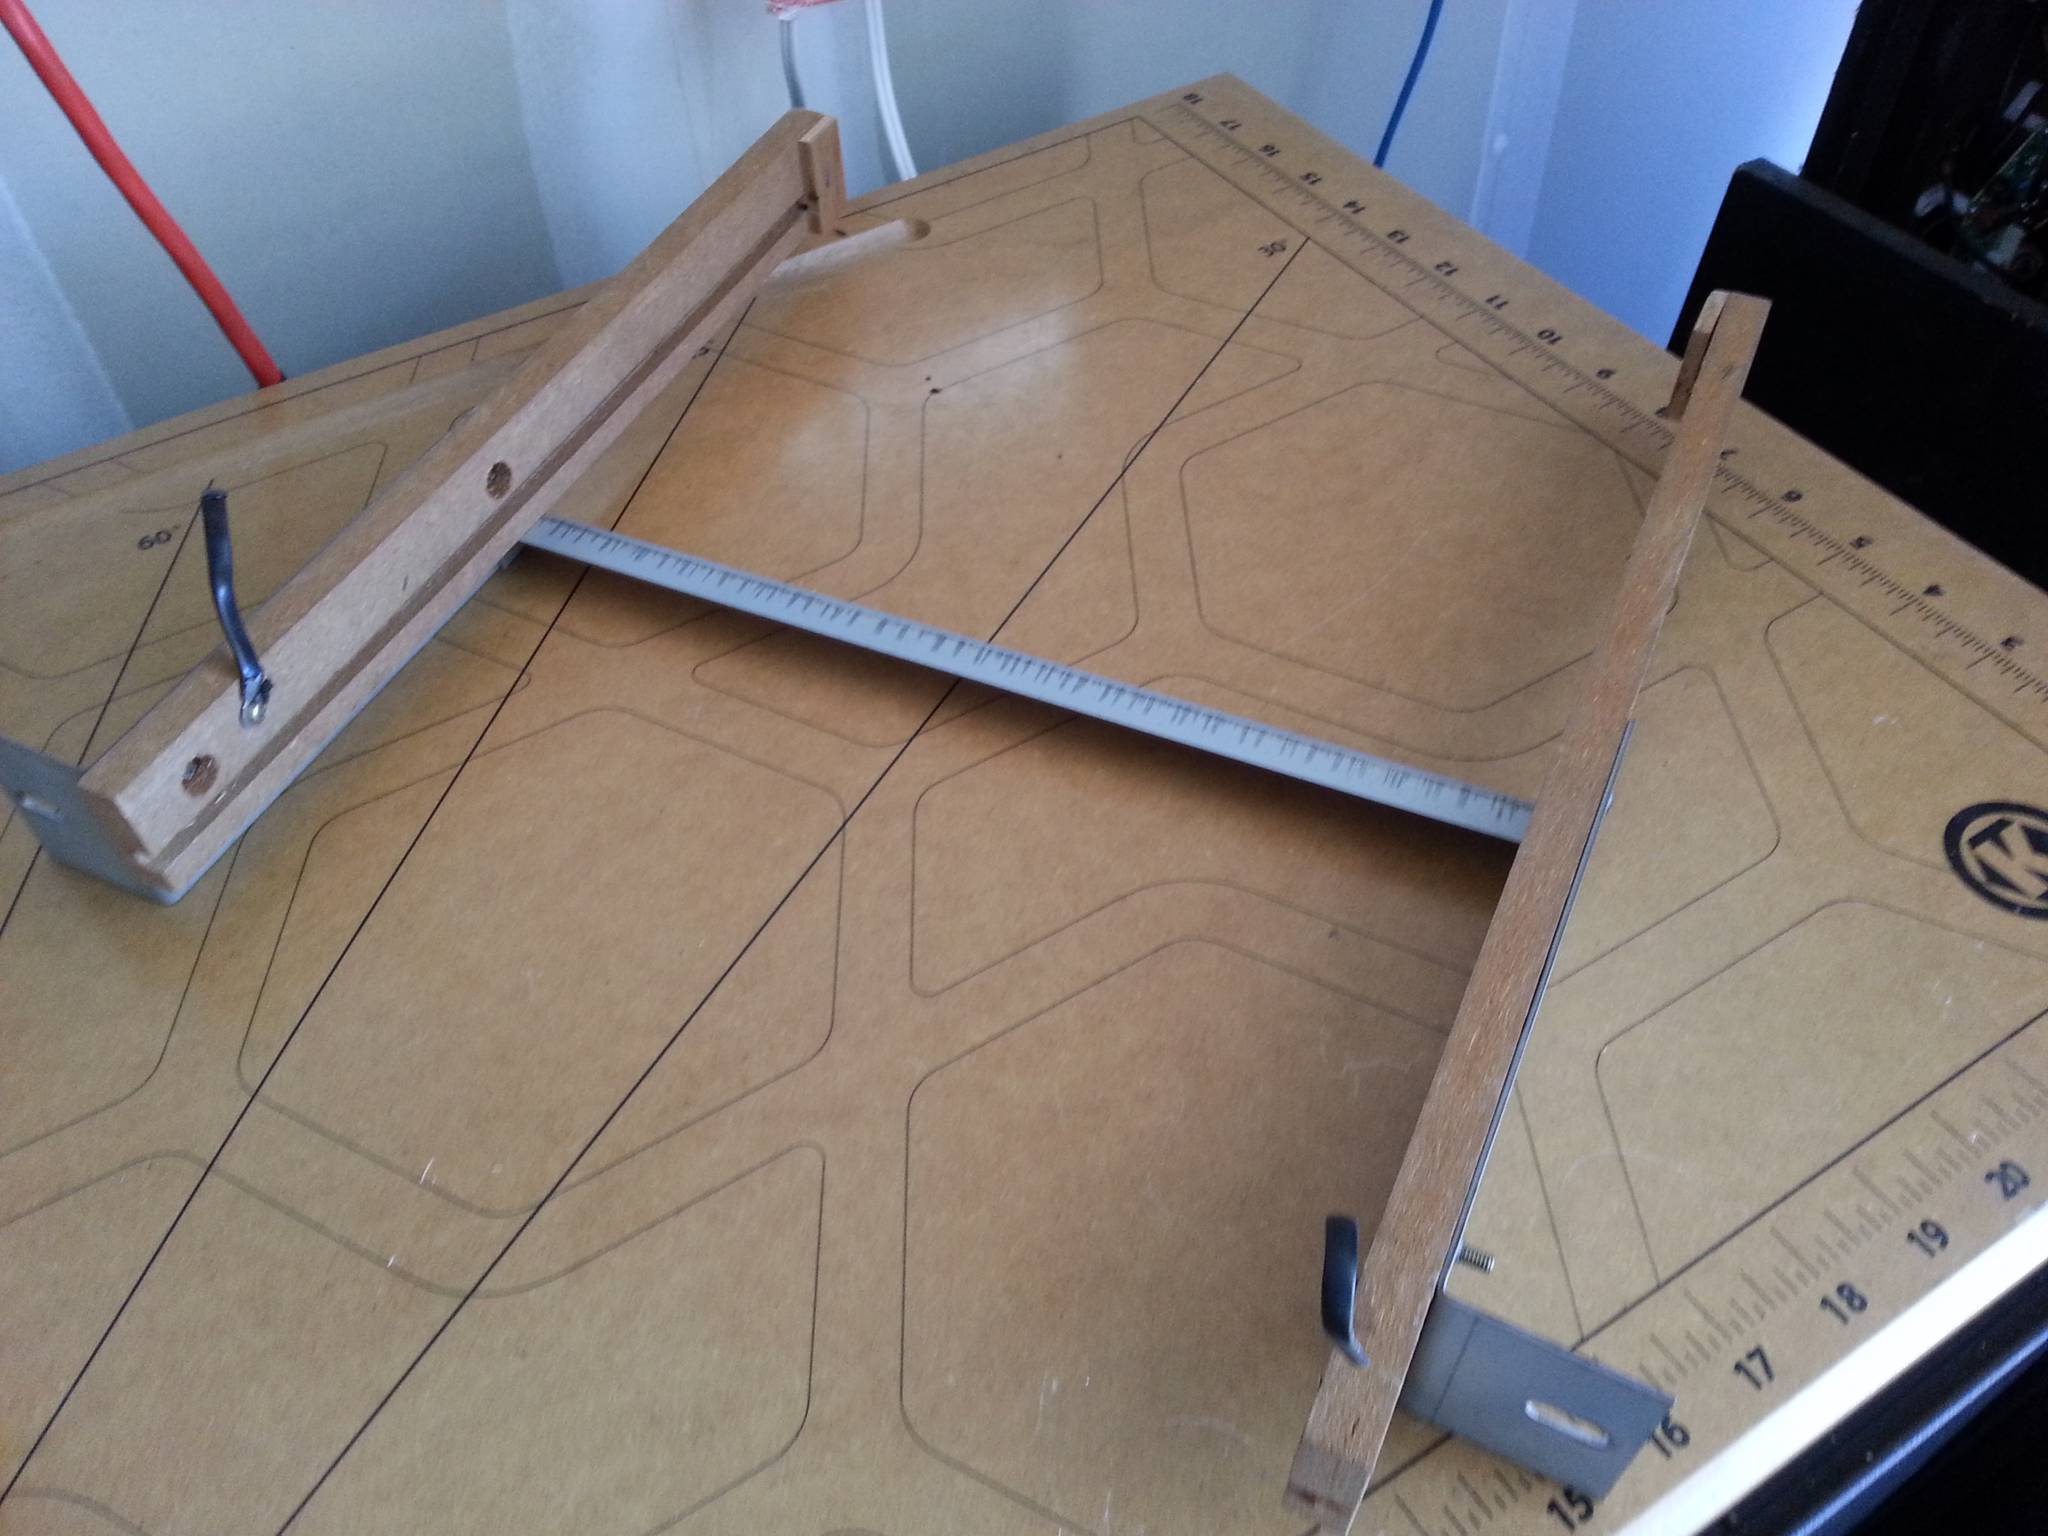
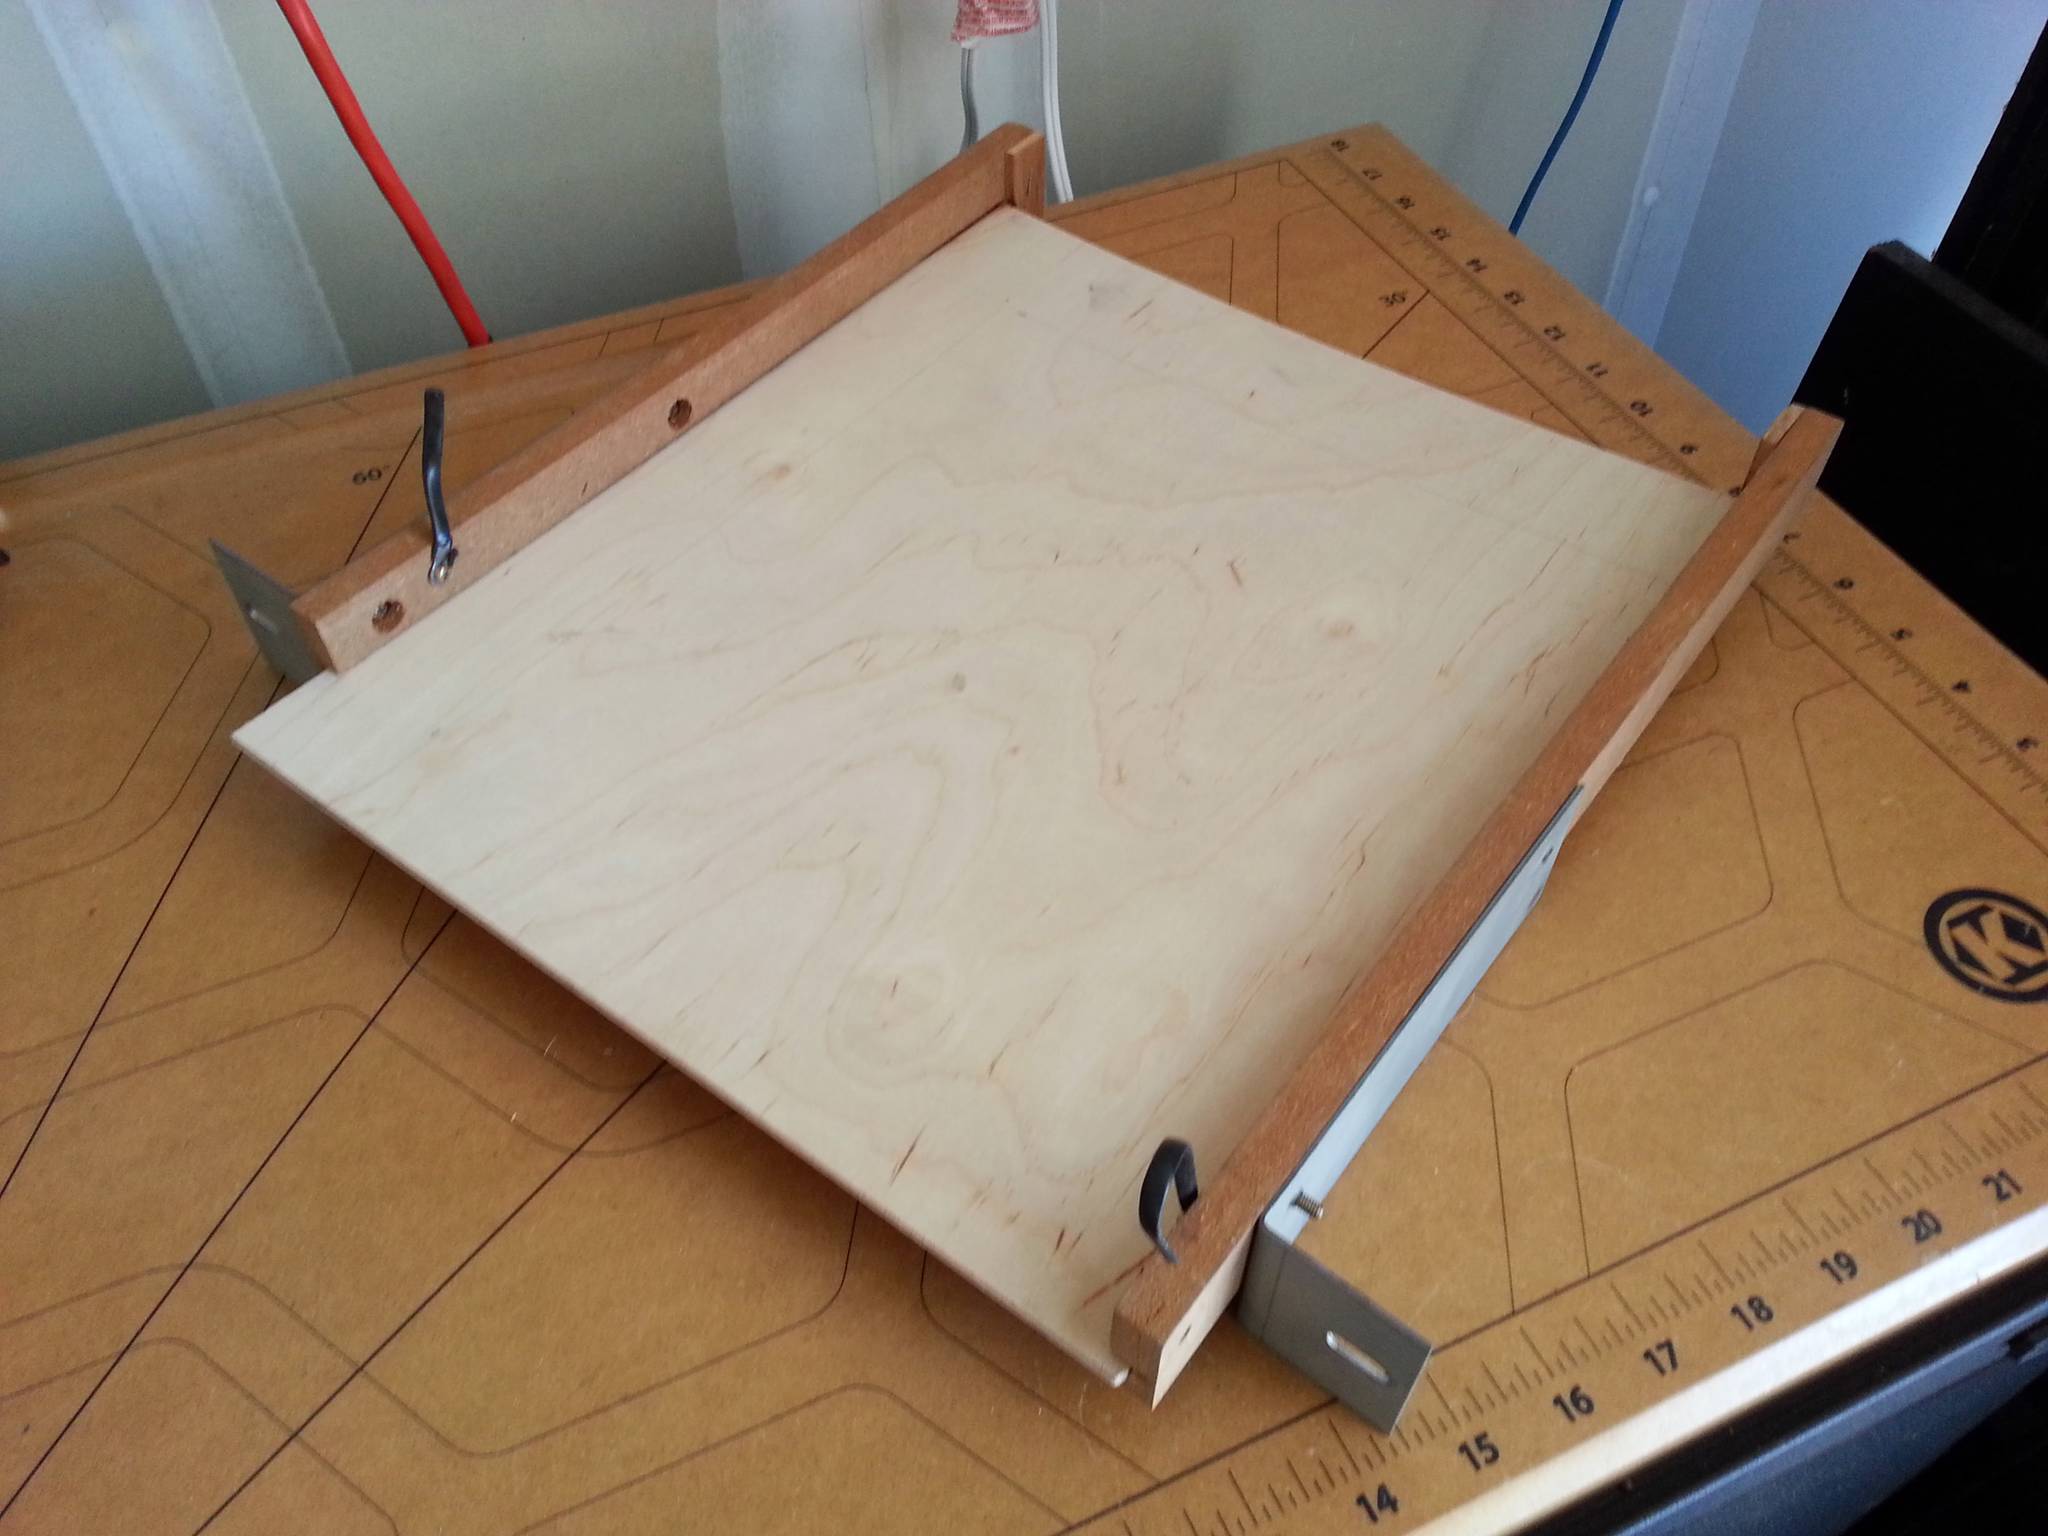
Mounting Screens
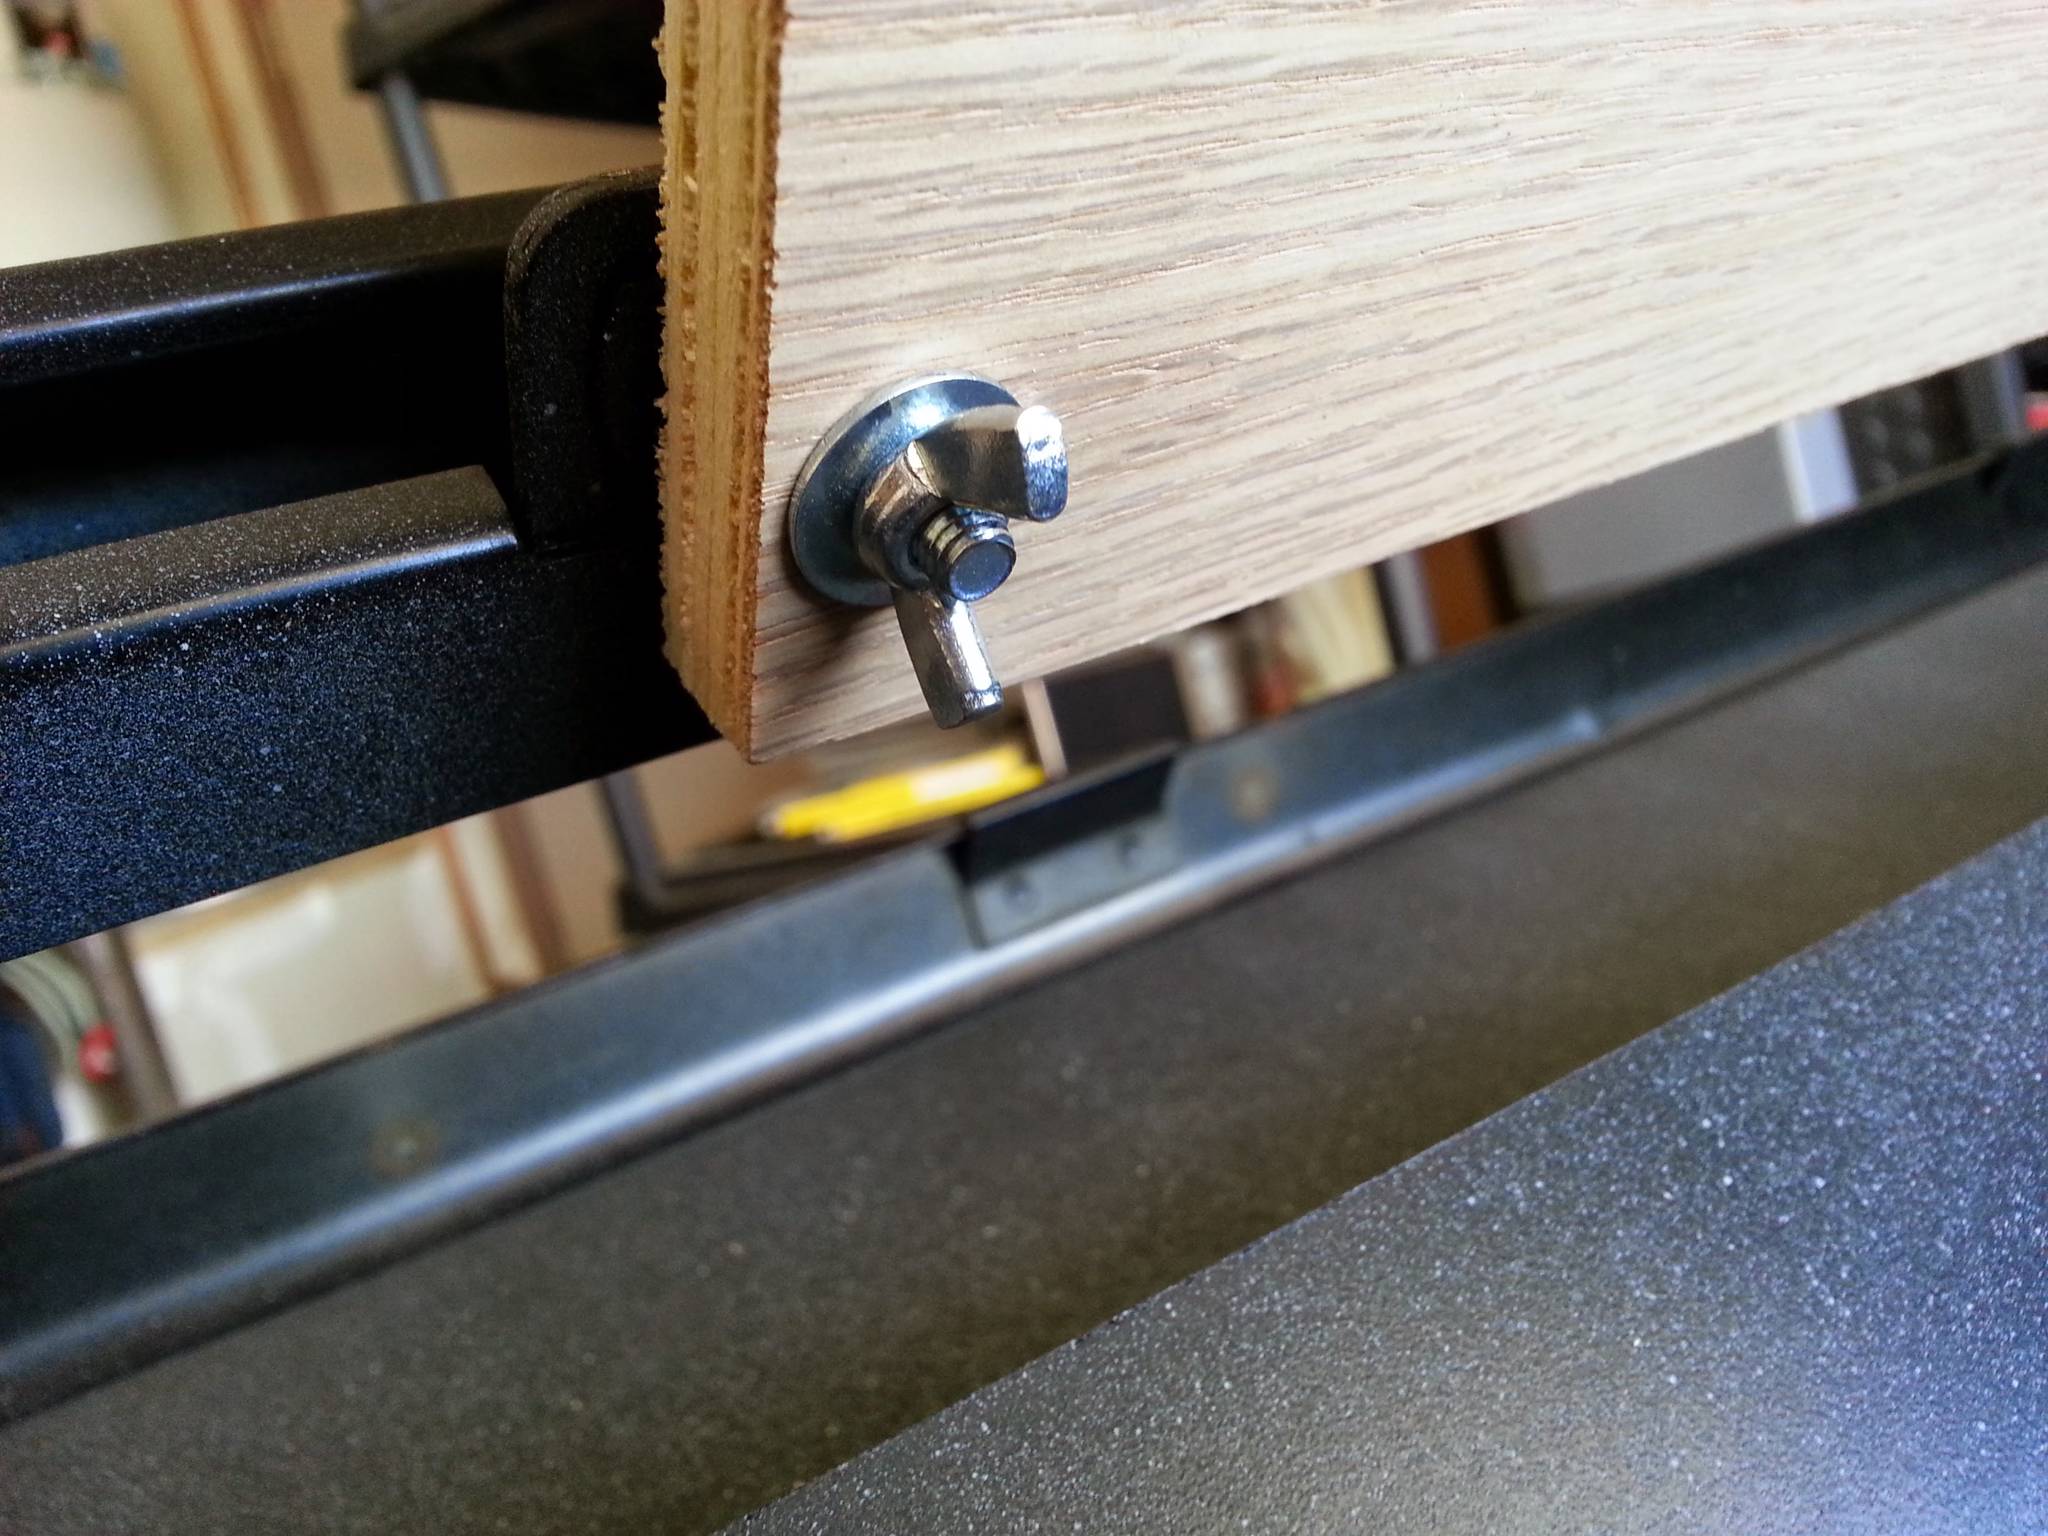
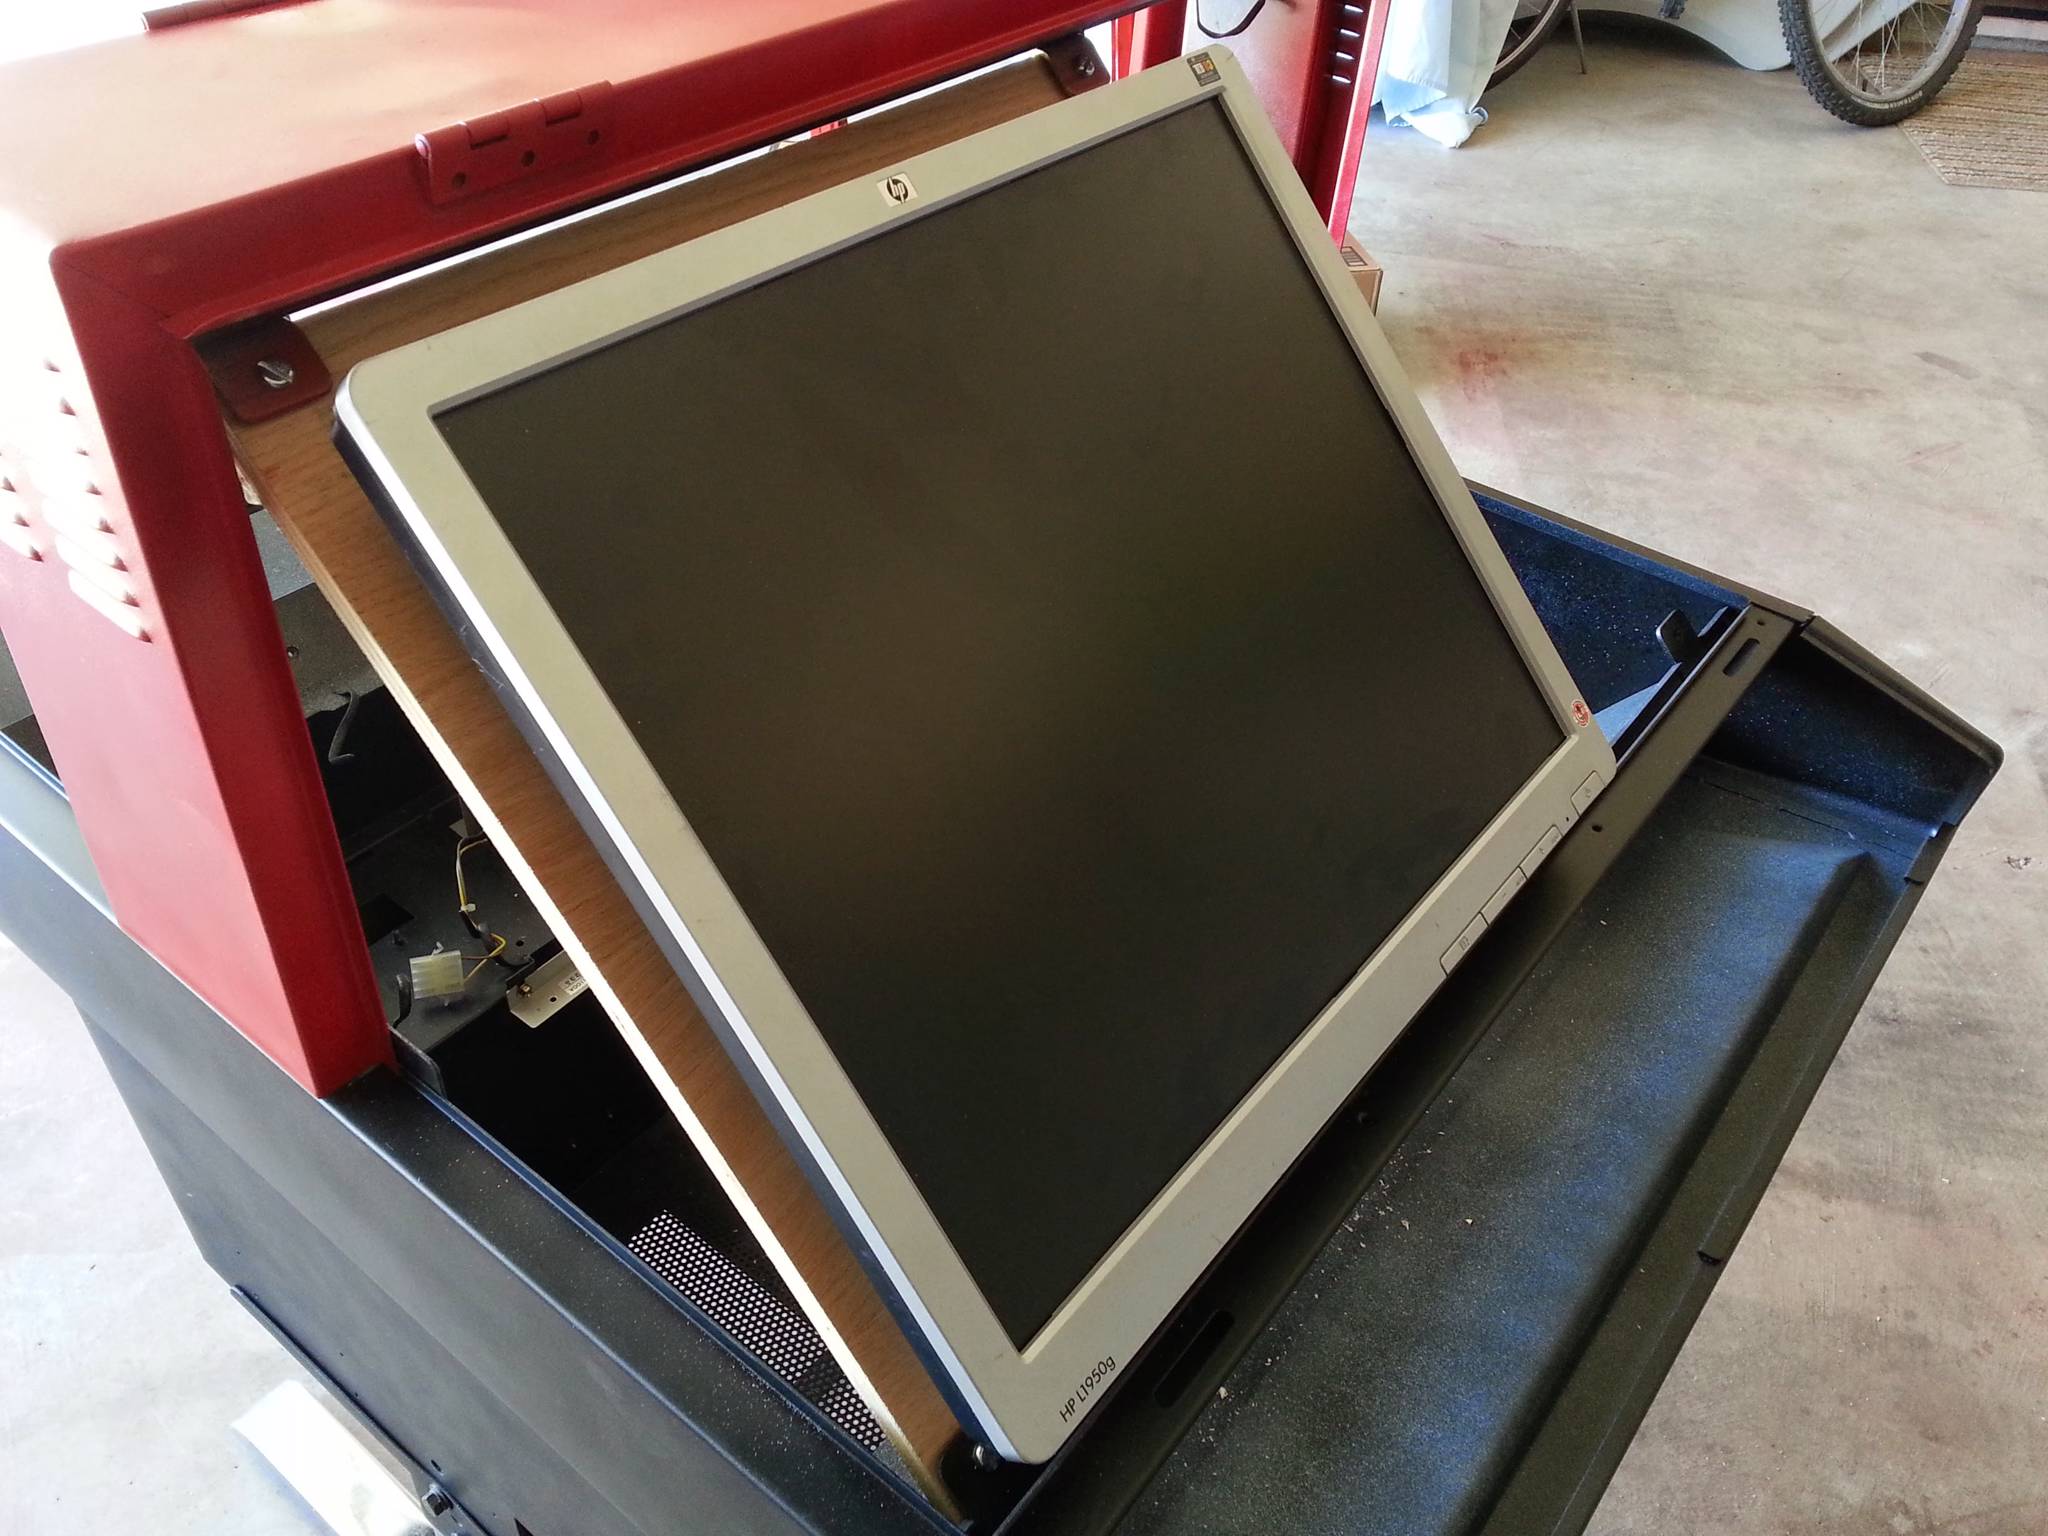
I replaced the CRTs with VESA mount LCDs. This required creating mounts for each monitor that fit where the CRTs used to go.

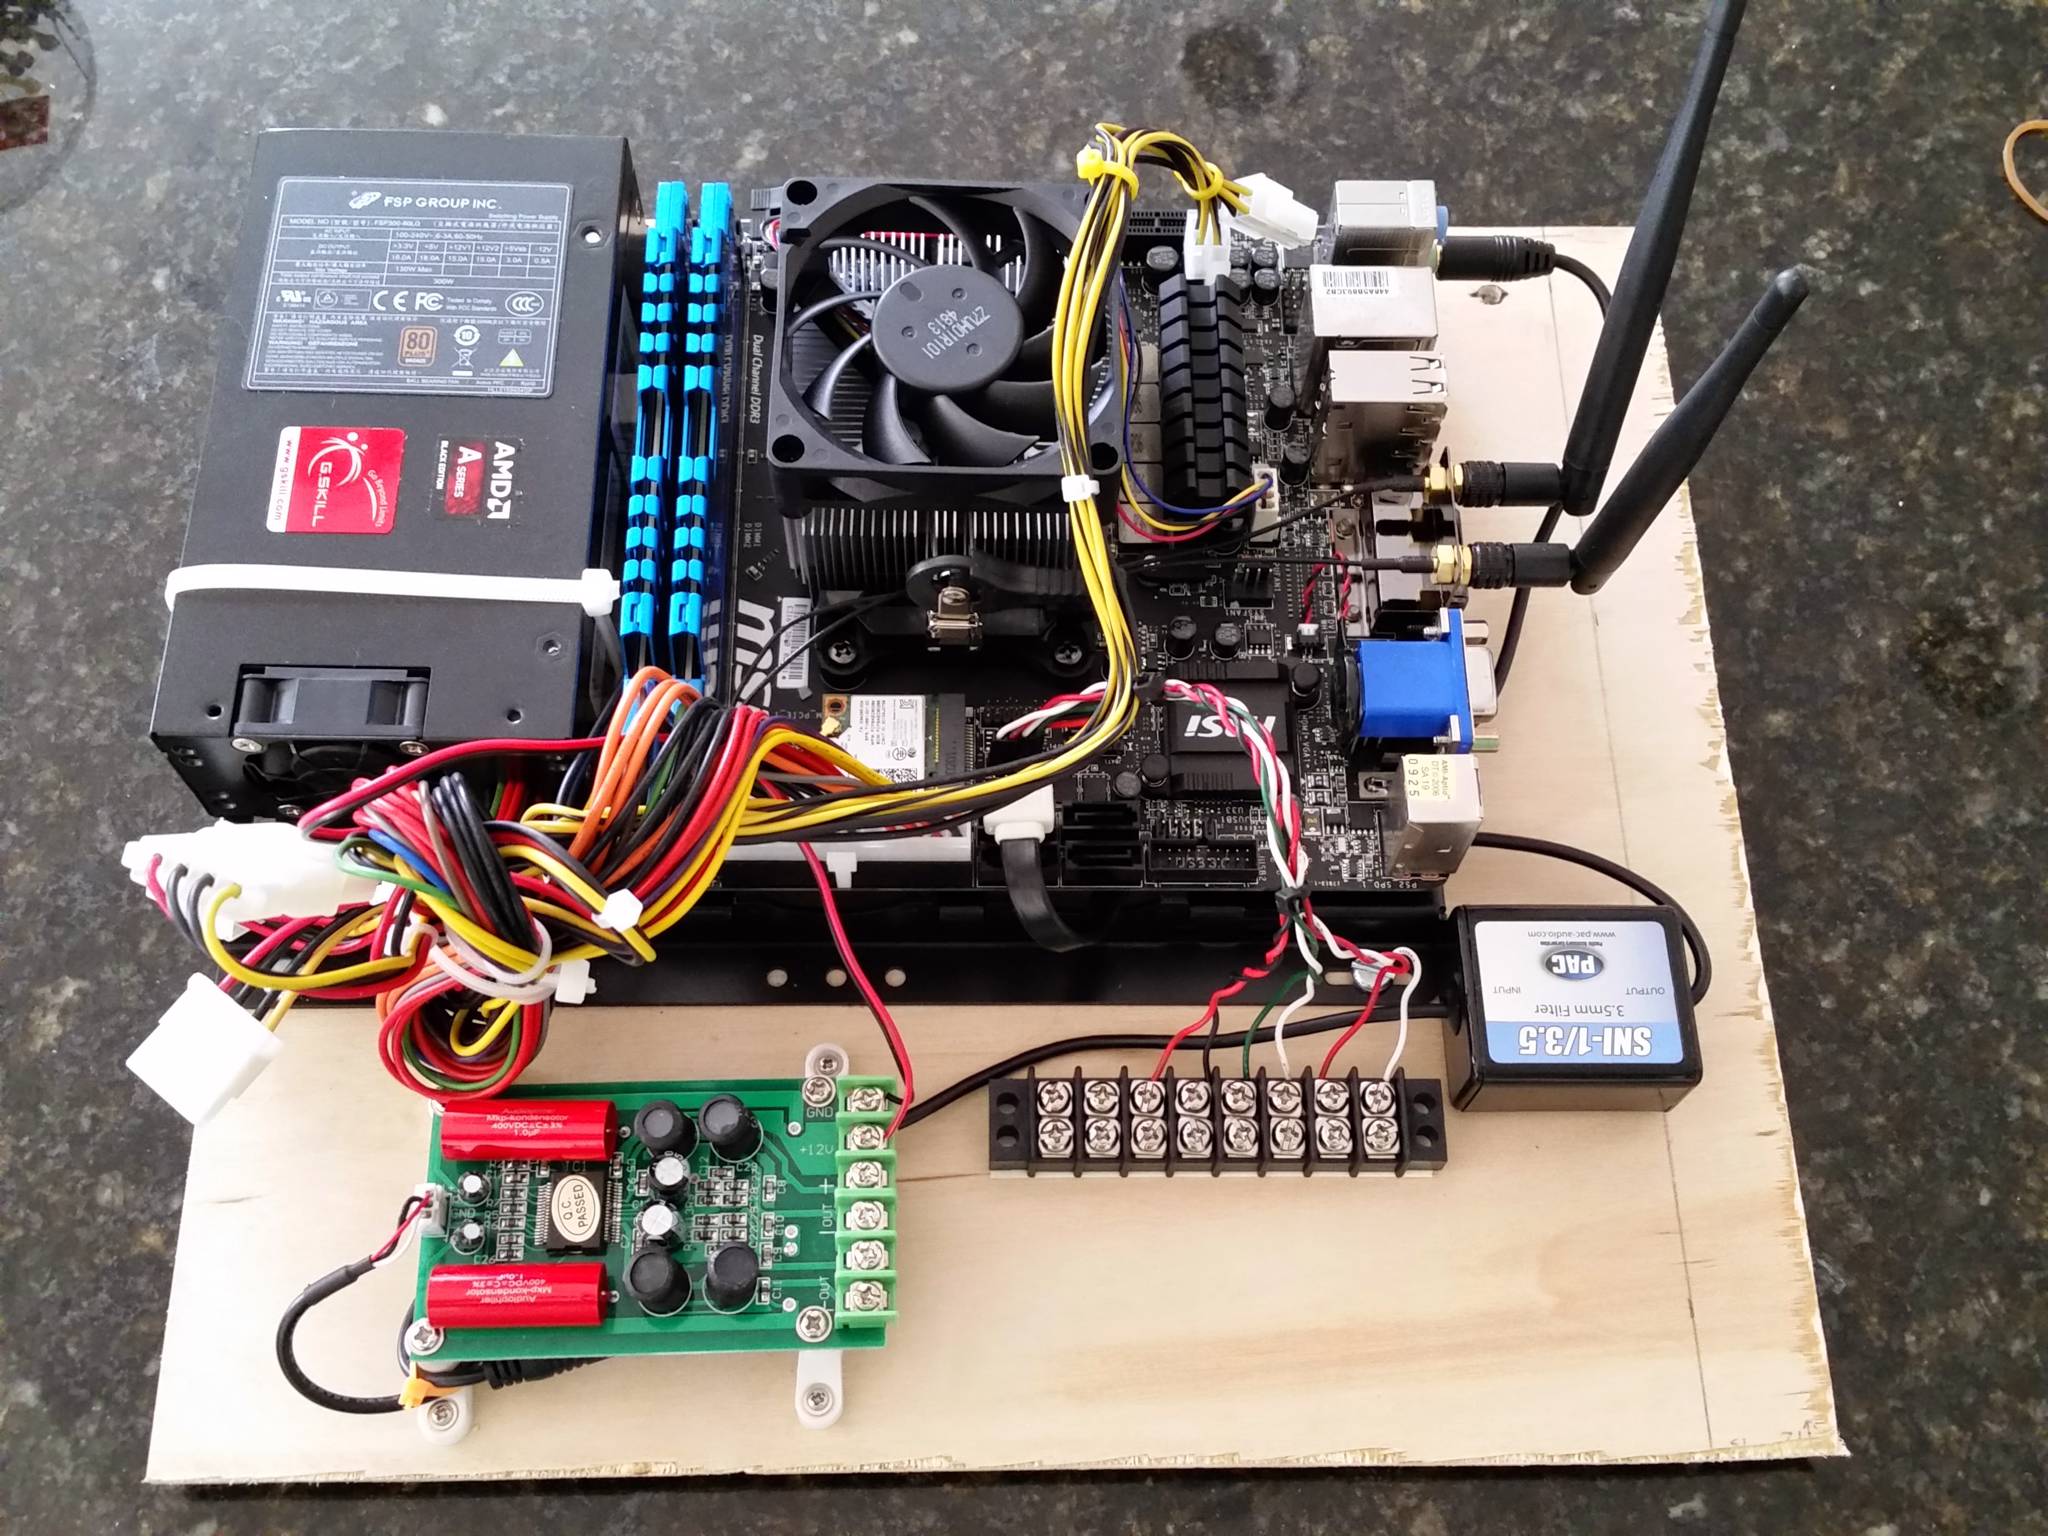
Mounting PC
Next, I needed to modify the original PCB mount to work with a standard PC motherboard. I ended up using a Mini-ITX board mounted to a sheet of plywood. This board can be easily removed from the cabinet by sliding it out of the modified PCB holder grooves.

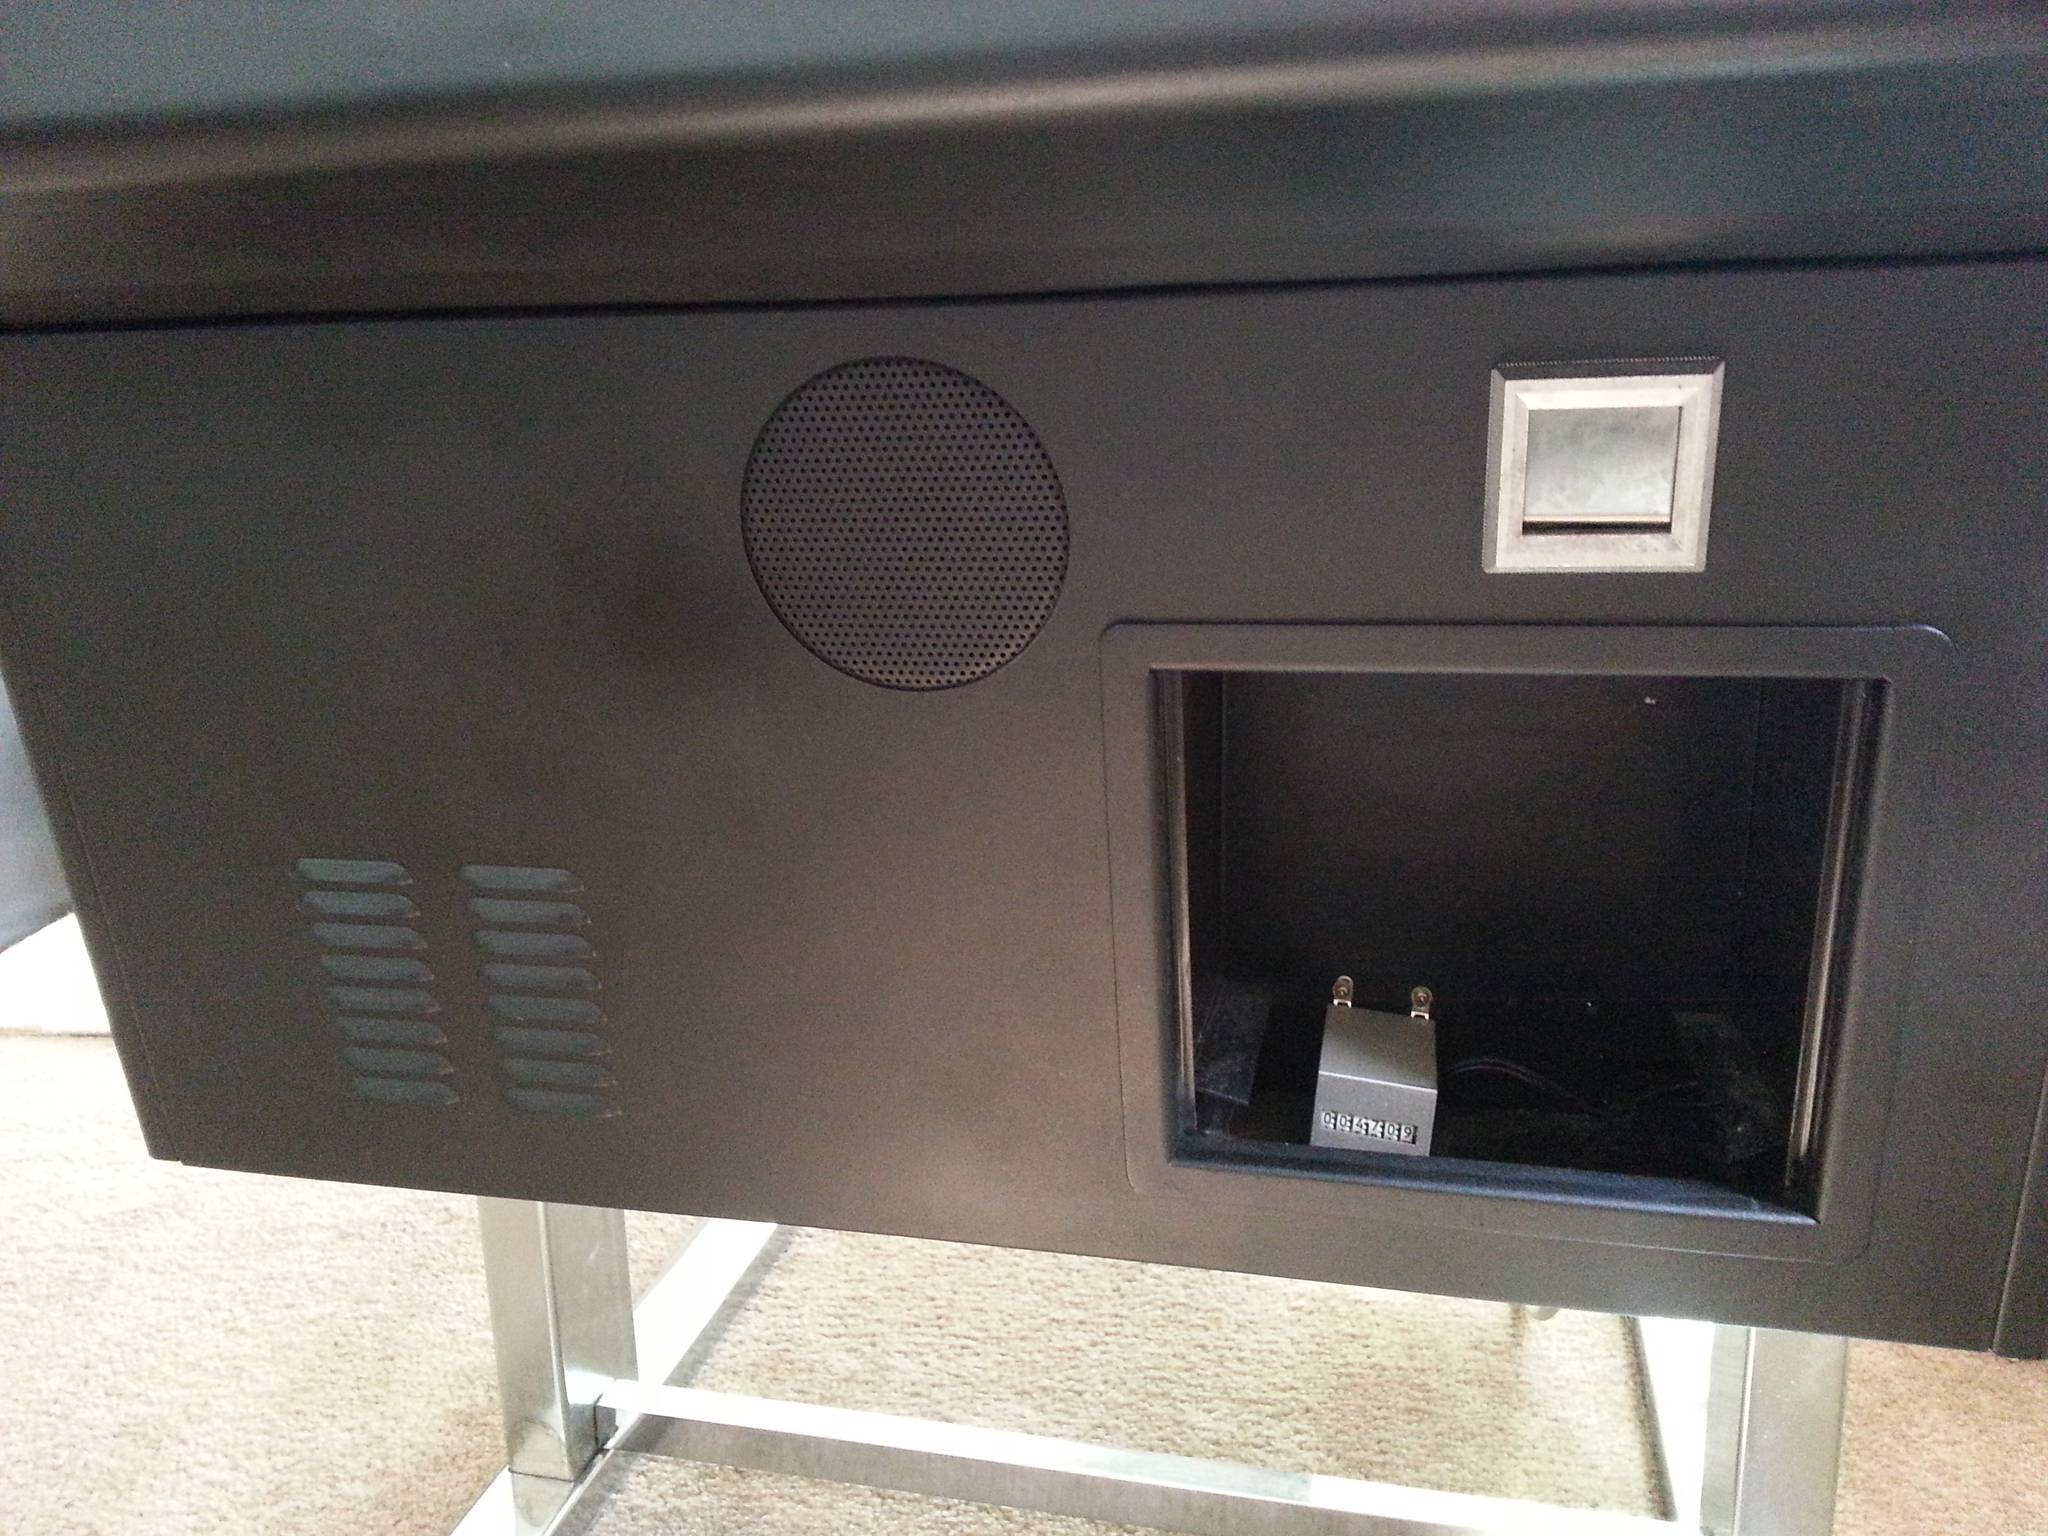
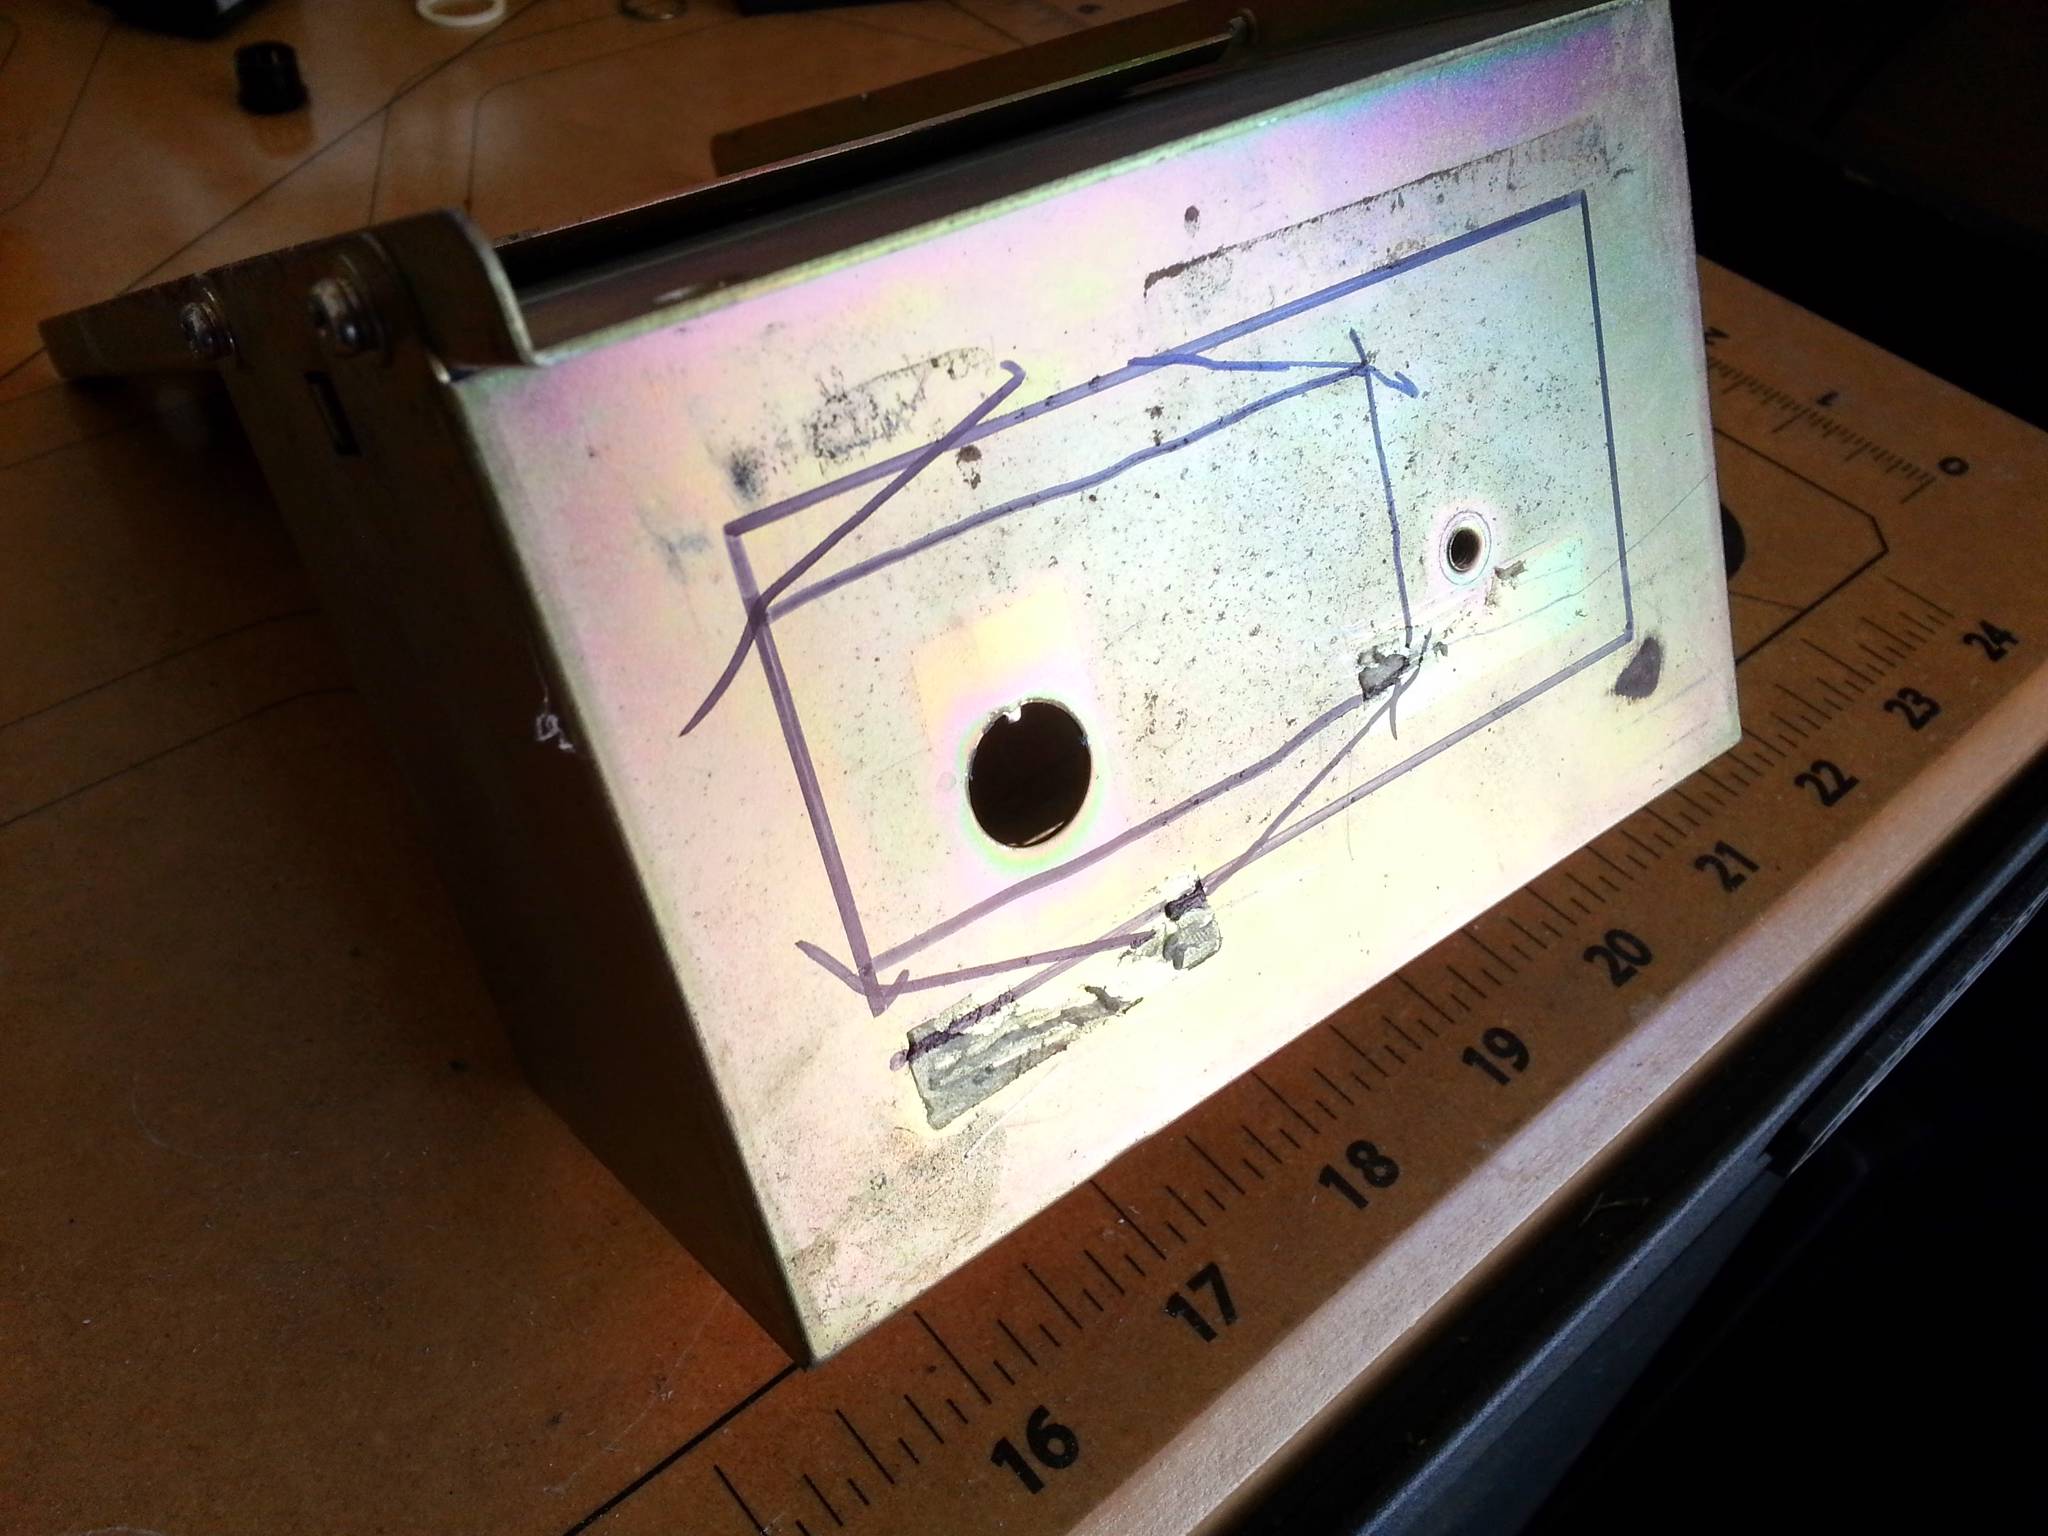
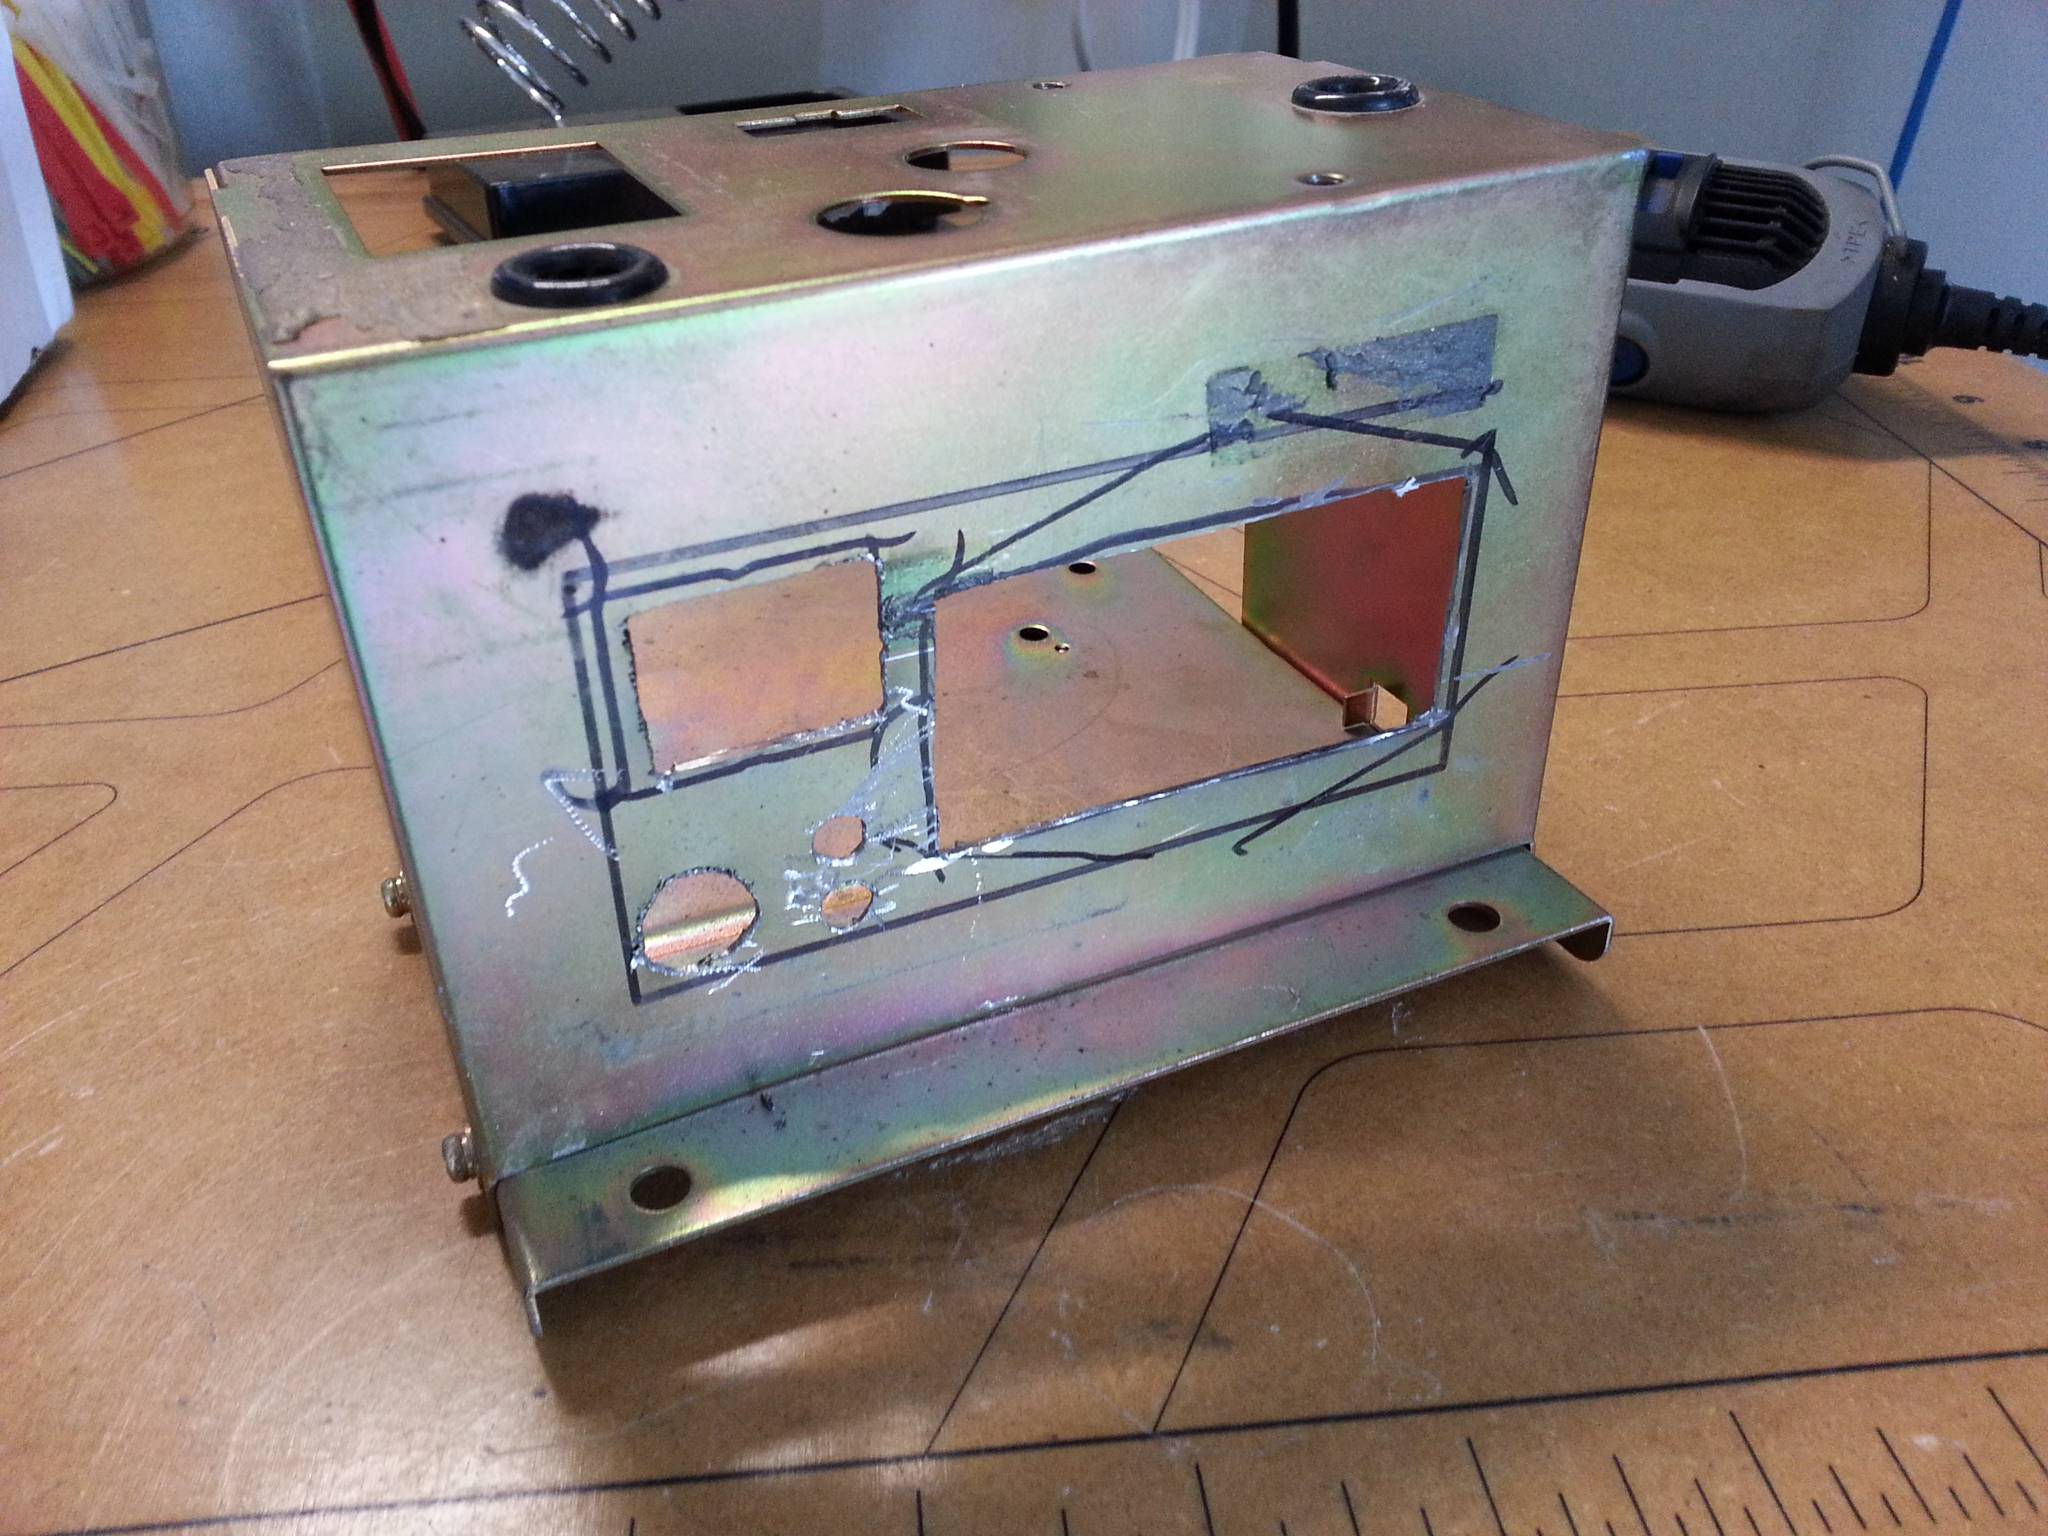
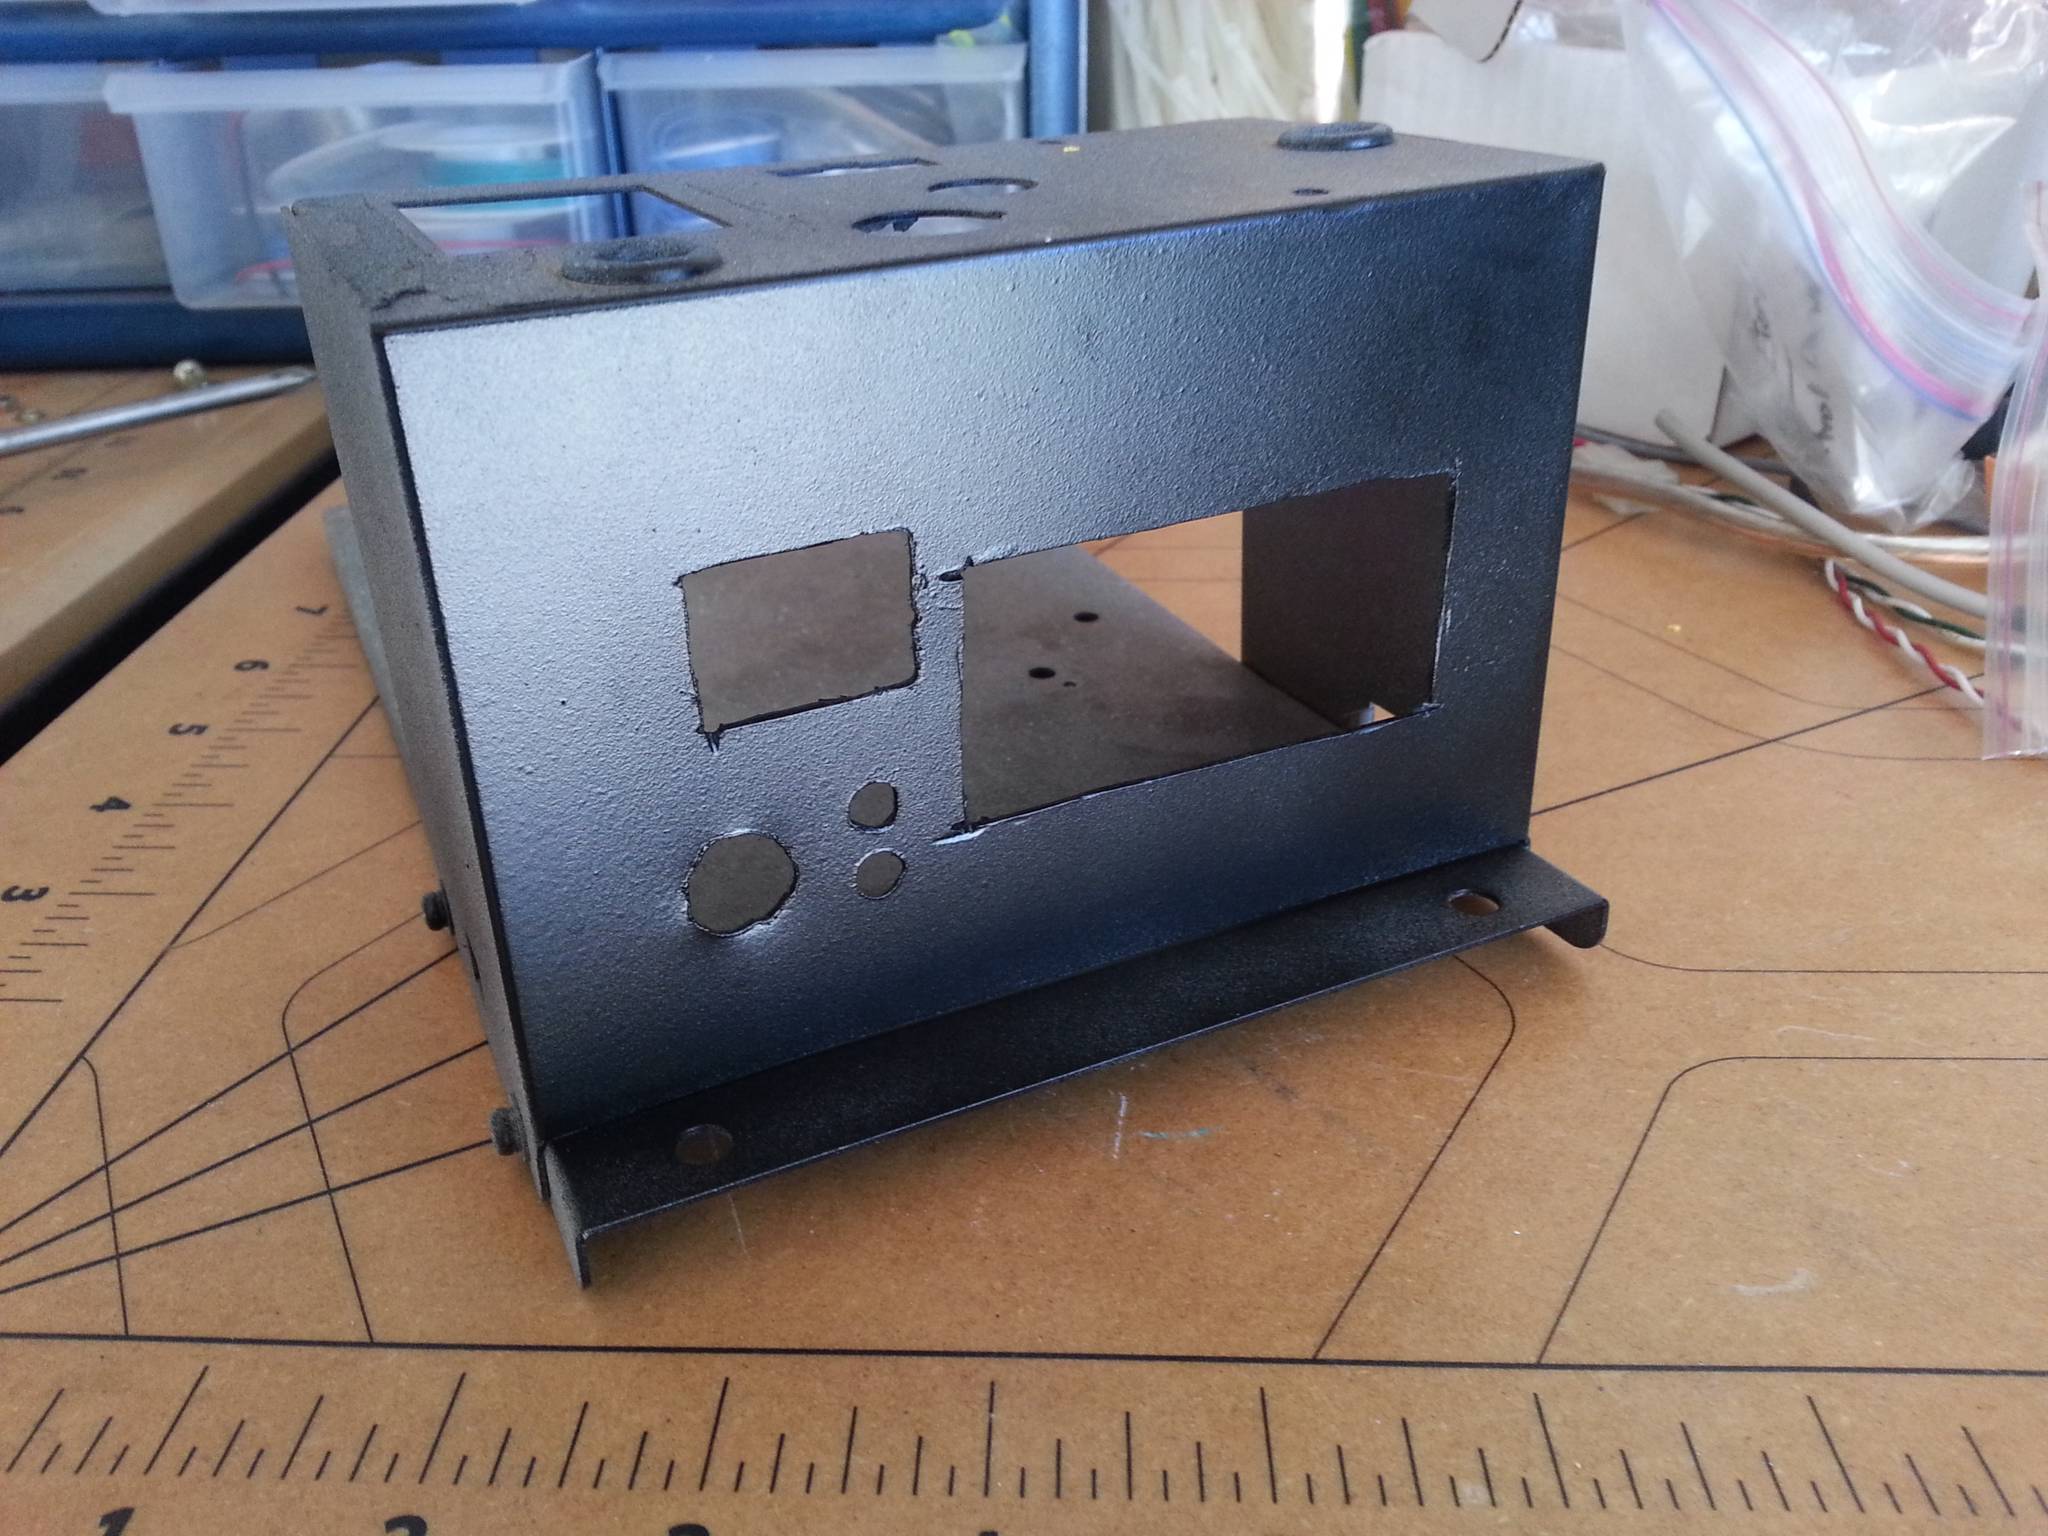
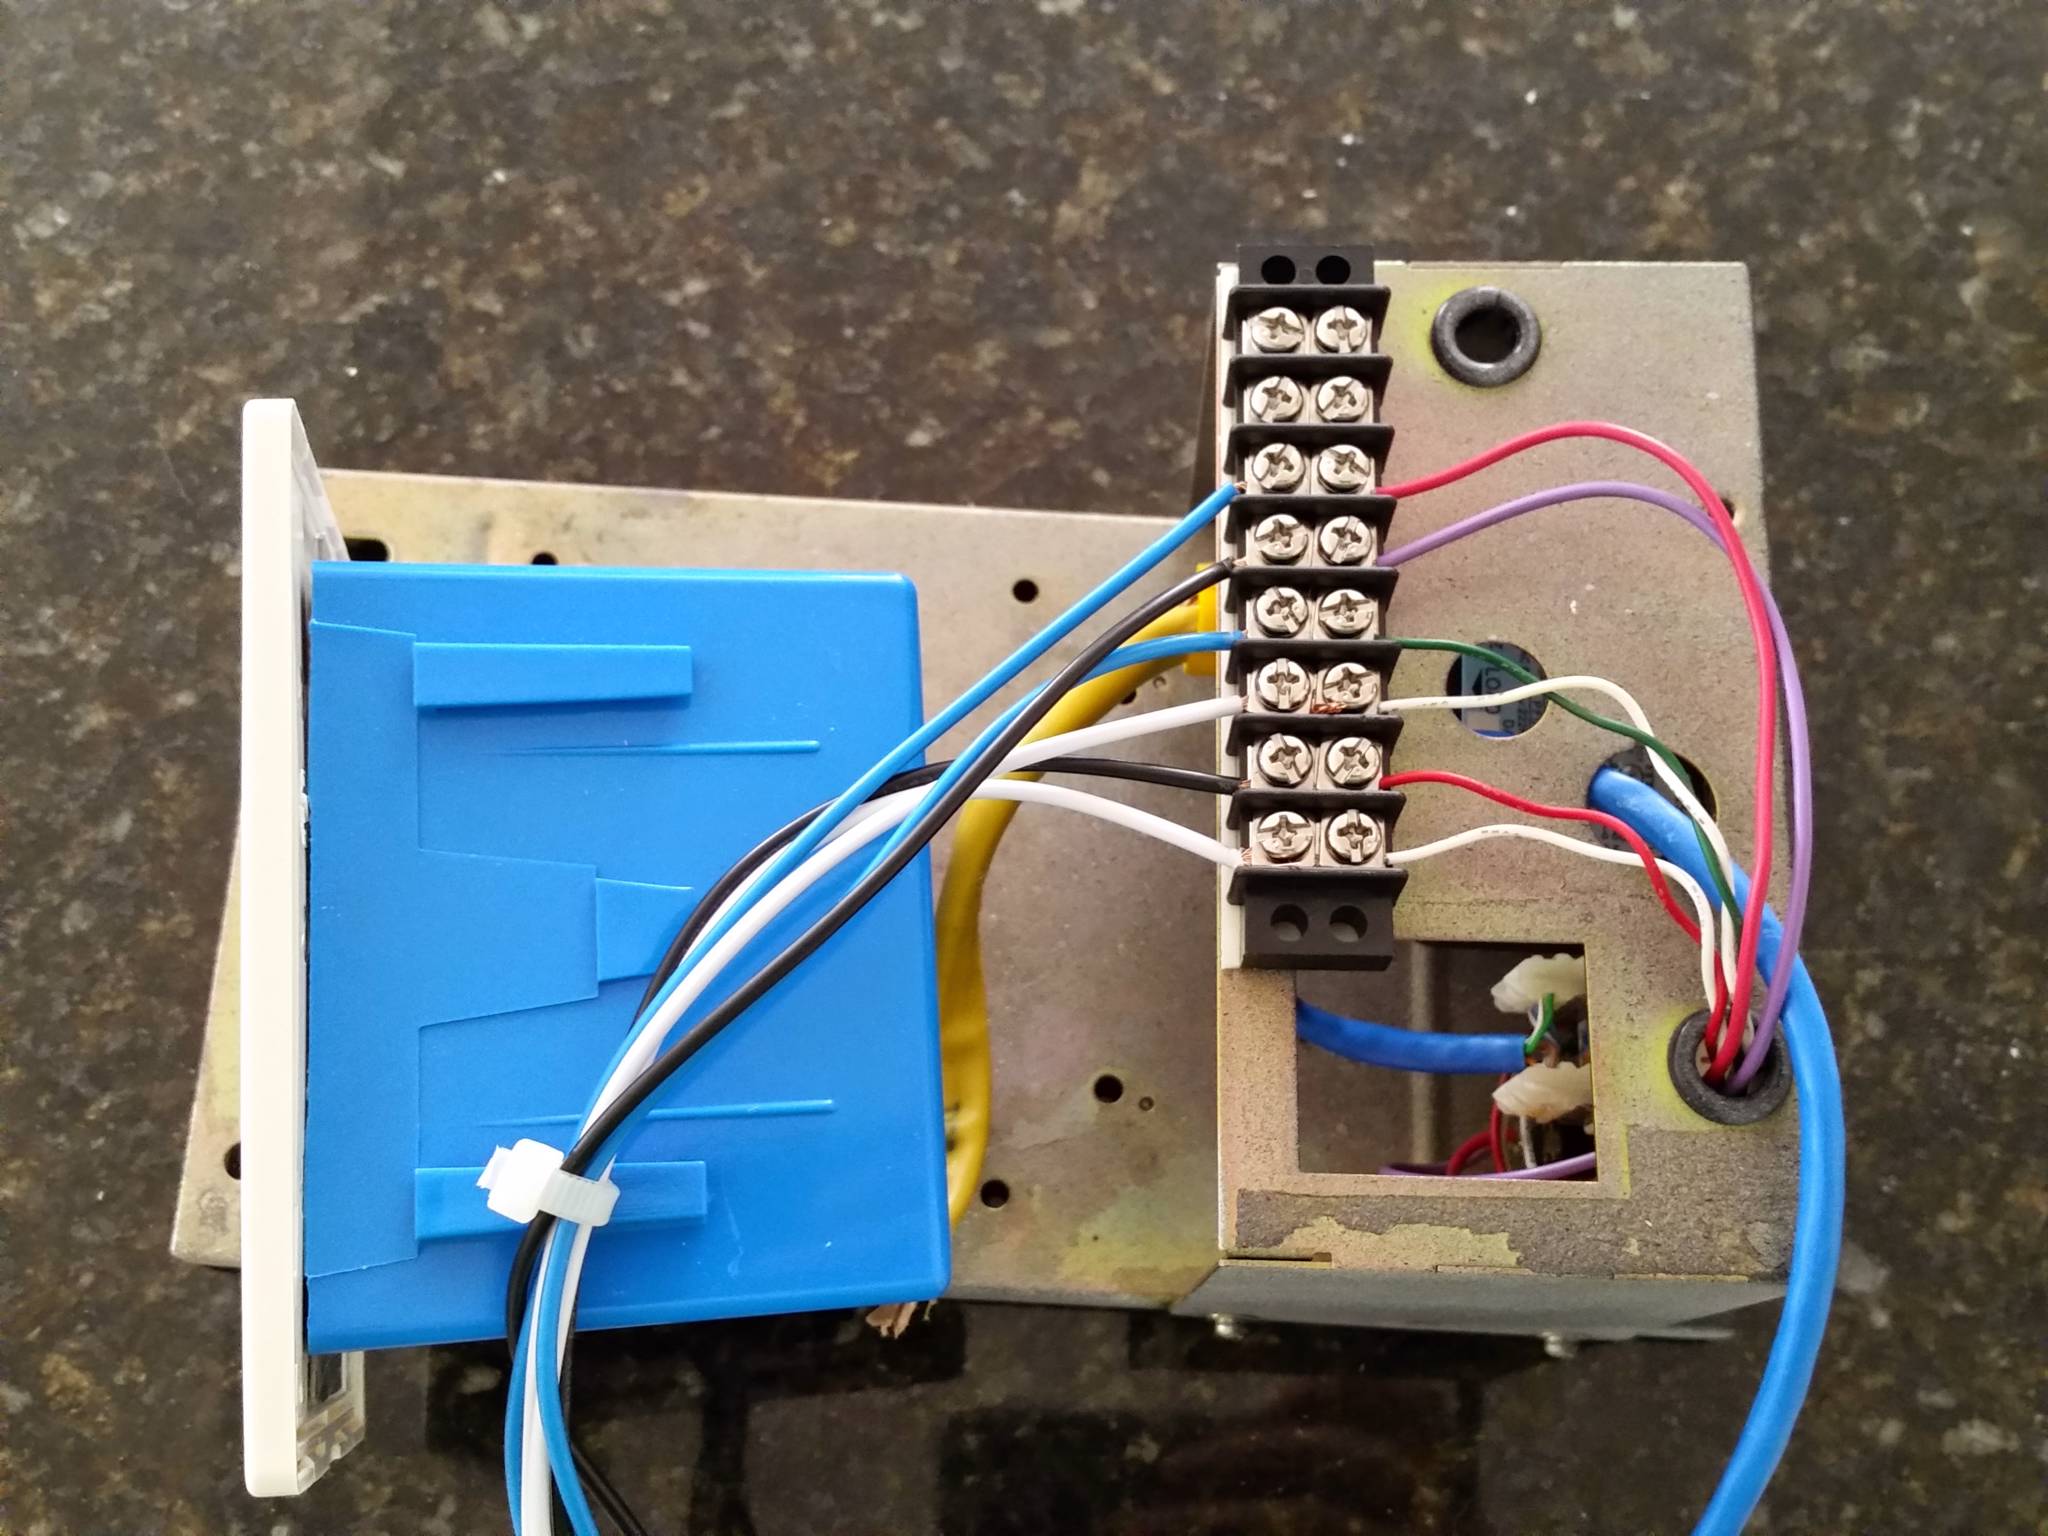
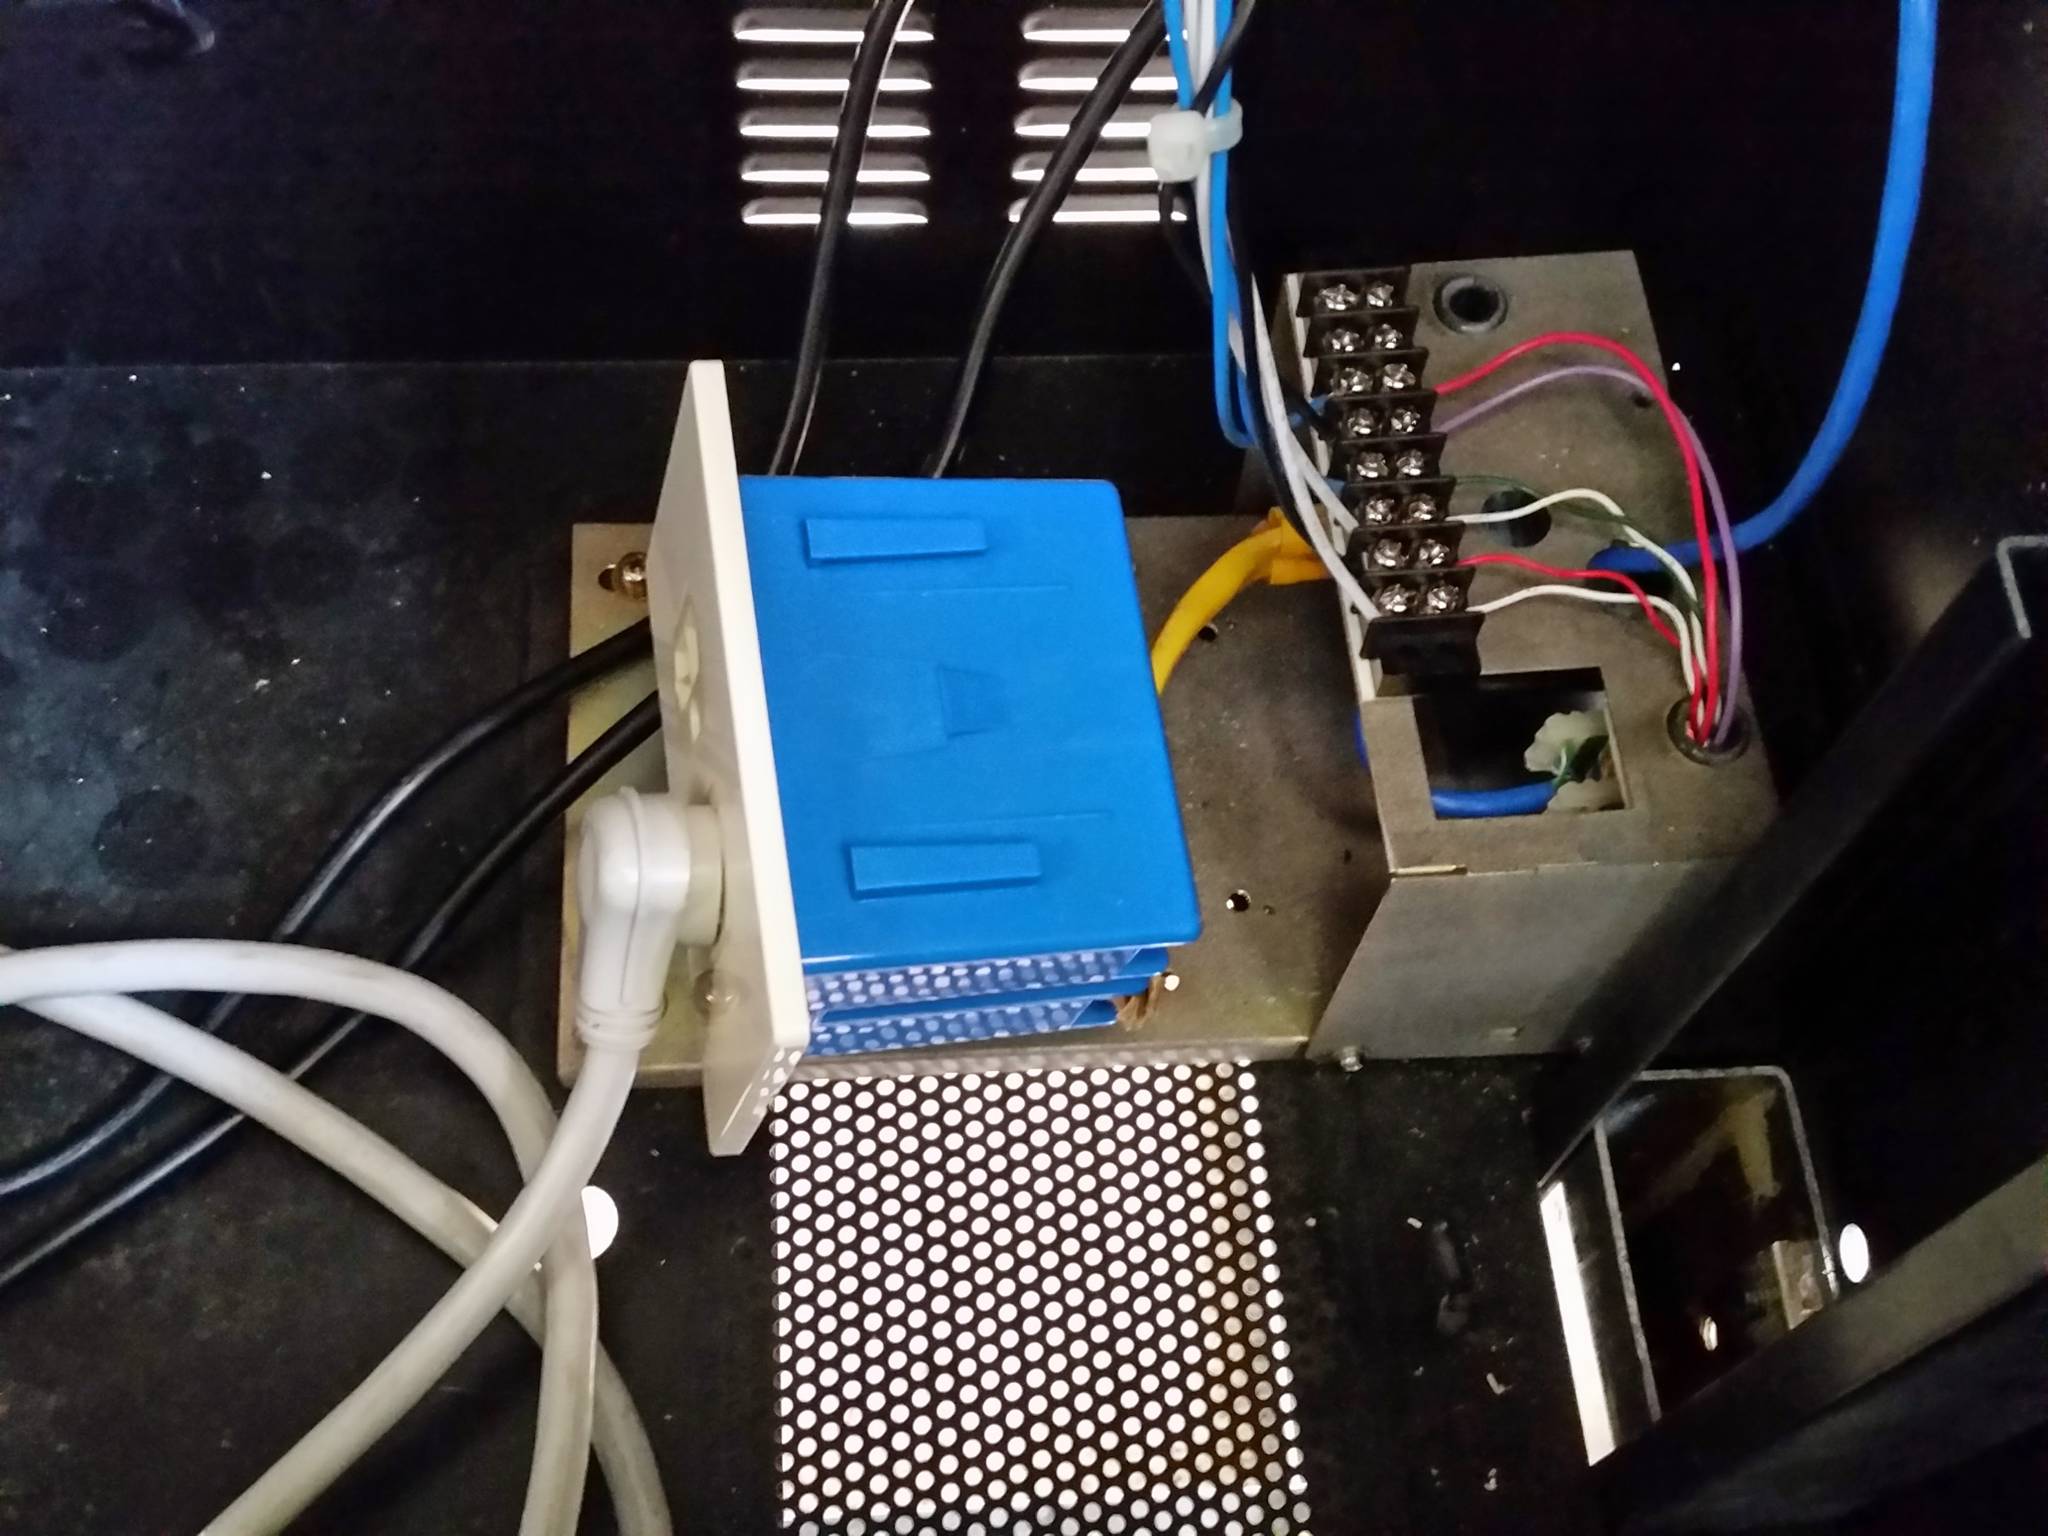
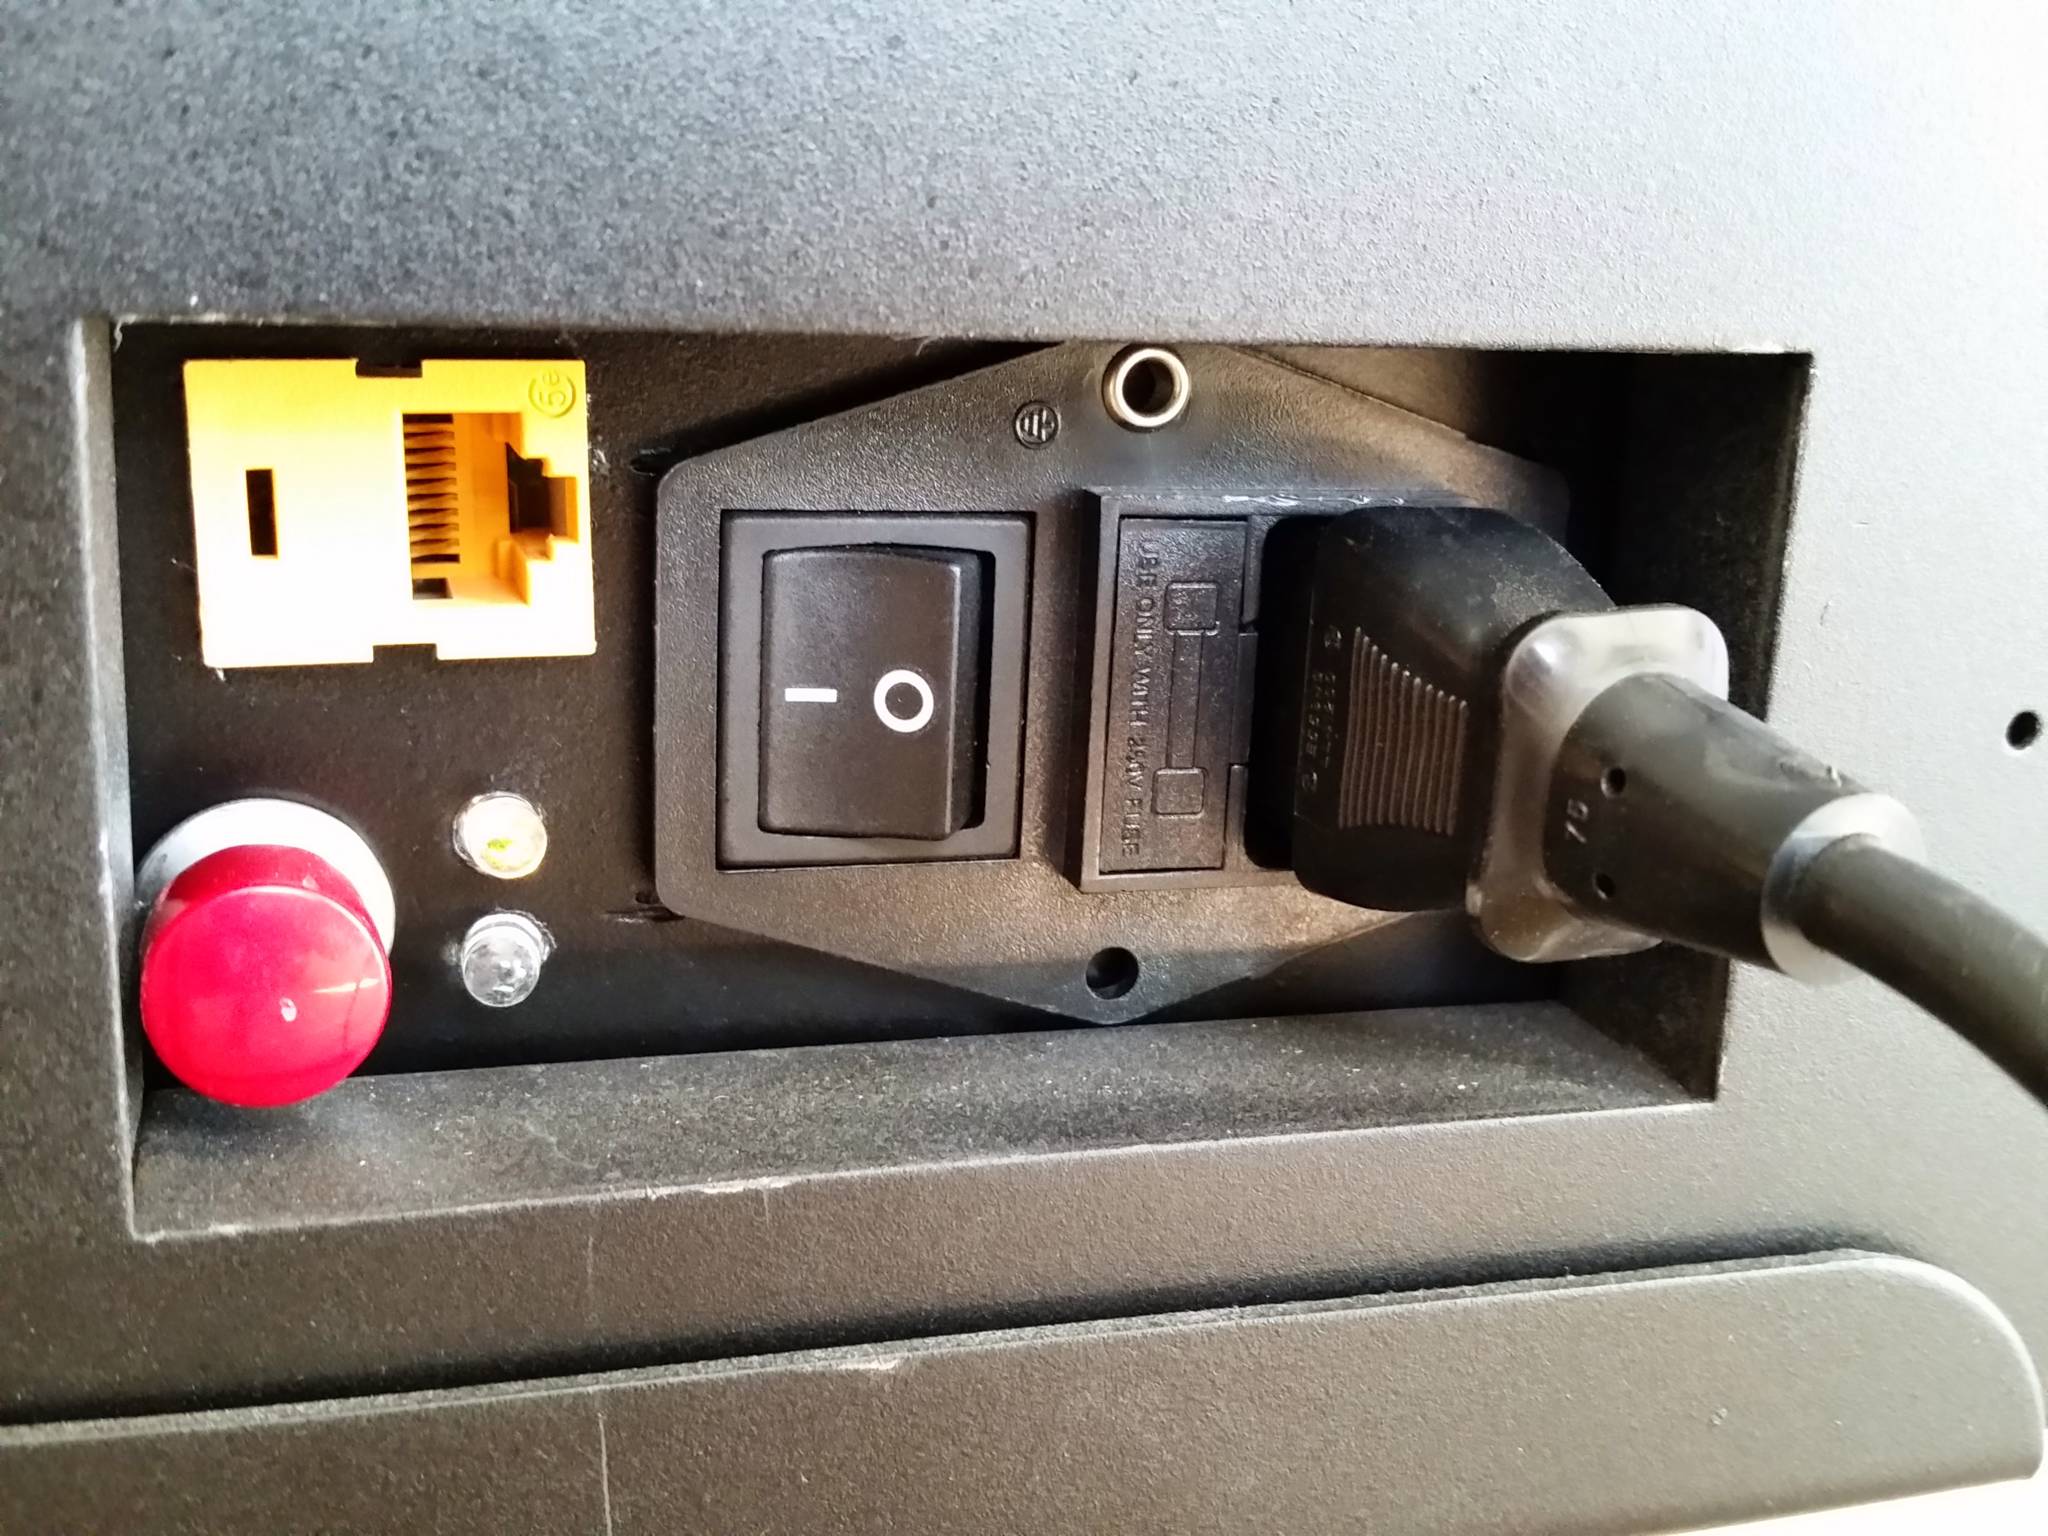
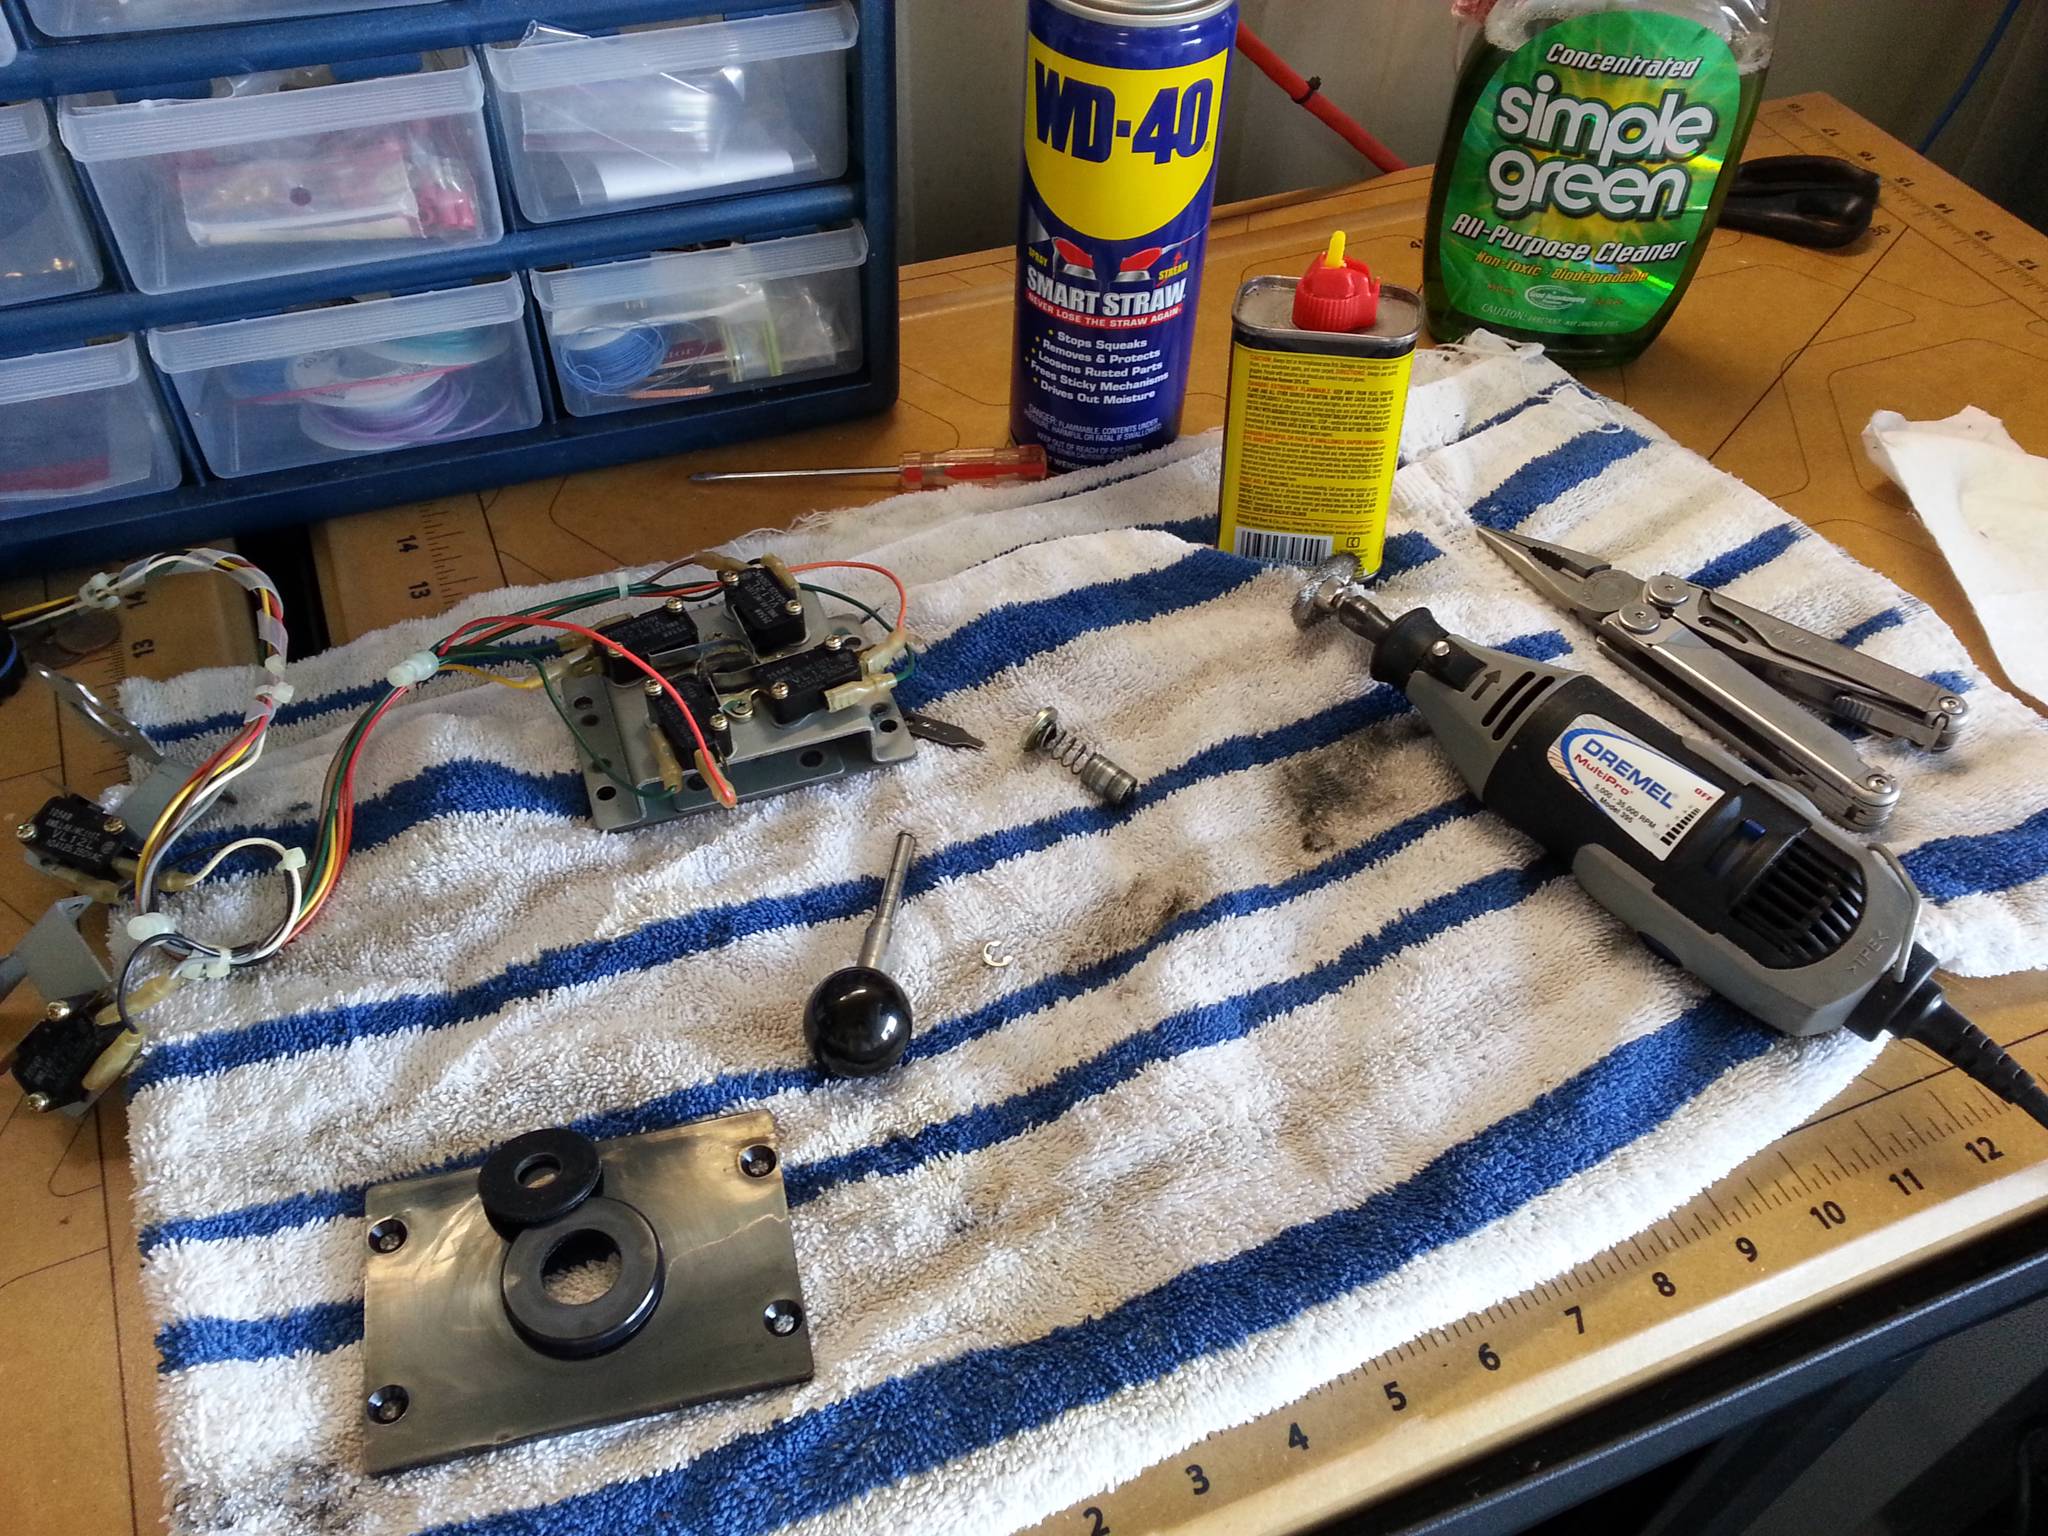
Power Panel
I wanted the power, ethernet, and power panel to look clean and slot into the existing power supply area. To achieve this, I first stripped what little remained of the original power supply down to its frame. I then marked out and used a Dremel to cut holes for each of the components.
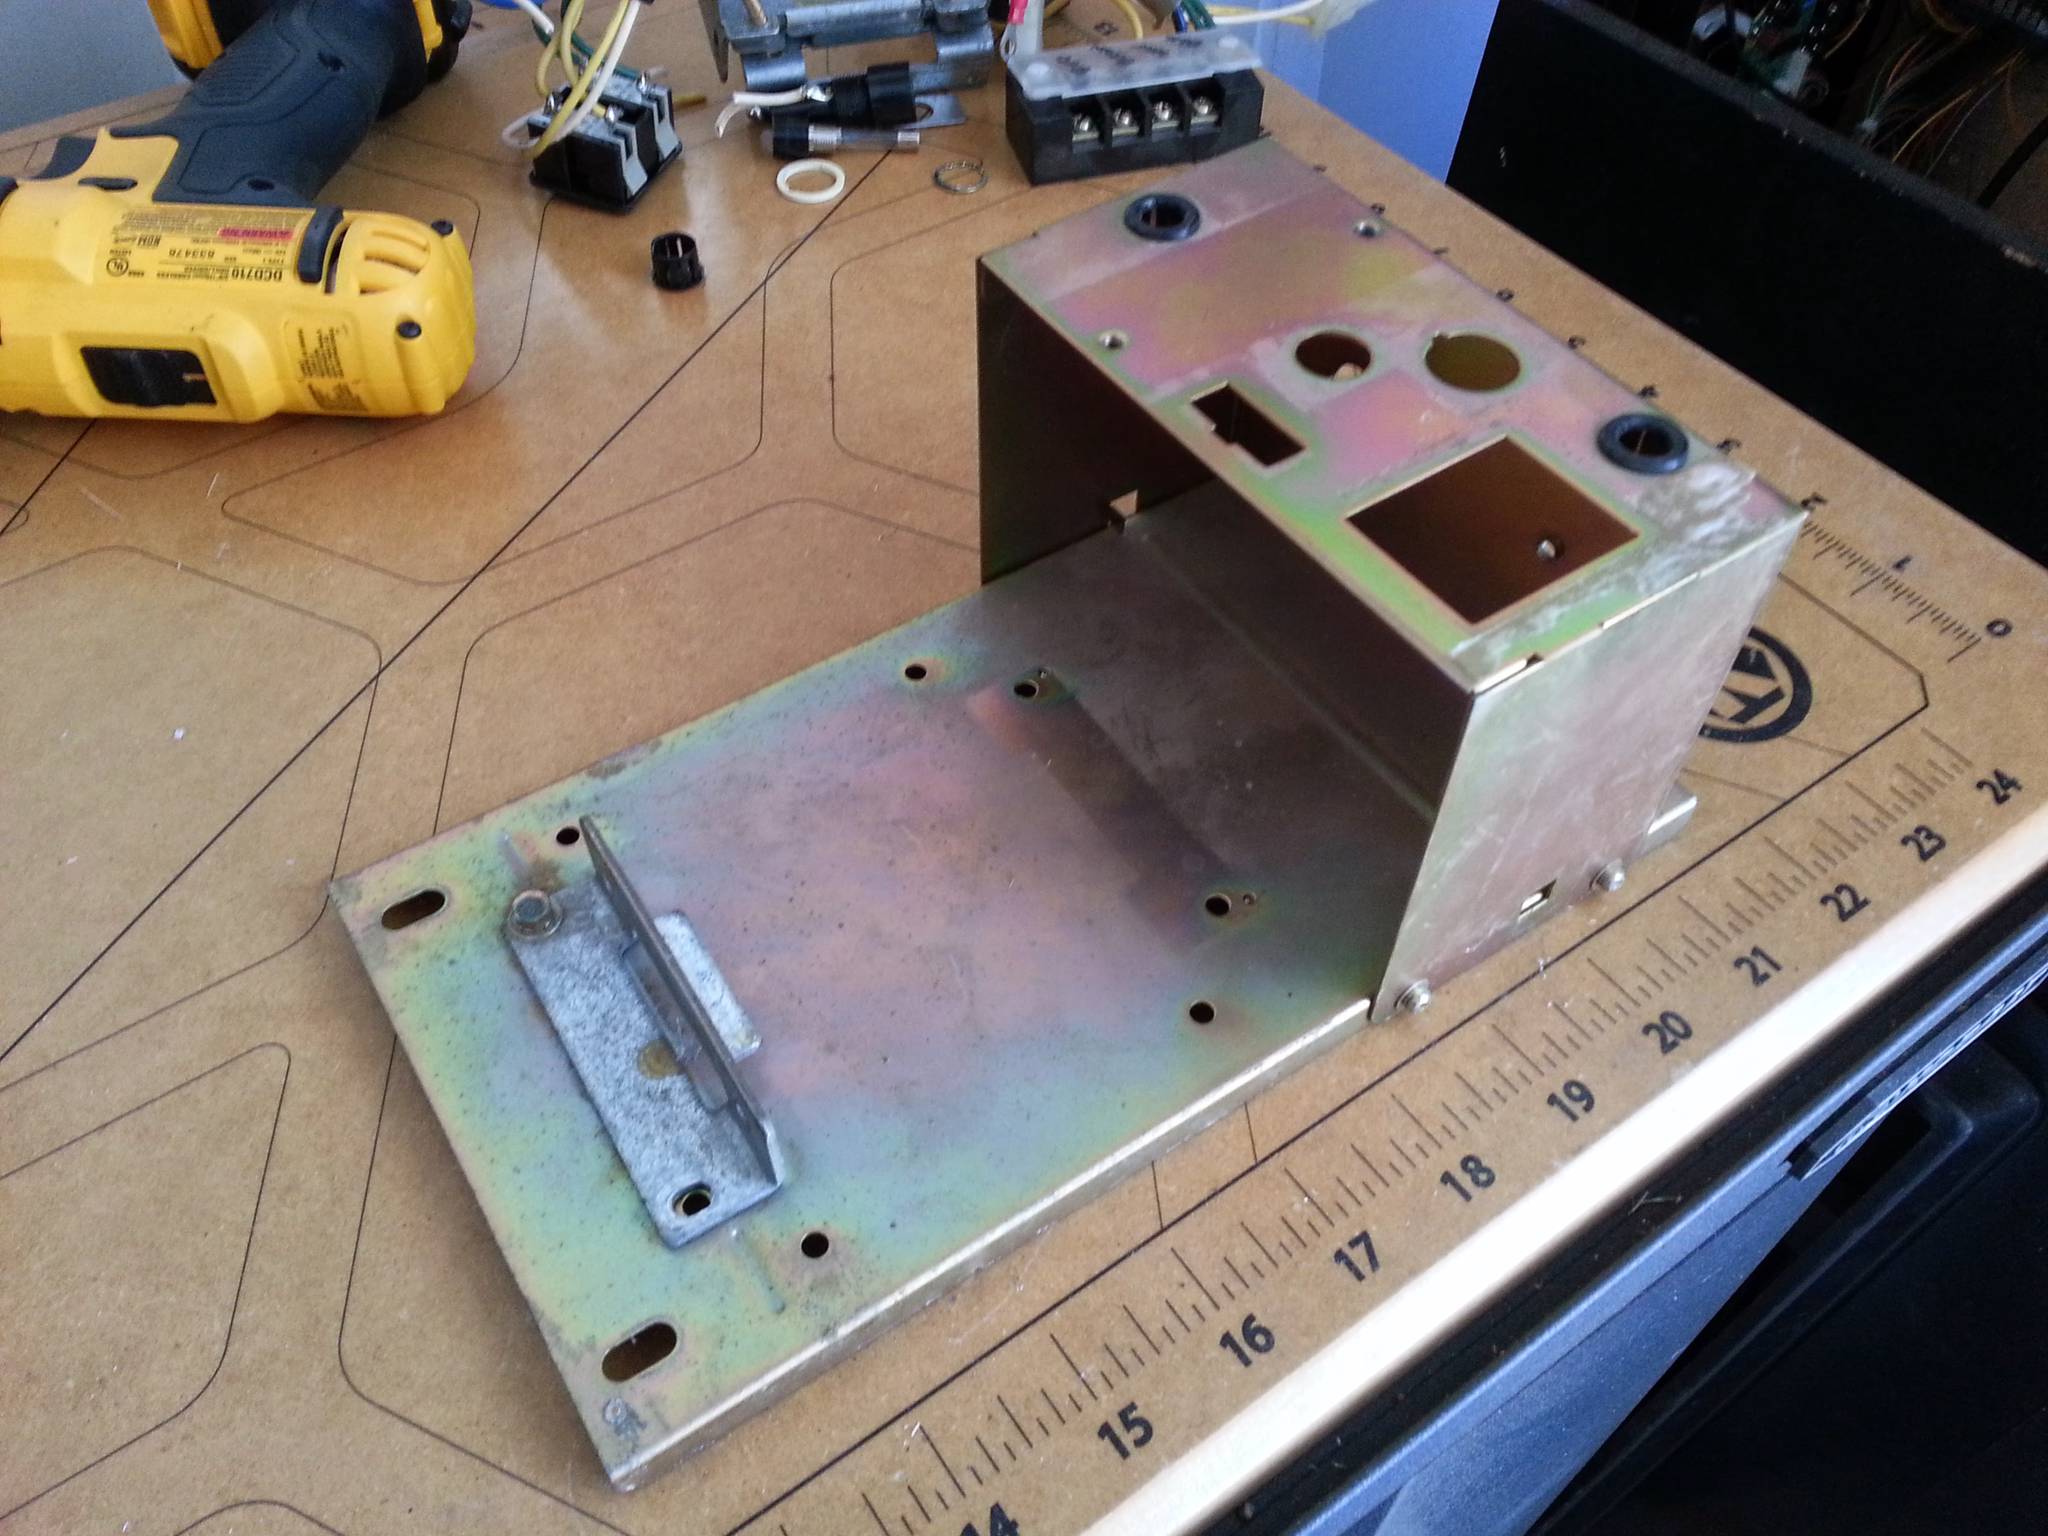
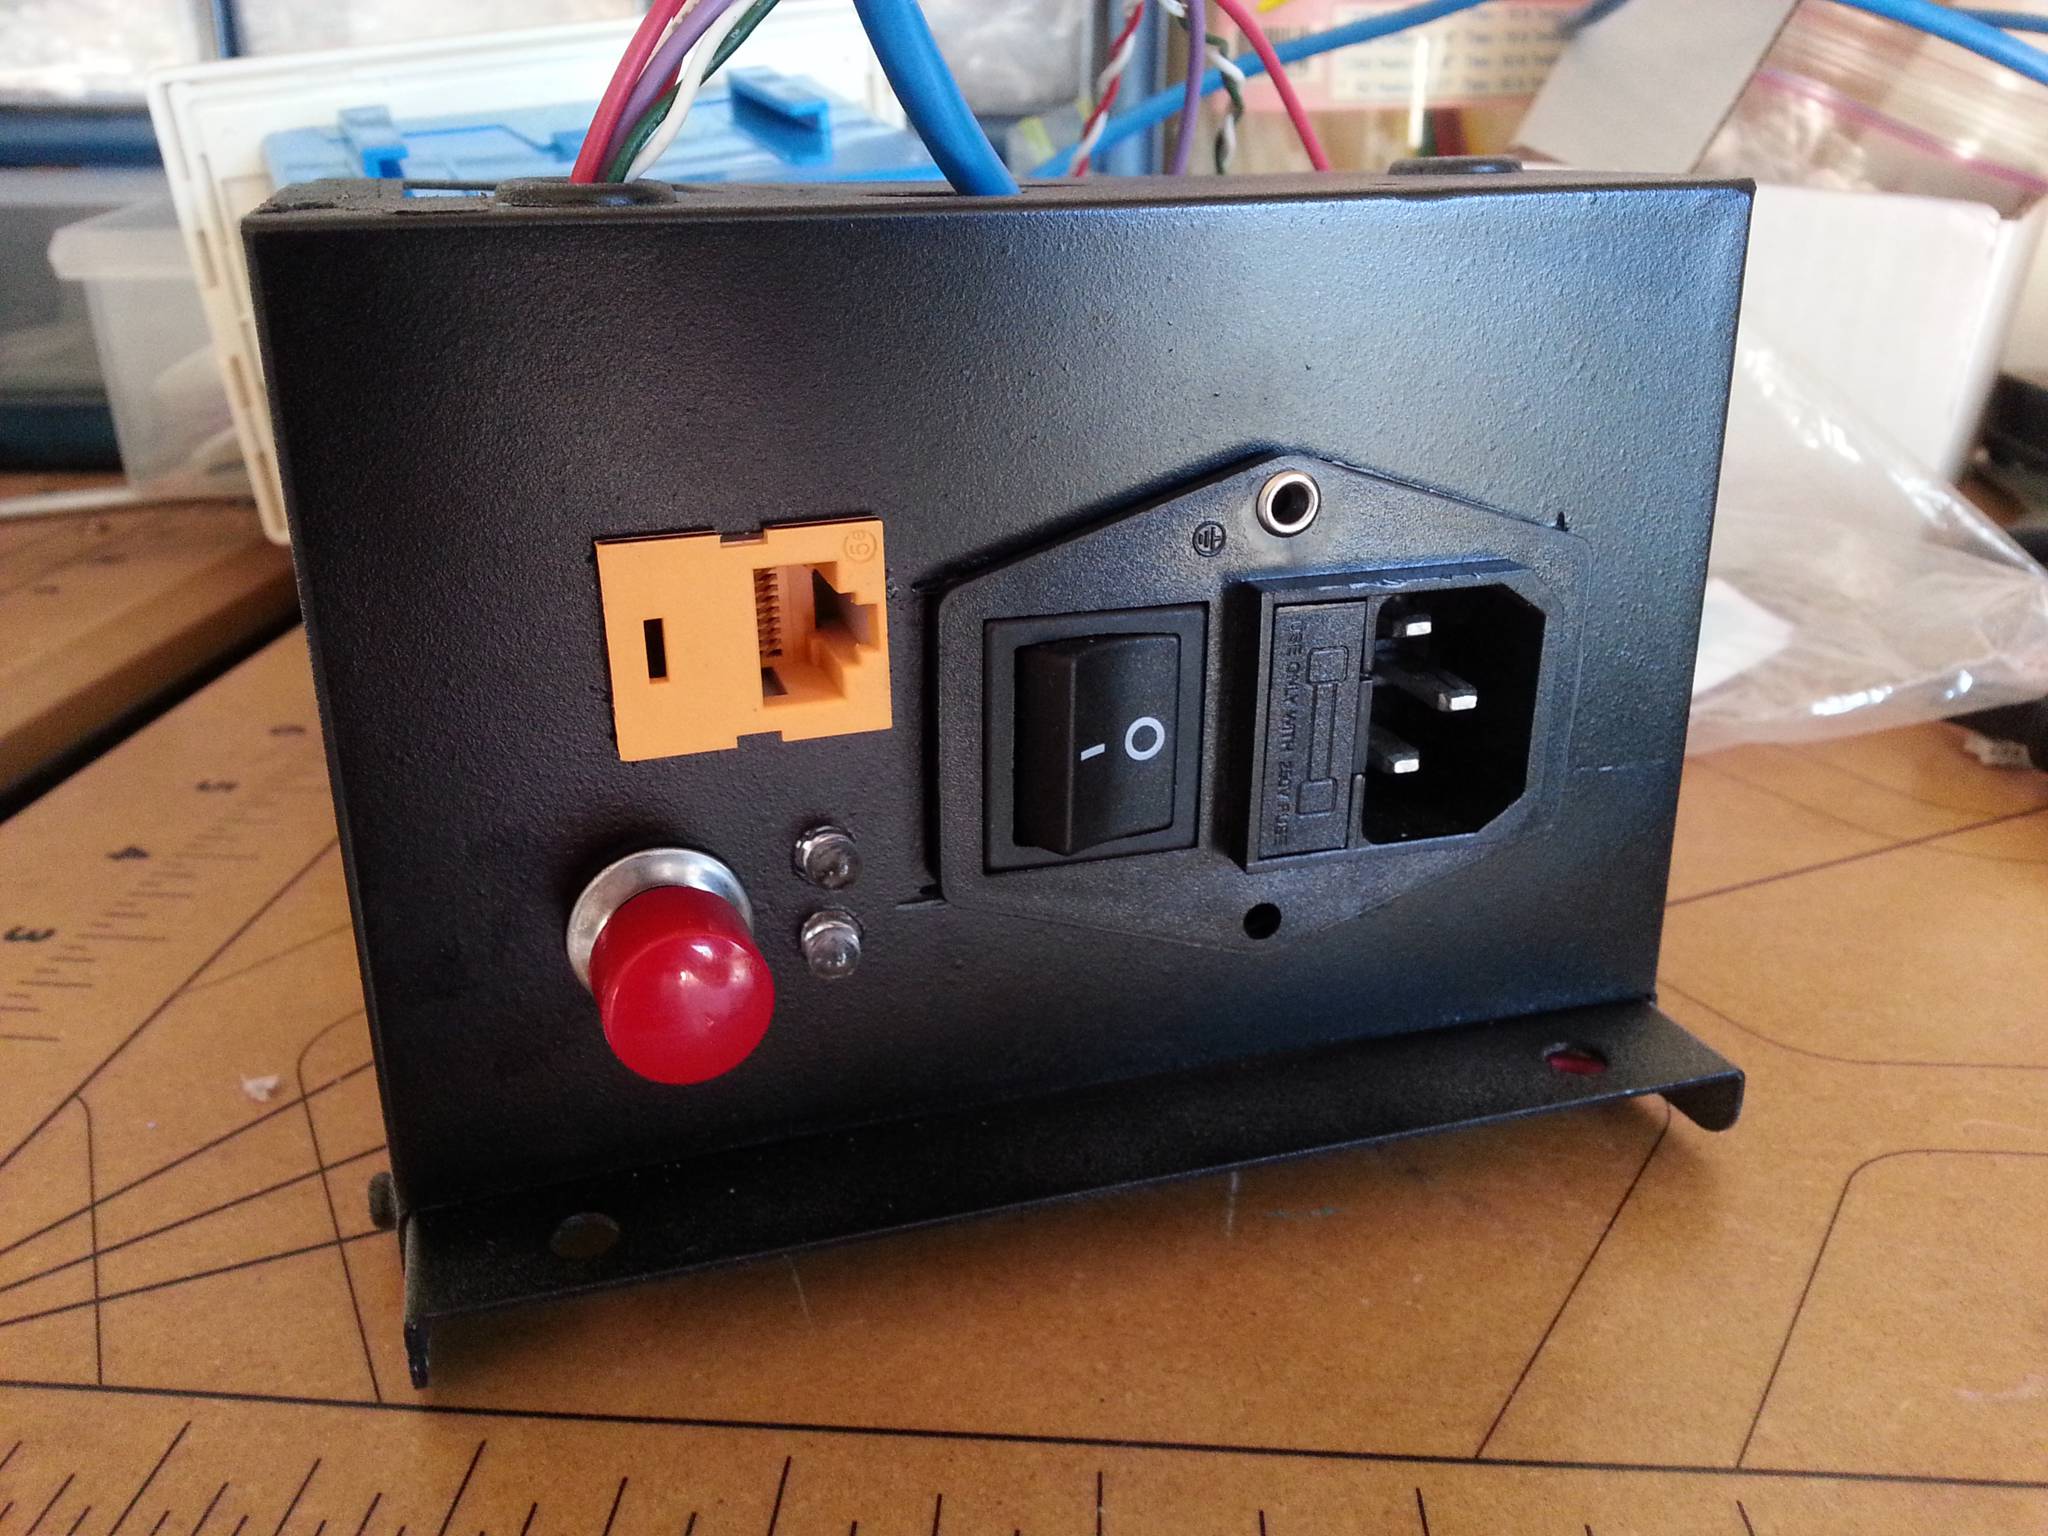
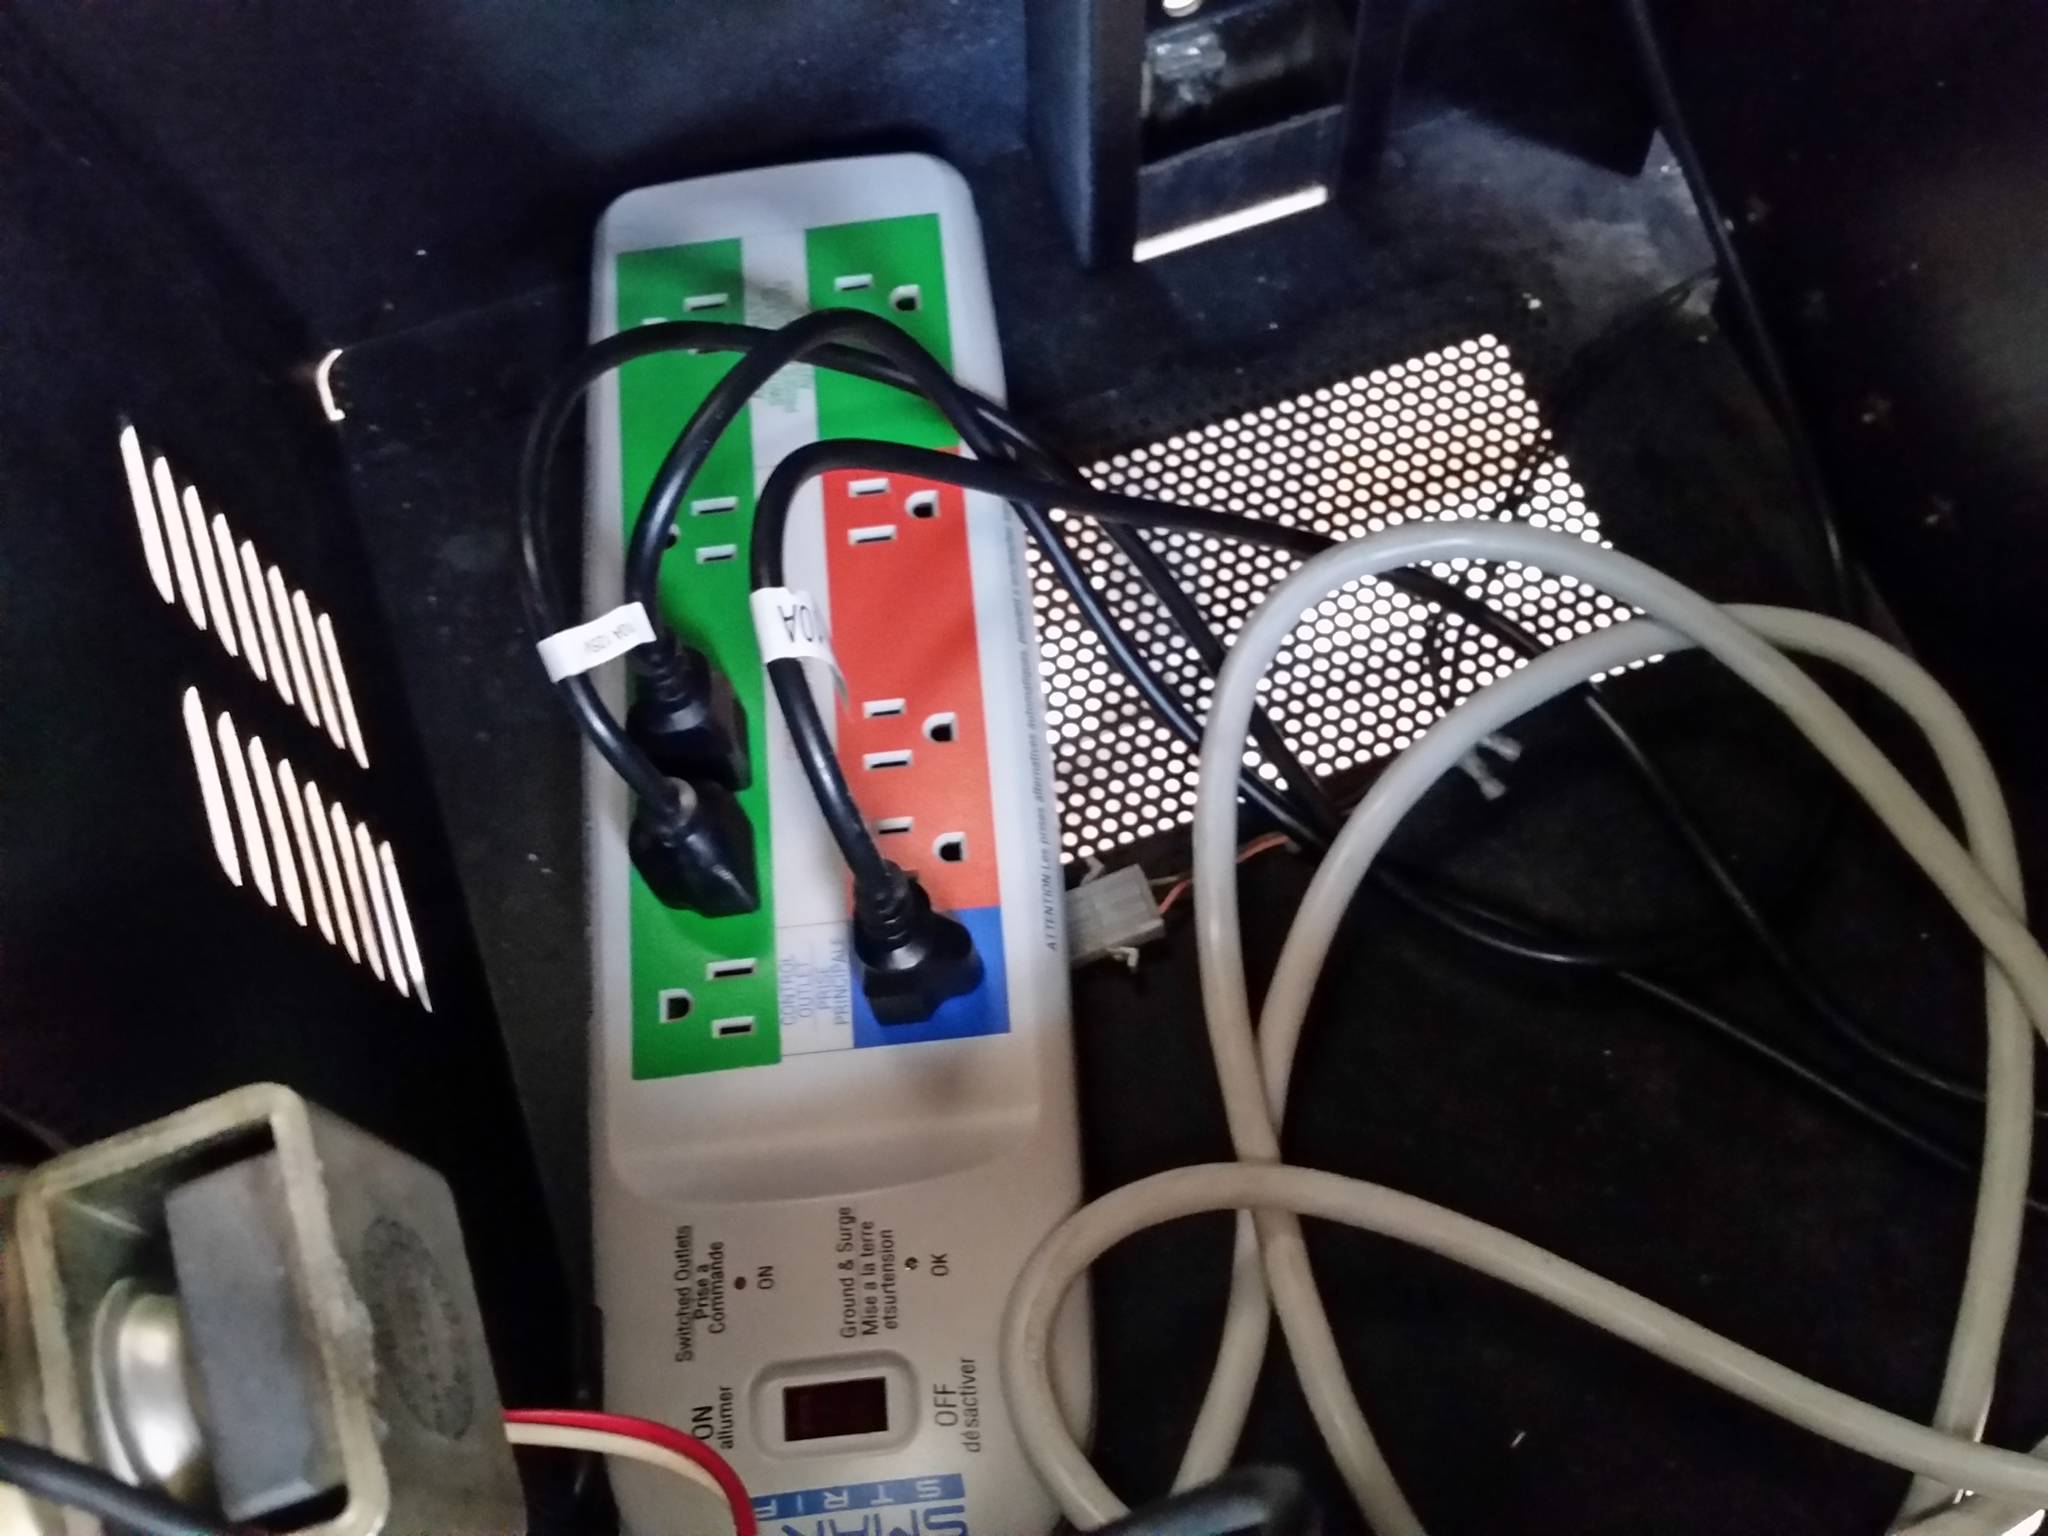
I added some screw terminals that allow the power button and LEDs to disconnect easily if the unit needs to be removed. I also added a 120v outlet inside the cabinet that connects to a smart power strip. When the PC boots (via the red button), the power strip turns on the outlets for the monitors.
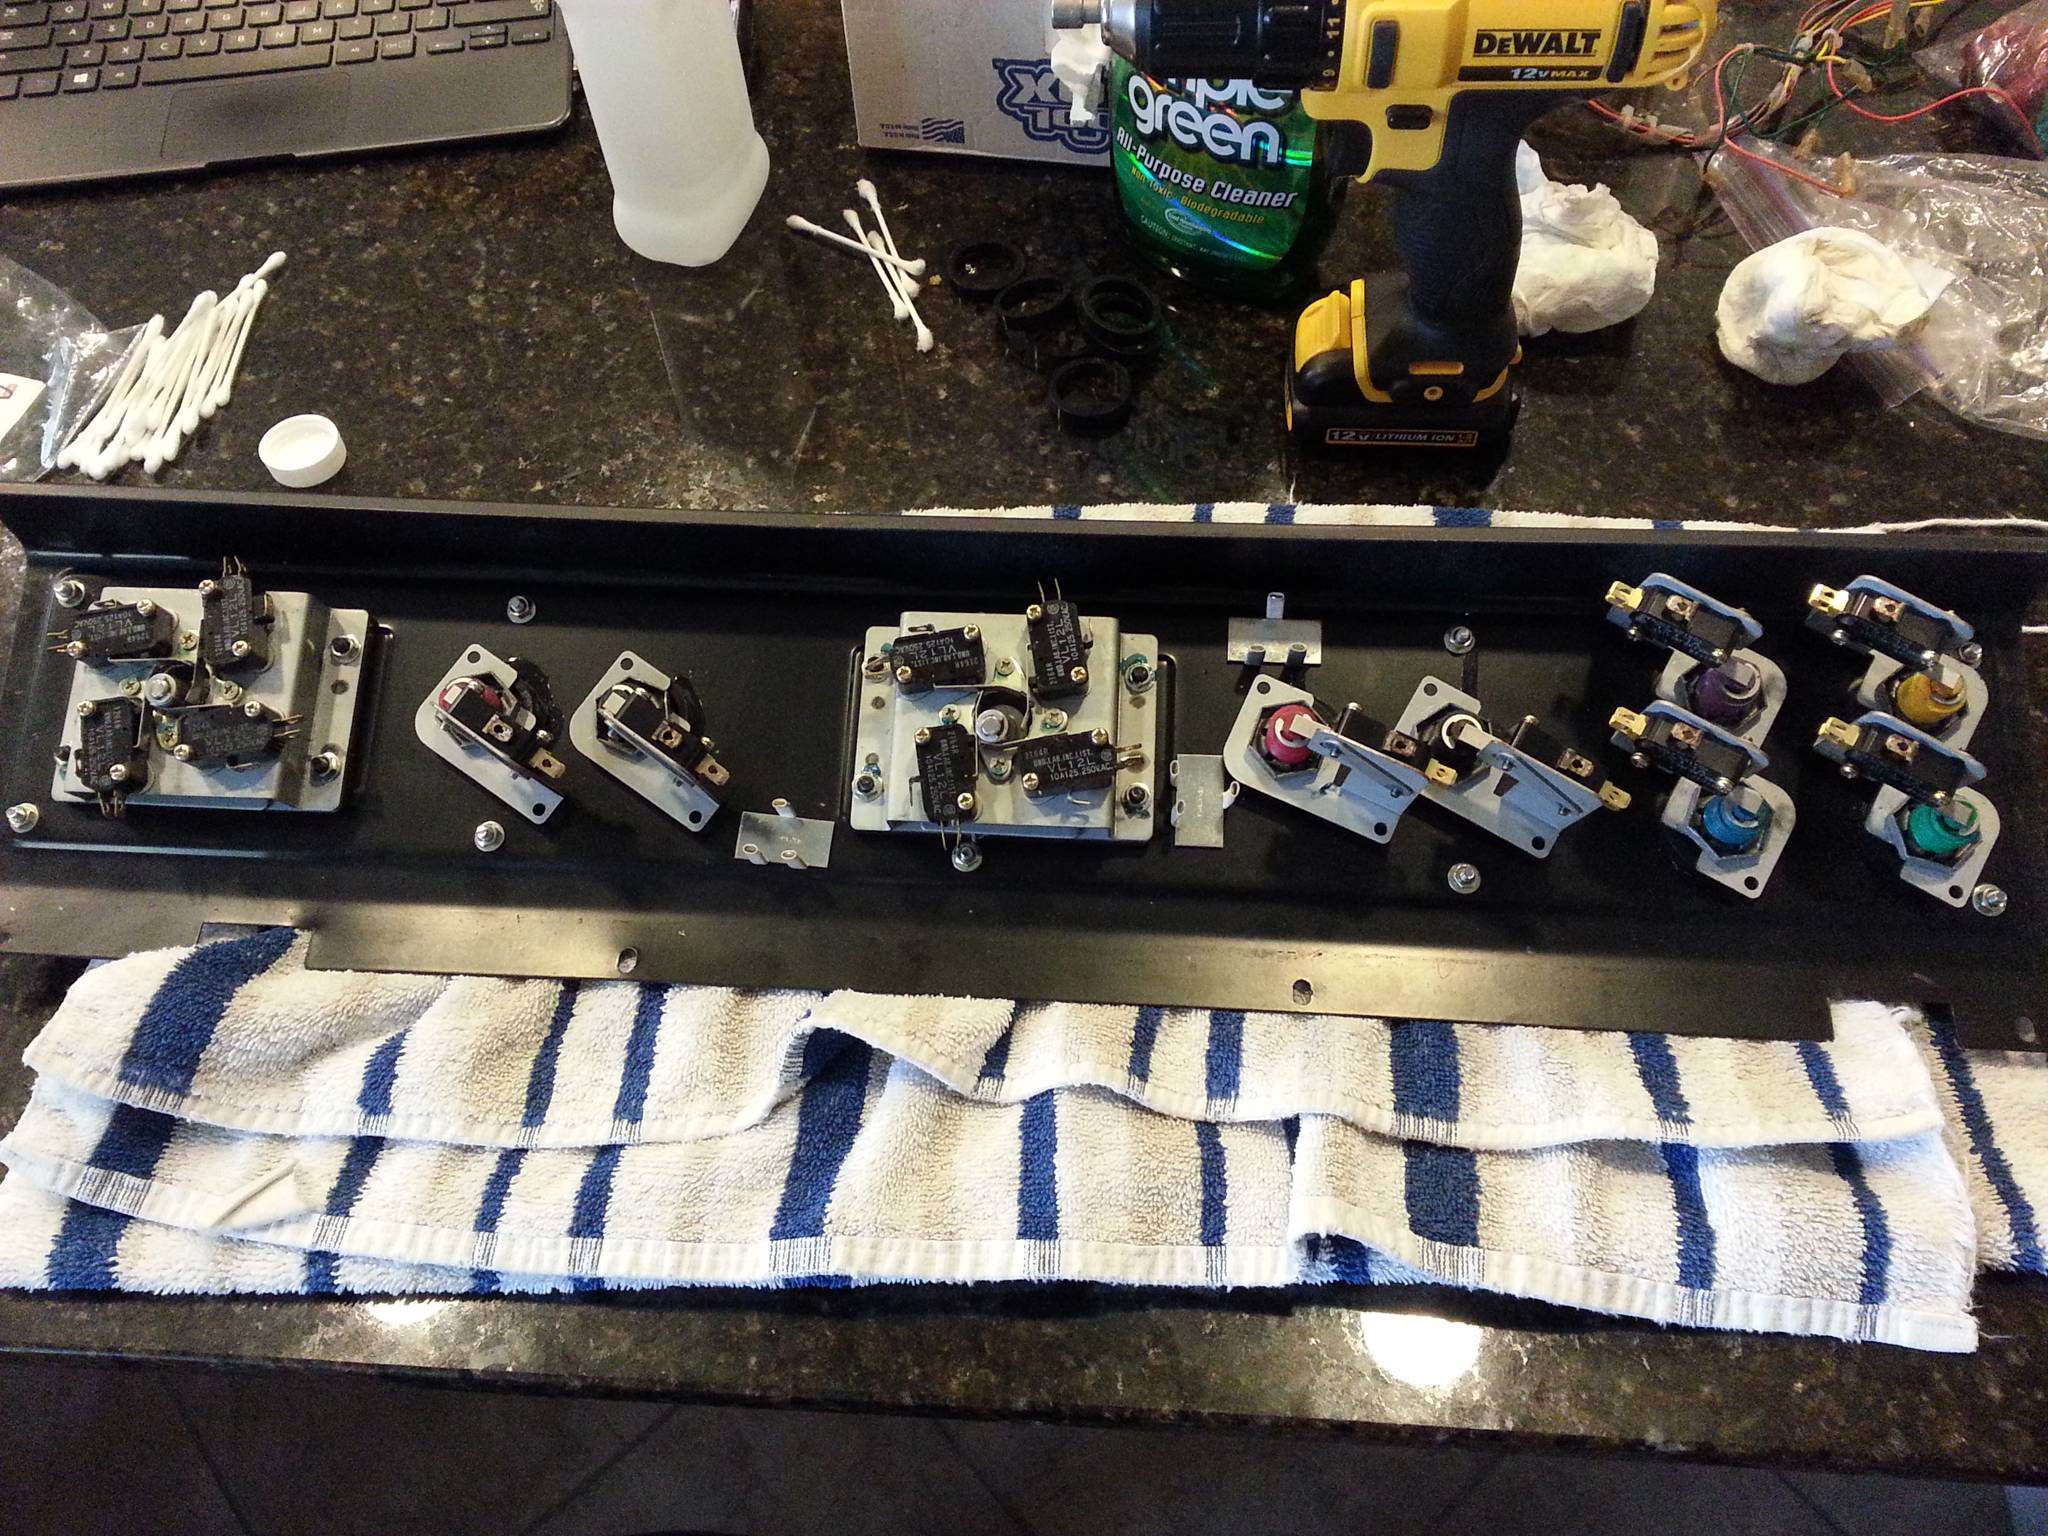
Control Panels
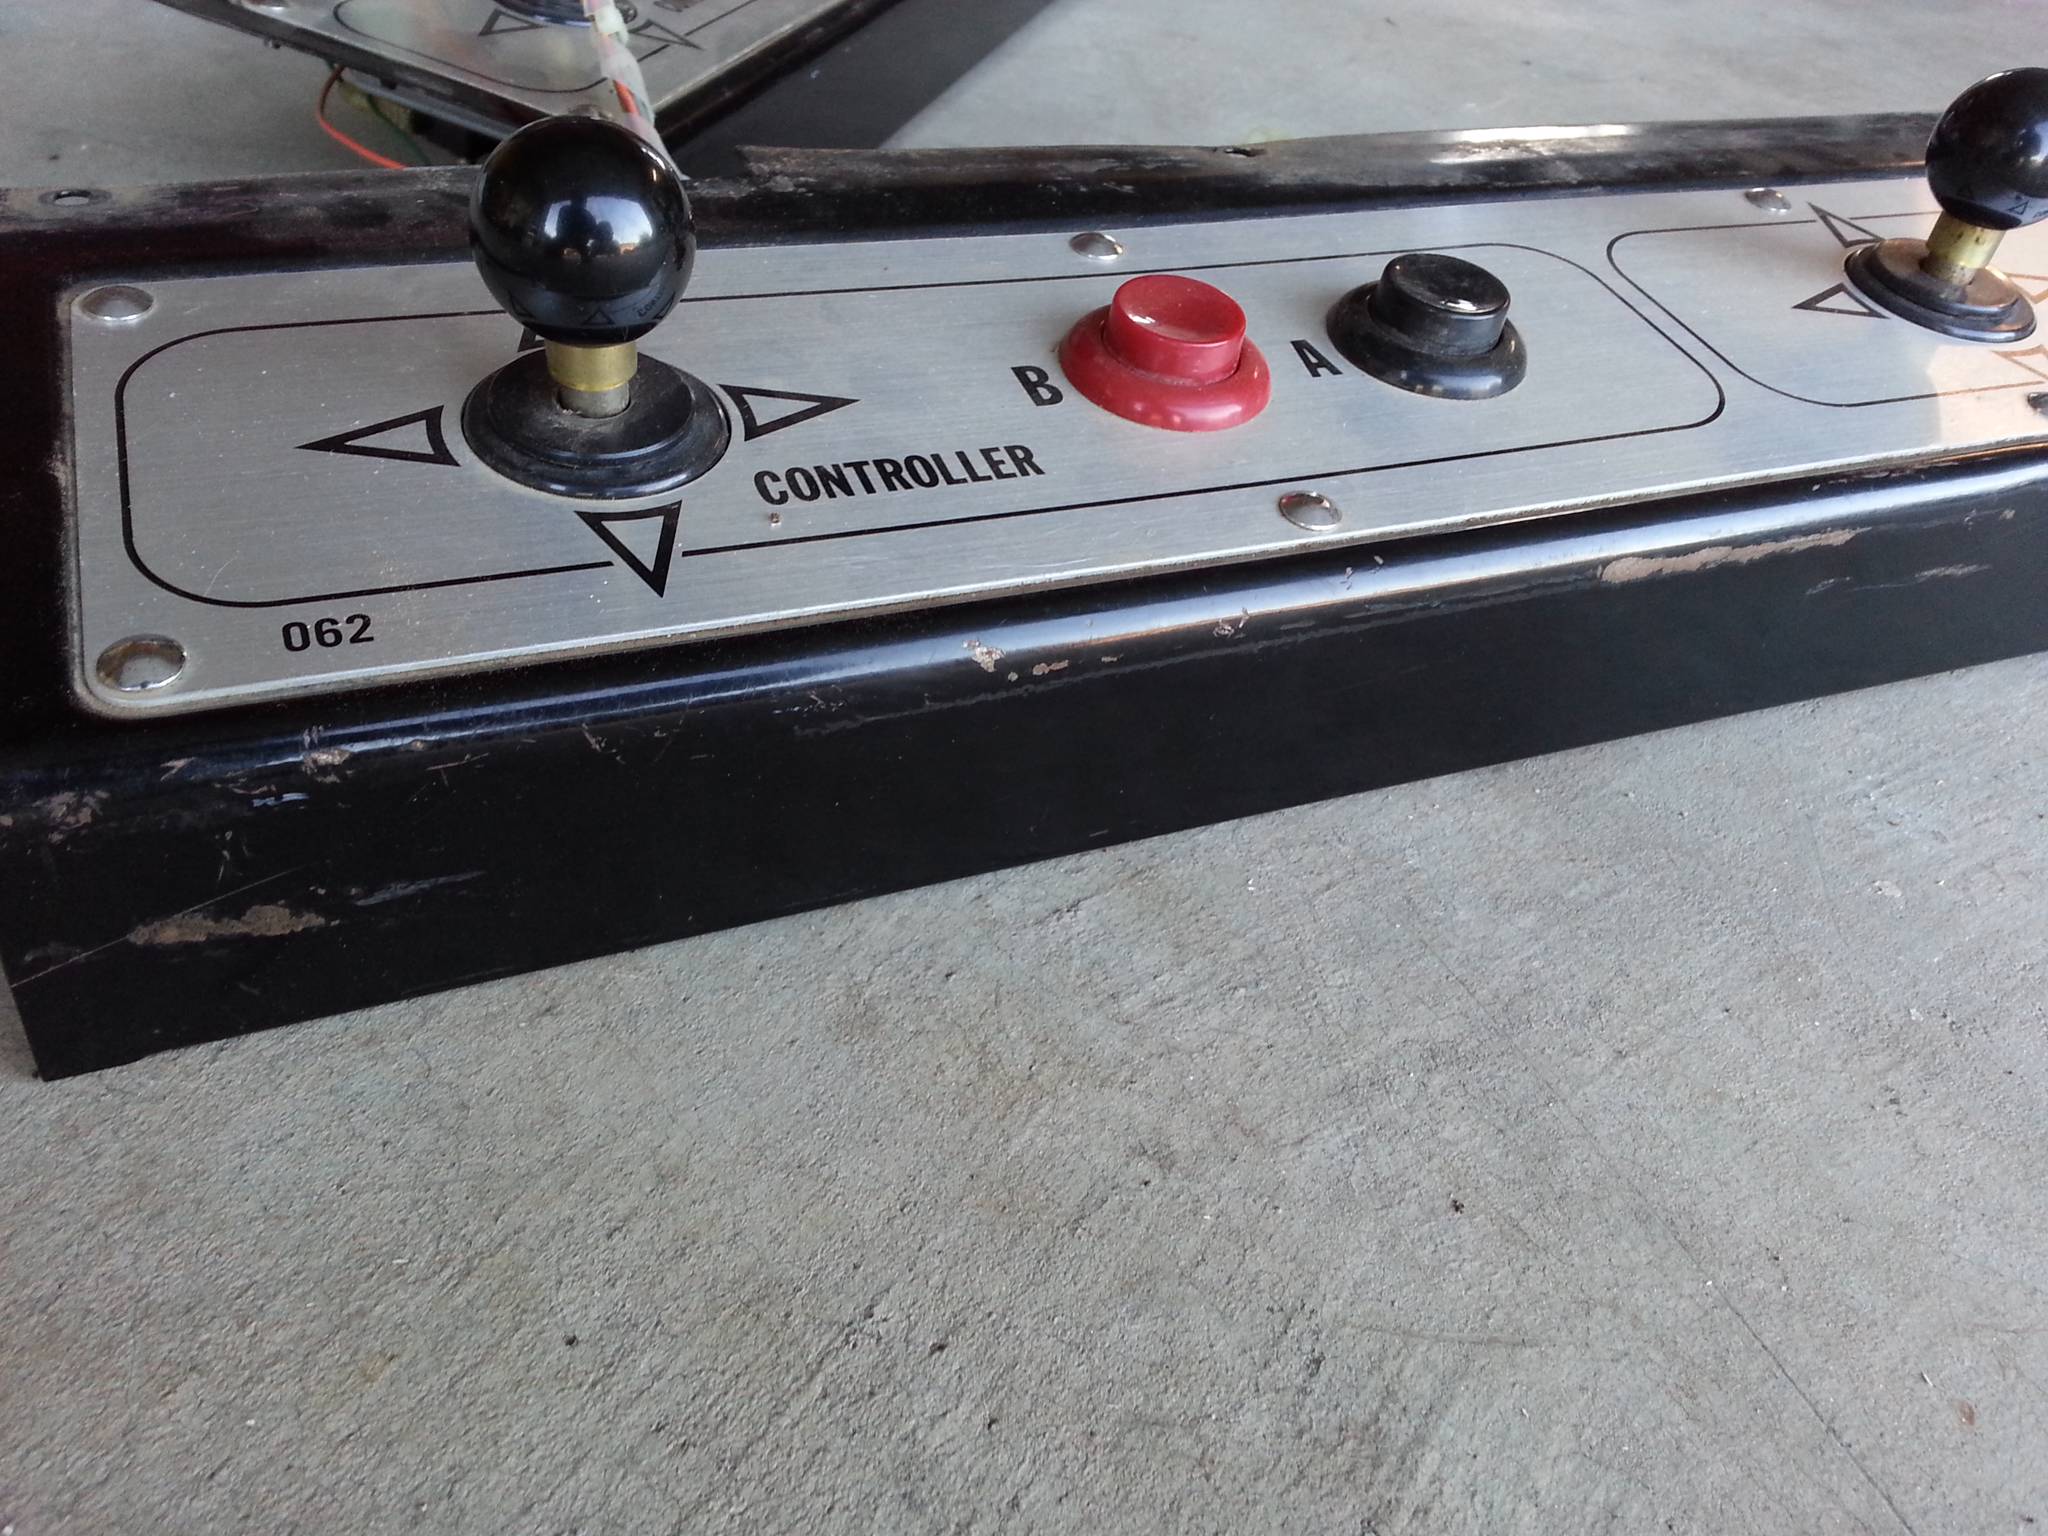
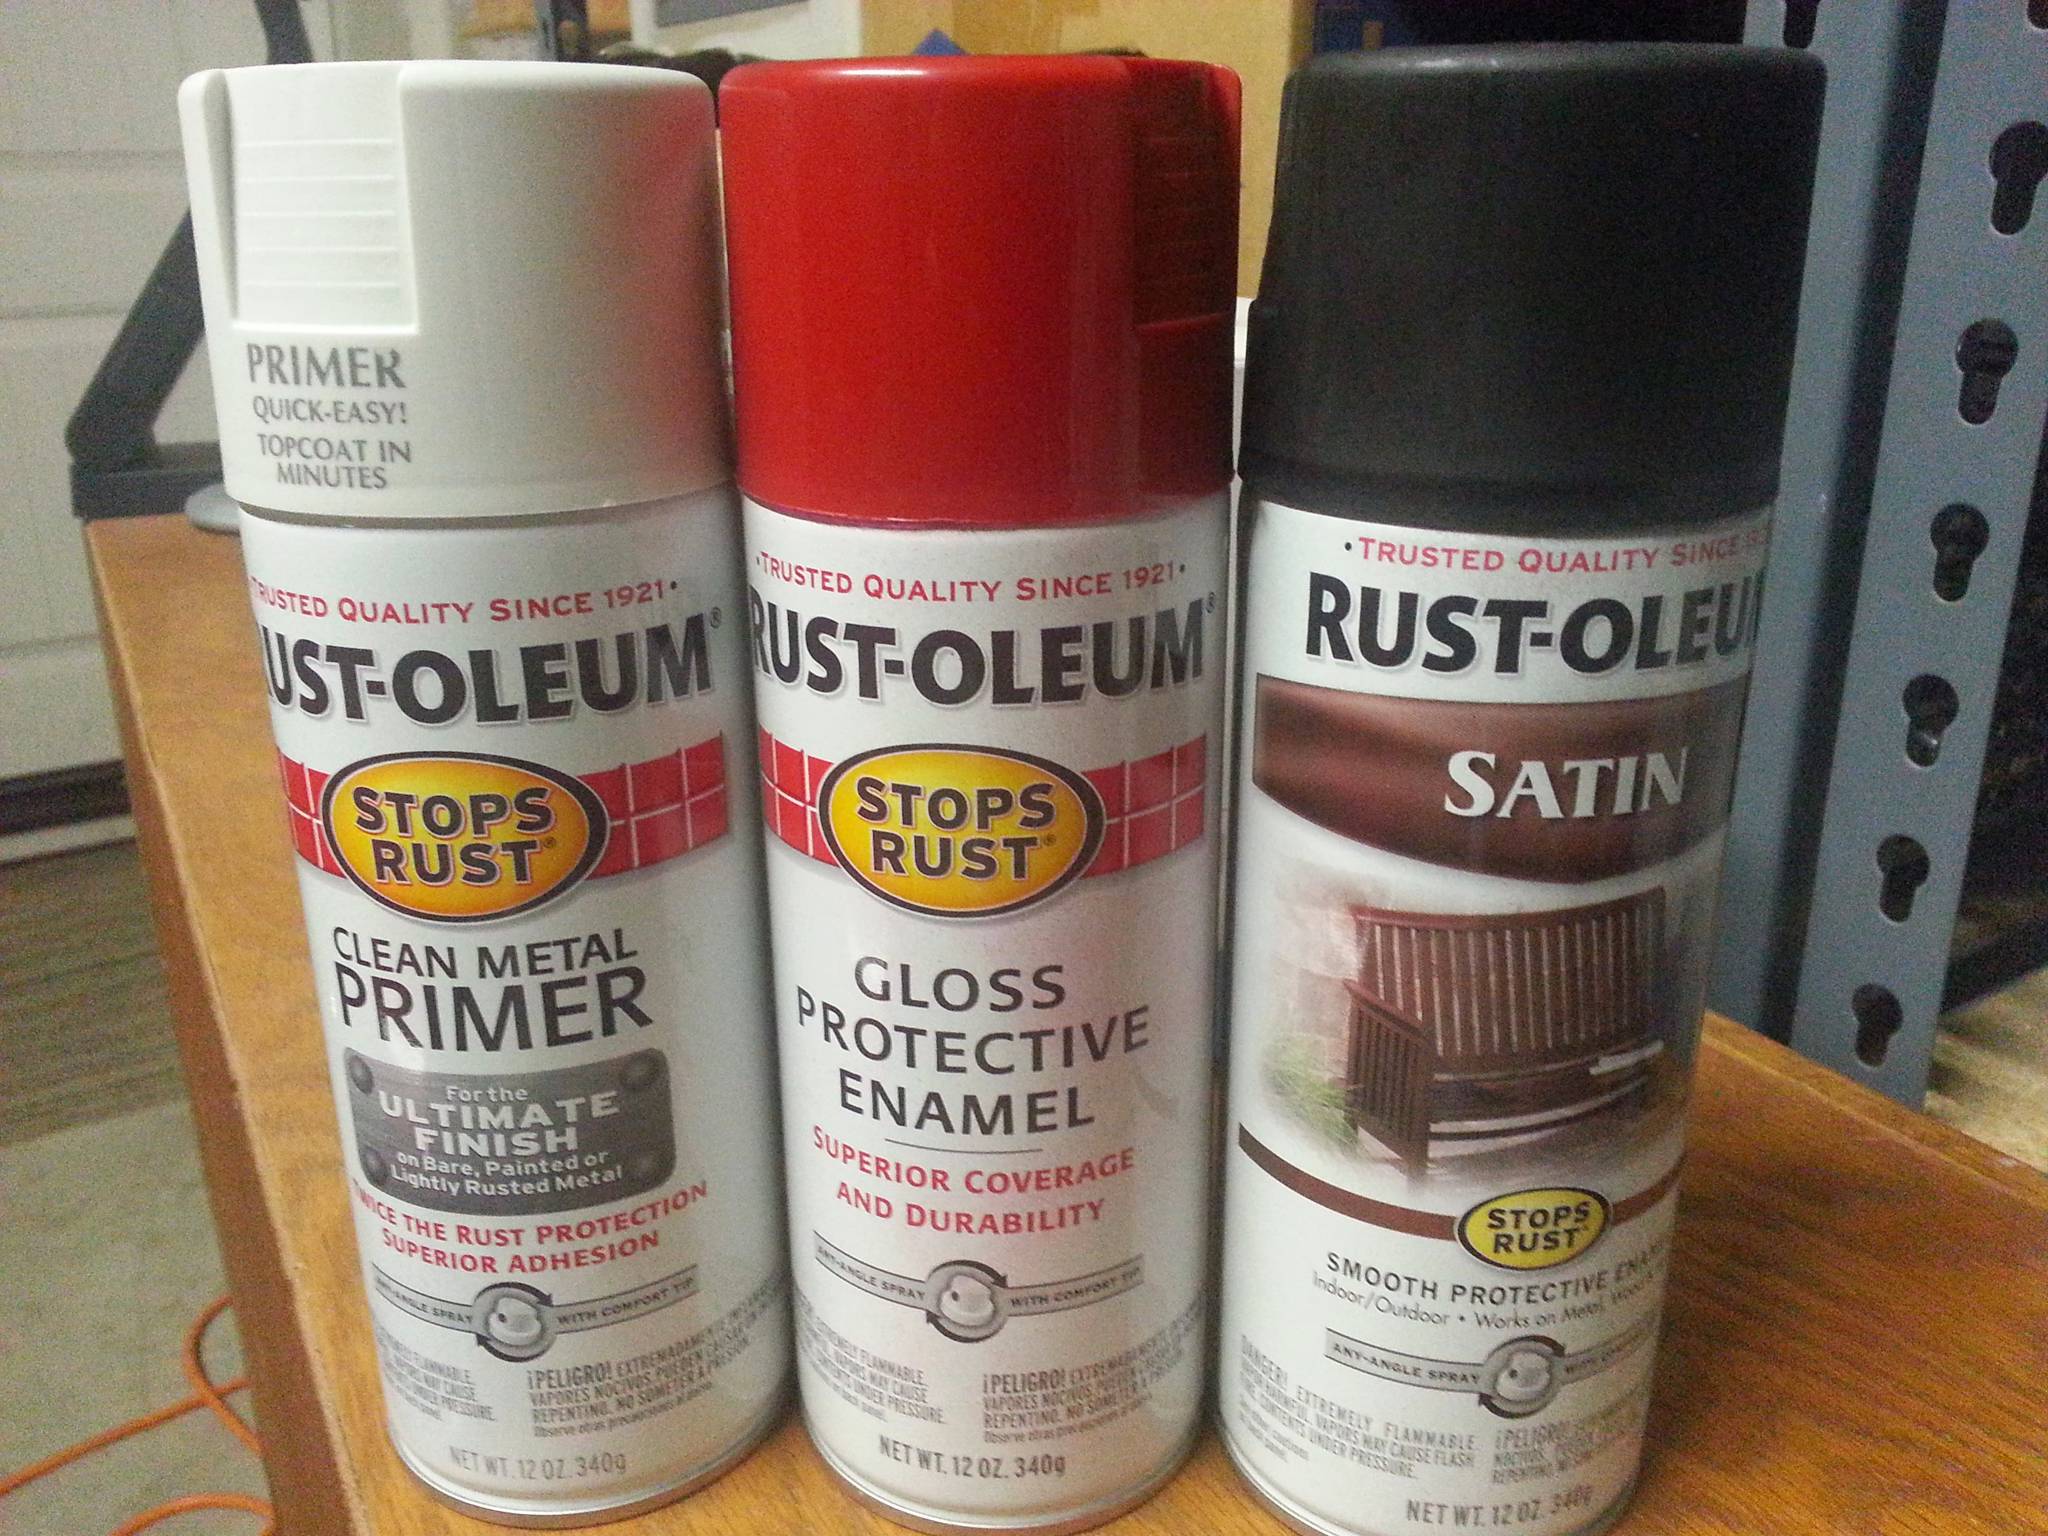
I disassembled the control panels, sanded them down, and repainted them with Rustoleum black. The joysticks had rusted, so the rust needed removal with a Dremel wire brush. I also cleaned all of the buttons and joysticks.
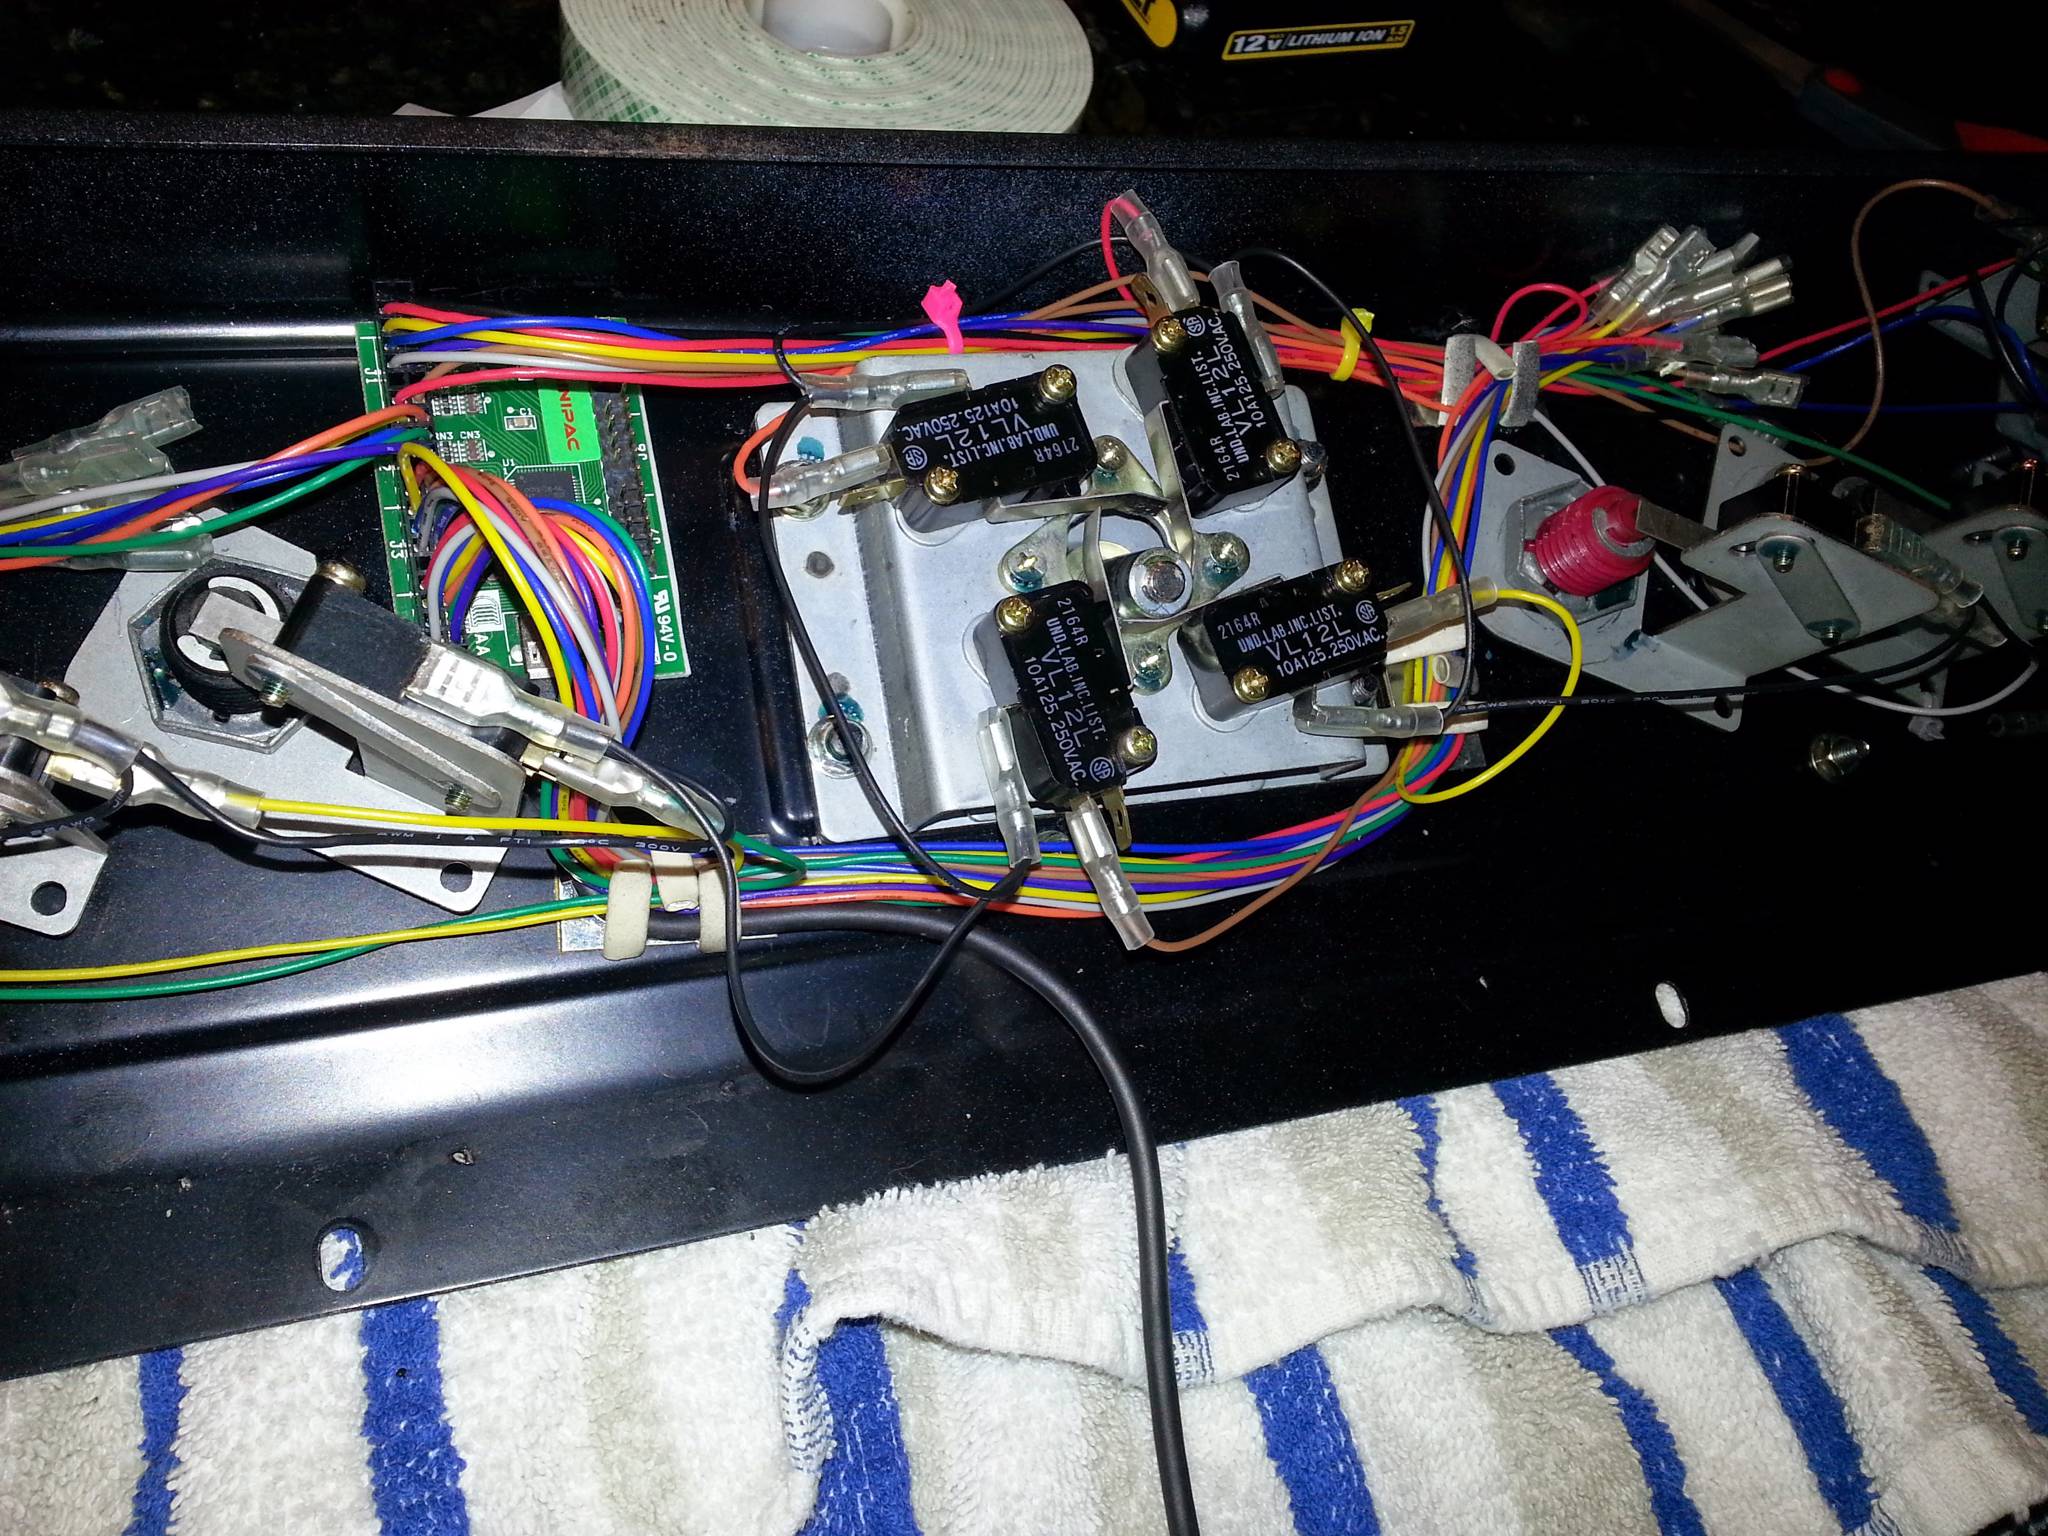
I wired both control panels with a Mini-Pac keyboard encoder and wiring harness.

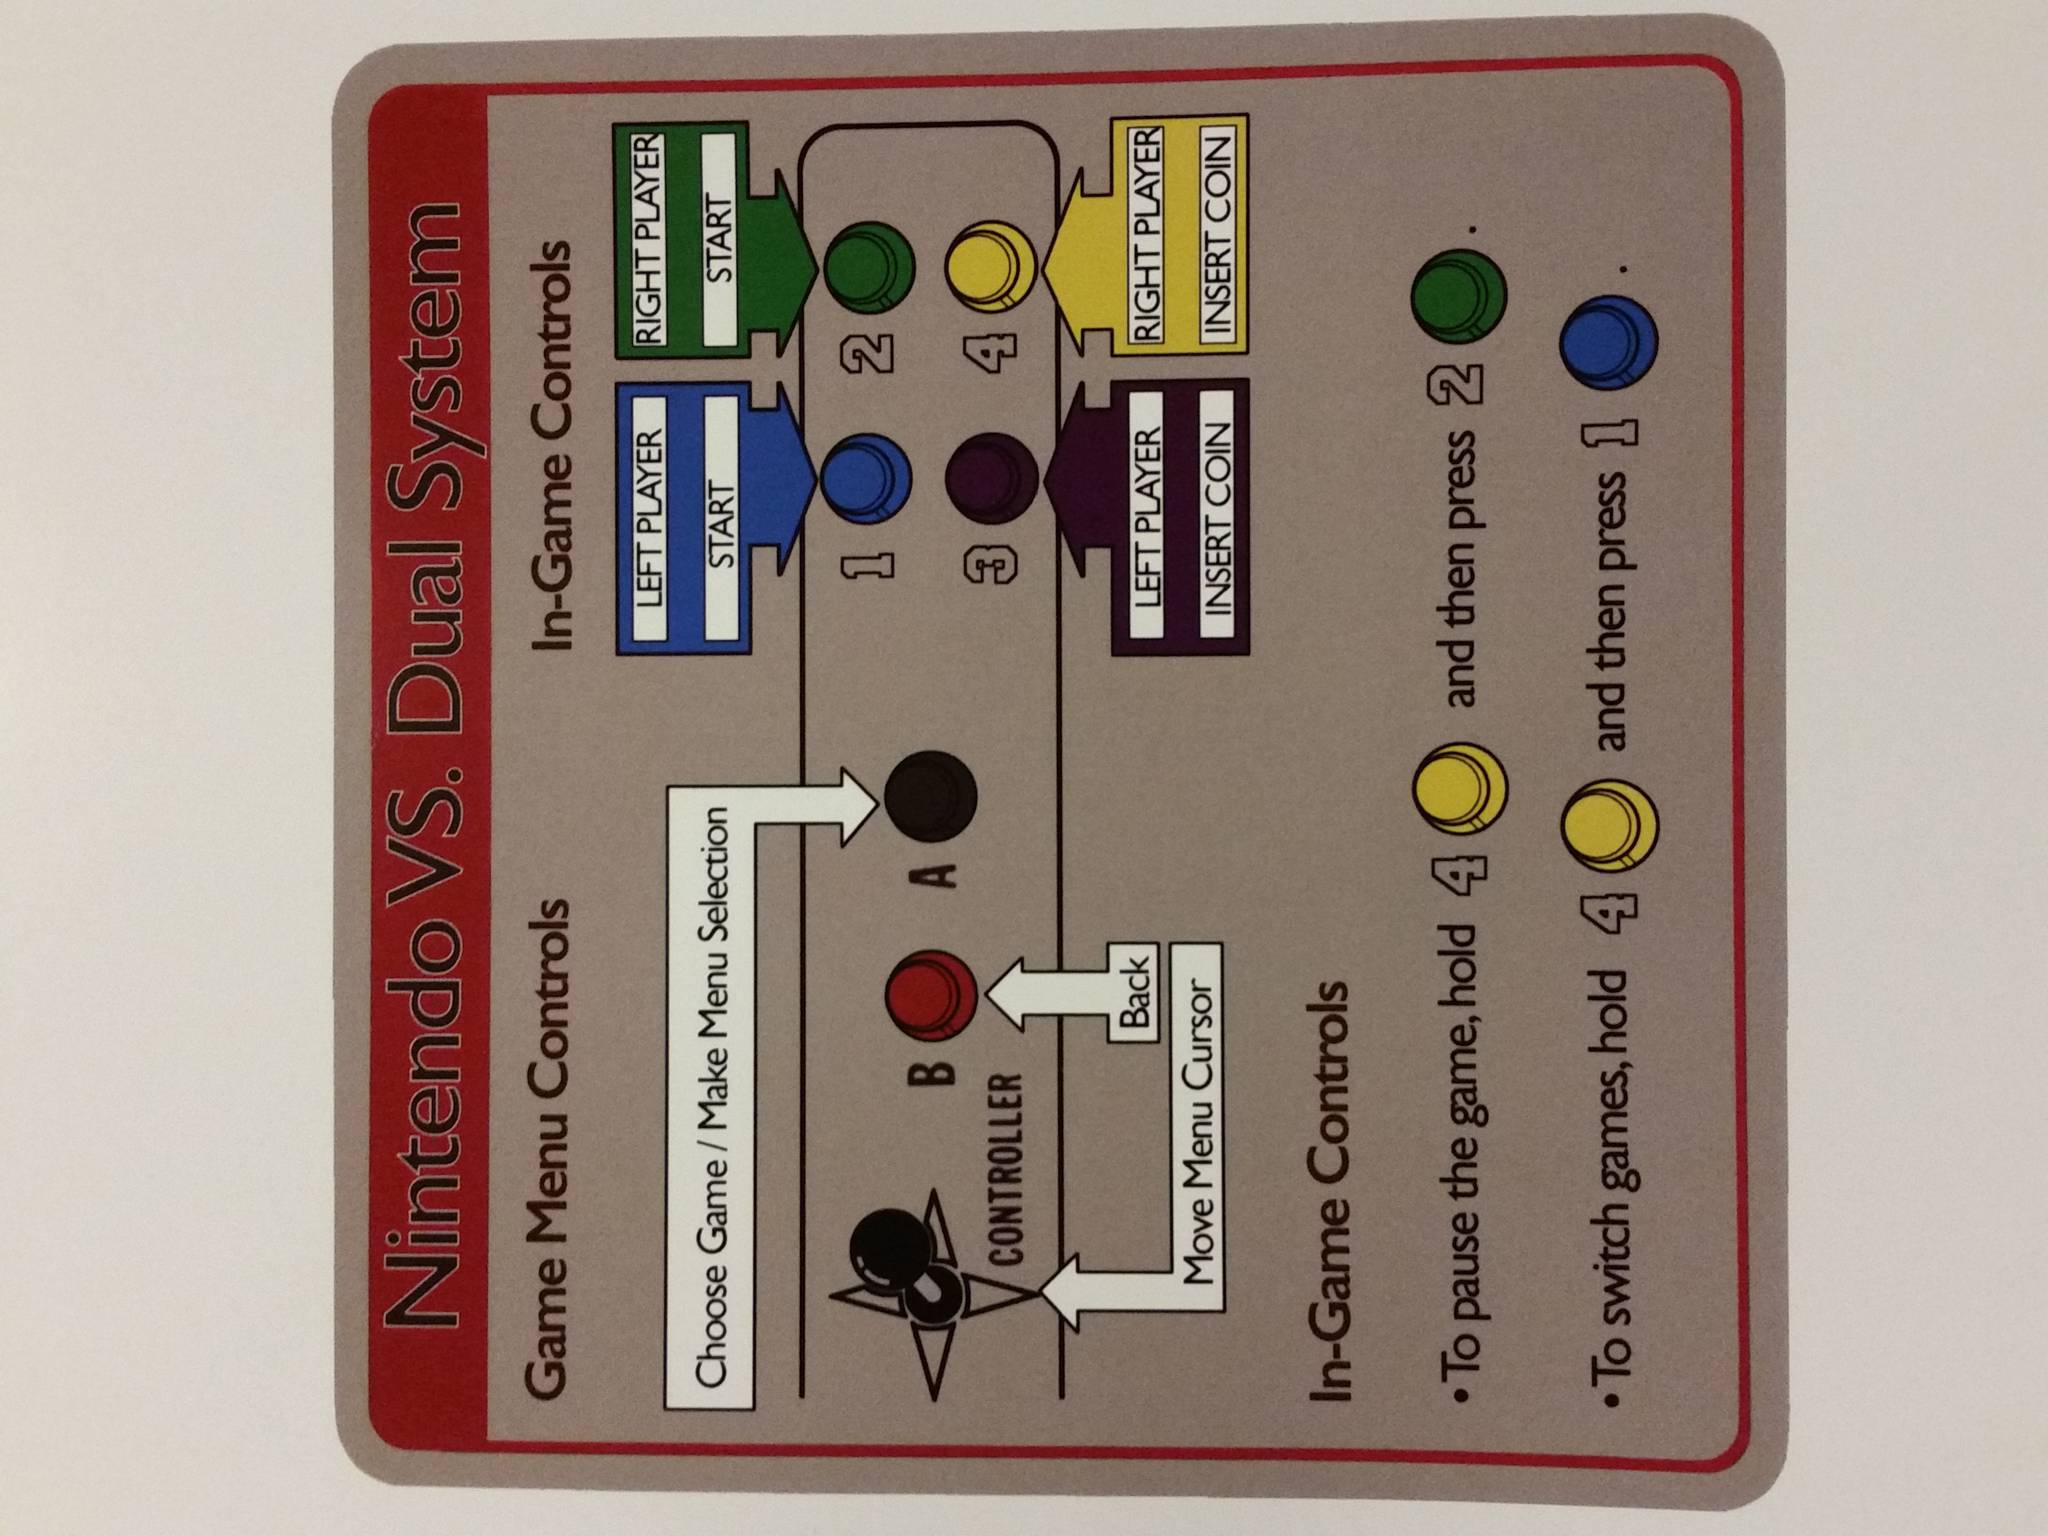
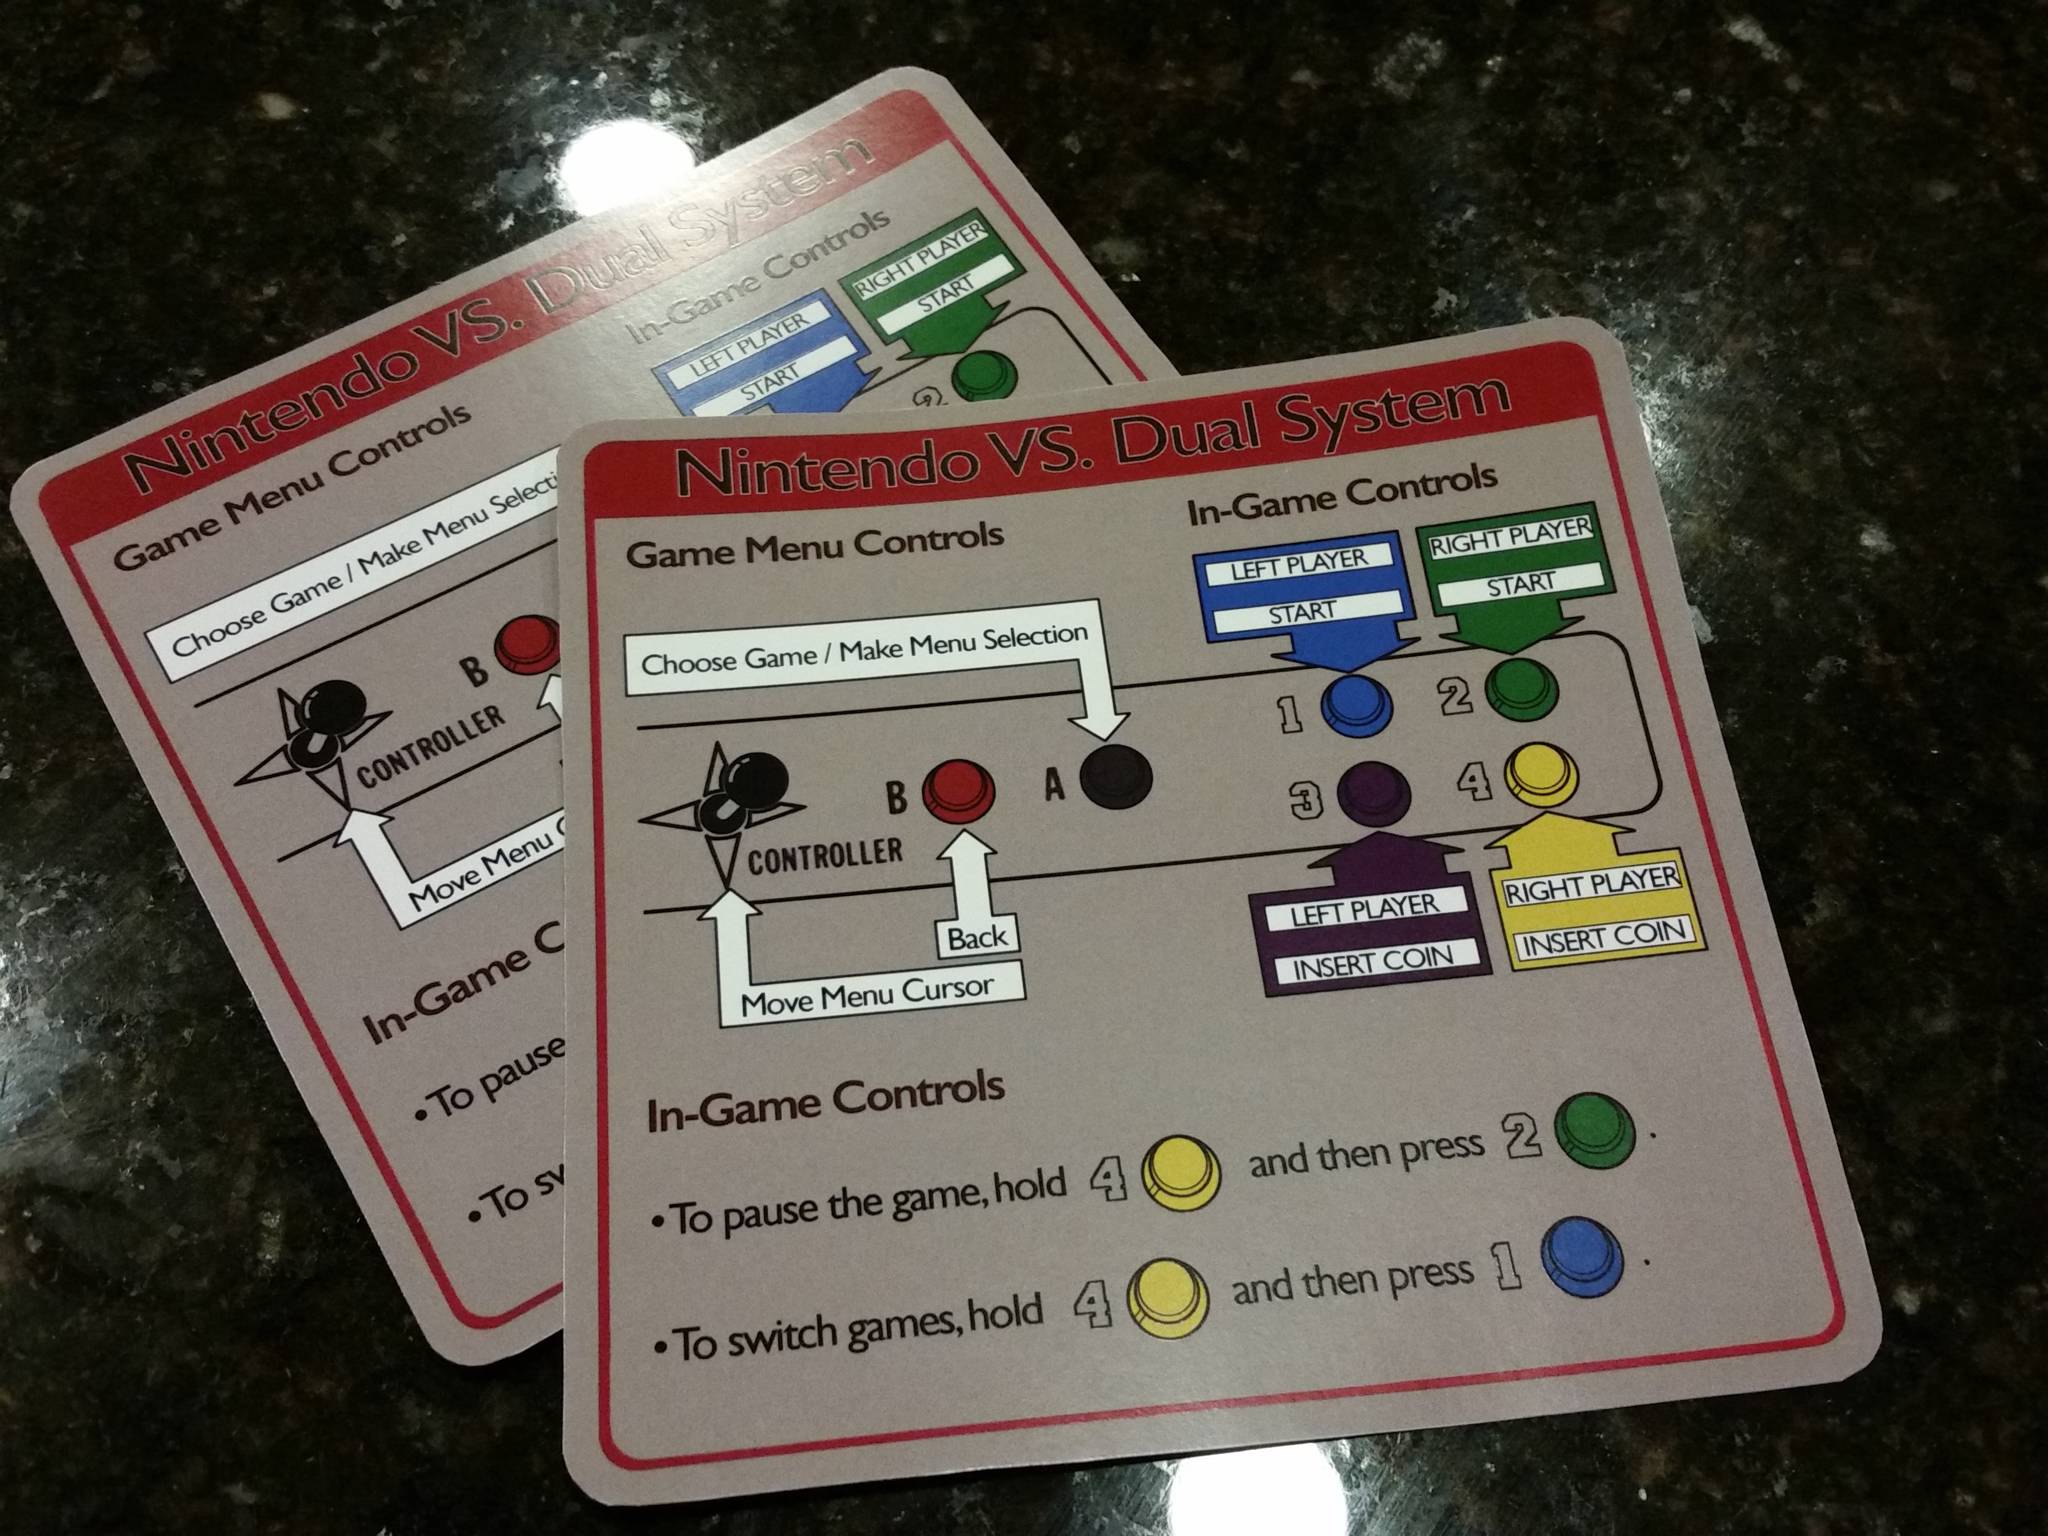
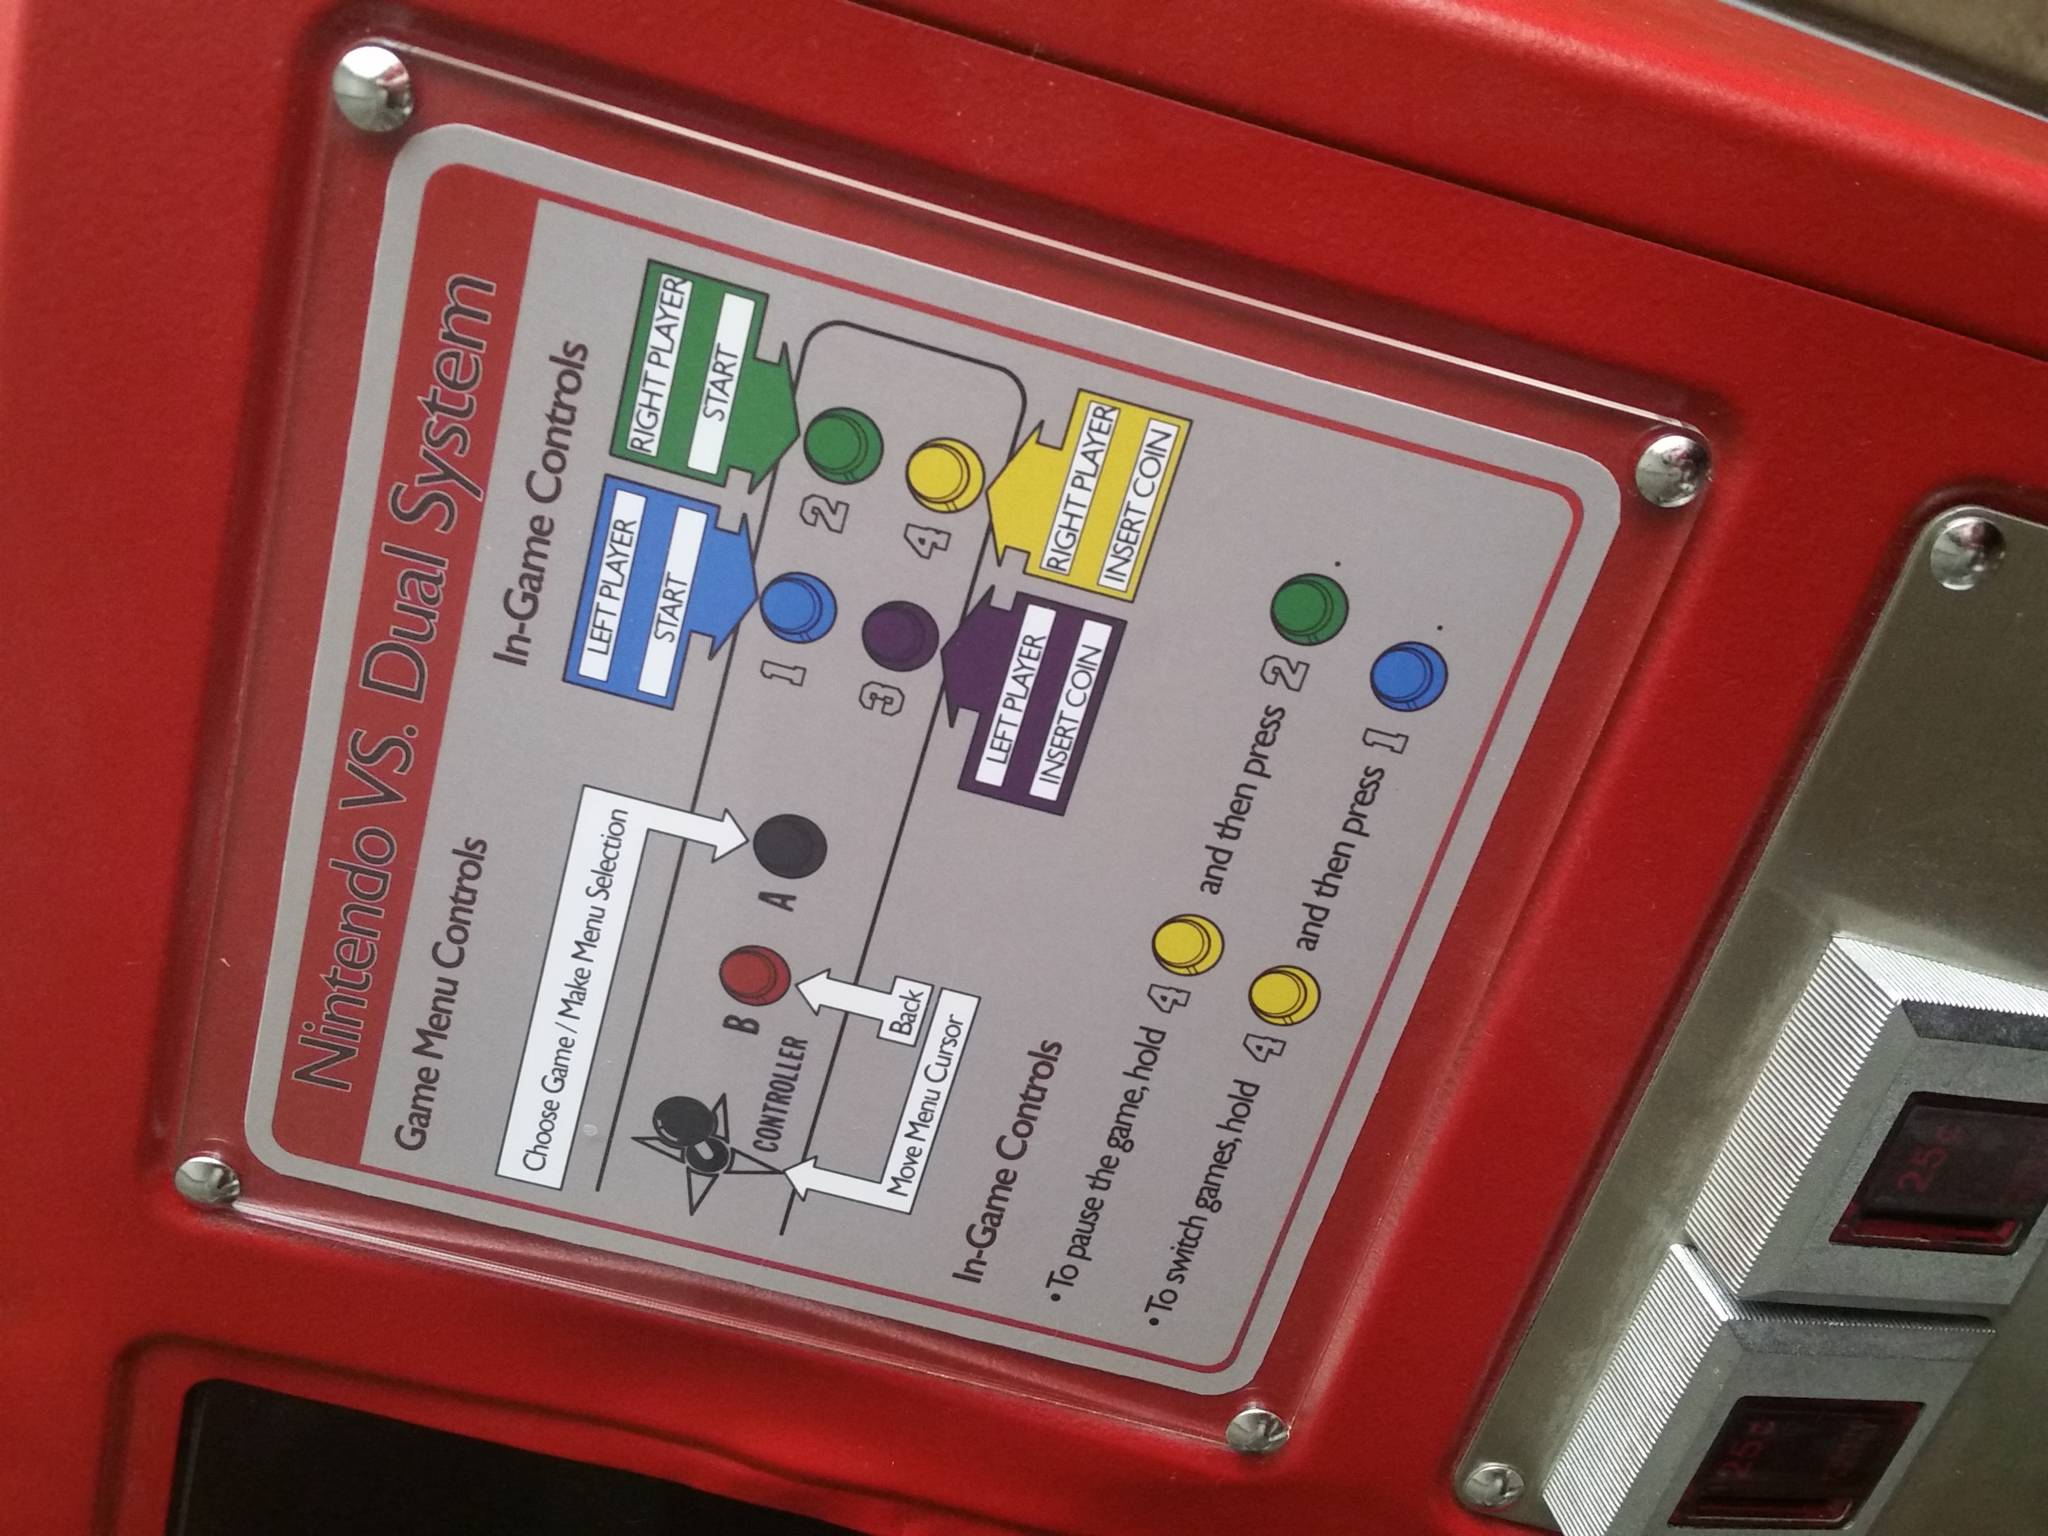
Instruction Cards
I used Photoshop to created a custom instruction card in the style of the originals, and had them printed on high gloss paper at my local office supply store.
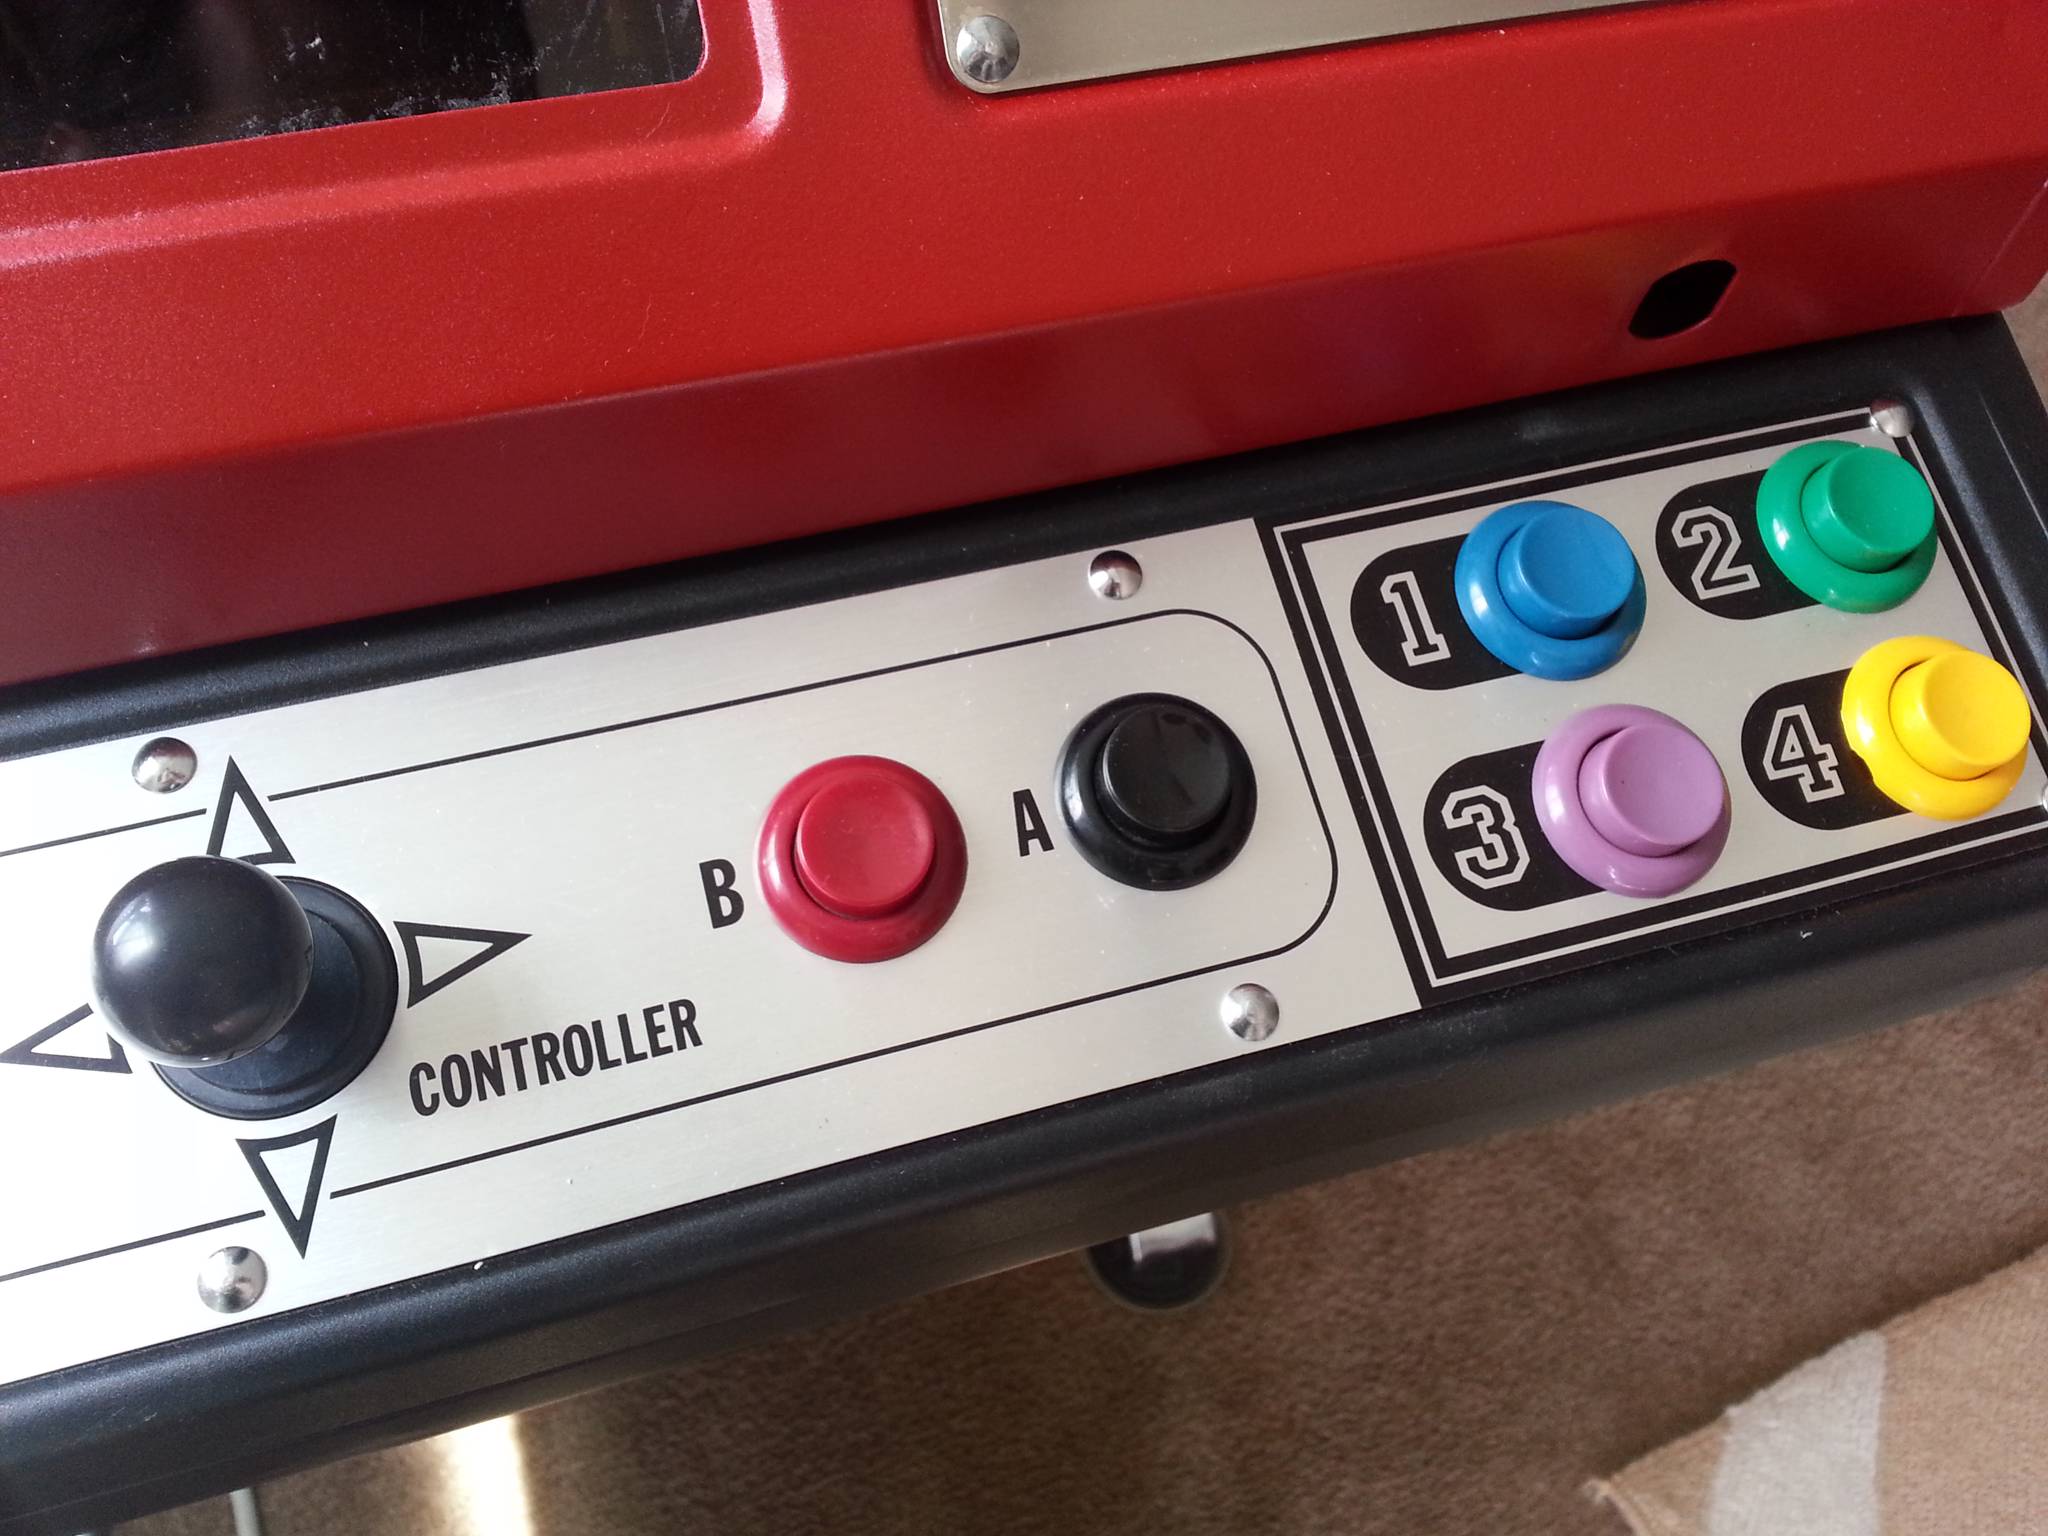
Hardware Complete
I was able to find several odds and ends (plexi glass, screws, coin boxes, keys and locks) via the awesome group of people on the KLOV forums. I can't recommend those forums enough if you're building/restoring arcade machines!

Custom Software
Most of the work on this project went into the software. As mentioned at the beginning of the post, I had to write quite a bit of custom software for this project because I wanted to use a single PC to drive both sides of the cabinet.
This meant that two different MAME instances needed to be able to run and receive input, as well as to output audio to the correct speaker. I also wanted to be able to play the same game on both screens for 4-player co-op titles like TMNT, Gauntlet, and The Simpsons.
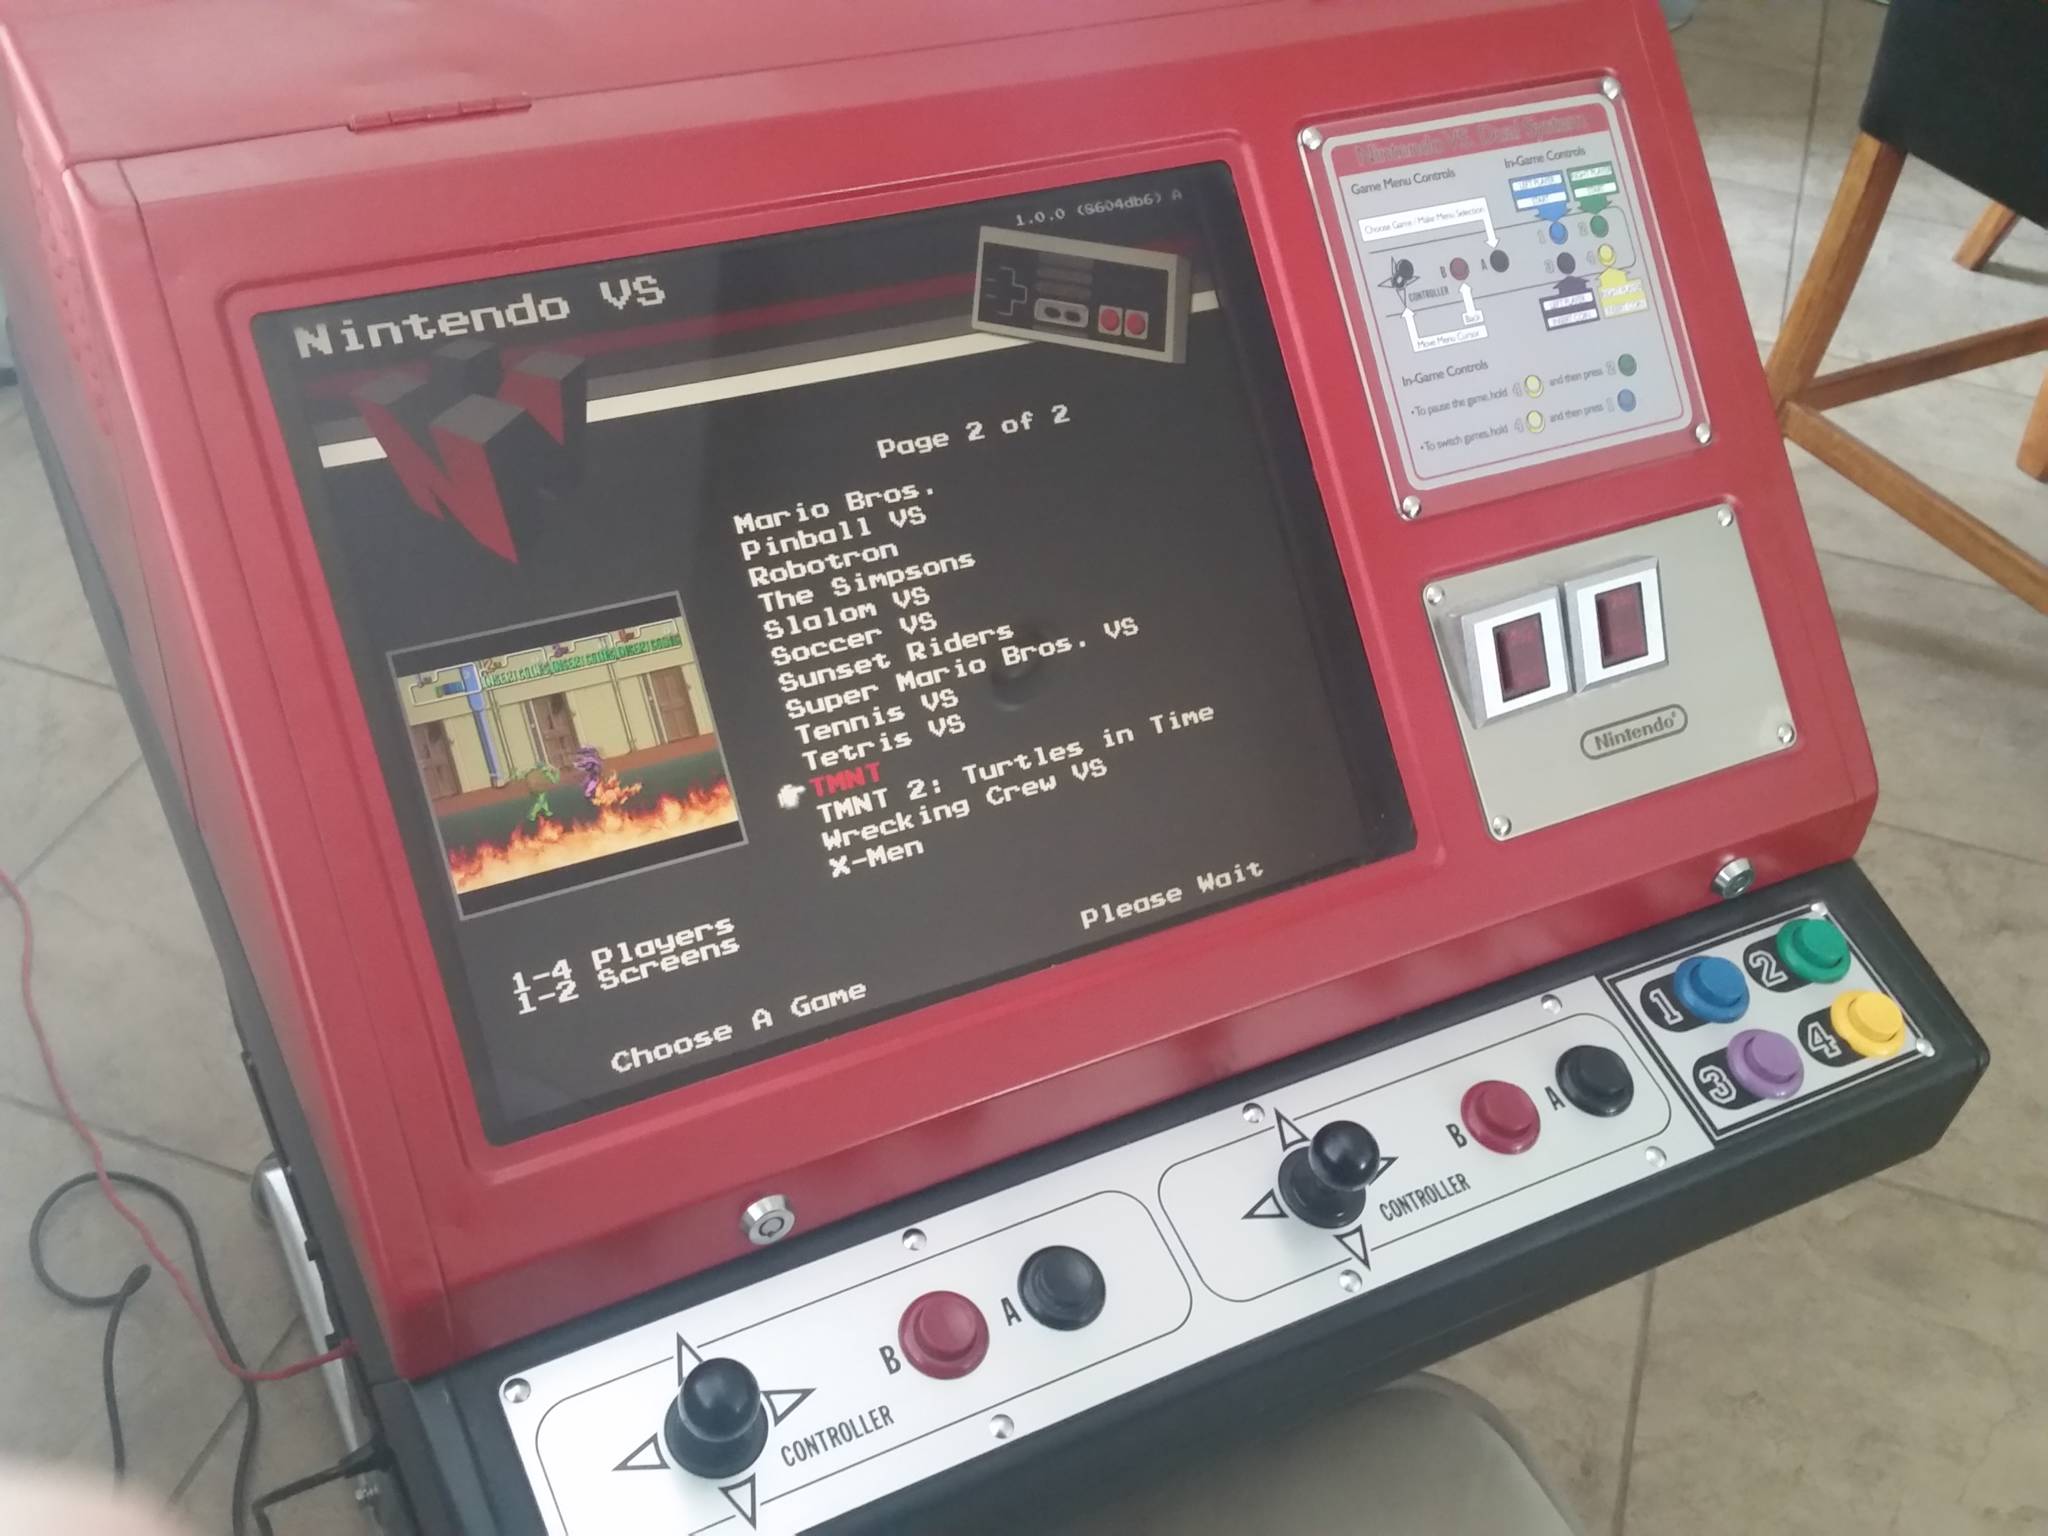
Here is a video walkthrough, which direct screen video capture, showing the frontend in action:
This required writing a custom graphical frontend (for selecting games), a C# Win32 keyboard hook (for routing button presses to the correct side of the cabinet), and a custom patch for MAME to specify whether audio should play on the left, right, or both channels.
All of this is open source and documented on GitHub. The readme goes into much more detail on how to replicate this setup.
A full gallery of pictures showing the restoration process is available via Imgur. 👈 📷
LCD Plexiglass Update (2019)
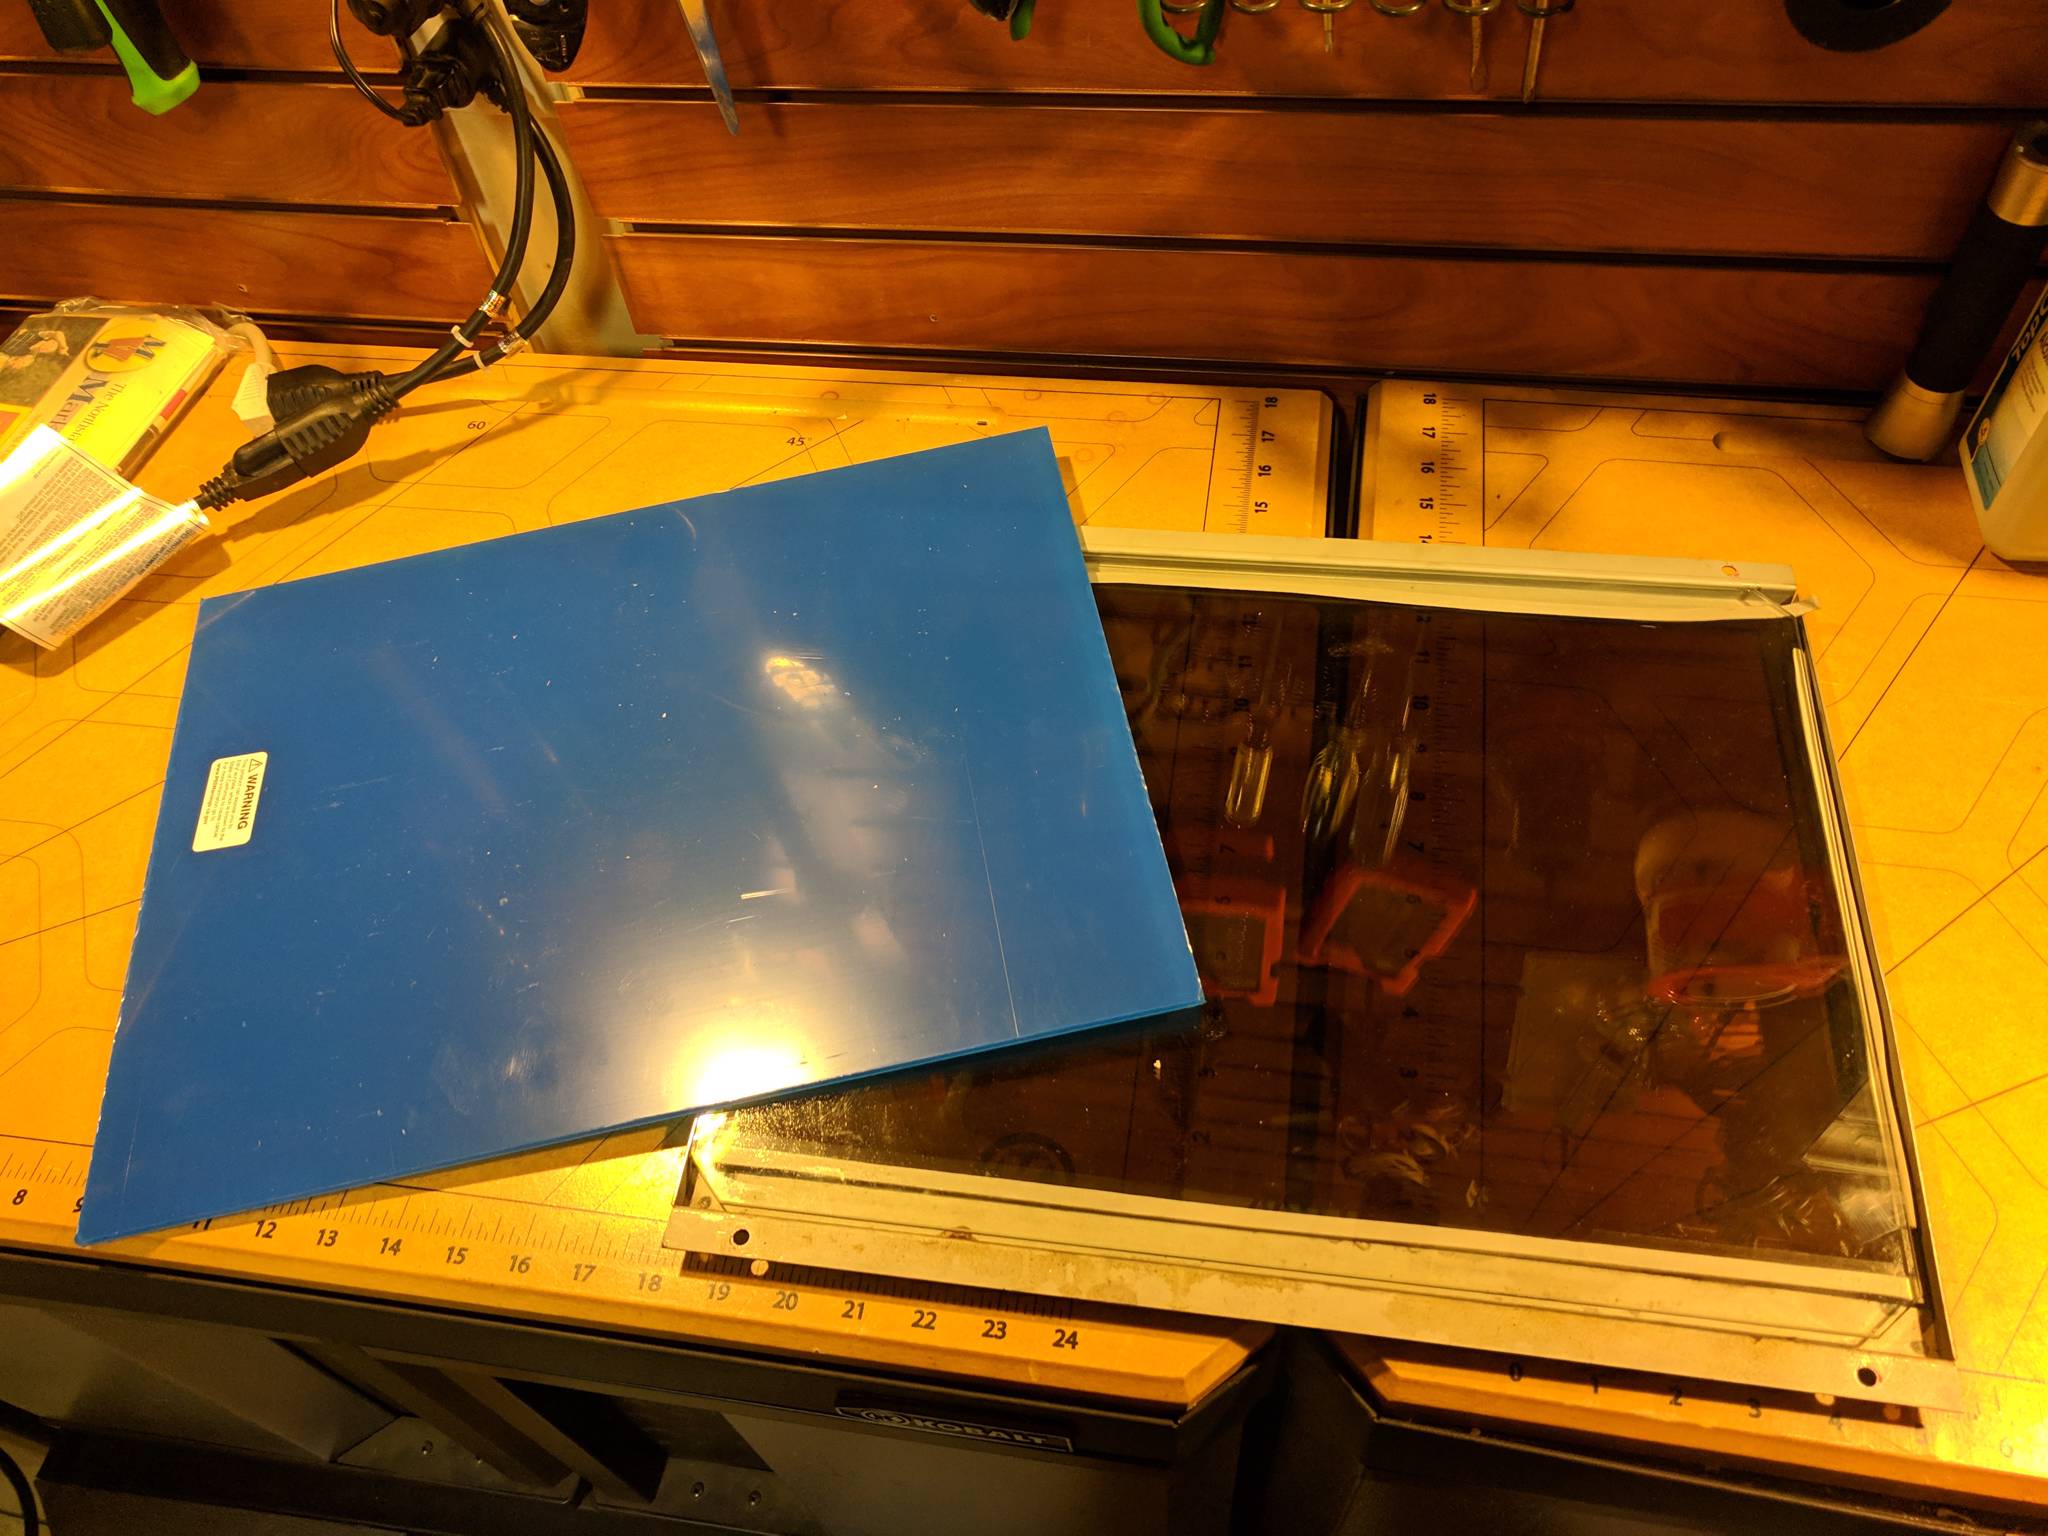
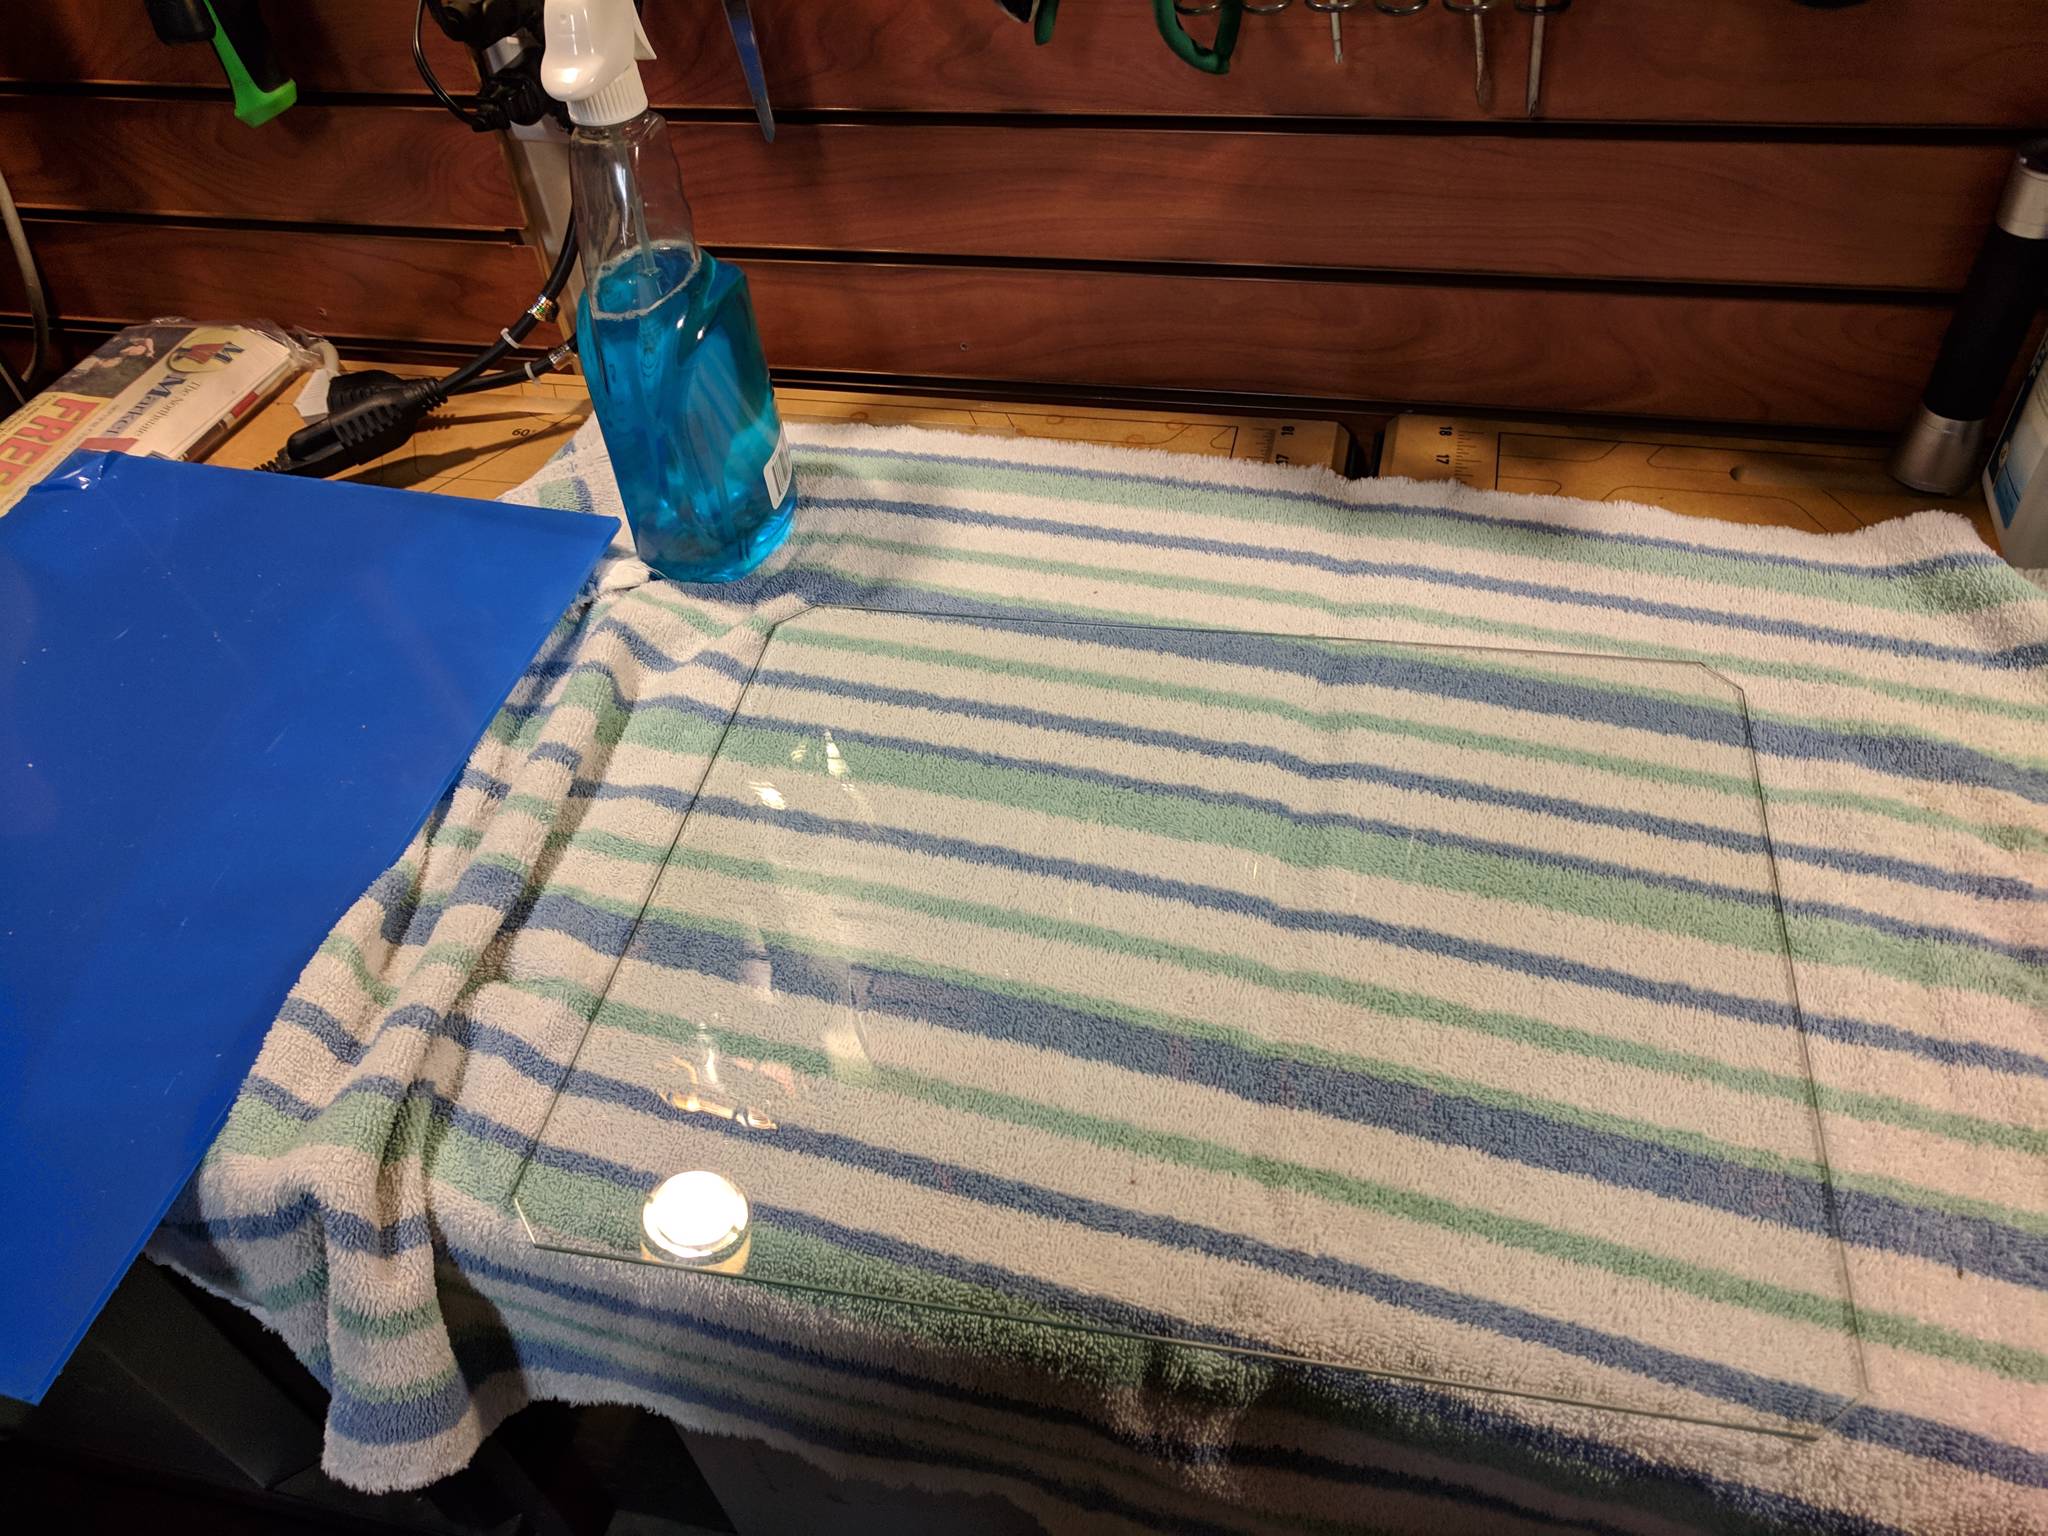
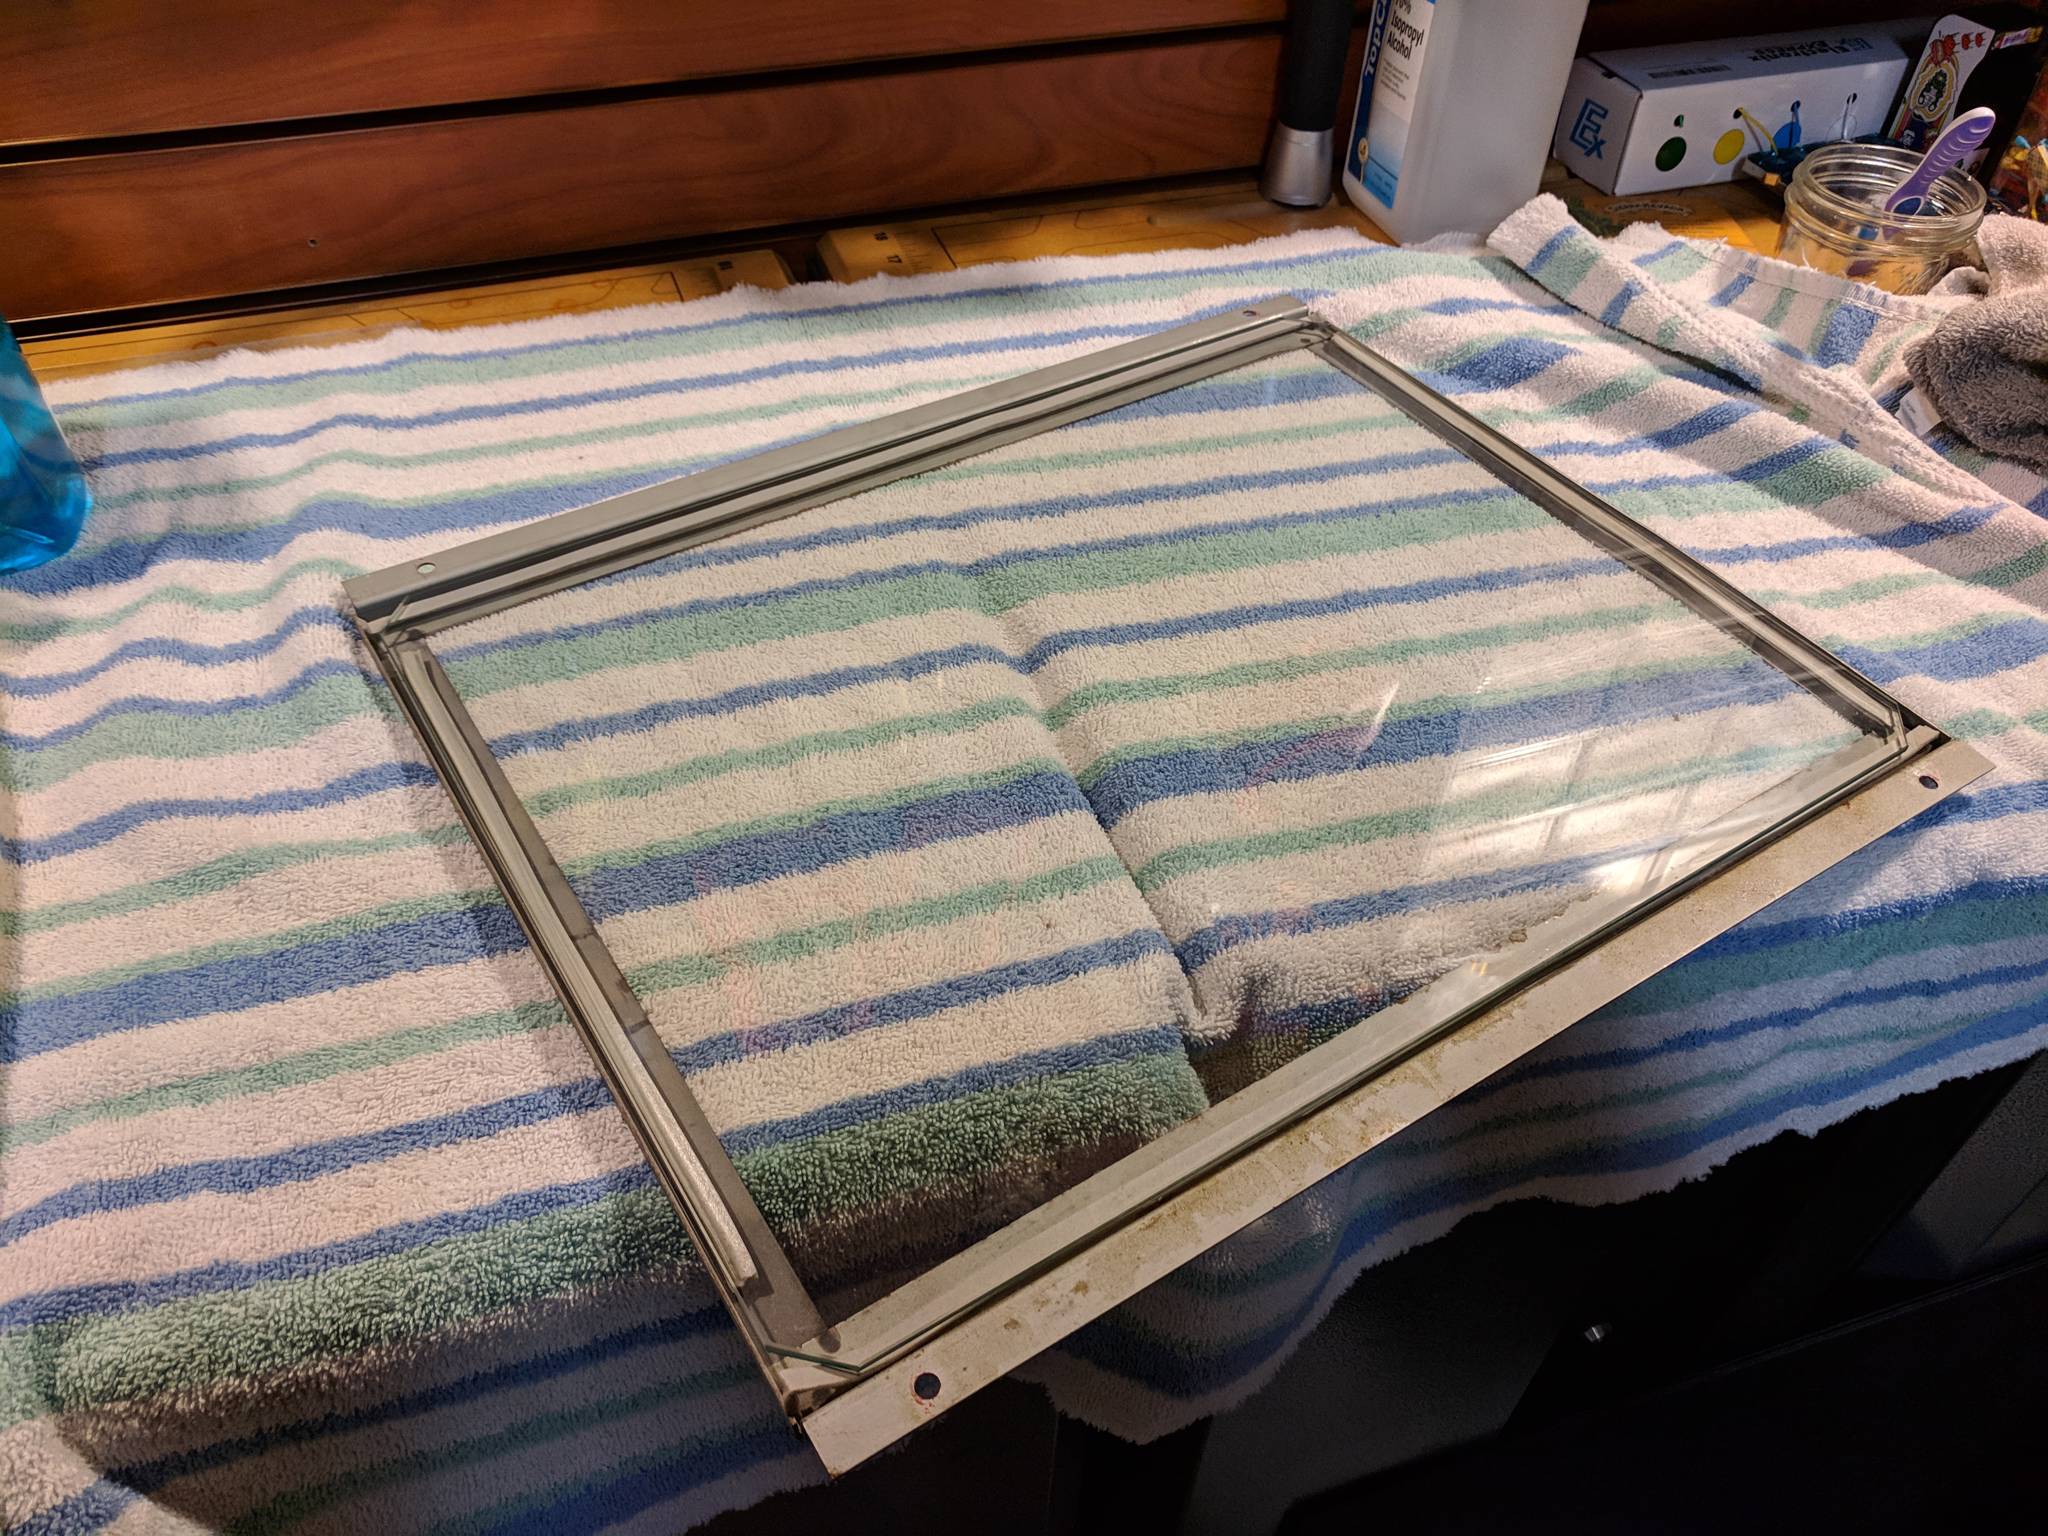
One disadvantage to using LCDs is that they aren't quite as bright as the original CRTs. The original cabinet uses apiece of tinted black plexiglass in addition to the regular glass bezel, which made it even harder to see the LCDs, especially during daylight.
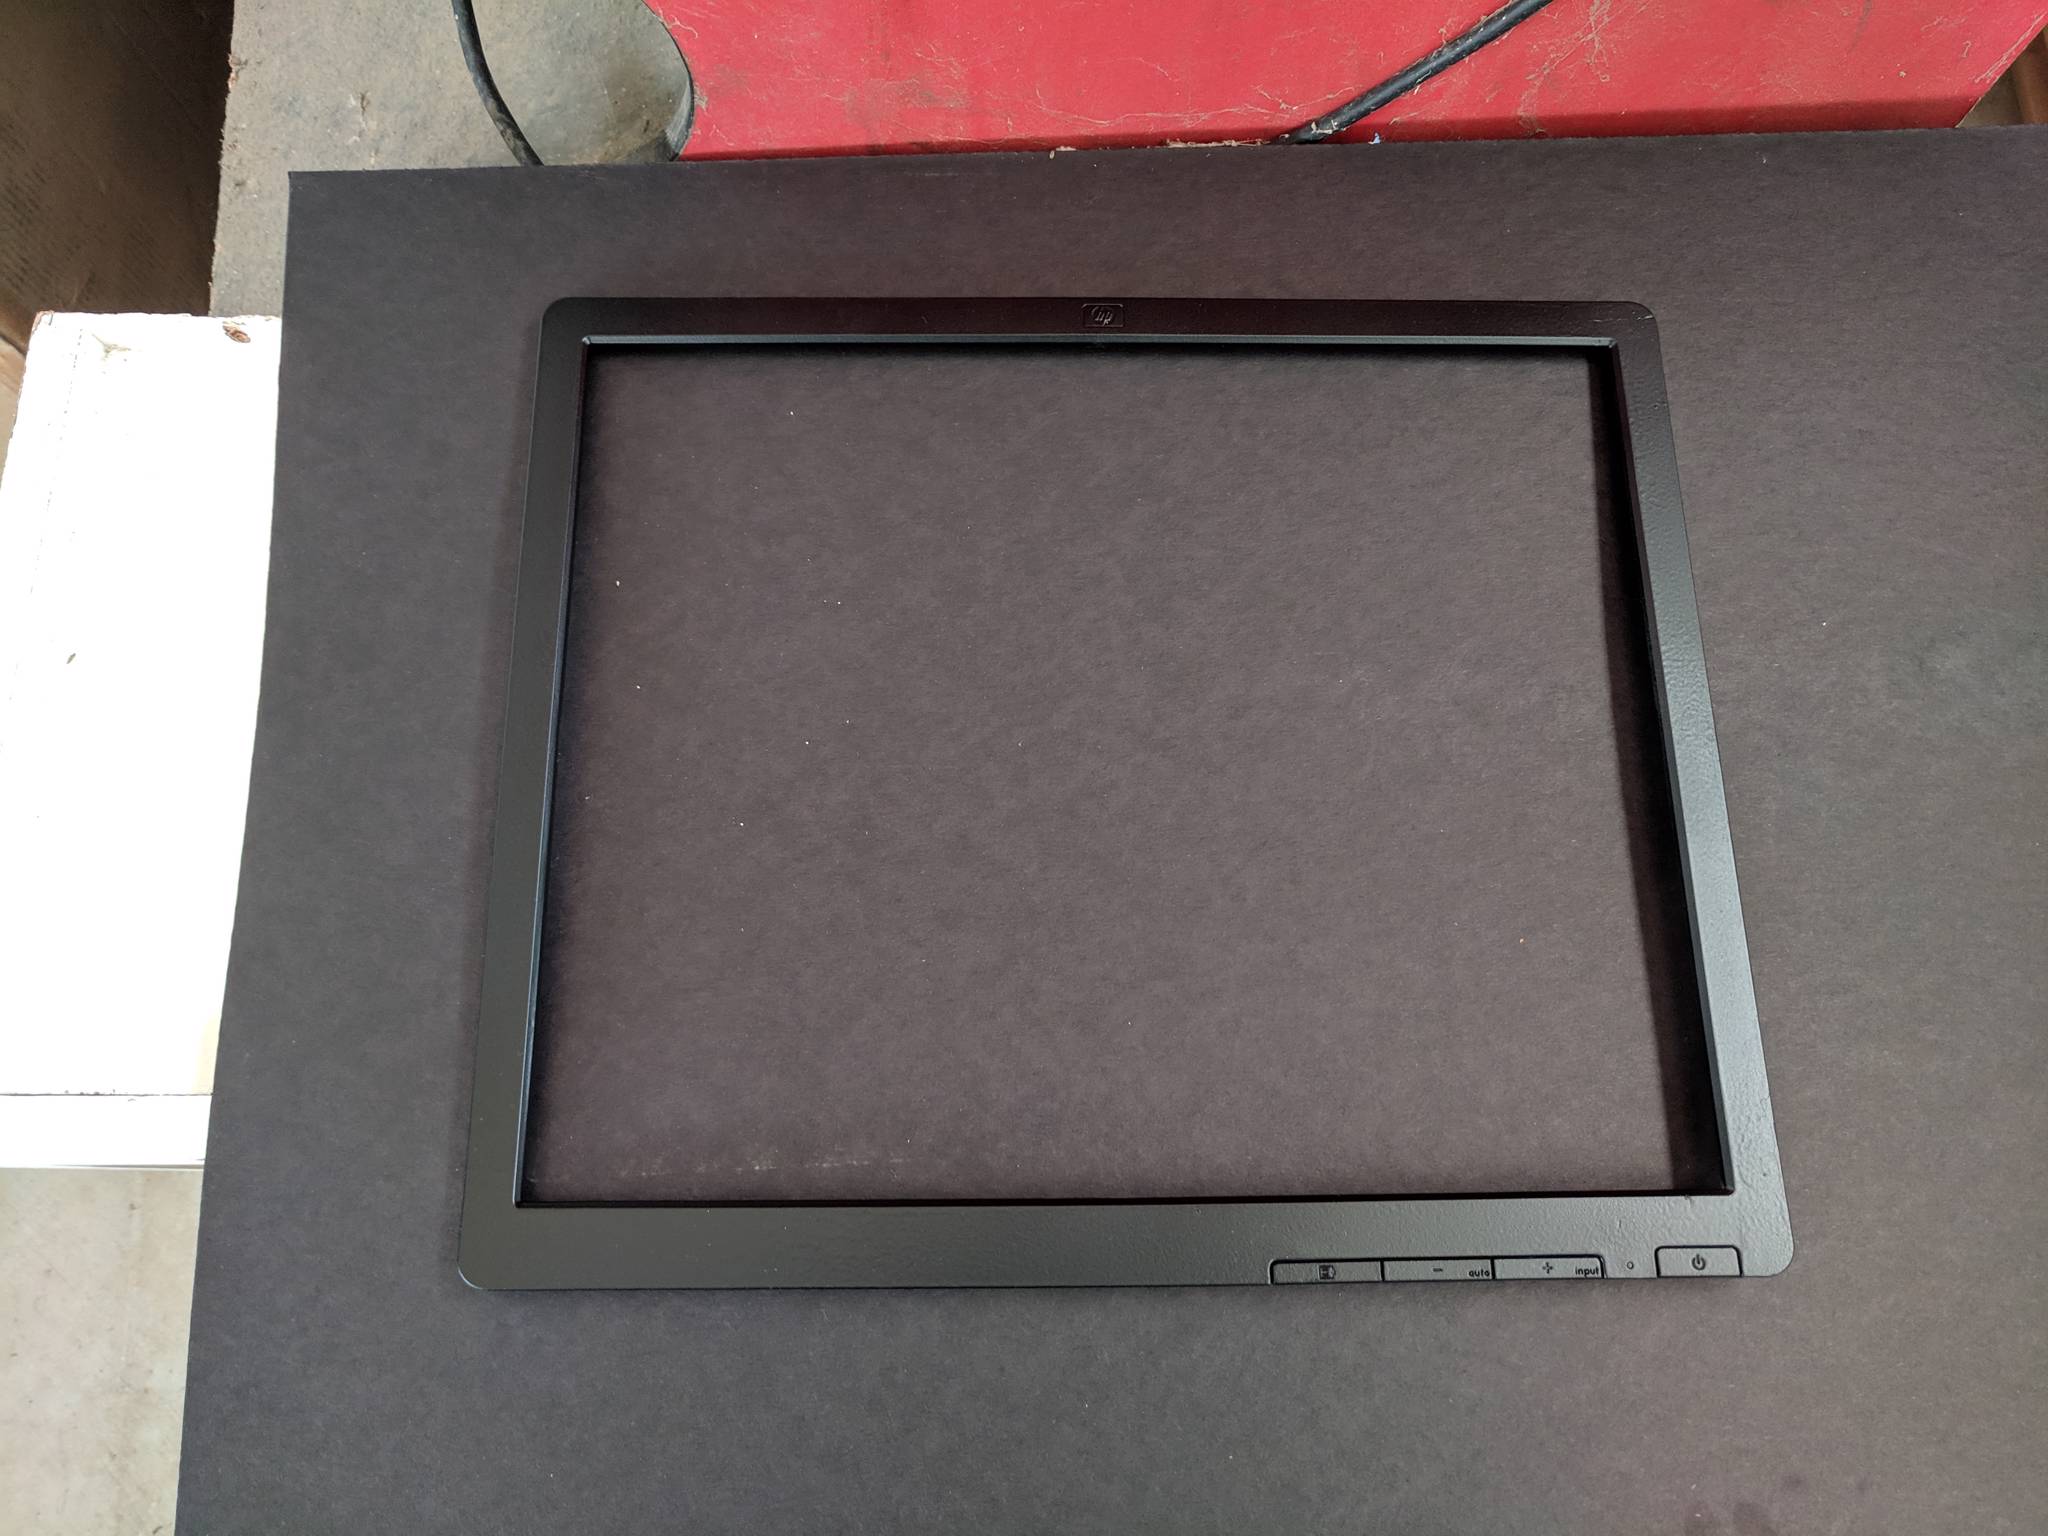
I ordered some clear plexiglass to replace the tinted pieces pieces and now it is much easier to see the LCDs. I also spray painted the plastic LCD bezels black so they wouldn't stand out.
I've decided that I would like to go back to original CRTs. I wish I hadn't given away the original working one now. 😬 I have managed to track down one replacement though, so I am halfway back to running CRTs.